
Red Huckleberry Jelly Recipe
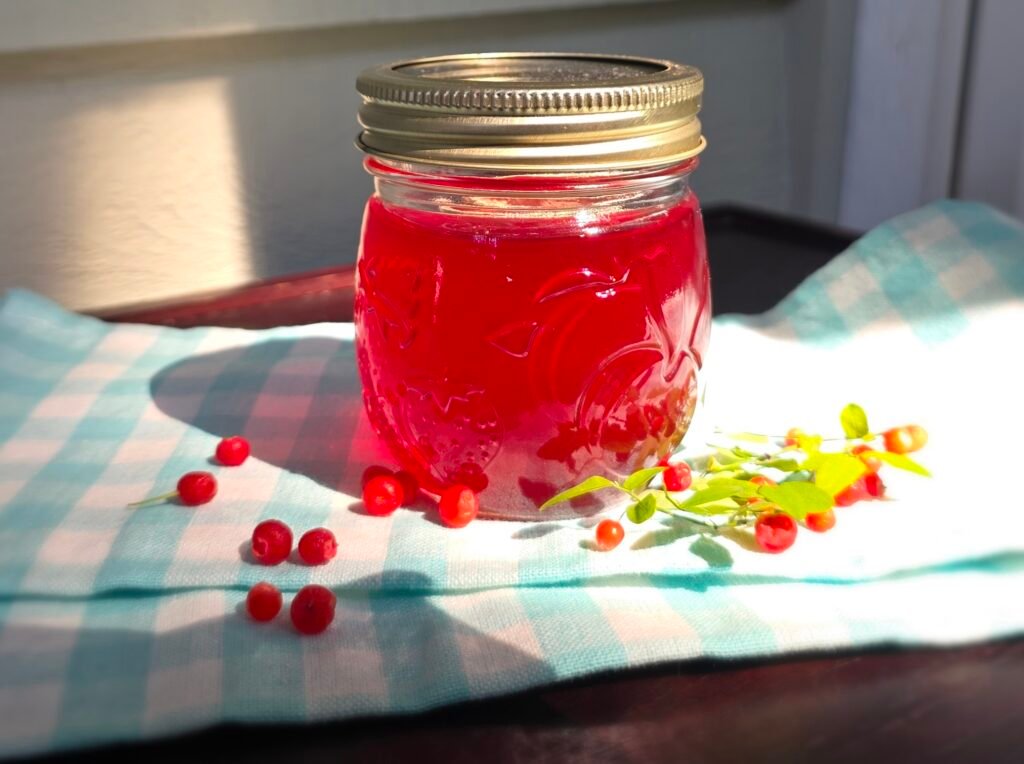
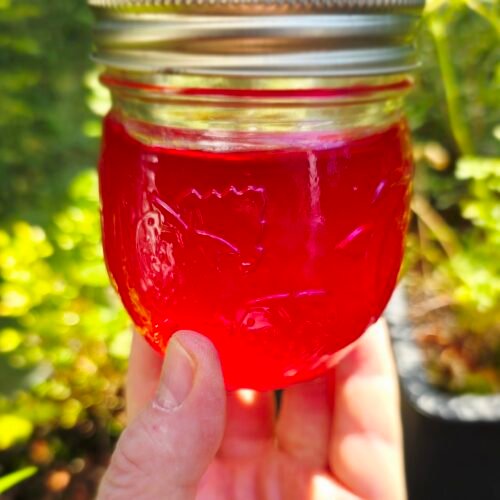
Red huckleberry jelly. Bright, tart, and beautifully clear. Made from wild-foraged berries, water, sugar, and pectin. A simple maceration, an overnight steep, and a fine-mesh strainer replace the traditional jelly bag, making this an easy small-batch recipe for water bath or steam canning.
🔪 Prep:
15 mins
⏲️ Macerate:
Overnight
🫕Cook:
20 mins
(5 min x 4 cycles) + final boil to gel
🫙2
half-pint jars
💰Cost:
< $1 per jar
Red huckleberry jelly requires currency of a different kind: time, patience and, sometimes, mosquito bites. The berries grow wild, the harvest is never guaranteed, and after a morning in the woods you’ll usually come home with just enough for a couple of jars. This recipe uses time, not constant stirring, to make the most of every hard-earned berry
Why You’ll Love This Huckleberry Jelly:
- Turns a small foraged harvest into a beautifully clear jelly with a unique, tart flavour
- Cheap! Aside from the huckleberries themselves, this jelly uses just sugar, water, and regular powdered pectin
- No traditional jelly bag required!
- The overnight steep does most of the work while you’re away from the kitchen.
Red Huckleberries Are Worth the Walk
Last year we came home with enough huckleberries to make jam.
This year… not so much.
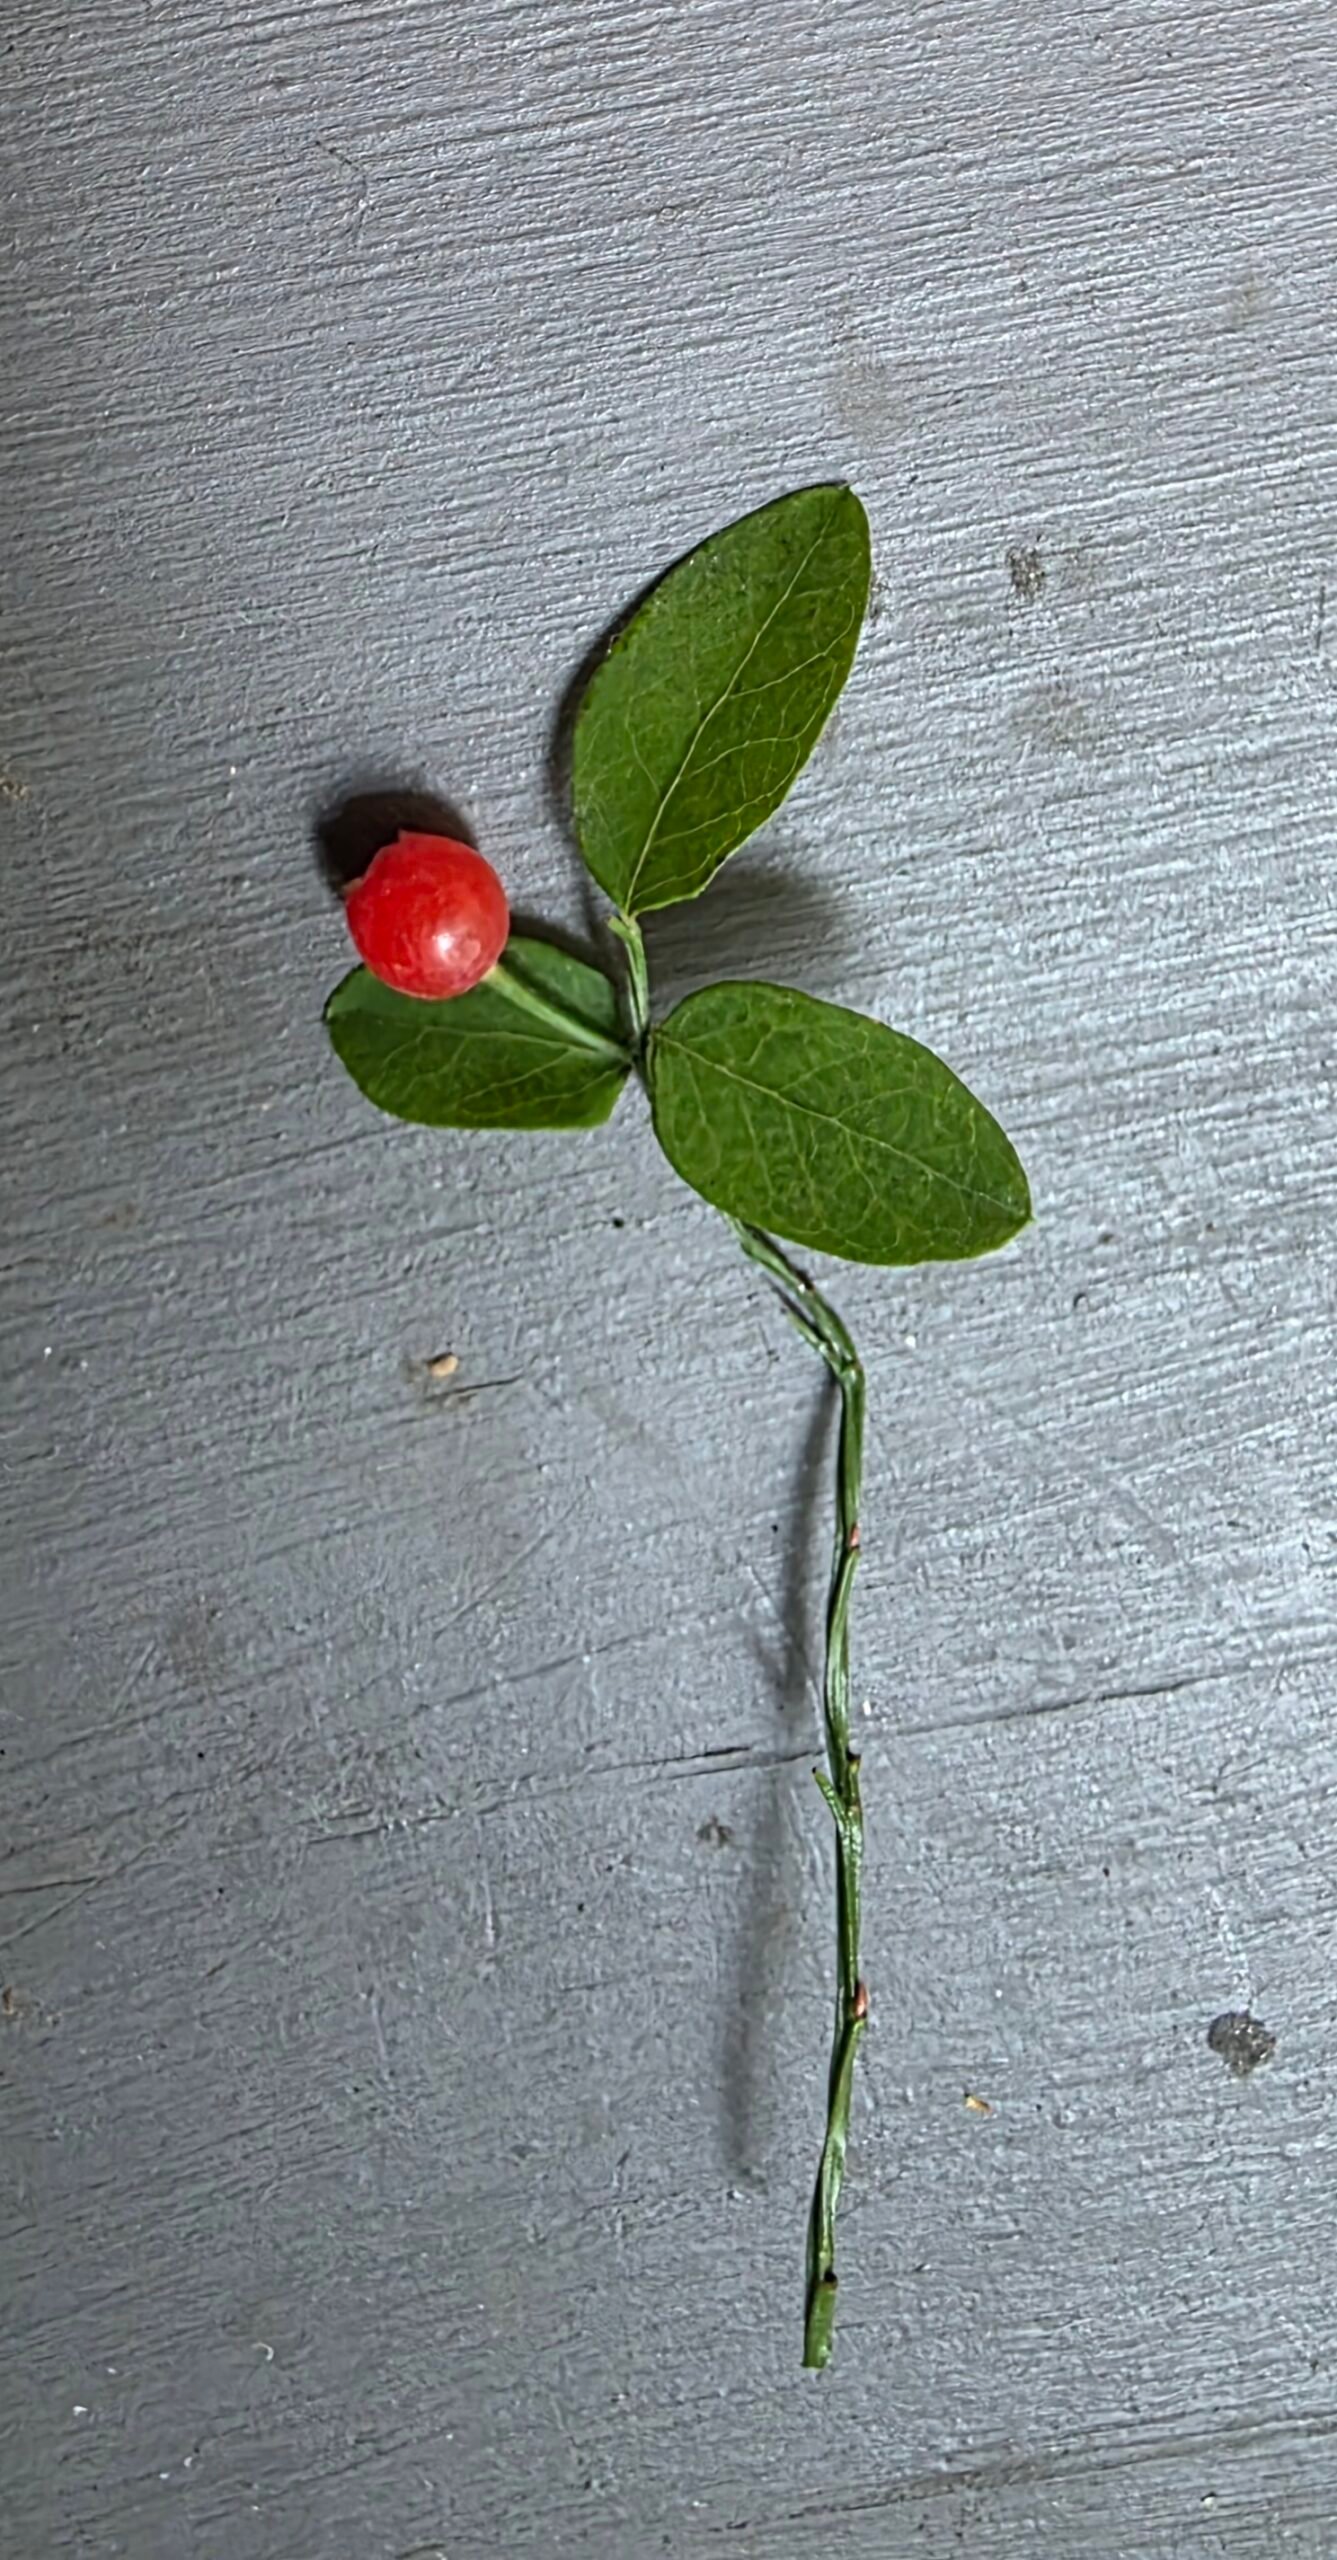
The bushes were far less generous this year. After a few hours wandering through the woods, we came home with just two pounds of berries. If you’ve ever foraged for red huckleberries, you know that’s often how it goes…
Looking at our little bucket, jelly just felt like the better choice. It stretches a small harvest a little further and, after a long day in the woods, the idea of an overnight steep sounded far better than stirring a pot of jam all afternoon.
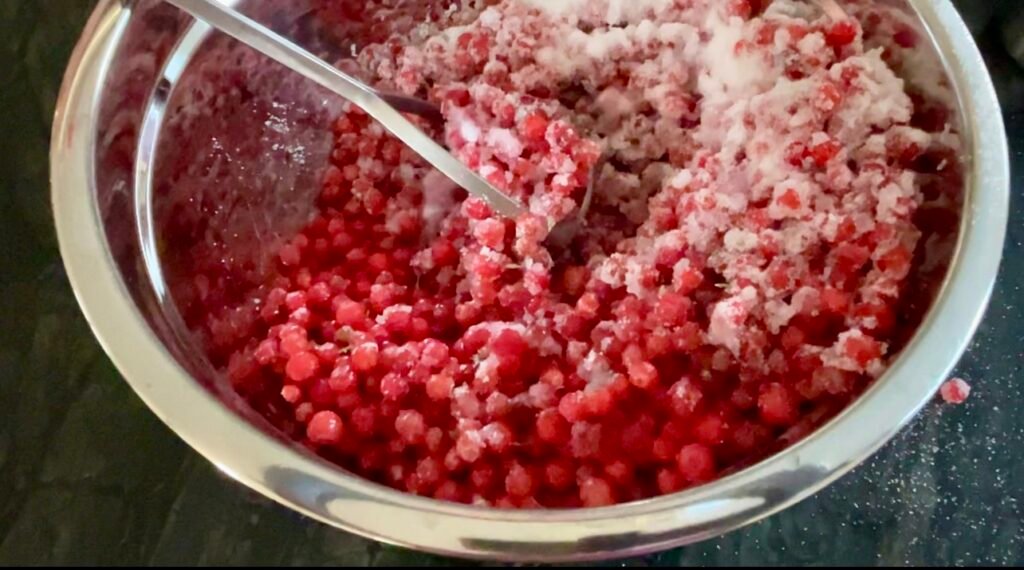
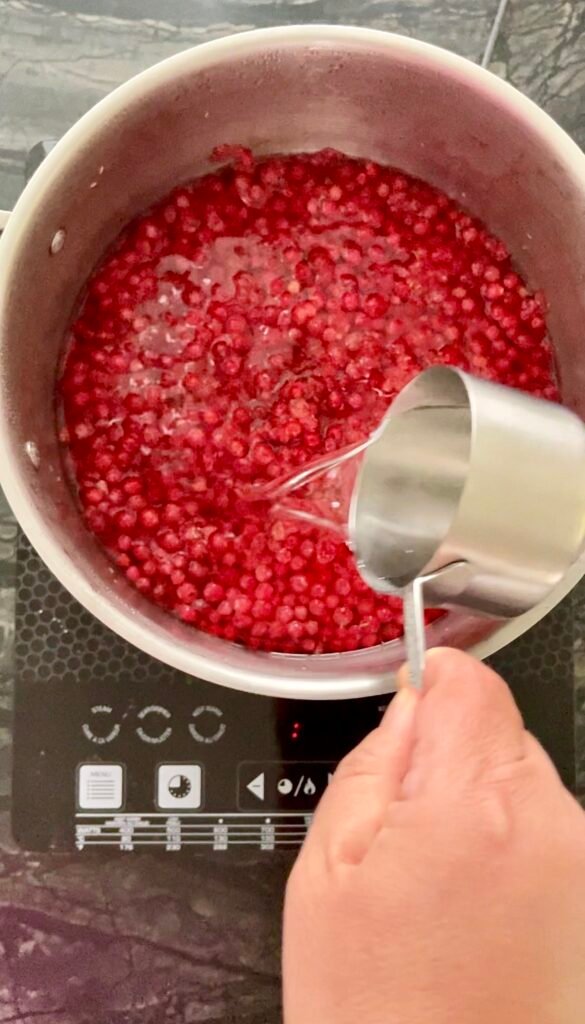
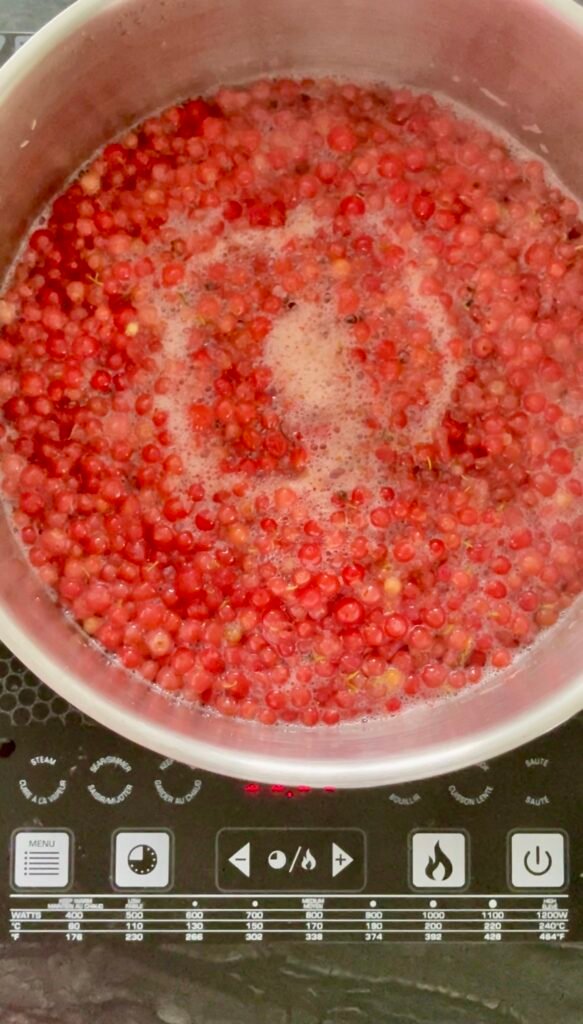
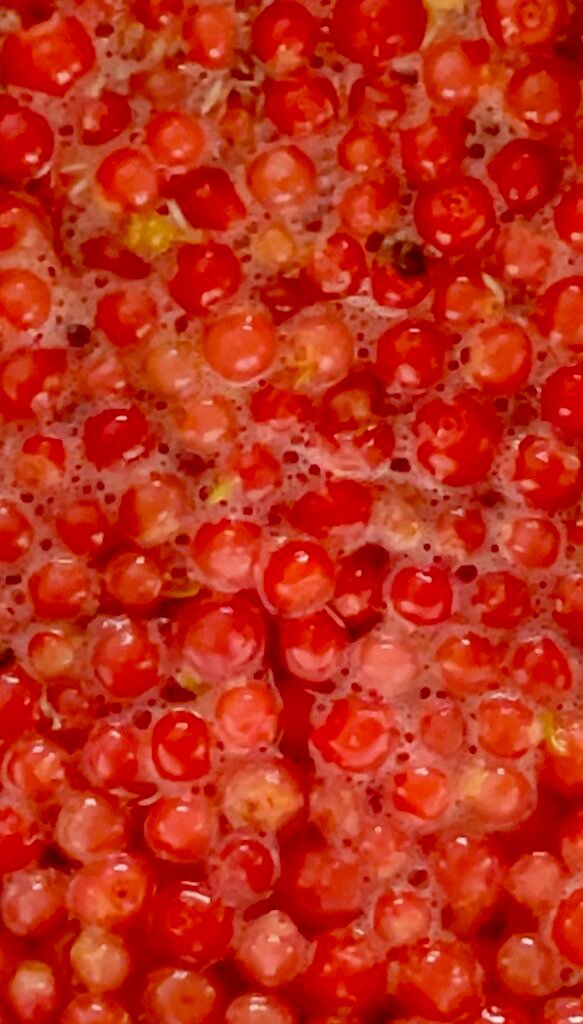
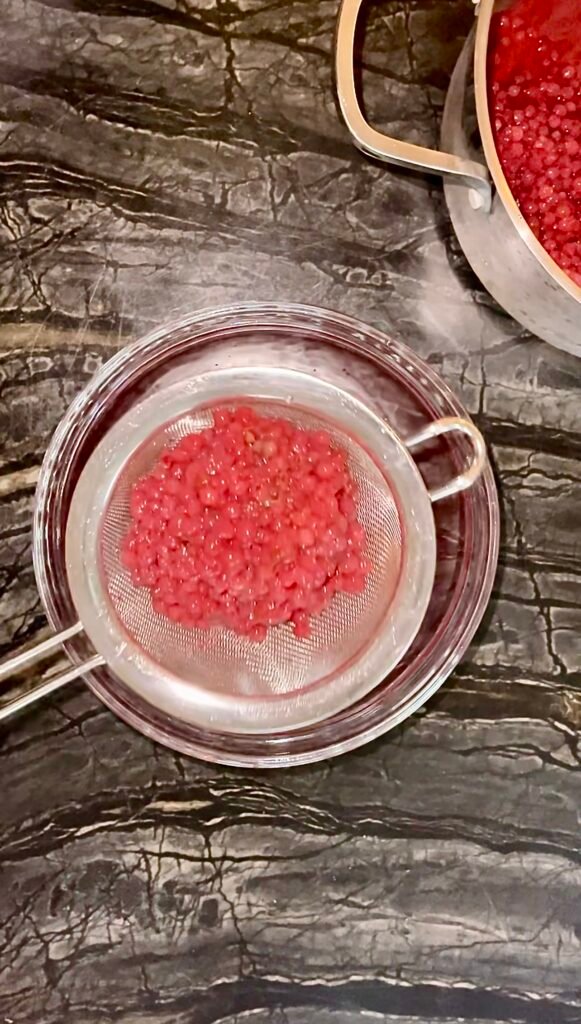
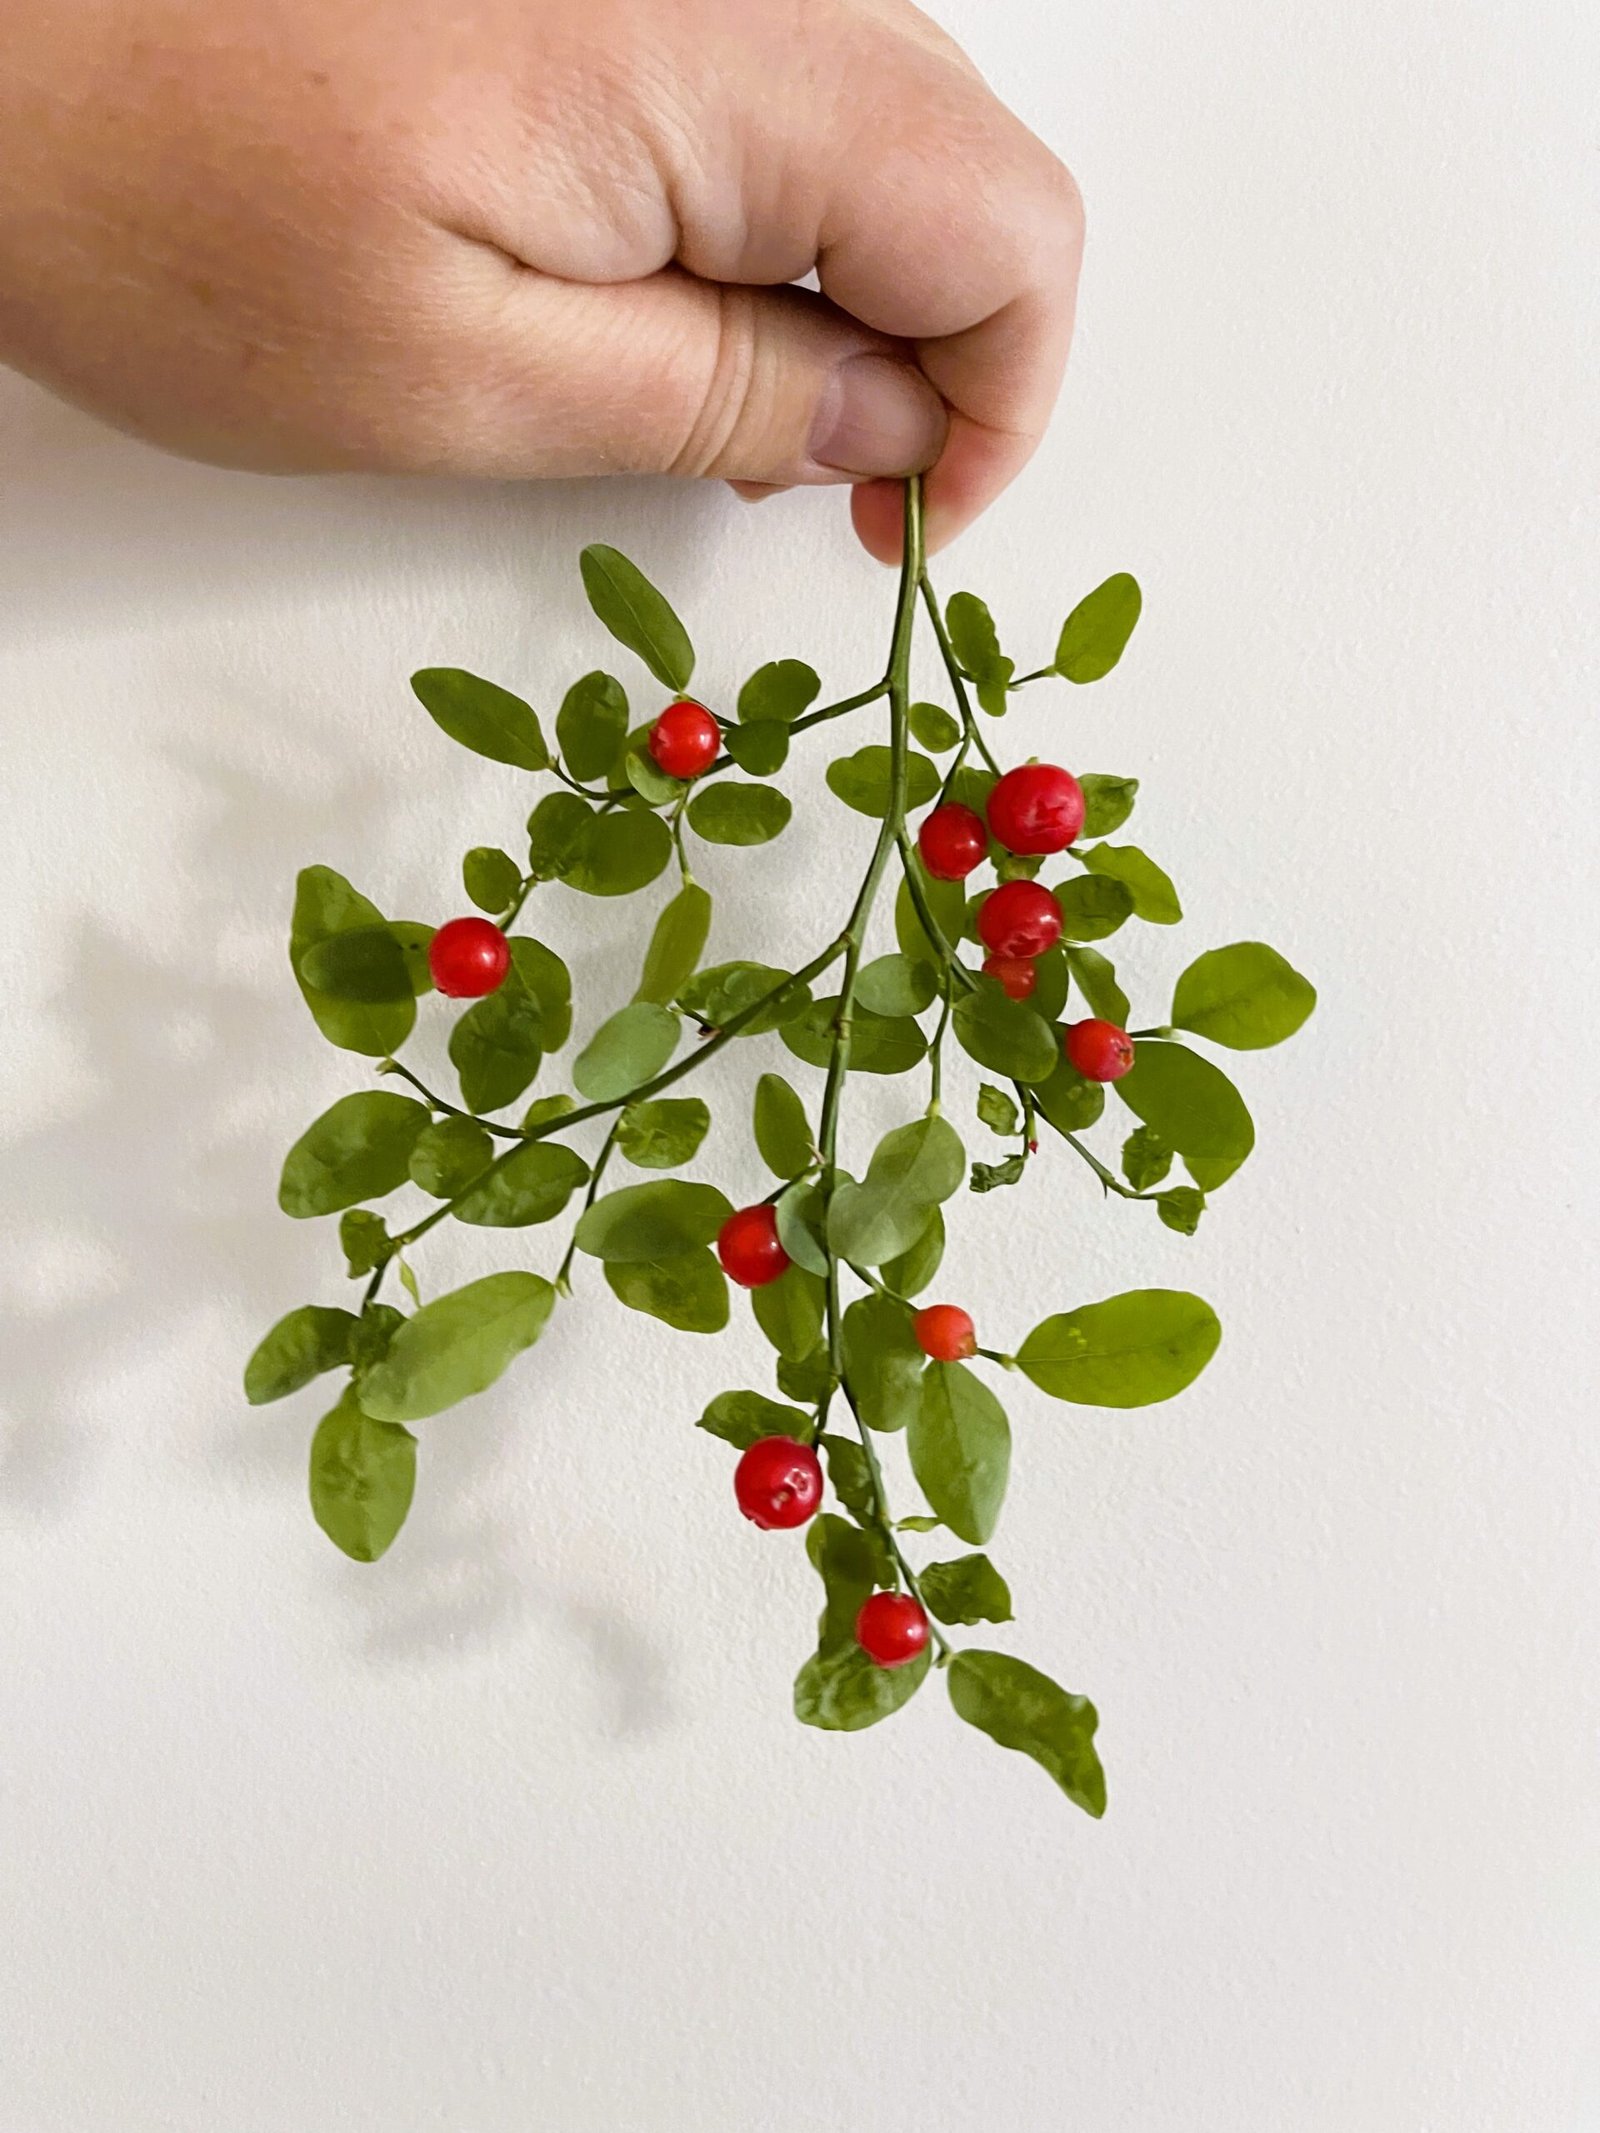
Red huckleberries (Vaccinium parvifolium) are naturally bright and tart, and a clear jelly lets that flavour shine. We lightly mash the berries with a little sugar, then let them macerate for several hours before adding the water. After a short simmer, the berries steep overnight, drawing out even more colour and flavour before everything is strained through a fine-mesh metal strainer. No traditional jelly bag required.
Red huckleberries aren’t a commercial crop. They grow wild along the Pacific coast, often from old stumps and fallen logs, which is part of the fun, but also part of the frustration. Some years you find plenty. Other years you wonder if the birds got there first.
Maybe that’s why these jelly jars feel so rewarding.
Red Huckleberry Jelly: Key Ingredients
Red Huckleberries
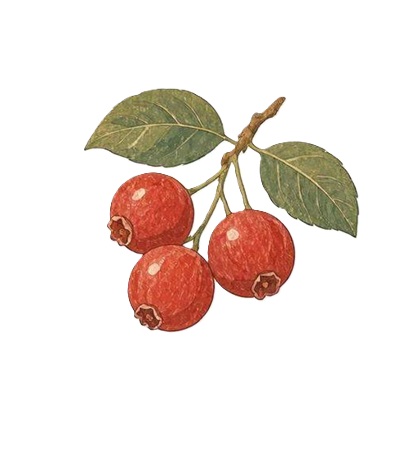
Red huckleberries (Vaccinium parvifolium) are the reason this recipe exists.
Substitution: If red huckleberries aren’t available, black or mountain huckleberries both work well and produce an excellent jelly. The flavour will be similar, but you’ll trade that beautiful ruby-red colour for a dark purple one.
Water
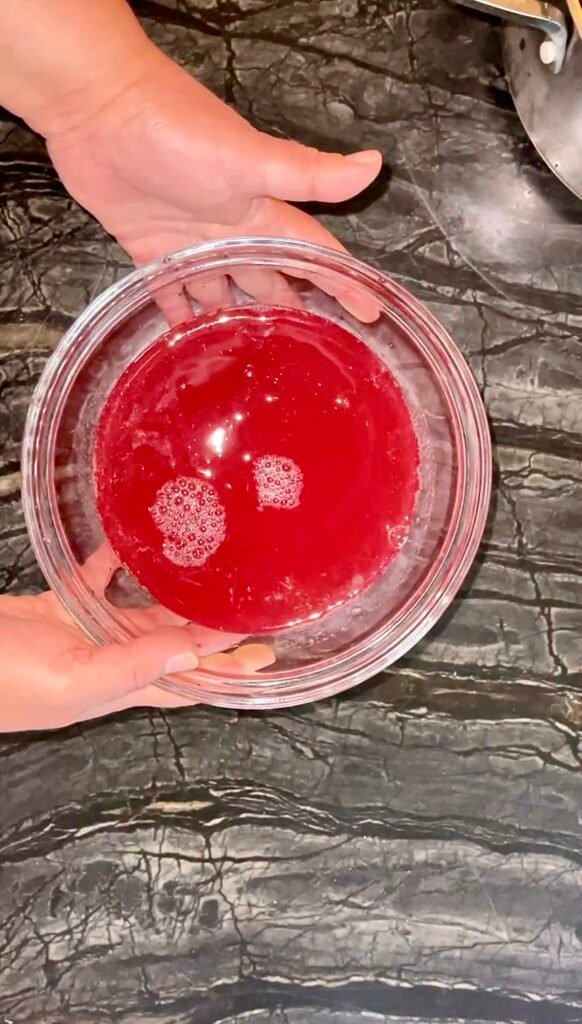
Even after lightly mashing the berries, most of your jelly liquid comes from the water you add at the beginning. The berries contribute plenty of colour and flavour, but surprisingly little extra liquid. Plan your batch size around the amount of water in the recipe, not the hope of squeezing out much more juice.
Substitution: None. Don’t reduce the amount of water, or you’ll end up with less juice and fewer jars to show for your day in the woods.
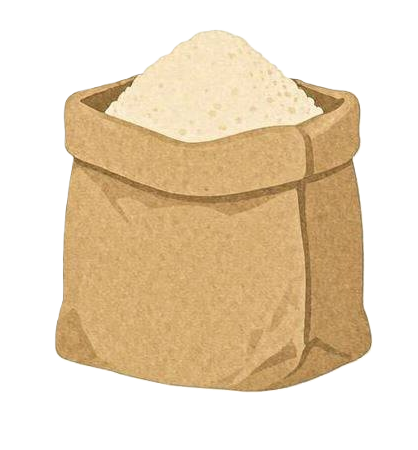
Granulated Sugar
Sugar does more than sweeten the jelly. It balances the berries’ natural tartness and works with the pectin to create a reliable set. The first ⅓ cup is added before the berries macerate, giving the sugar time to draw out some of the berries’ juice, colour, and flavour before cooking. After straining, you’ll measure the remaining sugar according to the amount of juice you’ve collected, since every batch yields a little differently.
Substitution: This recipe uses ¾ to 1 cup of sugar for every cup of strained juice. If you’d like to use a sweetener instead, you can. However, you’ll need a pectin that’s designed for no-sugar recipes and should follow the manufacturer’s directions.
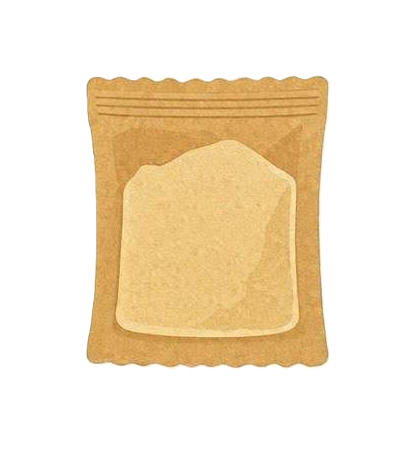
Regular Powdered Pectin
We used regular powdered pectin to make this recipe. Mix it thoroughly with the sugar before adding it to the boiling juice to help it dissolve evenly and prevent lumps.
Substitution: This recipe was developed with regular powdered pectin. If you prefer low-sugar or liquid pectin, follow the manufacturer’s directions, as both the method and sugar amounts will be different.
What’s the Deal with Pectin?
If seeing “pectin” on an ingredient label makes you worry about synthetic additives, take a deep breath – you are totally in the clear!
🍎🍊Powdered pectin is 100% natural fruit powder.
At a microscopic level, pectin is a soluble fiber that lives inside the cell walls of plants and fruits, acting like nature’s structural glue. The commercial powdered pectin you buy isn’t created in a chemical lab; it’s actually cleanly upcycled directly from real fruit! It’s extracted by gently simmering down citrus peels and apple pomace left over from the juice industry.
Beyond its magical ability to gel and thicken preserves, pectin is also a fantastic prebiotic that helps feed the good bacteria in your gut. 🧡 We love using high-quality powdered pectin because it lets us cut the sugar in our jams drastically without sacrificing that thick, beautiful texture or relying on weird artificial additives.
A Quick Note on Liquid Pectin: We stick strictly to powdered pectin! Commercial liquid versions often contain added chemical shelf-stabilizers and preservatives (like sodium benzoate) that we prefer to skip in our homemade jams and jellies.

Pantry Master Note
Before you begin: Measure the sugar after straining the juice. Every batch of wild huckleberries produces a slightly different amount of juice, so the amount of sugar will vary.
What this Red Huckleberry Jelly Costs to Make
This recipe really only makes sense if you’re foraging your own red huckleberries. There’s essentially no realistic alternative. Unlike the Rocky Mountain huckleberry sold commercially out of Idaho and Montana (which does have an established wild-foraged market around $12–18/lb), we found no evidence of a real commercial market for red huckleberries specifically.
| Ingredient | USD $ | CAD $ |
| Red huckleberries, foraged (2 lb) | $0 (your time) | $0 |
| Granulated sugar (1.5- 2 cups / 815 g) | $0.35 – 0.50 | $0.45 – 0.65 |
| Regular powdered pectin (1 tbsp) | $0.50 – 0.75 | $0.65 – 0.95 |
| Total batch (2 half-pint jars) | $0.85 – 1.25 | $1.10 – 1.60 |
Cost per Jar: $0.43 – $0.63 USD ($0.50 – $0.80 CAD)*
*assuming foraged fruit, which is the only realistic version of this recipe.
Common Mistakes When Making Huckleberry Jelly
❌ Rushing the overnight steep:
Straining right after the simmer, without letting the berries sit overnight, means no flavor or color in your jelly liquid. Let the pot sit undisturbed overnight before straining.
❌ Pressing berries while straining:
Pushing down on the berries in the strainer to force more liquid through pulls cloudy sediment along with it, the same problem a jelly bag is meant to prevent in the first place. Let it drain on its own.
❌ Skipping the mashing:
Lightly mashing the berries before simmering helps release their juice and flavour. You don’t need to pulverize them, a potato masher is enough.
❌ Skipping the maceration
Mashing the berries is only half the process. The sugar needs time to draw juice, colour, and flavour from the fruit before you add the water. Give the berries at least 3 hours, or leave them overnight if it’s more convenient.
Red Huckleberry Jelly Recipe – No Jelly Bag Required
Canning Methods
This is a high-acid, jelly style preserve. While the standard processing time for jellies is 5-10-15 minutes, we recommend the NCHFP’s optional 10-minute boiling water/ atmospheric steam canner process that is believed to provide a stronger vacuum in the jar for hot pepper jelly type preserves.
Both water bath canning and atmospheric steam canning use identical processing times for this recipe. We typically use an atmospheric steam canner for speed and lower water use, but a water bath canner works equally well and is the most widely used method in home preserving.
Processing table – Steam Canner & Water Bath
Jar size: Half-pint or Pint (8 oz / ~250 mL or 16 oz / ~500 mL)
Pack style: Hot
Applies to: Atmospheric steam canner AND water bath canner (same processing times)
| Altitude | Processing time |
| 0–1,000 ft | 10 min |
| 1,001–6,000 ft | 15 min |
| Above 6,000 ft | 20 min |
Not sure which elevation band is yours? Our Canning Altitude Calculator will give you the answer in a couple of seconds.
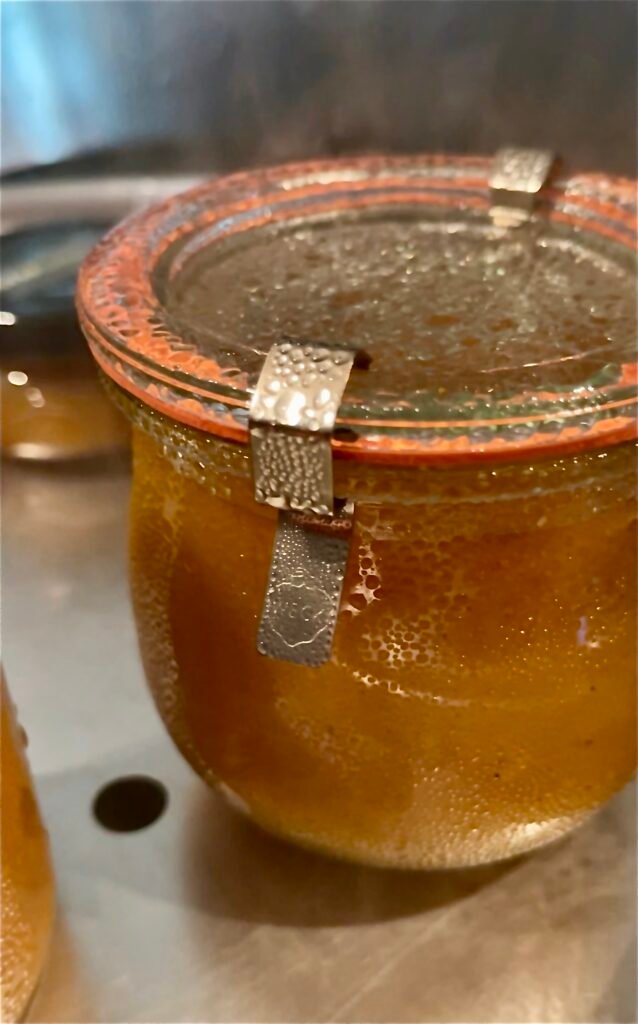
Atmospheric Steam Canning
Atmospheric steam canning is newer to the home canning world. Nevertheless, it has been validated for high-acid preserves like this. It uses less water, heats up faster, and doesn’t require jars to be submerged.
- Prepare your atmospheric steam canner according to the manufacturer’s instructions. Typically, fill the base with the recommended amount of water and preheat until steam begins to vent.
- Place filled jars on the canner rack. Cover with the dome lid.
- Start timing once a steady column of steam has been venting continuously.
- When processing time is complete, turn off heat.
- Remove jars straight up with a jar lifter. Most important, do not tilt. Place on a towel-lined counter or cutting board.
New to steam canning?
Ready to ditch water bath canners?
Water Bath Canning
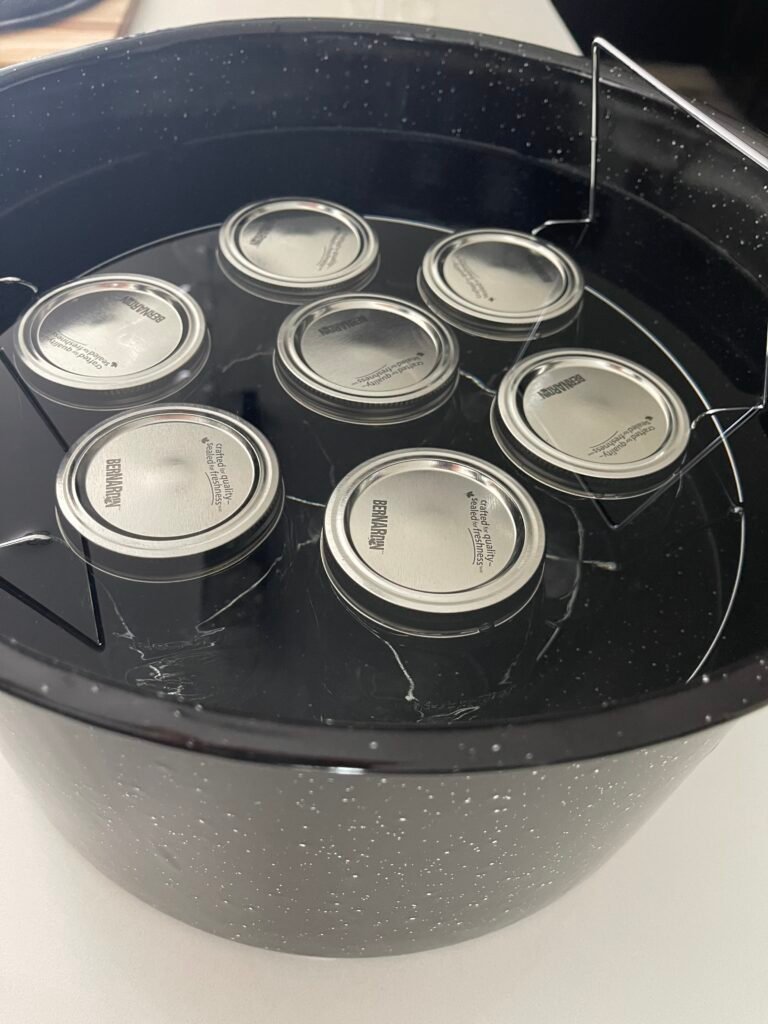
Undeniably, water bath canning is the most widely used method for high-acid preserves and the one most canners learn first. If you already own a water bath canner, this is a perfectly sound way to process this jam.
- Place filled jars on the canner rack and lower it into boiling water. Always remember, water must cover the lids by at least 1 inch.
- Start timing once you reach a full rolling boil. Processing times are identical to the table above.
- When processing is complete, turn off heat and let jars rest in the water for 5 minutes before removing them. This step helps prevent siphoning.
- Lastly, remove jars straight up with a jar lifter.
Looking to understand how the two methods compare?

Prefer Open Kettle?
Open kettle canning is not a USDA-recommended method. For this recipe, we used atmospheric steam canning to get consistent, shelf-stable results. However, open kettle remains a long-established traditional method that some experienced canners still use for high-acid preserves.
We don’t dismiss traditional methods. For those who choose to use open kettle, we’ve put together a guide that explains how it is practiced, along with the key steps aimed at reducing common risks within that traditional approach.
After sealing (all methods)
- Do not touch, adjust bands, or press lids for 12–24 hours.
- After cooling, check seals: press the center of each lid. If it doesn’t flex, the seal is good. Any jar that didn’t seal goes in the fridge → use within 3 weeks.
- Remove bands for storage (they trap moisture and can mask a broken seal over time). Label with contents and date.
- Store in a cool, dark place. Peak quality for 12–18 months.
Check your processing time/ canning pressure if you’re above 1,000 feet↗️
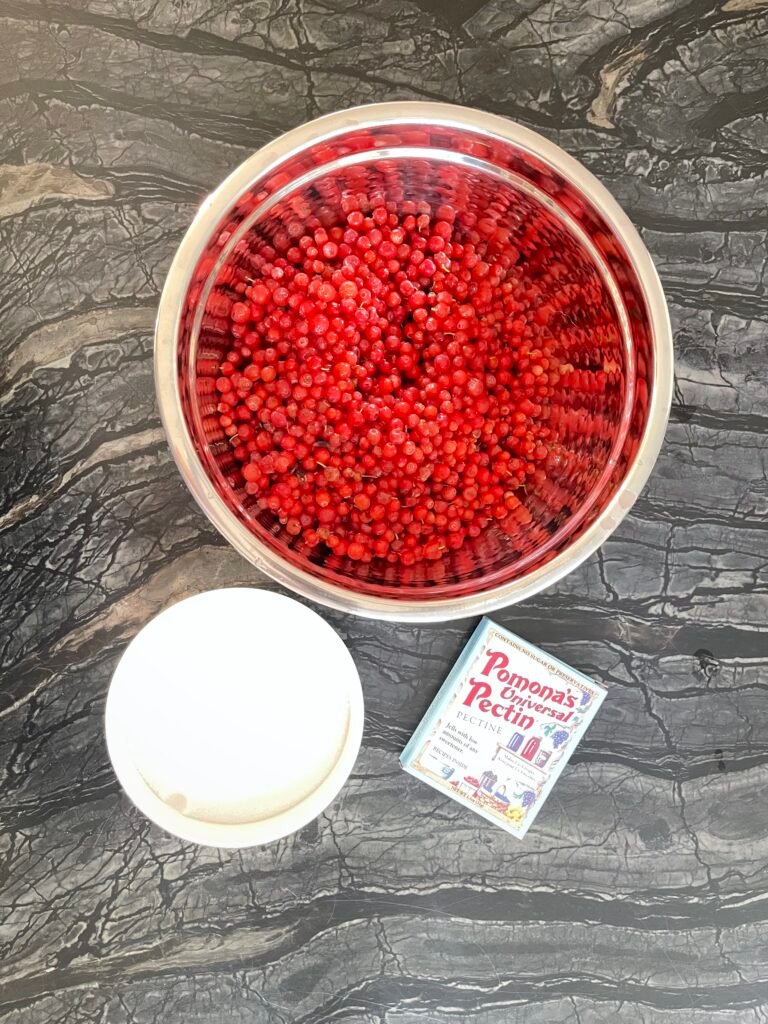
How to Make Red Huckleberry Jelly – Step-by-Step Photo Gallery
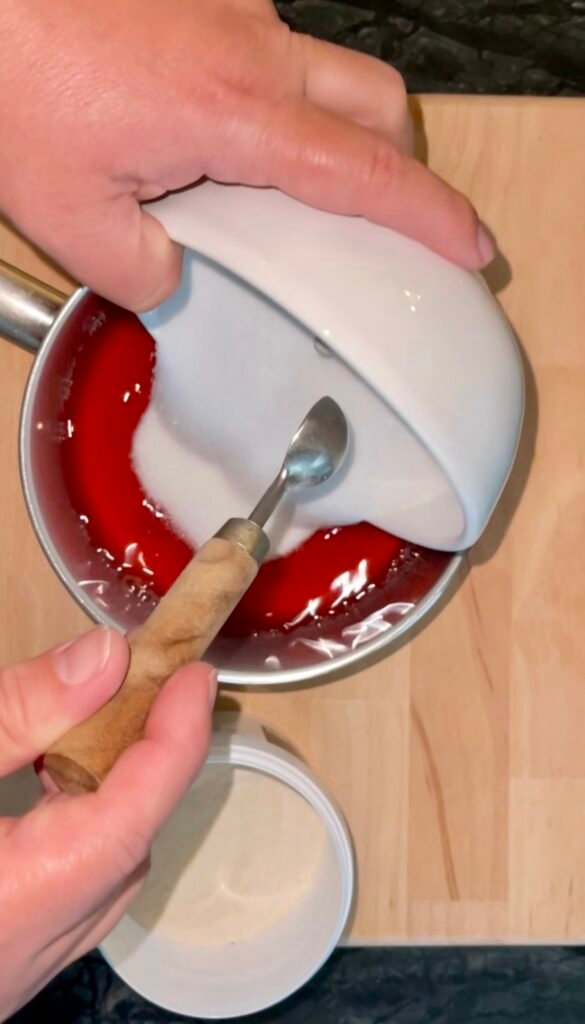
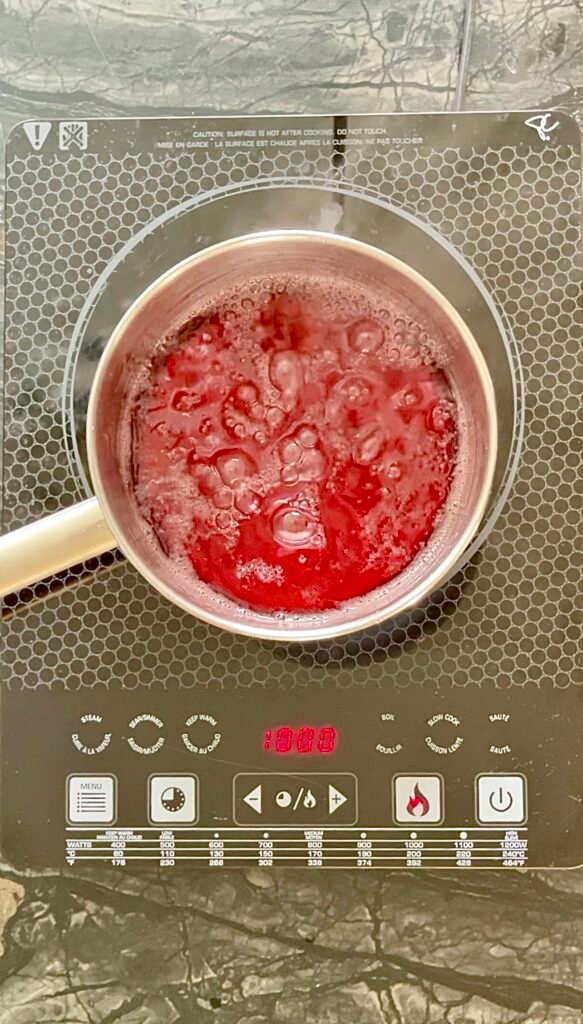
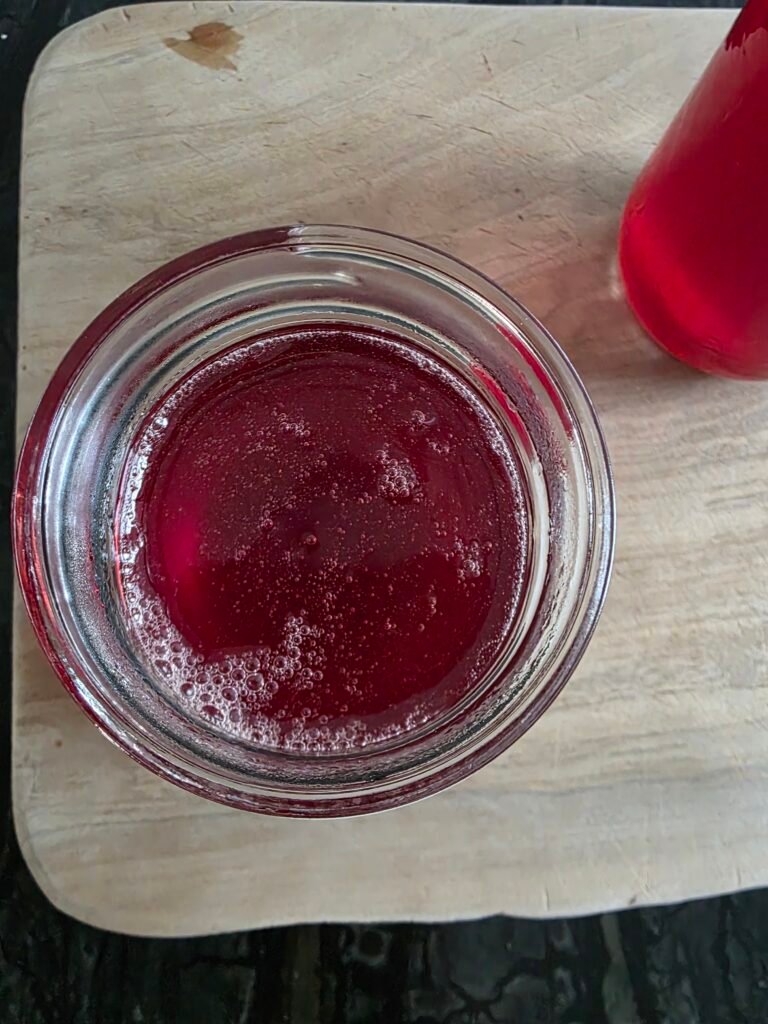
Serving Suggestions for Red Huckleberry Jelly
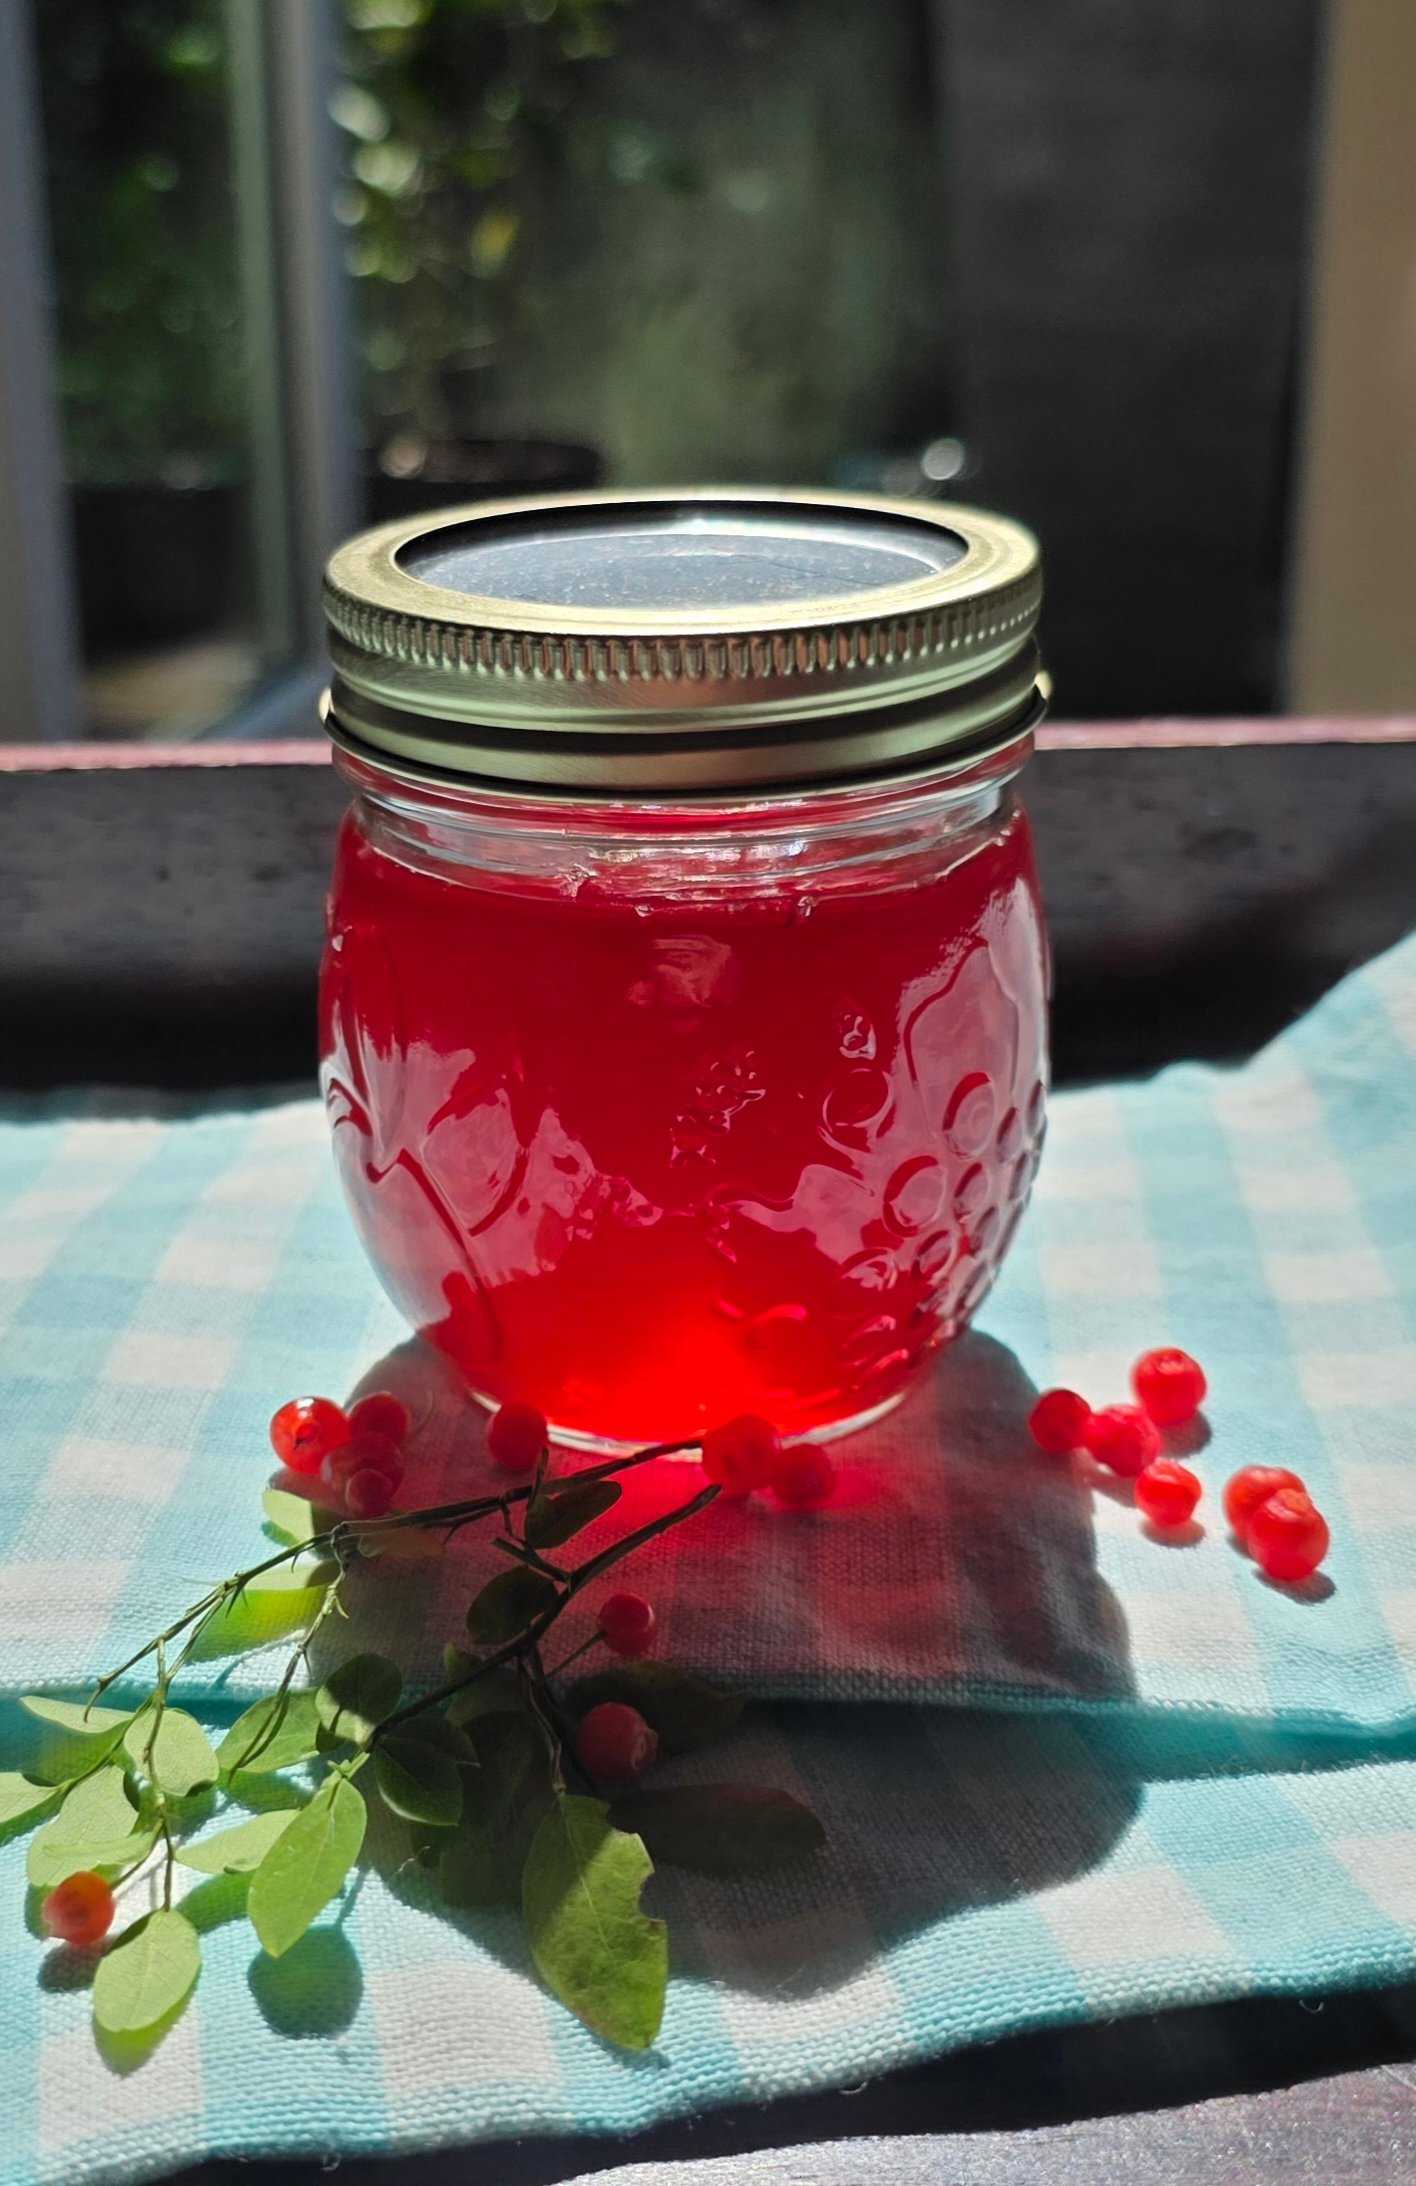
Red huckleberry jelly is a real treat. Its sweet and tart flavour makes it much more versatile than a typical sweet breakfast jam or jelly. While it’s wonderful on toast, it also has enough acidity and character to do a meaningful job alongside savoury foods.
Try it:
Cheese and Charcuterie board – Pair it with creamy cheeses like baked Brie or Camembert wrapped in puff pastry.
Savory meats and glazes – Use red huckleberry jelly as the base for a quick pan sauce for BBQ pork chops or roasted duck. It also makes an unexpected (and delicious) glaze for meatballs.
Breakfast and breads – Spread it on French toast, warm biscuits, or scones. Try it with cheddar scones! This unexpected combination brings together the best of a cheese board and a breakfast treat in one bite.
FAQ
Yes, provided you have a pot large enough to let the mixture reach a full rolling boil without boiling over. Keep all proportions the same. A wide, heavy pot works better than a tall narrow one. The wider surface area helps the jelly reach the gel point on time without overcooking.
Possibly, but check what you’re actually buying: frozen “huckleberries” sold commercially are almost always the Rocky Mountain species from Idaho or Montana, not red huckleberry, so the flavor and acidity may differ from what this recipe was built around. If you do use them, thaw first and use any juice that collects rather than draining it away.
Because the berries aren’t mashed, most of their moisture stays inside the fruit rather than releasing into the surrounding water. Expect your strained juice to come out close to the amount of water you started with, not significantly more.
No, not really. At least not as a direct substitute. Reason being, blueberries are noticeably milder and less tart, so the flavor and acidity balance of your jelly will be different.
Most often the pectin ratio was off or the mixture didn’t reach a full rolling boil long enough before the cold plate test. To fix it: return everything to the pot, whisk in another teaspoon of pectin mixed with ¼ cup sugar, bring back to a rolling boil for 1–2 minutes, retest on a cold plate, and re-jar with clean lids.
Beyond this jelly, you can make red huckleberry jam or use it as a pie filling.
Properly canned and sealed jars keep peak quality for 12–18 months in a cool, dark pantry. The jelly remains safe to eat past that as long as the seal holds, but flavor and color change over time. Once a jar is opened, refrigerate and use within 3 weeks.
No. The NCHFP does not test individual third-party recipes. What it provides is a methodology and processing framework for canning categories, plus reference recipes for specific preserves. This recipe is built on that framework . Specifically, the processing times match NCHFP guidance for high-acid jellies at the relevant altitude bands.
Related Recipes
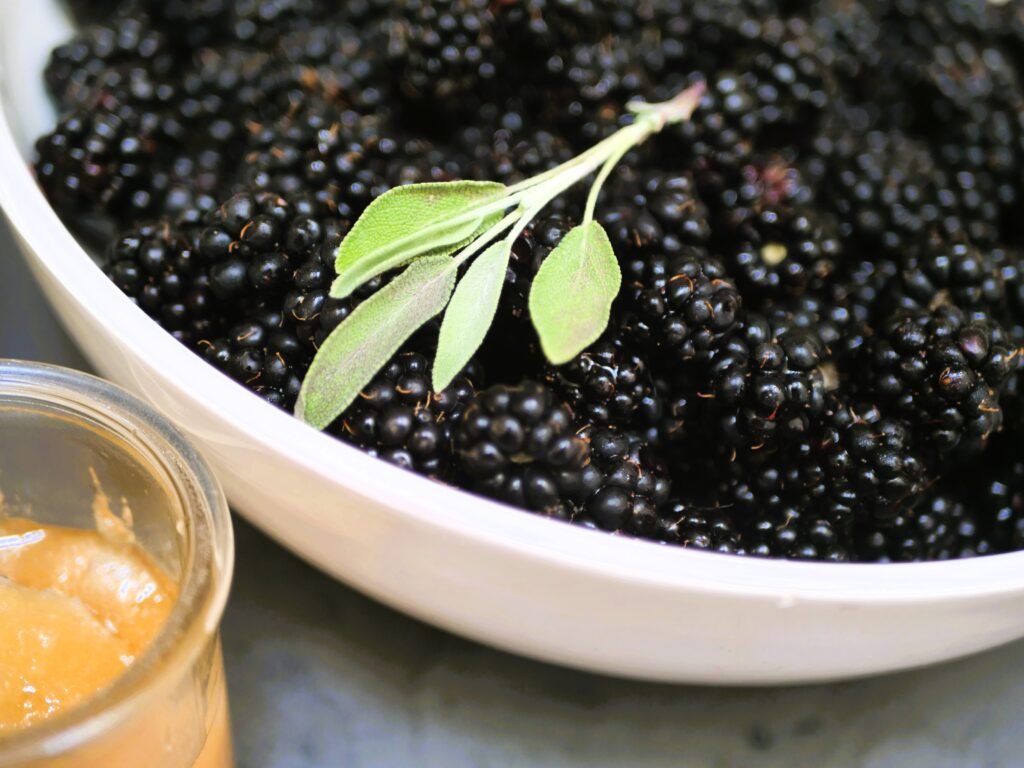
Seedless Blackberry Jam with Sage and Honey
Another wild berry you can forage for and make into a preserve
Join the pantry
Fresh recipes when the season calls for them. Preservation guides you can trust – every method, traditional to modern. Ideas for turning your pantry into weeknight dinners. Seasonal alerts that help you preserve more for less. Honest reviews of the tools that matter.
Tried this preserve? We’d love to hear how it turned out!