
Concentrated Berry Juice Recipe for Canning (Raspberry or Blackberry)
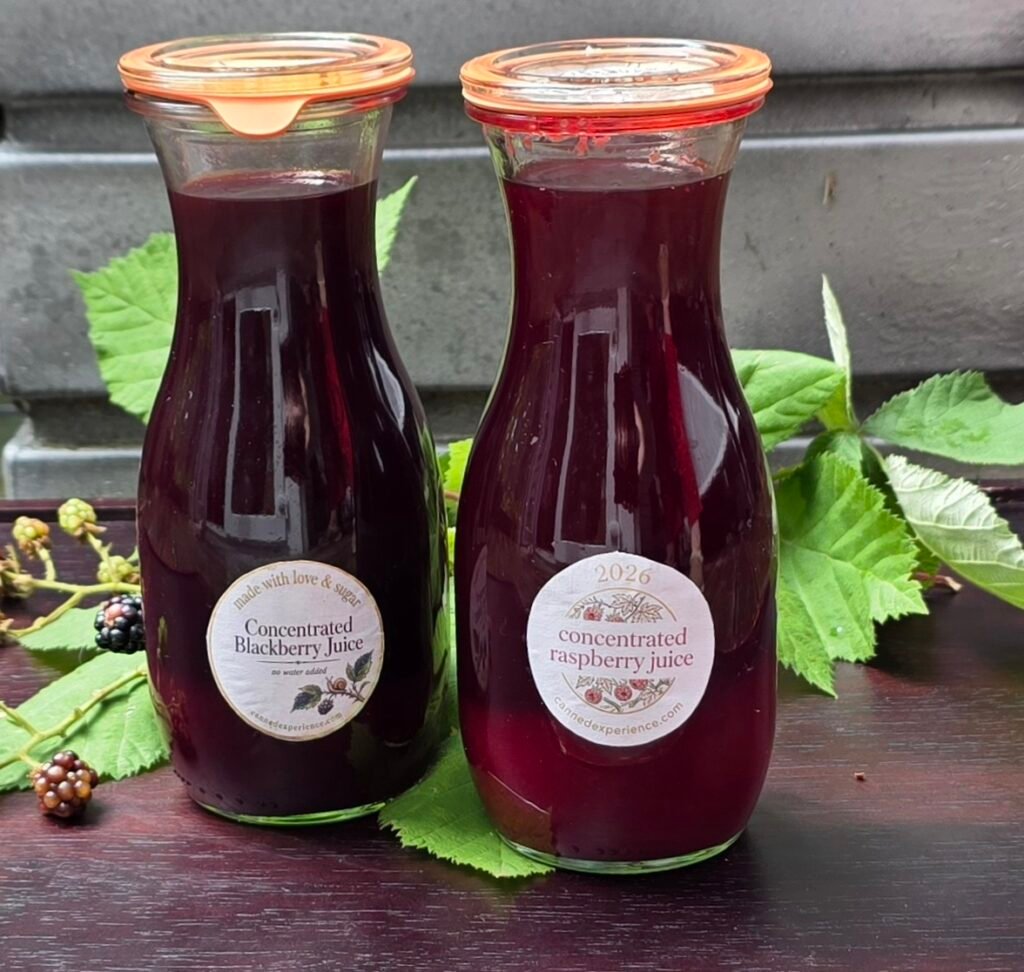
Concentrated berry juice. Rich, fruity, and made with no added water, canned for the pantry, and leaves behind perfectly good berry pulp ready to become your next batch of jam.
🔪 Prep:
5 mins
⏲️ Macerate:
3 hrs
🫕Cook:
10 min
🫙2
half-pint jars
💰Cost:
~$5 per jar
*Costs vary with your berry harvest (e.g. u-pick berries)
Bonus: Leftover pulp for 2 half-pint jars of jam.
Pure berry flavor in every jar. This shelf stable concentrated berry juice recipe is an easy way to preserve raspberries or blackberries without a juicer. Sugar maceration draws out the berries’ natural juice, creating a rich fruit concentrate with no added water. After straining, the leftover berry pulp doesn’t go to waste. Instead, it becomes the perfect base for homemade jam.
Why You’ll Love This Berry Juice
- Makes two preserves from one batch of berries.
- No added water means richer, more concentrated berry flavor.
- Works with fresh or frozen raspberries and blackberries.
- Great for homemade drinks, syrups, shrubs, cocktails and desserts.
- Perfect for water bath or atmospheric steam canning.
- Almost nothing goes to waste.
Why Making Berry Juice Is Both Frugal and Smart
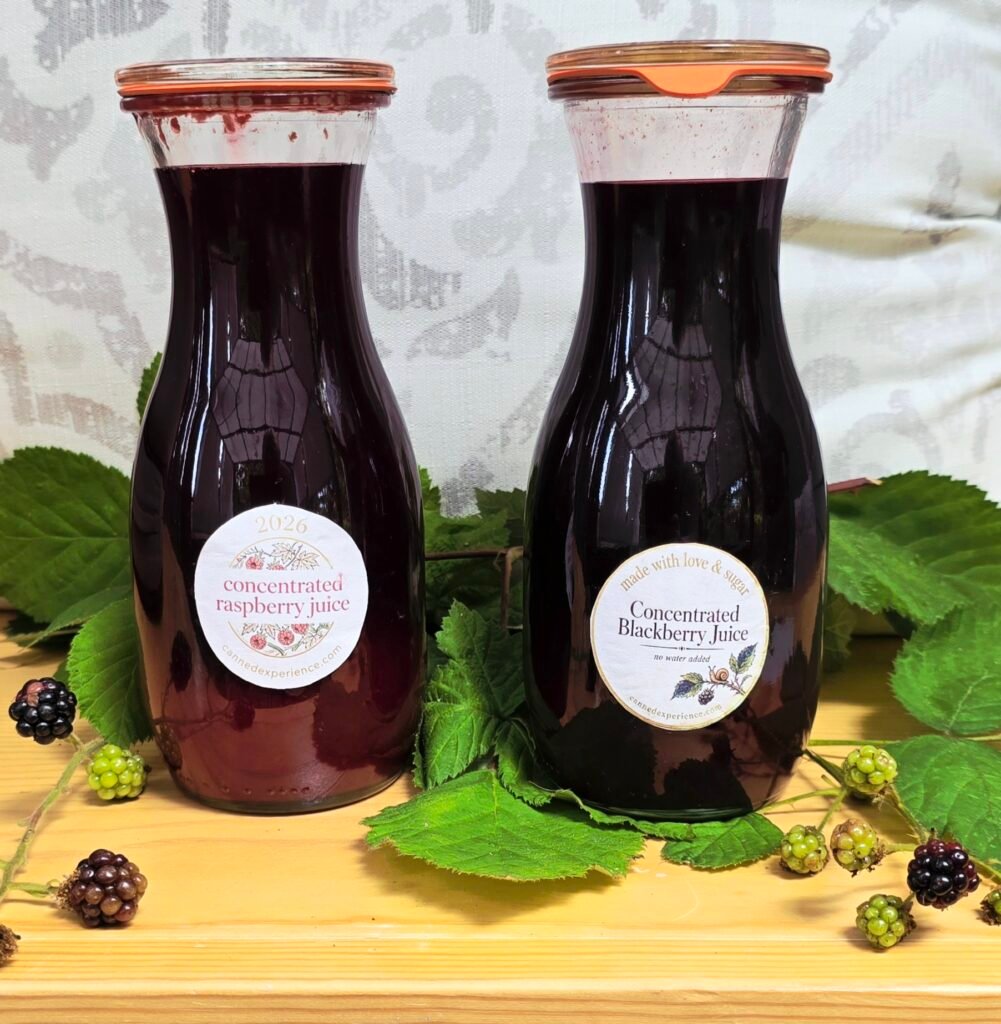
Every summer, we made plenty of raspberry and blackberry jams and jellies. Like most home canners, we watched the beautiful ruby-colored juice drip from the berries and never gave it much thought. It was simply part of the process.
Then one day we stopped and asked ourselves, why are we giving all that gorgeous juice away to the jam pot? It looked too good to ignore, and it certainly still contained plenty of the berries’ flavor and goodness.
That little question turned into one of our favorite preserving methods. Instead of making jam first, we make the juice. The berries are mixed with sugar, macerated, gently cooked, and strained to produce a rich, concentrated juice with no added water. Then, instead of throwing away the strained pulp, we sweeten it a little more and turn it into jam.
It’s the preserving equivalent of having your cake and eating it too. You end up with two completely different pantry staples from the same basket of berries: jars of intensely flavored juice for drinks, cocktails, glazes, syrups, and desserts, plus homemade jam made from the leftover fruit.
If you grow raspberries or blackberries, or simply can’t resist buying too many when they’re in season, this is one of the most satisfying ways to stretch every harvest.
Homemade Berry Juice: Key Ingredients
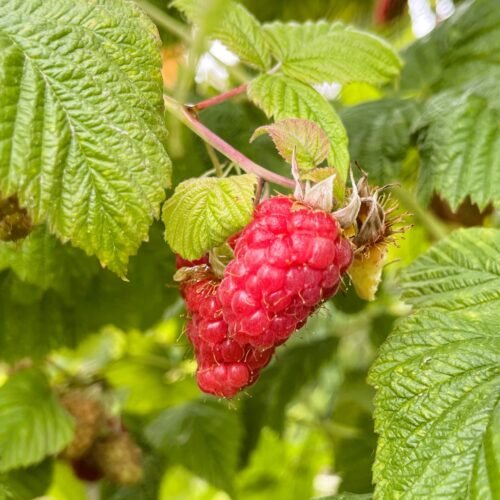
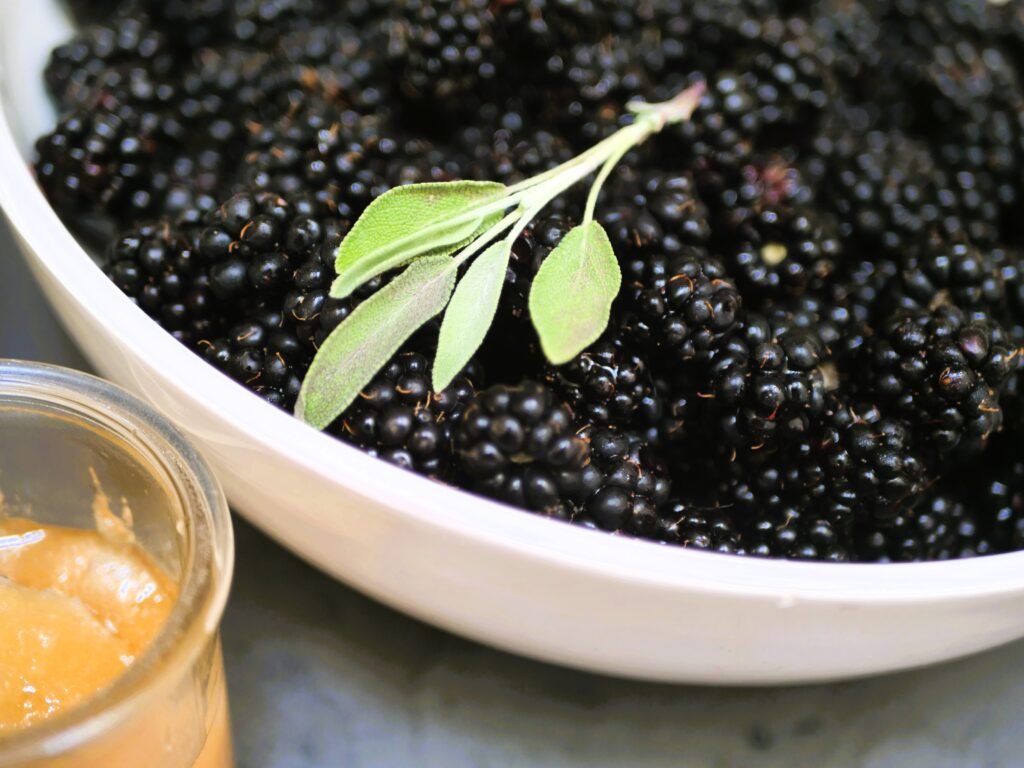
Raspberries or Blackberries
Raspberries or Blackberries
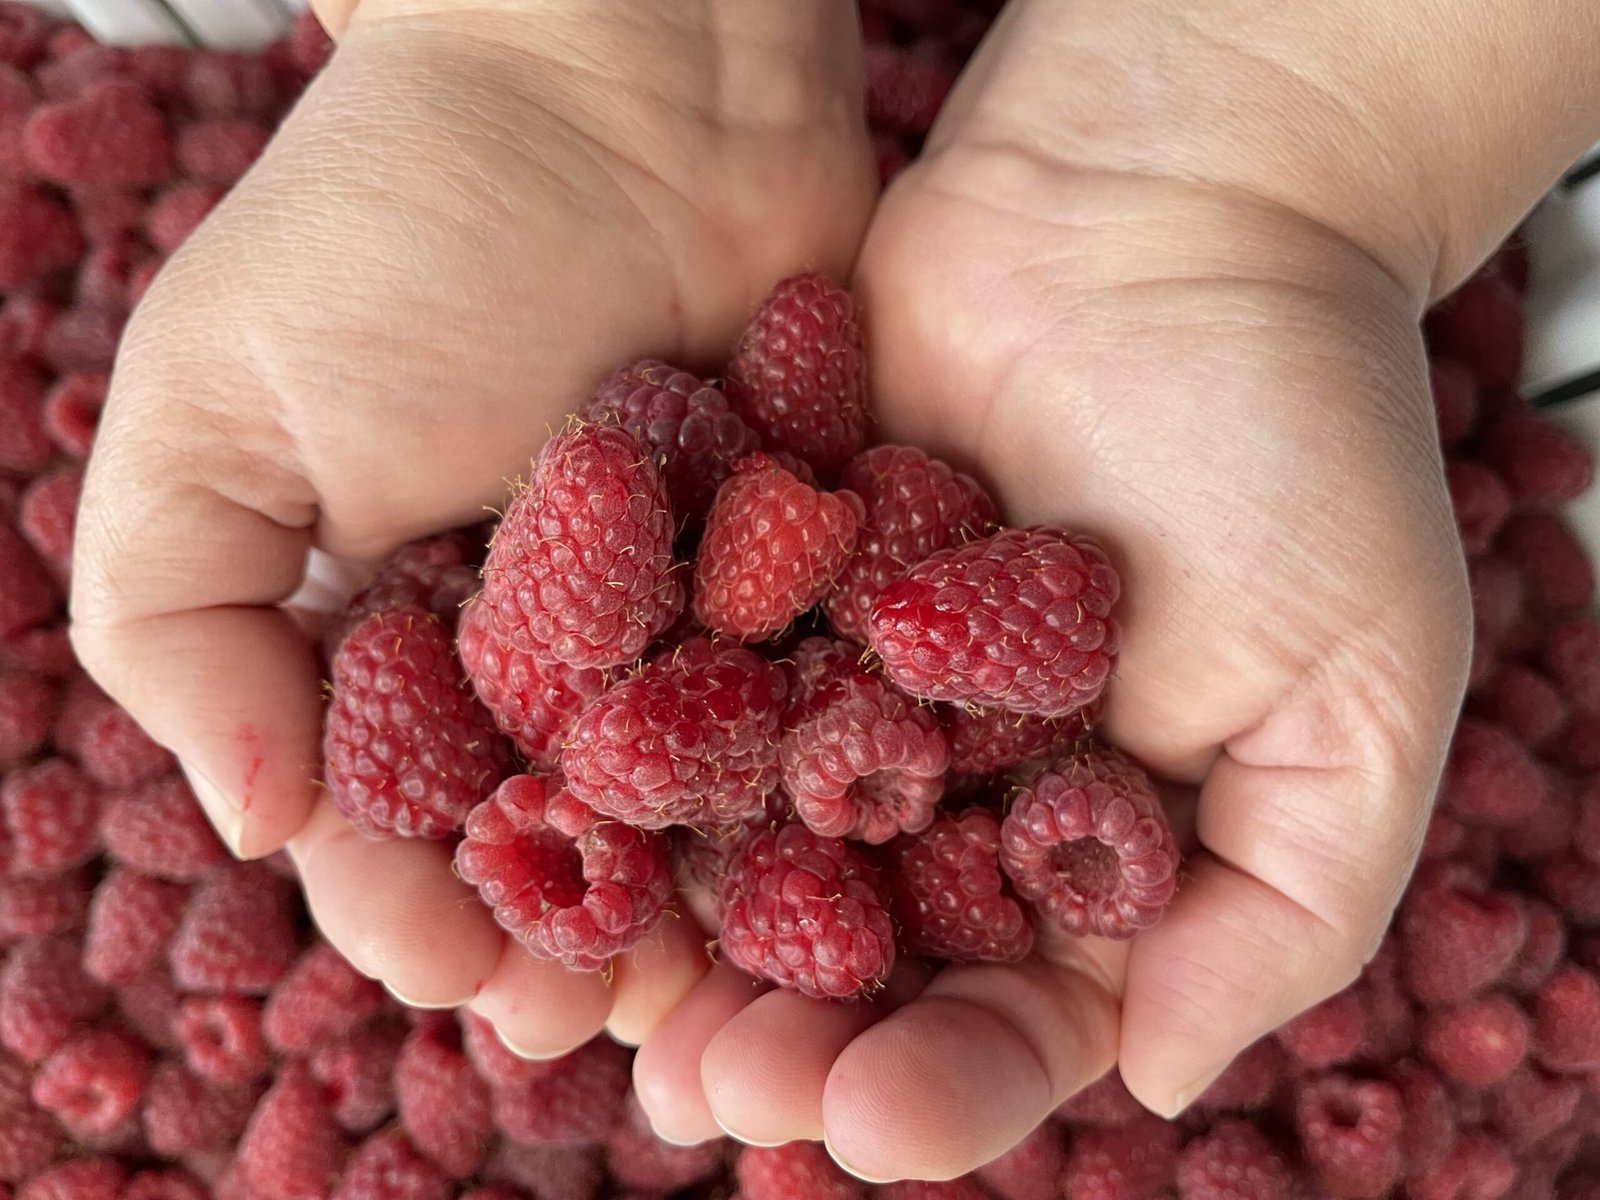
Fresh-picked berries give the brightest flavor, but frozen berries work just as well. Because this recipe doesn’t use added water, the quality of your fruit really shines through. Mix varieties if you’d like, or make separate batches to enjoy each berry’s unique flavor.
Granulated Sugar
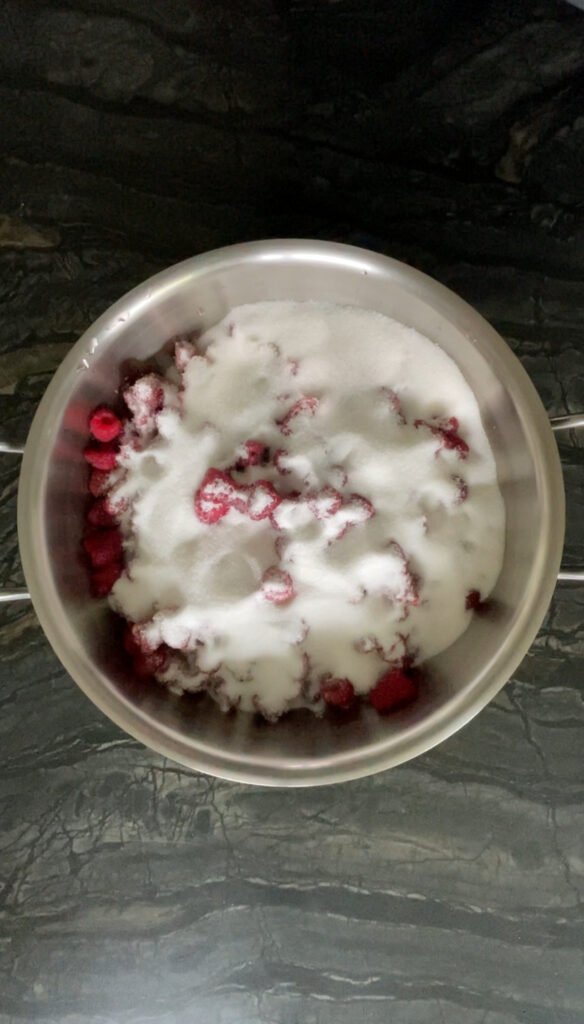
Sugar does more than sweeten the juice. It draws liquid from the berries through osmosis, giving you a higher juice yield before cooking even begins. It also balances the berries’ natural tartness and leaves behind beautifully flavored pulp that’s ready to become jam.

Bottled Lemon Juice (Optional)
If you’re making blackberry juice, bottled lemon juice provides a little extra acidity insurance when using especially ripe fruit. For raspberries, it’s optional and mainly adds a brighter flavor while helping release a little more juice during cooking.

Pantry Master Note
Don’t throw out the pulp. What’s left in the strainer is already cooked down. Instead, simmer it with a bit more sugar (1 part sugar to 1 part berry pulp) until the jelling point and you’re done with a batch of jam. Better yet, make it seedless jam!
What This Berry Juice Recipe Costs to Make
The biggest cost in this recipe is the berries. If you grow or forage your own, you’ll spend little more than the ½ cup of sugar needed for maceration. If you’re visiting a U-pick farm, expect to pay about $2.50–$3.00 per pound (prices vary by region and season). Alternatively, go for jam berries to bring the cost of making this recipe even lower.
| Ingredient | USD | CAD |
| 4 lb raspberries or blackberries (U-pick) | $8–$12 | $10–$12 |
| ½ cup granulated sugar | $0.25–$0.50 | $0.35–$0.70 |
| Estimated total | $8.25–$12.50 | $10.35–$12.70 |
Cost per Jar: $5.20 USD ($5.75 CAD) – average
Bonus:
This recipe doesn’t stop at the juice. The leftover berry pulp makes about 2 half-pint jars of jam, giving you two pantry staples from the same 4-pound harvest and making the most of every berry.
Berry Juice Variations
Want more volume, less concentration? Add 1–2 cups of water to the pot during the cooking step instead of relying on maceration alone. You’ll get more total juice, but a milder, more diluted result. It’ll be closer to a drinking juice than a cocktail mixer.Mixed berry: a combination of raspberry and blackberry works in the same proportions. Plus, it’s a good way to use up odd amounts of each.No added sugar: the maceration step is what pulls the juice out efficiently, so cutting sugar all the way to zero will slow extraction and reduce yield somewhat. If you want unsweetened juice, mash the fruit more thoroughly to compensate and expect a longer maceration window.
How Long Berry Juice Keeps
- Sealed and canned: Properly canned juice is shelf-stable at room temperature in a cool, dark spot. Best quality within about a year, though a properly sealed jar stays safe well beyond that.
- Refrigerated, unsealed juice you cooked and jarred but didn’t process in a canner: It should keep for about a week, since the boil knocks back the microbial load even without processing in a canner.
- Refrigerated, never heated juice straight off a cold-press or centrifugal juicer: 3–4 days. That’s a different product from this recipe. Raw juice needs to either be used quickly or heated before it goes in a jar for the pantry.
Common Mistakes When Making This Berry Juice Recipe
❌ Rushing the maceration.
Do not skip this step or shorten the maceration! Also, remember, overnight maceration in the fridge pulls a lot more juice out of the berries before the pot ever hits the stove.
❌ Using a strainer that is too coarse
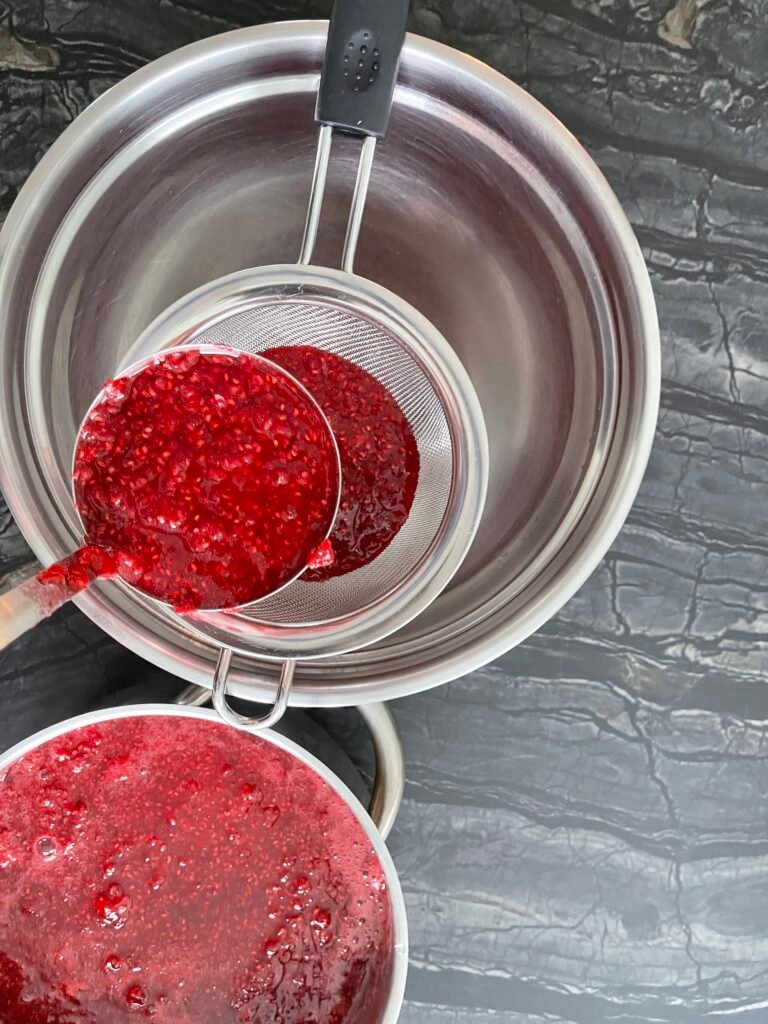
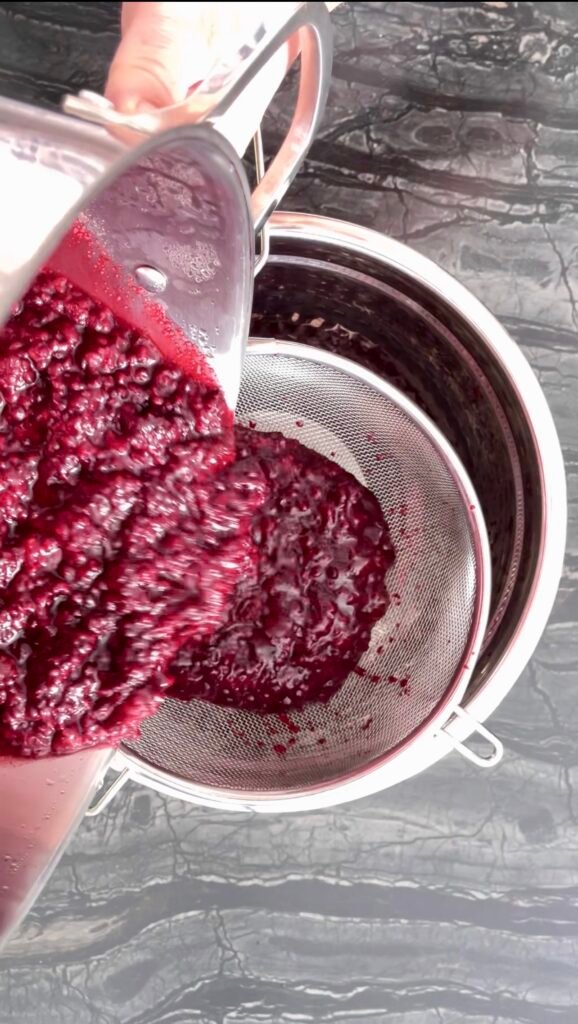
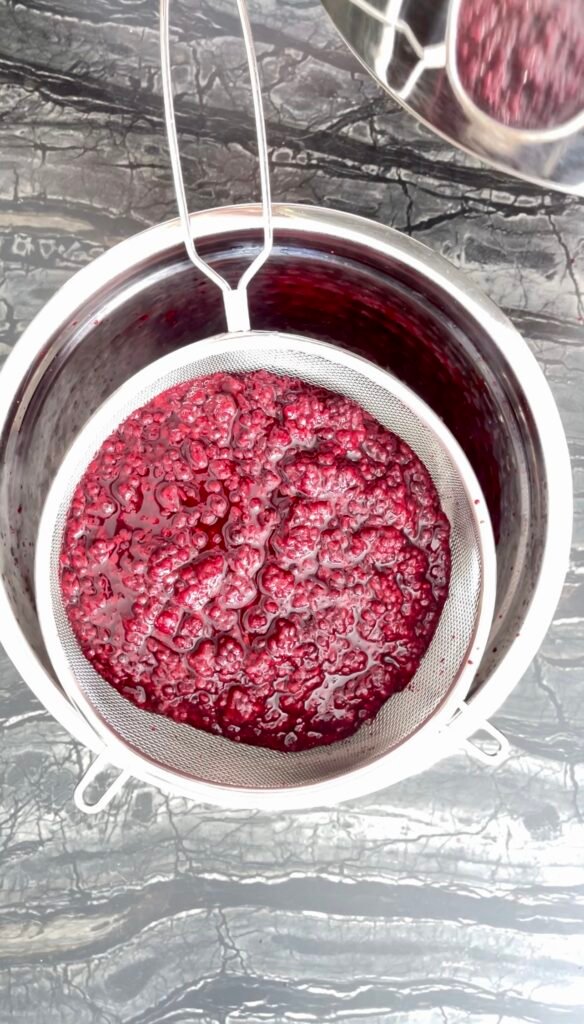
A good berry juice should be smooth and free from seeds, skins, and pulp. A regular colander or large-holed strainer will leave your juice cloudy and gritty. Use a fine-mesh metal strainer and let the juice drip through naturally.
❌ Pressing on the pulp
Do not press the pulp! Yes, you will be missing out on some yield, but pressing forces tiny particles into your juice. If you follow our advice and make a batch of jam from the leftover pulp, you will have another chance to press and recover any juice that stayed behind.
How to Make Concentrated Raspberry or Blackberry Juice for Canning
Canning Methods
This is a high-acid juice preserve. While the standard processing time for juices is 5-10-15 minutes, we recommend the NCHFP’s optional 10-minute boiling water/ atmospheric steam canner process that is believed to provide a stronger vacuum in the jar for this type of preserves.
Both water bath canning and atmospheric steam canning use identical processing times for this recipe. We typically use an atmospheric steam canner for speed and lower water use, but a water bath canner works equally well and is the most widely used method in home preserving.
Processing table – Steam Canner & Water Bath
Jar size: Half-pint or Pint (8 oz / ~250 mL or 16 oz / ~500 mL)
Pack style: Hot
Applies to: Atmospheric steam canner AND water bath canner (same processing times)
| Altitude | Processing time |
| 0–1,000 ft | 10 min |
| 1,001–6,000 ft | 15 min |
| Above 6,000 ft | 20 min |
Not sure which elevation band is yours? Our Canning Altitude Calculator will give you the answer in a couple of seconds.
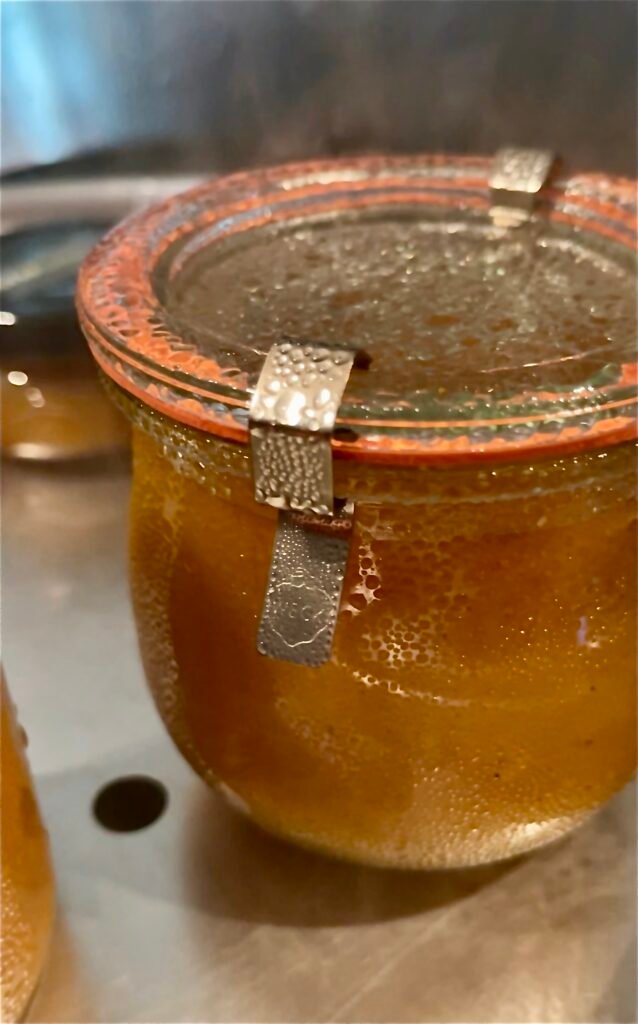
Atmospheric steam canning is newer to the home canning world. Nevertheless, it has been validated for high-acid preserves like this. It uses less water, heats up faster, and doesn’t require jars to be submerged.
- Prepare your atmospheric steam canner according to the manufacturer’s instructions. Typically, fill the base with the recommended amount of water and preheat until steam begins to vent.
- Place filled jars on the canner rack. Cover with the dome lid.
- Start timing once a steady column of steam has been venting continuously.
- When processing time is complete, turn off heat.
- Remove jars straight up with a jar lifter. Most important, do not tilt. Place on a towel-lined counter or cutting board.
New to steam canning?
Ready to ditch water bath canners?
Water Bath Canning
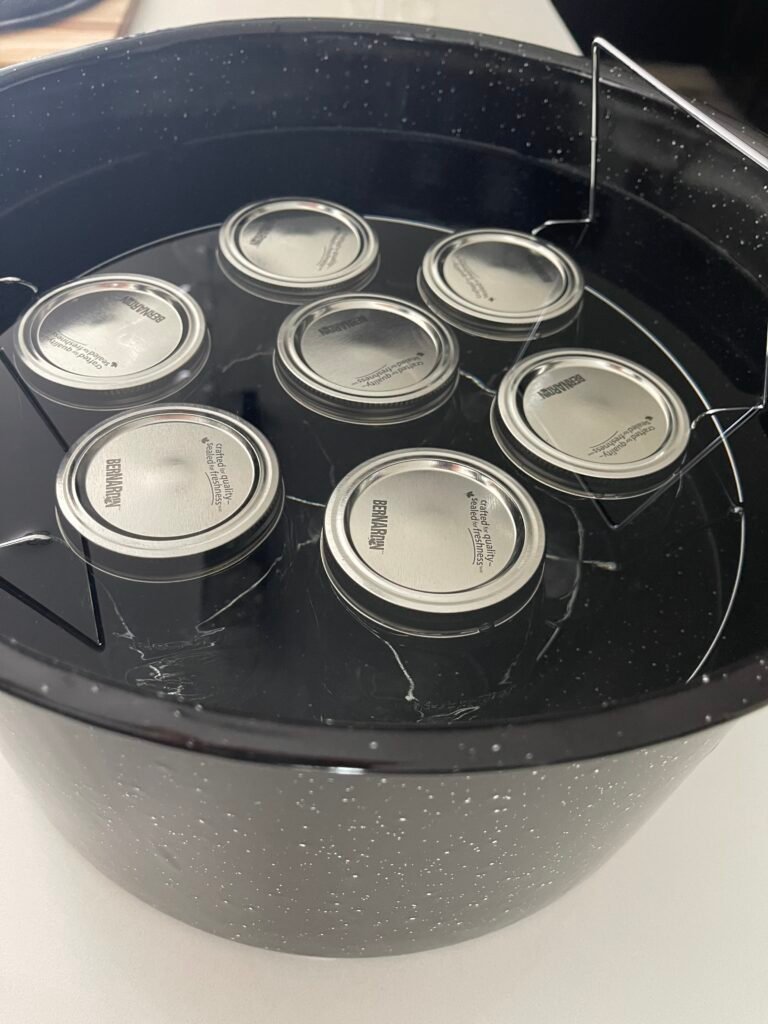
Undeniably, water bath canning is the most widely used method for high-acid preserves and the one most canners learn first. If you already own a water bath canner, this is a perfectly sound way to process this jam.
- Place filled jars on the canner rack and lower it into boiling water. Always remember, water must cover the lids by at least 1 inch.
- Start timing once you reach a full rolling boil. Processing times are identical to the table above.
- When processing is complete, turn off heat and let jars rest in the water for 5 minutes before removing them. This step helps prevent siphoning.
- Lastly, remove jars straight up with a jar lifter.
Looking to understand how the two methods compare?

Prefer Open Kettle?
Open kettle canning is not a USDA-recommended method. For this recipe, we used atmospheric steam canning to get consistent, shelf-stable results. However, open kettle remains a long-established traditional method that some experienced canners still use for high-acid preserves.
We don’t dismiss traditional methods. For those who choose to use open kettle, we’ve put together a guide that explains how it is practiced, along with the key steps aimed at reducing common risks within that traditional approach.
After sealing (all methods)
- Do not touch, adjust bands, or press lids for 12–24 hours.
- After cooling, check seals: press the center of each lid. If it doesn’t flex, the seal is good. Any jar that didn’t seal goes in the fridge → use within 3 weeks.
- Remove bands for storage (they trap moisture and can mask a broken seal over time). Label with contents and date.
- Store in a cool, dark place. Peak quality for 12–18 months.
Check your processing time/ canning pressure if you’re above 1,000 feet↗️
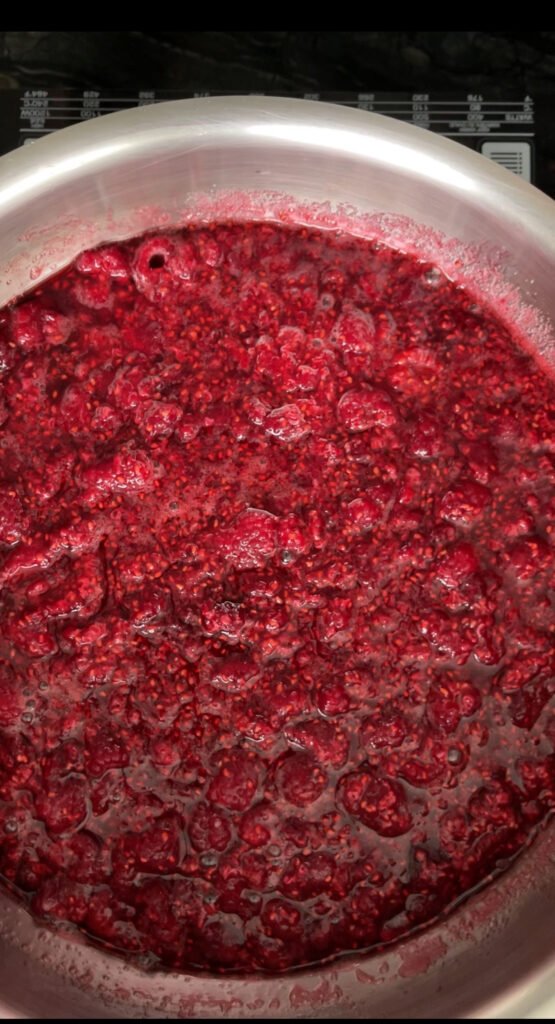
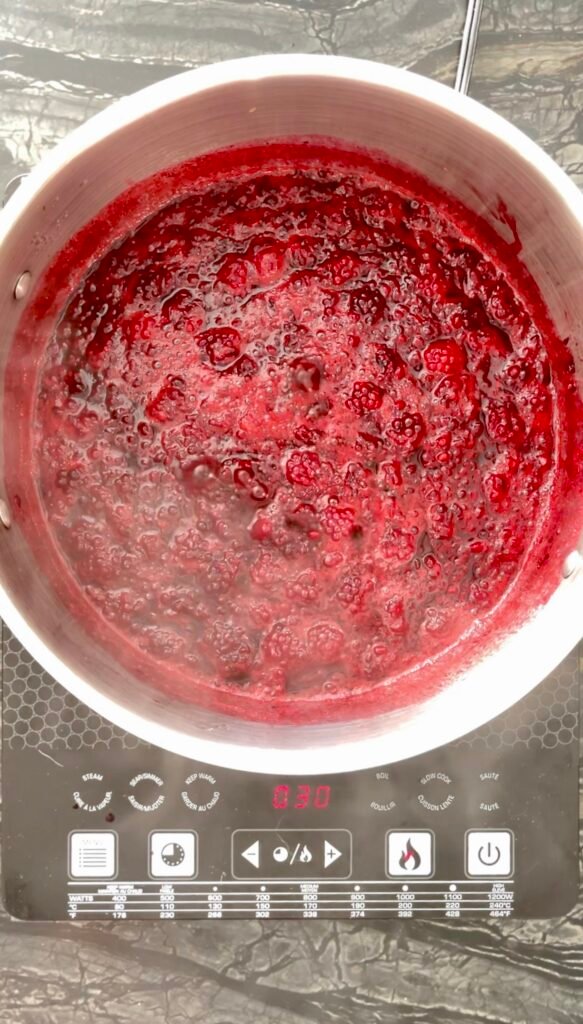
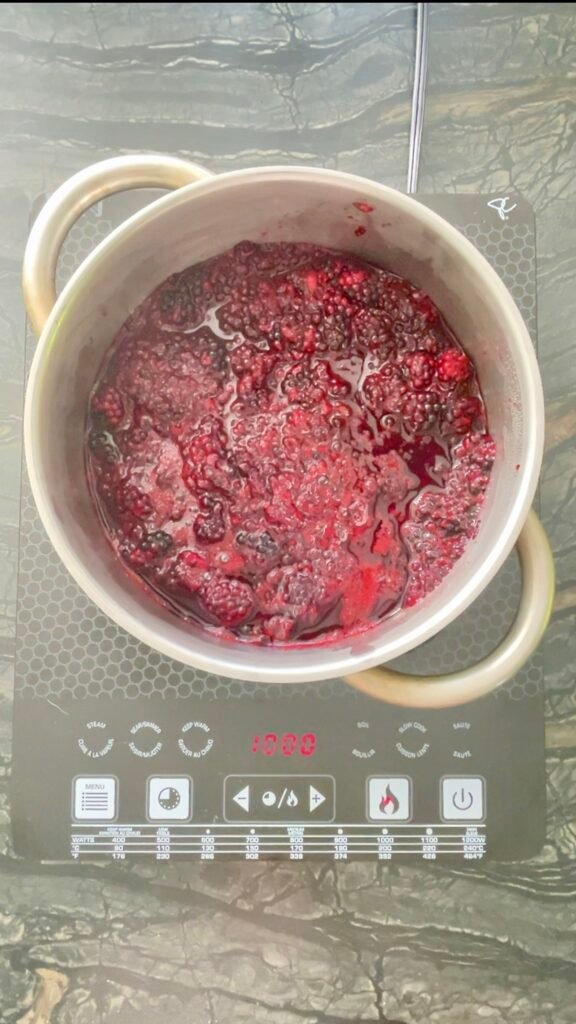
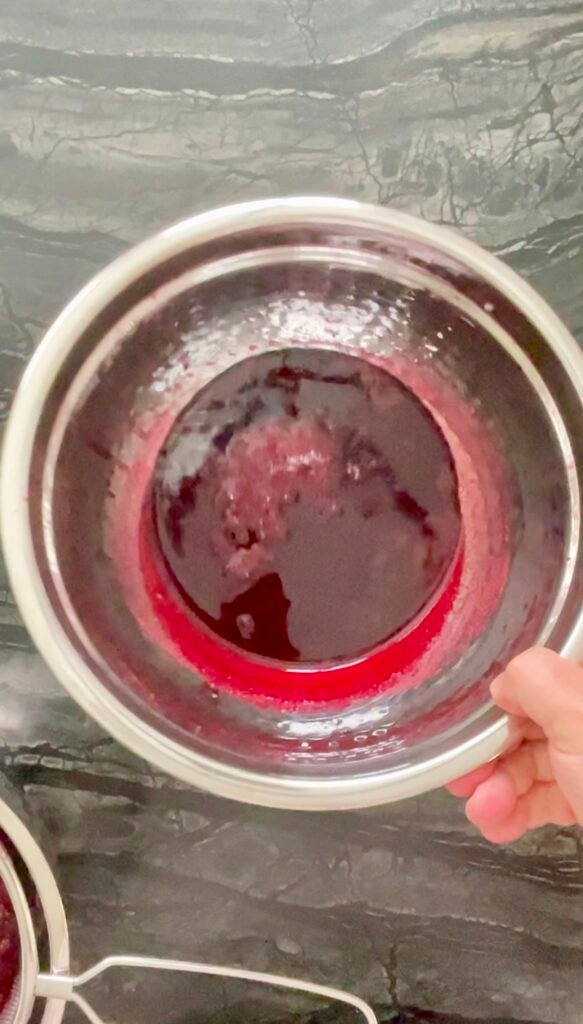
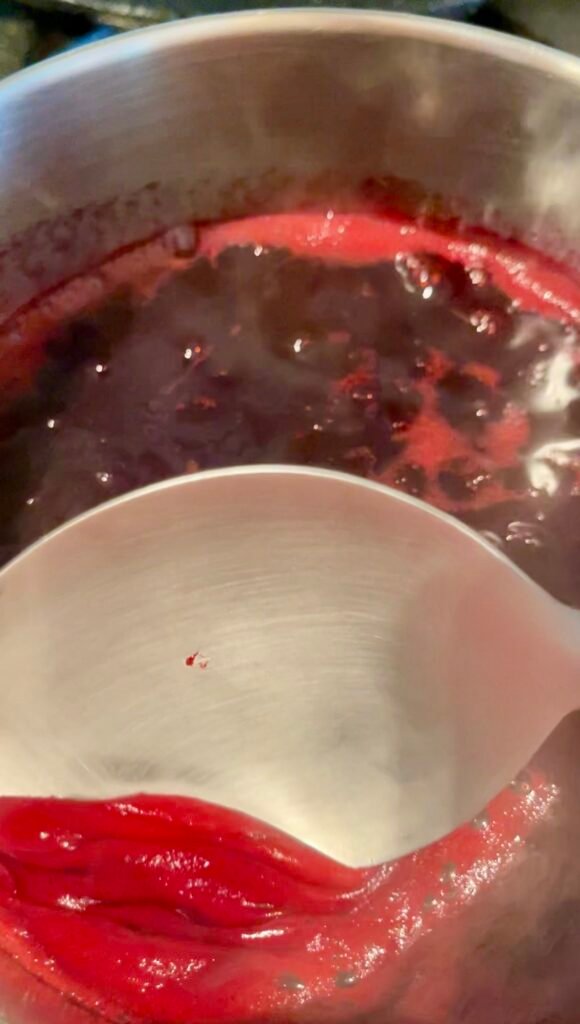
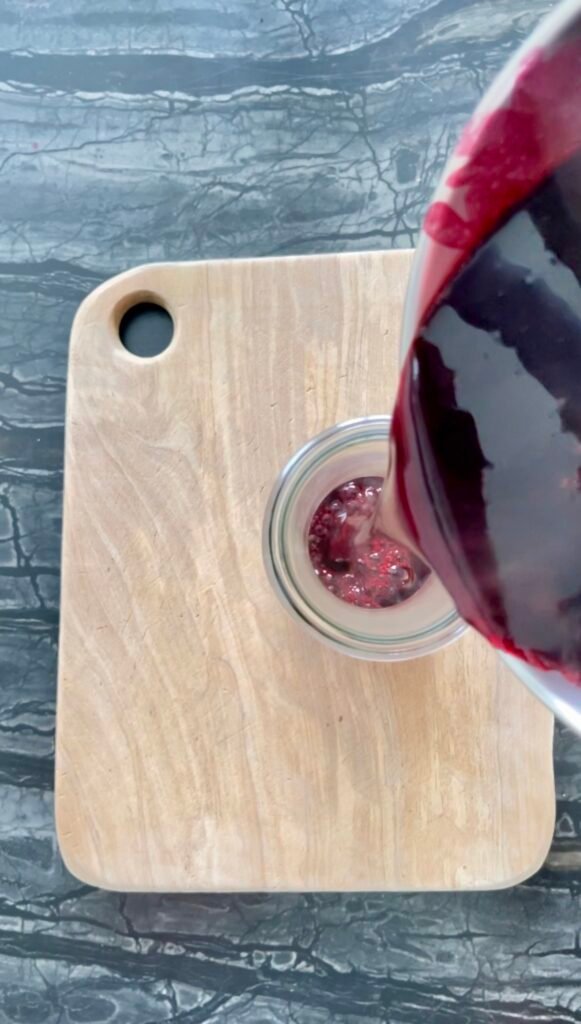
How to Make Berry Juice – Step-by-Step Photo Gallery
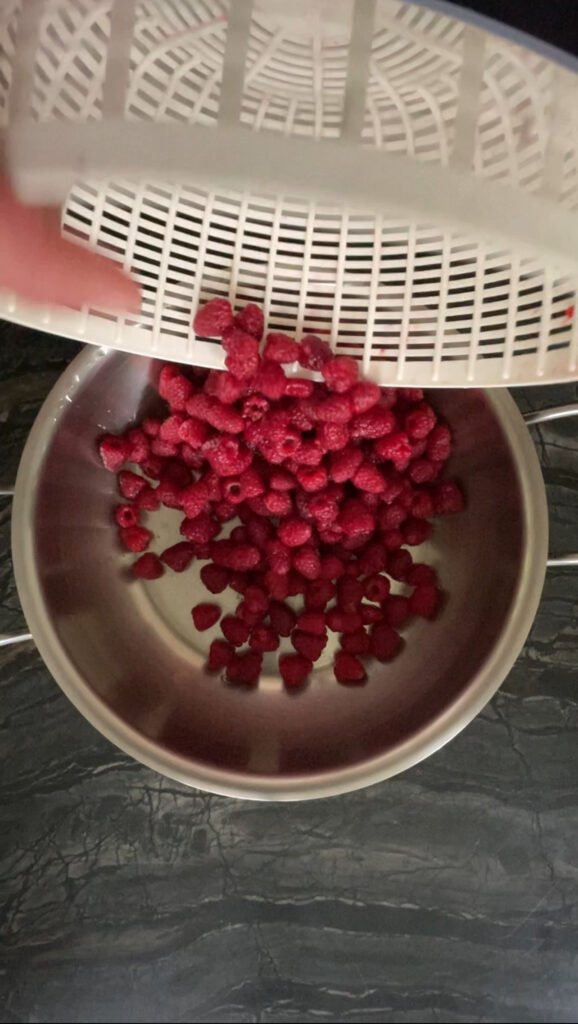
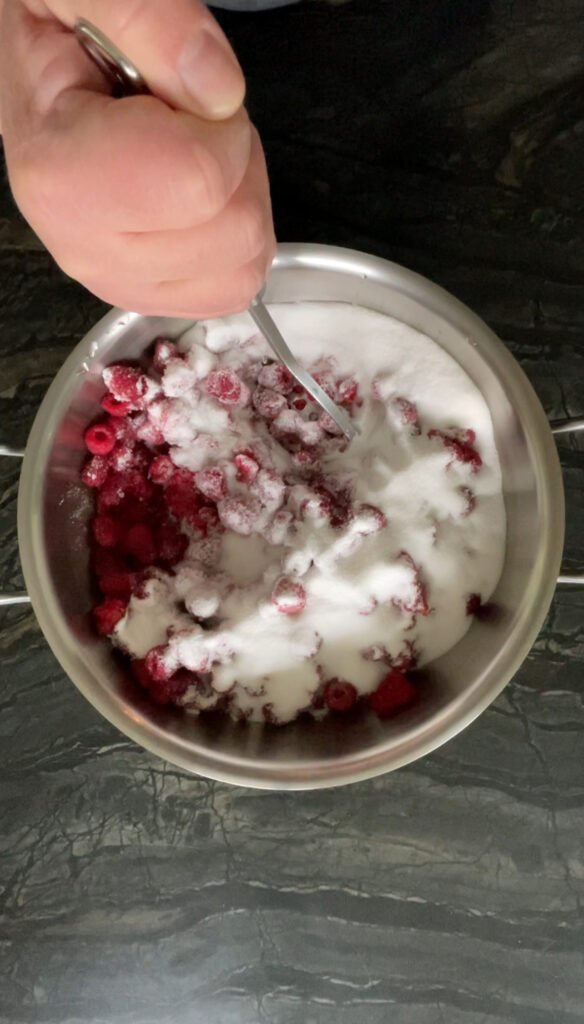
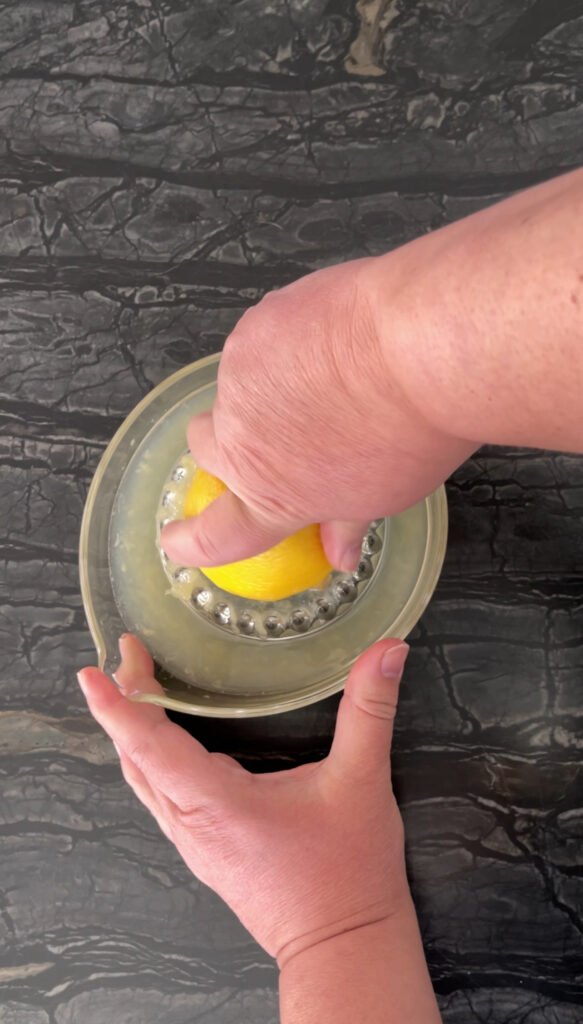
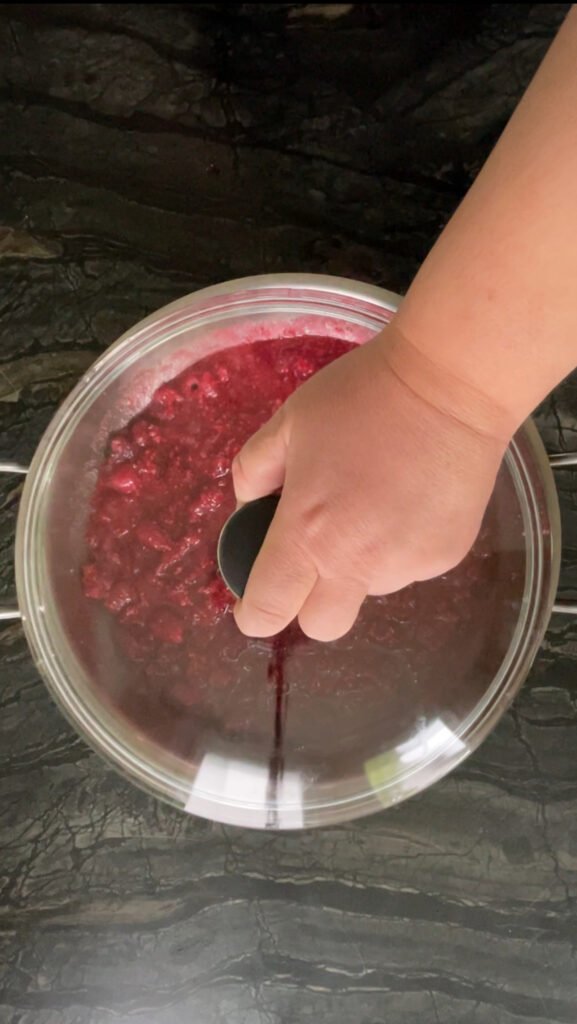
Serving Suggestions for Berry Juice
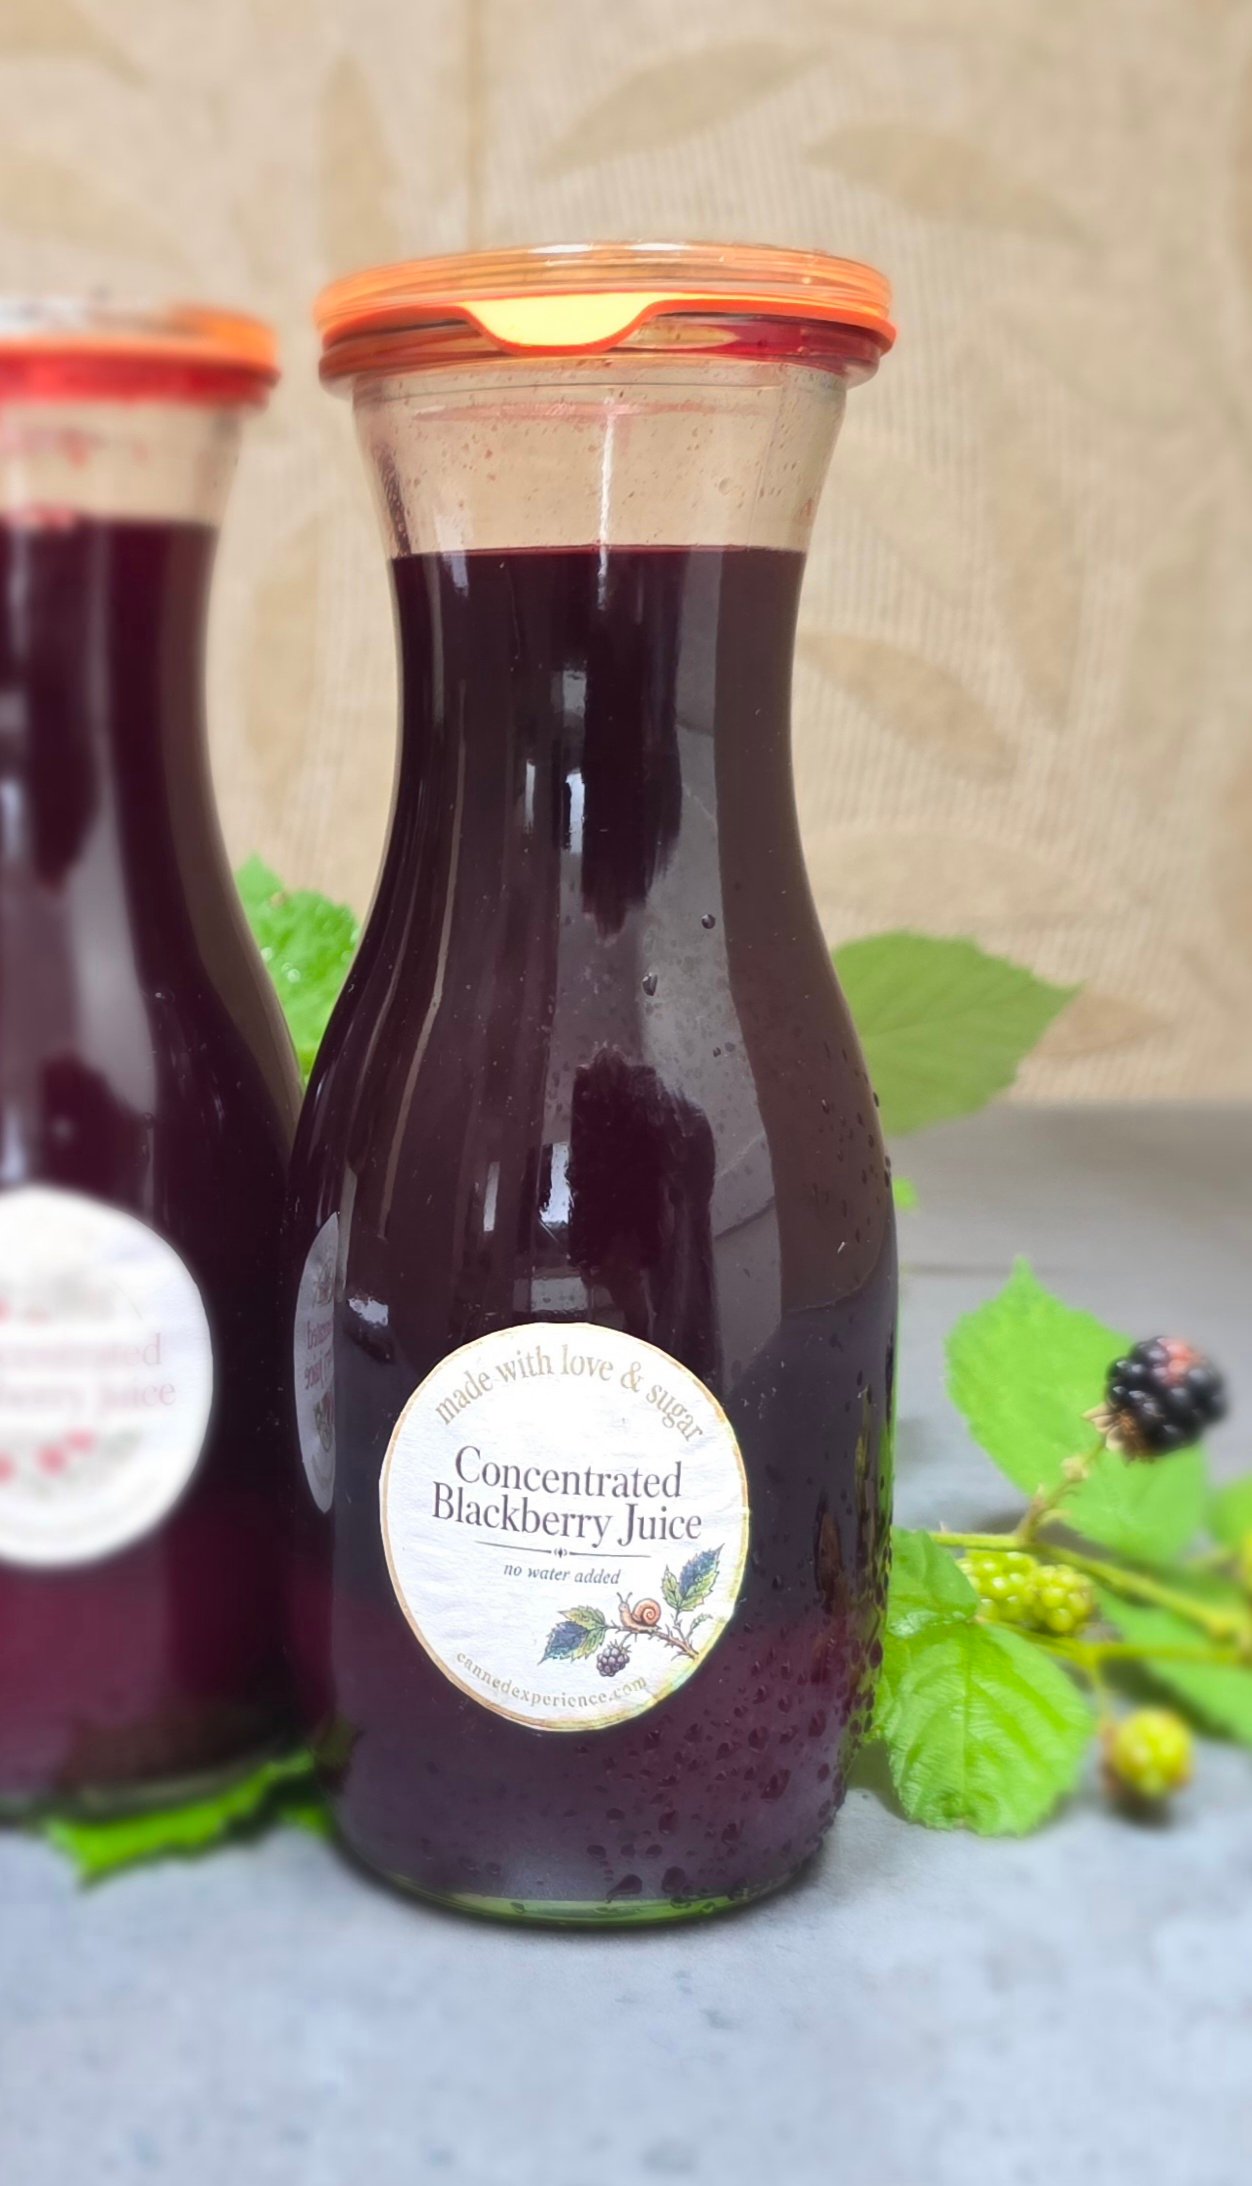
A jar of concentrated berry juice is a pantry shortcut for bringing real berry flavor to drinks, smoothing and even cooking. In our experience, it is the jar to reach for when berry season is over, but you still want the taste of freshly picked fruit.
That said, try it with:
Sparkling water and a squeeze of lime or lemon, for a homemade berry spritz. Adjust the amount of concentrate to suit your taste.
In a smoothies, when you want a quick burst of berry flavor but not the seeds that come with the whole fruit.
Pancake or French toast batter, mixed right in before cooking for a berry flavor without adding extra chunks of berries to the batter
Cocktails or mocktails, where it works as a natural berry mixer with lemonade, iced tea, or sparkling water.
FAQ: Concentrated Berry Juice
There are two ways to make berry juice shelf-stable: can it (using a steam canner or boiling water bath, as described above) or freeze it. Refrigeration is only a short-term option. See “How long does it keep?” above for storage details.
Yes. Frozen berries work very well for this recipe. Freezing helps break down the berry cell walls, making it easier for the sugar to draw out the juice during maceration. Thaw the berries right in the pot you will use for cooking, then continue with the recipe as written.
Yes. This recipe relies on sugar maceration to draw out the berries’ natural juice, then concentrates that juice through a short cooking process.
This method works best with juicy berries such as raspberries and blackberries. Less juicy berries, such as blueberries will require adding water because the amount of liquid released on it own will be very small
Maceration helps release the berries’ natural juice before cooking begins. The sugar draws moisture out of the fruit, giving you more juice and a stronger berry flavor without adding water.
You can, but you will get a different result. Sugar helps extract juice from the berries and contributes to the concentrated flavor of this recipe. Without it, you will have less liquid an will likely have to rely on added water.
Cloudiness usually comes from tiny particles of fruit pulp or seeds passing through the strainer. For the clearest juice, use a fine-mesh strainer and let the juice drip through naturally instead of pressing the pulp.
No. The NCHFP does not test individual third-party recipes. What it provides is a methodology and processing framework for canning categories, plus reference recipes for specific preserves. This recipe is built on that framework . Specifically, the processing times match NCHFP guidance for fruit juices at the relevant altitude bands.
Related Recipes
Join the pantry
Fresh recipes when the season calls for them. Preservation guides you can trust – every method, traditional to modern. Ideas for turning your pantry into weeknight dinners. Seasonal alerts that help you preserve more for less. Honest reviews of the tools that matter.
Tried this preserve? We’d love to hear how it turned out!