What Are The WECK Jars, And How To Use Them For Canning
Views: 1163
Posted:
Last Updated:
If you’ve been seeking alternatives to Mason jars for canning, chances are you came across WECK canning jars. Well-known for their stylish looks, durability, and reusability, these jars have something to offer to everyone. And let’s be honest, there’s a certain almost religious belief in the quality of anything made in Germany as the pinnacle of quality. For us, deciding to learn about WECK jars and use them to make preserves was also an opportunity to reconnect with our European roots and can like Grandma used to. In this post, we’ll take you through our journey of discovering these German jars, learning how to can with them, and why we ultimately decided to stick with our Mason jars.
What are WECK jars?

WECK jars were created in Germany at the end of the 18th century specifically for home canning. J. WECK Company was founded in 1900 to sell WECK’s proprietary home-canning method perfectly exemplified in their glass jars. Since then, WECK has made this method popular not only in Germany and Europe but also worldwide. Reportedly, the original WECK jars had the key features of tabbed rubber gaskets, metal clamps and a glass lid. The WECK canning jars you can buy today will have the same features and the same sealing mechanism. WECK jars quickly gained popularity in Germany and many other European countries. Interestingly, Germans use “einwecken,” meaning “to put in Wecks,” to refer to the canning process, showing how closely intertwined canning and WECK jars are in Germany.
Image: Weck Glassworks – Bonn-Duisdorf, North Rhine-Westphalia, Germany. VMH, CC BY-SA 3.0, via Wikimedia Commons
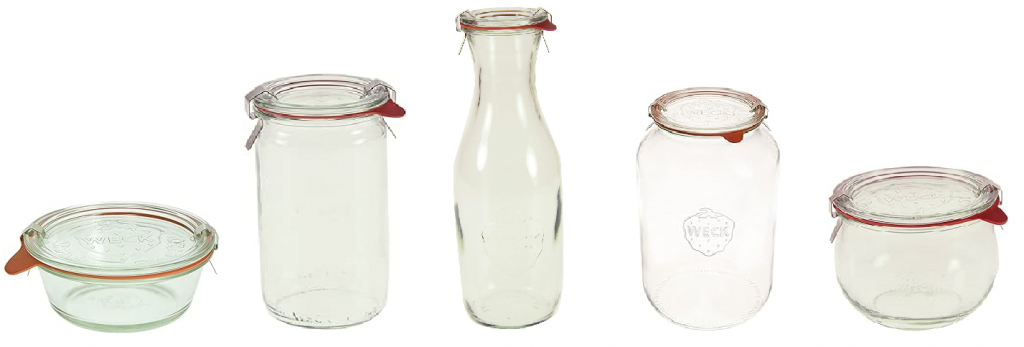

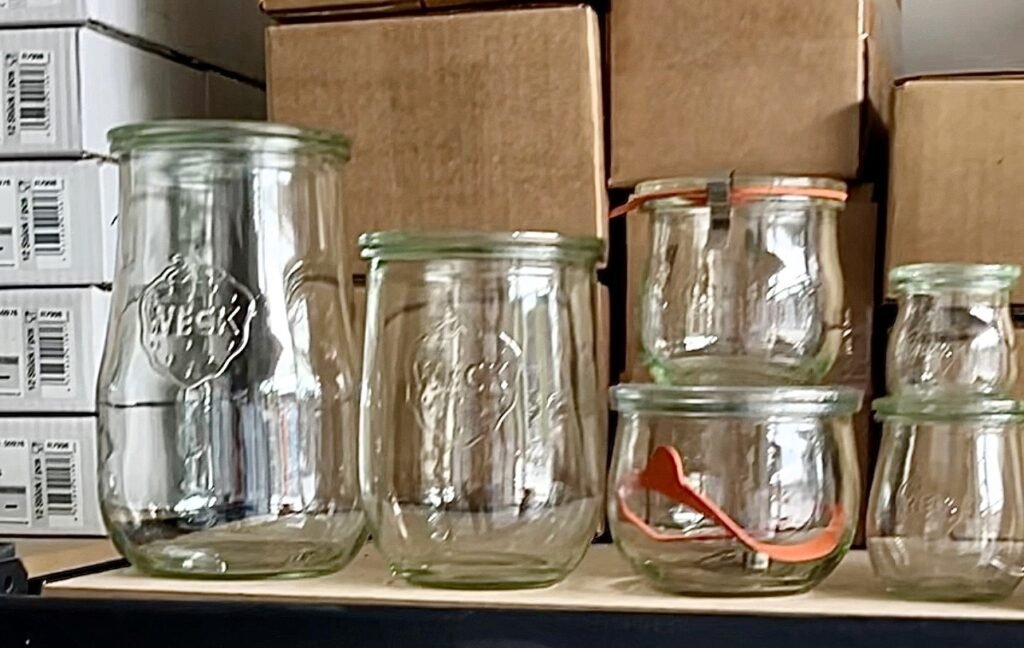
Today, WECK offers various jar designs. In addition to canning, these jars are often used as sourdough starter containers, beverage carafes and containers for packaging delicatessens in European grocery stores.
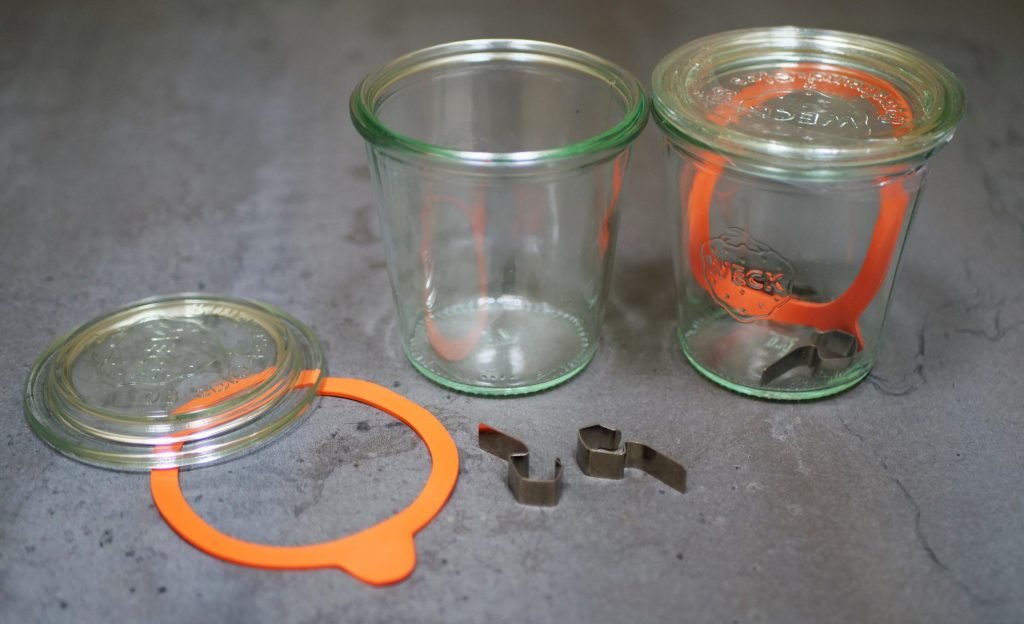
How to Assemble a WECK Jar
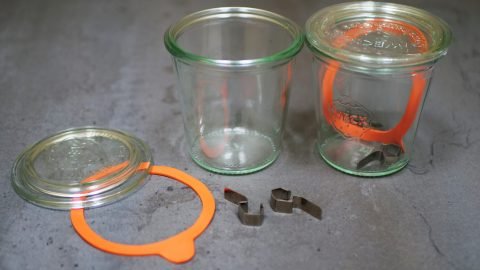
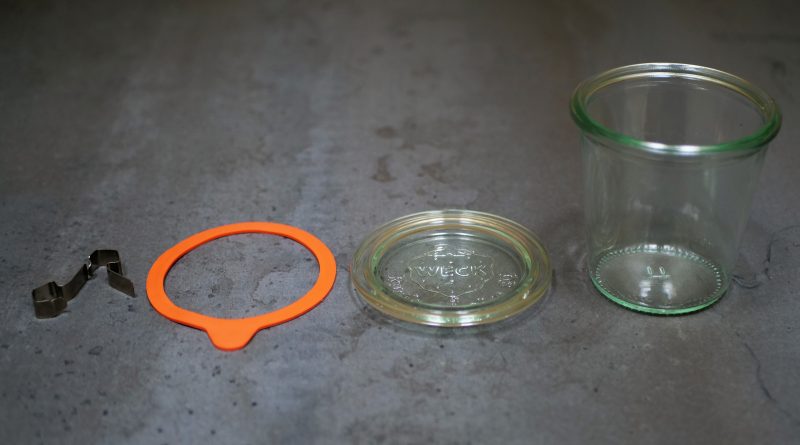
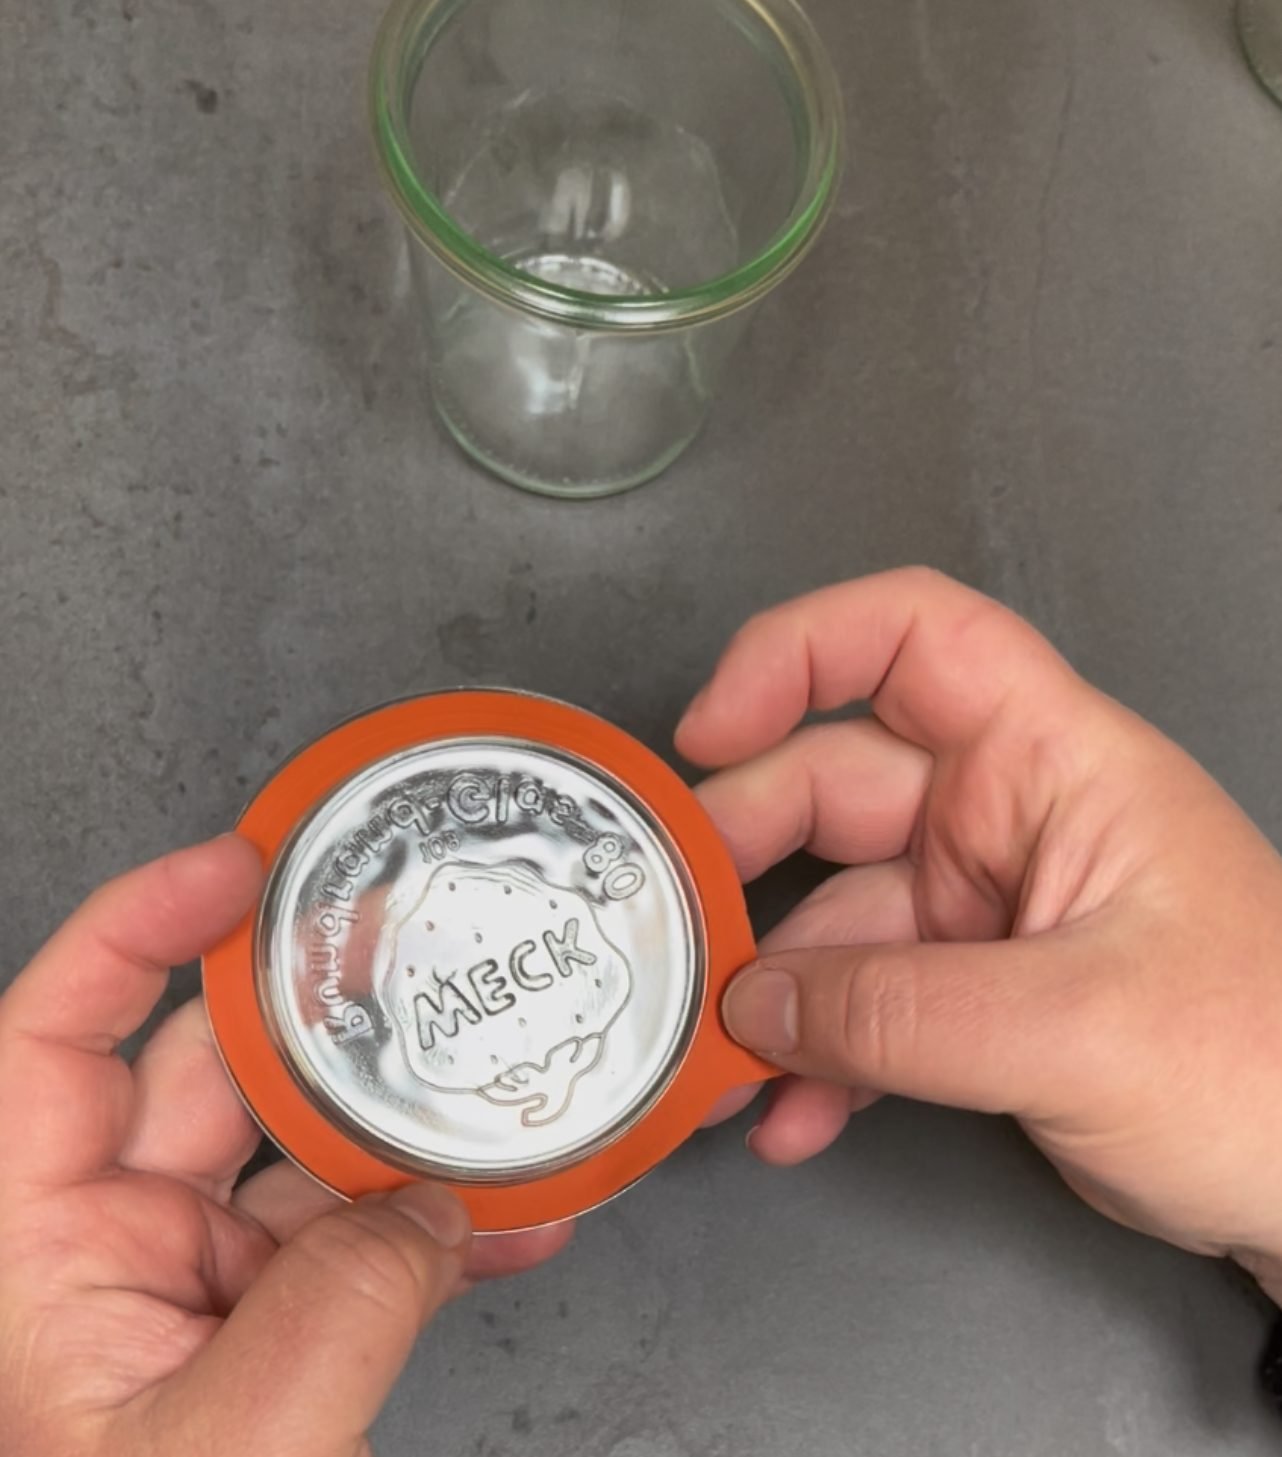
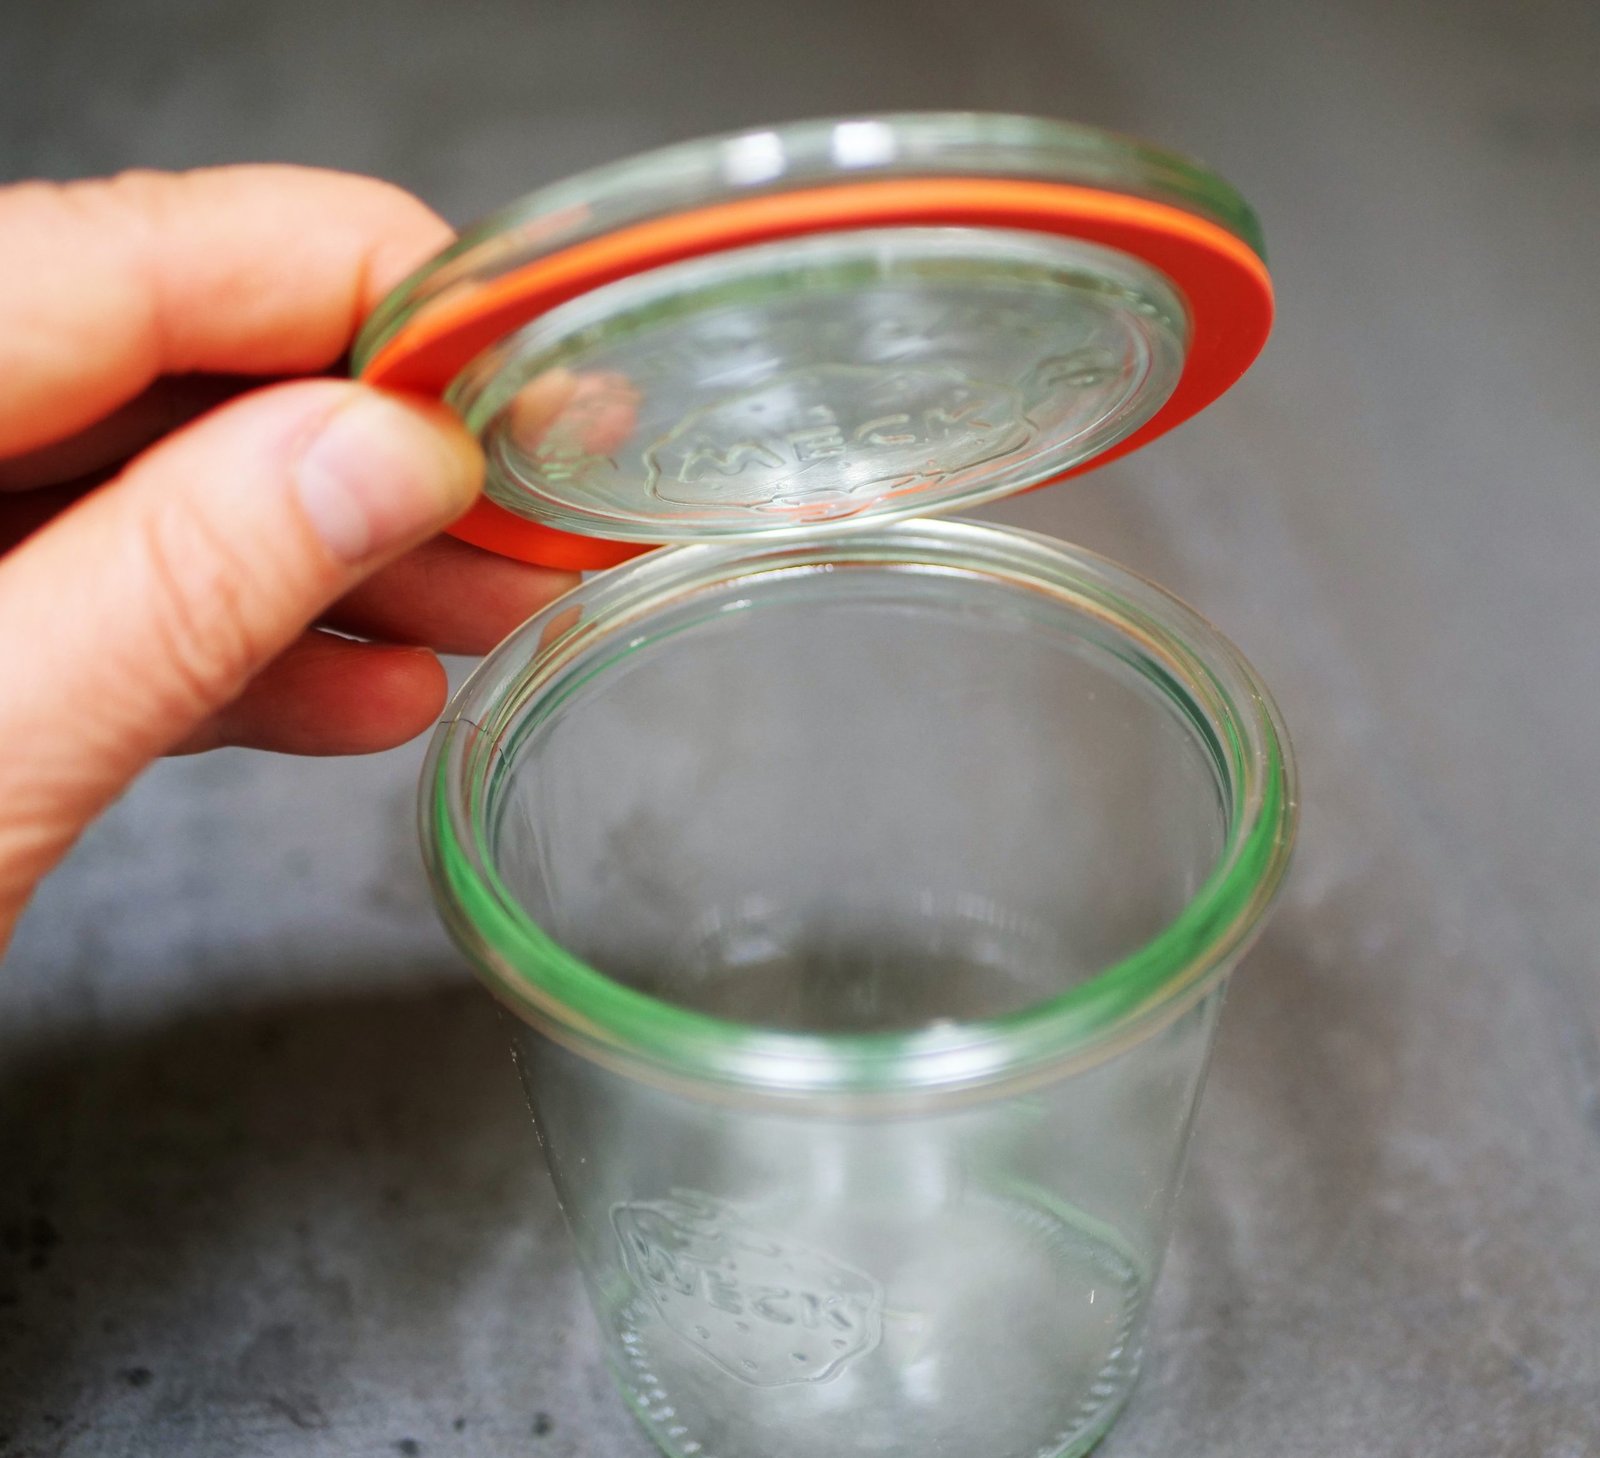
Assembling WECK Glass Jars: 6 Simple Steps with Photos
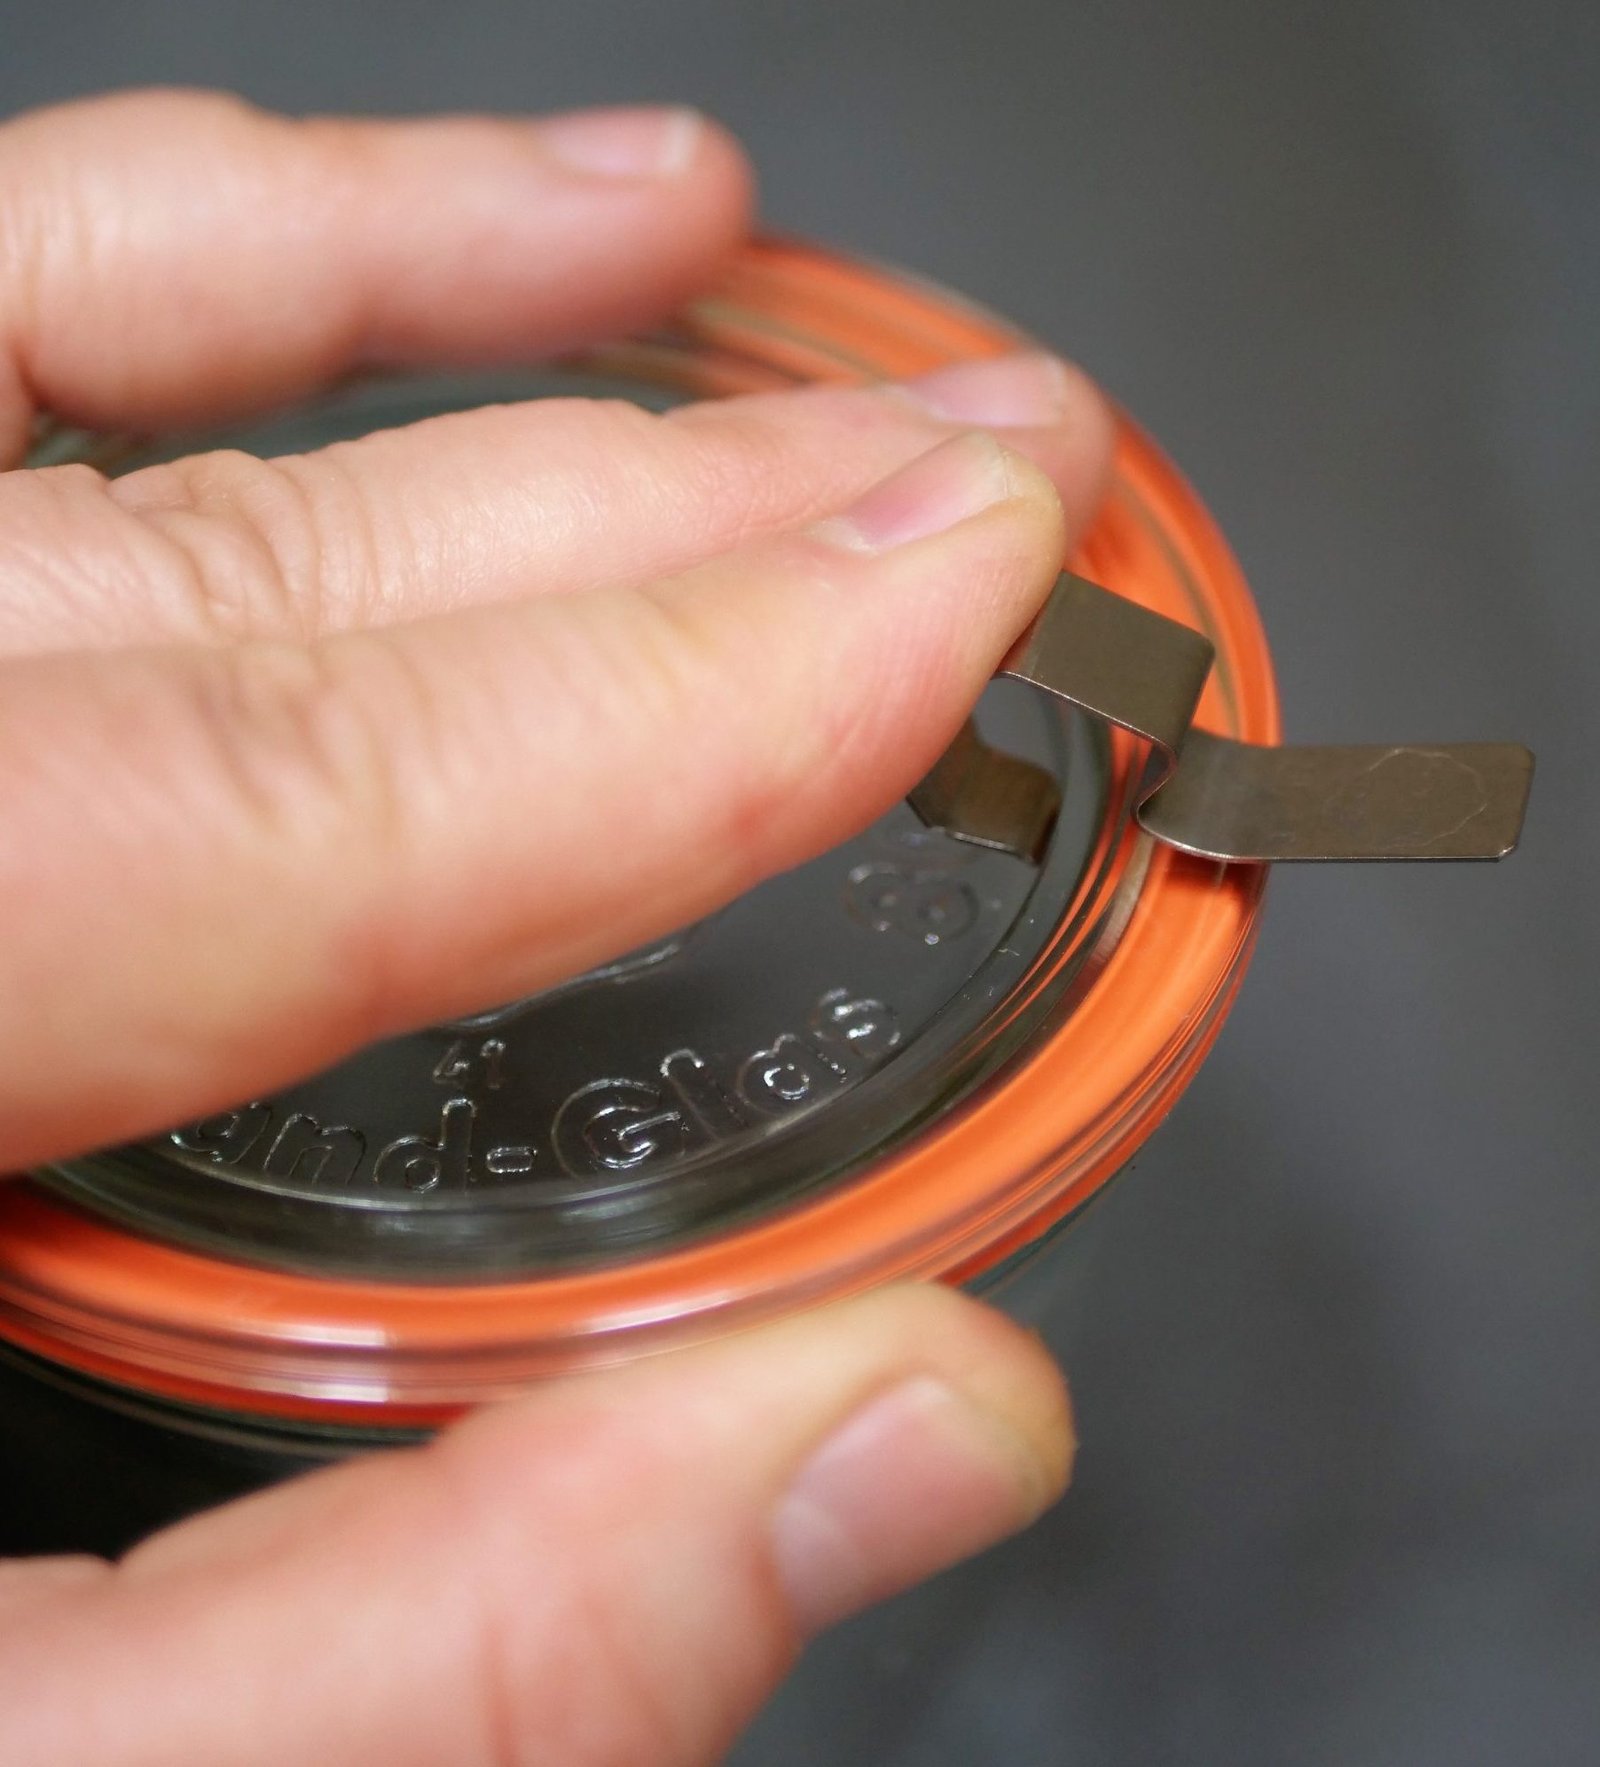
To assemble the one of these jars, simply place the rubber ring (gasket) onto the sealing rim of the lid, position it on top of the jar, and attach the canning clamps. Before you do that, make sure the clamps line up across from each other on the lid. Then, press them down until they click onto the jar’s rim. And that’s it! You’re good to go.
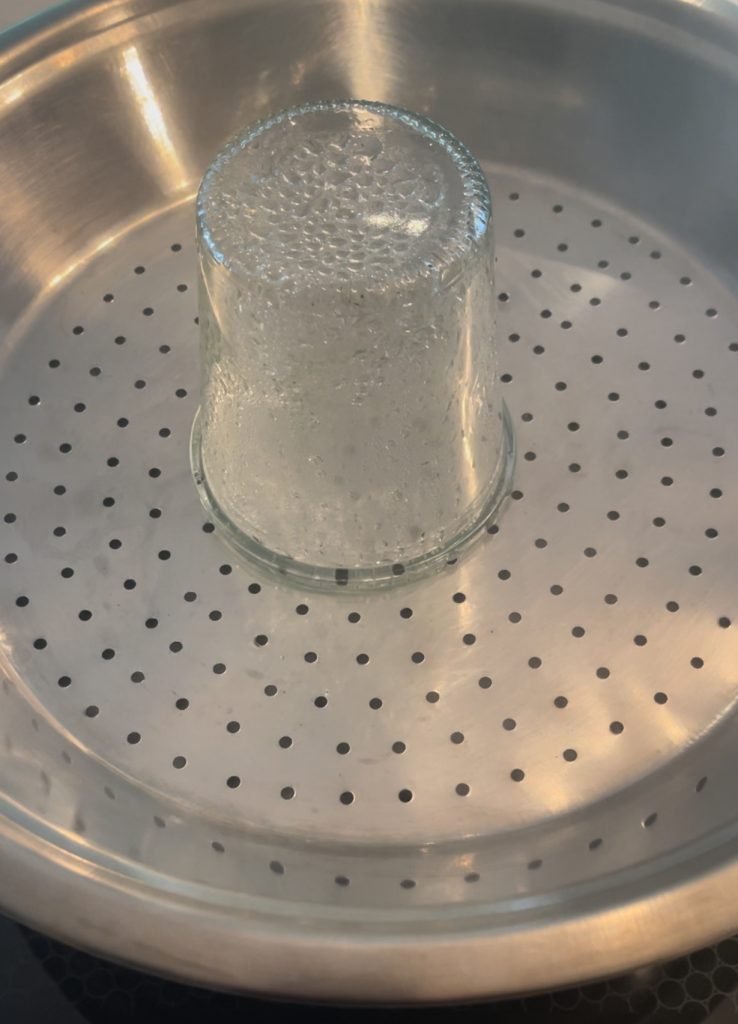
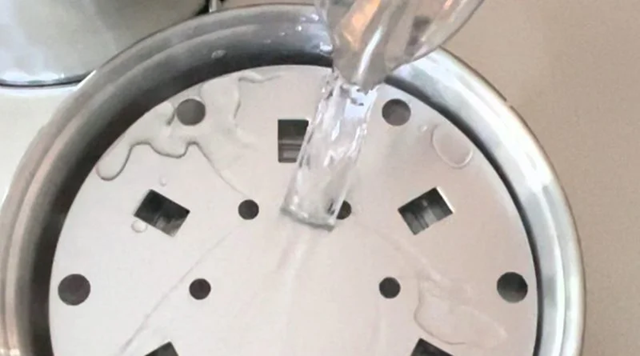
Cleaning and sterilizing WECK glass jars before canning
Just as any canning jars, WECK jars must be thoroughly washed and sterilized before you begin canning.
The good news, cleaning and sterilizing Weck jars is the same as cleaning and sterilizing Mason jars.
Sterilizing WECK lids, however, can be a bit tricky…
If you read the official WECK insert, the guidance on glass lids and rubber gaskets can feel a bit unclear. Through our own trial and error, we’ve found a practical workaround that slightly deviates from the manufacturer’s instructions, but works far better in a real home kitchen.
Here is our recommended method for prepping the WECK lids and rubber gaskets:
- Separate the lid components: Always remove the rubber gasket from the glass lids before washing.
- Wash the glass lids: Treat them like jars. Always wash in hot, soapy water or run them through a dishwasher cycle
- Clean the rubber gaskets: Wash by hand in hot, soapy water. Do not put them in the dishwasher, as the heat and detergents can cause premature wear.
⚠️ The official WECK instructions recommend attaching the rubber seal to the glass lid and submerging the entire assembly in boiling water for 10 minutes to sterilize it. However, in practice, we ran into two issues with this method:
- Gasket Damage: Boiling the natural rubber for a full 10 minutes degrades the material, causing it to wear out and stretch significantly faster.
- Slipping Seals: Vigorous boiling often causes the rubber gasket to slip off the glass lid before you can safely remove it from the pot.
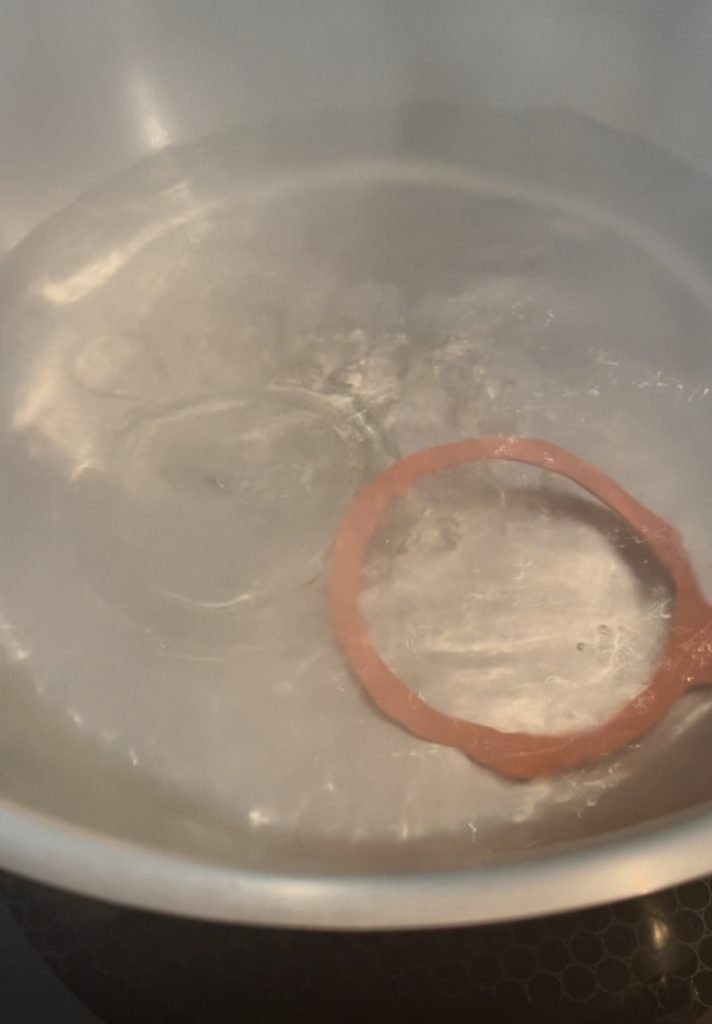
💡 Our Recommended Workaround:
To save your gaskets (and your sanity), try this method instead:
- Assemble first: Stretch the clean rubber gasket onto the glass lid while it’s dry.
- Use off-boil heat: Bring a pot of water to a boil, then turn off the heat. Carefully lower the assembled lids and gaskets into the hot (but no longer boiling) water.
- Keep them warm until needed: Leave them in the hot water until you’re ready to place them on your filled jars.
- Mind the timing: Don’t let the gaskets sit in the hot water for more than 10 minutes total. This helps them stay flexible without losing their shape.
The Science Behind How WECK Jars Work
When the jar is heated during processing, the pressure inside increases relative to the pressure outside. As a result, hot air, steam, and sometimes a small amount of liquid are forced out between the rubber gasket and the rim of the jar.
During this stage, the lid and rubber gasket, held loosely in place by the spring clamps, act like a one-way valve. They allow air and steam to escape, but prevent outside air or processing water from getting in.
As the jar cools, the pressure inside drops and a vacuum forms. At the same time, the higher external air pressure pushes the glass lid firmly down onto the rubber gasket, creating a tight, secure seal.
Adapting WECK Jars for Modern Canning


Firstly, after doing thorough research on WECK jars, we figured the manufacturer originally intended these jars to be used with open kettle canning. That said, we couldn’t quite understand how they’d work with inversion canning because the clamps on the lids tend to get in the way when you invert the can.
Because WECK jars were invented over 100 years ago – long before modern water bath canning became standard, we think they were originally designed so that the jar’s own mechanics would create the seal without any additional processing.
While that approach may have been sufficient in earlier home preserving practices, we personally felt more confident using a full water bath canning process for our preserves.
How to Can With WECK Jars (Without any mistakes)
Remember, WECK jars are European-made. Their sizes differ slightly from North American Mason jars. In line with the guidance of the National Center for Home Food Preservation, you might need to slightly adjust the processing time for these jars.
To make finding appropriate processing times easier, we created a handy WECK Jar Processing Time Finder. Simply enter your WECK jar style and size, and the tool will suggest the closest equivalent Mason jar so you can confidently follow trusted, tested processing guidelines.
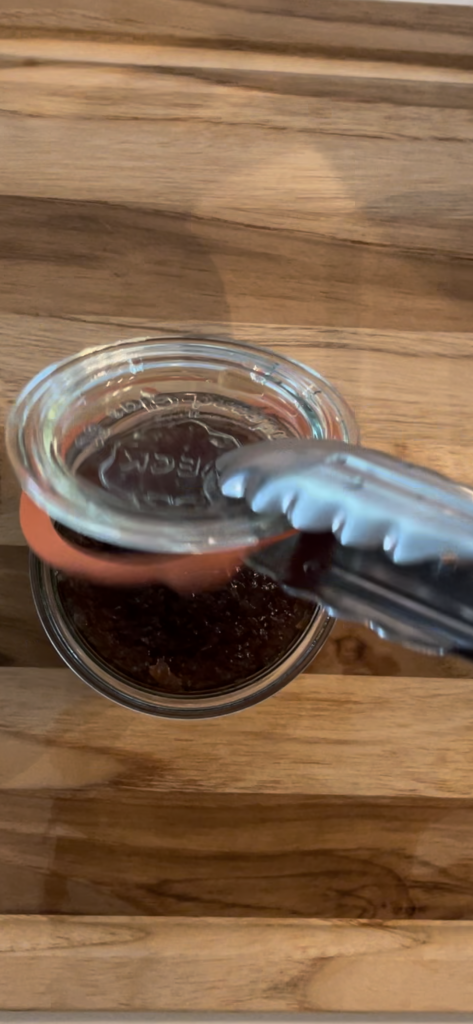
How to check the seal on the WECK jar
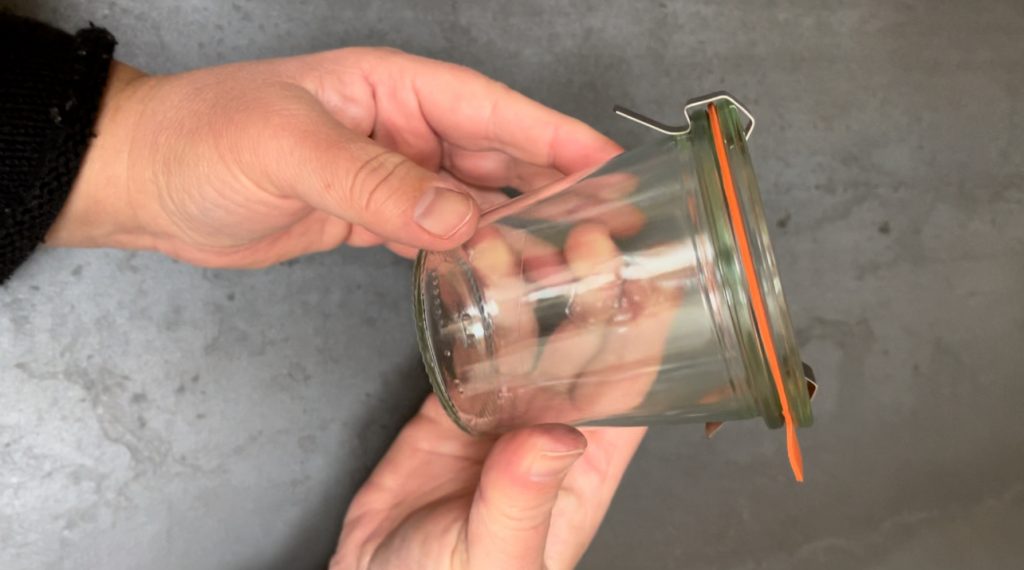
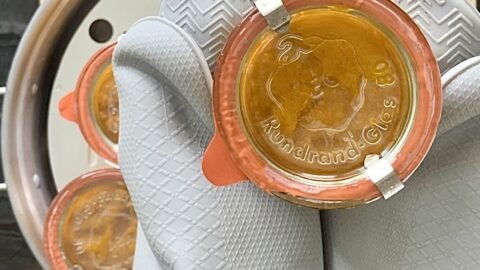
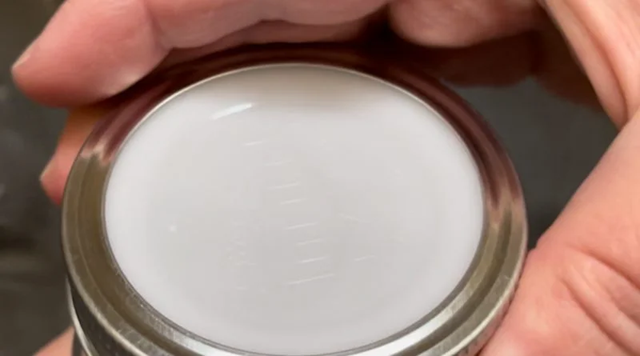
As your preserve cools inside the WECK jar, take a moment to visually check the rubber gasket tab that extends slightly outside the lid. As the vacuum forms, you should see this tab gently pull downward, almost like a small tong. This is your first indication that the sealing process is working.
Once the jars have completely cooled, remove the spring clamps. You can then confirm the seal using what’s often called the lid-lifting test: gently try to lift the jar by the edge of the lid.
If the lid holds firmly in place, the seal is successful. If it lifts off, the seal has failed and the jar will need to be reprocessed or refrigerated immediately.
How to Open Sealed WECK Jars
One of the advantages of WECK jars is how easy they are to open. You don’t need, and in fact should not use, any tools like bottle openers or sharp objects to pry the lid off.
Instead, simply pull up on the rubber gasket tab. As you do, you’ll hear a soft hiss, which means air has entered the jar and the vacuum seal has been released. At that point, the lid will lift off easily and your preserve is ready to enjoy.
WECK Jars Review: Beautiful, Reusable, but Not That Simple
Discover our honest review of German WECK canning jars, where we break down the pros and cons, real-world costs, and why mastering their unique glass lid and clamp system might be trickier than you think. Read More➡️
Where to Buy WECK Jars

See WECK Jars on Amazon
Unlike standard Mason jars, WECK jars can sometimes be hard to find in North America. While you might occasionally stumble upon them at a specialty kitchenware store, the most reliable place to browse their full selection of shapes and sizes is on Amazon.
Frequently Asked Questions
Related Reviews
More Equipment Reviews
| Product | Verdict | Rating | ||
 | Kitchen Crop Steam Canner | This is why we enjoy canning | ⭐⭐⭐⭐⭐ | Read review↗️ |
 | Tattler Reusable Lids | Real savings, slight learning curve | ⭐⭐⭐⭐ | Read review↗️ |
 | Granite Ware Canner | Good, but we prefer steam | ⭐⭐⭐½ | Read review↗️ |
Leave a Reply