How To Make Freezer Friendly Ricotta Ravioli From Scratch
Views: 359
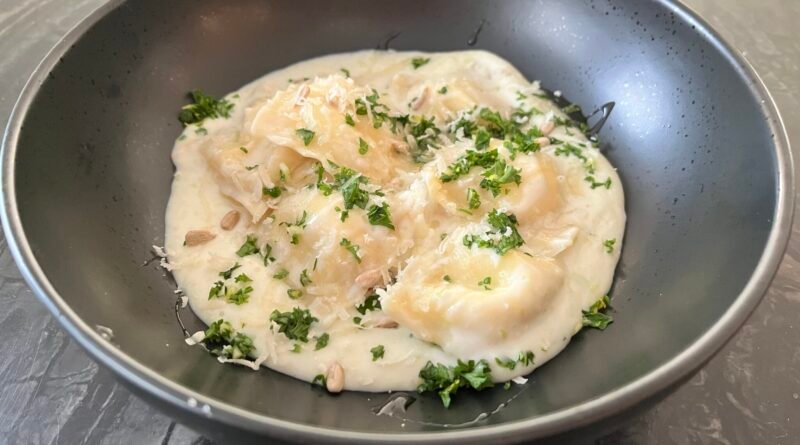
Freezer meals don’t have to be all about bland meatloaf or yet another batch of chicken enchiladas. Did you know that homemade gourmet pasta, such as ricotta ravioli, can be a freezer meal too? Imagine biting into a tender, homemade ravioli filled with creamy ricotta and the perfect touch of Parmesan. Now imagine being able to pull a batch of homemade ricotta ravioli straight from your freezer, toss it into boiling water, and have a restaurant-quality meal on your table in minutes. You’ll never order a takeout again! And why would you, when you can make this masterpiece at home!
Why Make Ricotta Ravioli at Home?
You might be thinking, “Why not just buy store-bought ravioli and save myself the time?” It’s a fair question! But if you’ve ever tasted fresh ravioli at a good restaurant, you know the difference – it practically melts in your mouth.
Store-bought ravioli, on the other hand, often misses the mark. It can be too thick, overly chewy, or just plain bland. By making your own, you’re in control of every detail: the perfect thinness of the pasta, the creamy quality of the ricotta, and the ideal balance of flavors in the filling.
And did we mention that freezer meals can be elegant and exciting? Instead of reaching into a freezer for a predictable casserole… Well, you get the point!
Making ahead suggestions and kitchen hacks
Making this ricotta ravioli recipe might seem like a lot of work at first, but trust us – it’s absolutely worth it! Even better, you can easily make a big batch of this pasta, freeze it for up to six months, and have delicious ravioli ready whenever you need a quick meal. That’s our go-to trick at home, and it never disappoints.
If you’re short on time or not quite ready to tackle homemade pasta, don’t worry! Pre-made wonton wrappers provide a quick and easy shortcut. While they don’t match the texture of freshly made pasta, they still deliver delicious results and save you plenty of time.
For even more convenience, you can prepare the ricotta filling a day in advance. Simply mix it up and let it chill in the fridge overnight. This kitchen hack not only saves time on the day you make the ravioli, but it also allows the flavors – like lemon zest, thyme, and rosemary – to meld beautifully. With these tips, creating ravioli becomes simpler and even more enjoyable!
Tips and tricks to make your ricotta ravioli dish a success
- Don’t Overstuff the Pasta: As tempting as it is to pile on that creamy filling, less is more! Too much filling makes sealing tricky and can lead to leaks during cooking. Keep it neat for picture-perfect ravioli.
- Seal Like a Pro: Nobody likes soggy, leaky ravioli! Dab a little water along the edges before sealing to keep everything snug and secure. A tight seal means your ravioli will stay intact, no matter what.
- Cook with Care: Don’t let a boiling frenzy destroy your hard work. Gently simmer your ravioli instead of boiling it aggressively—this keeps the delicate pasta from falling apart.
- Time It Right: Here’s the sweet spot: finish your pasta and sauce at the same time. If your pasta gets done early, toss it with a drizzle of oil to stop it from sticking.
- Keep the Sauce Cozy: Got the sauce ready first? No problem! Keep it warm on the side and give it a quick reheat when your pasta’s ready. This way, everything comes together hot and delicious.
Freezing and storing ricotta ravioli
One of the best features of this recipe is its make-ahead, freezer-friendly nature. Here’s how to do it:
Cooking from Frozen: When you’re ready to enjoy your ricotta ravioli, simply drop the frozen pasta into boiling salted water. No need to thaw. They’ll be ready in 3-4 minutes after they float to the surface.
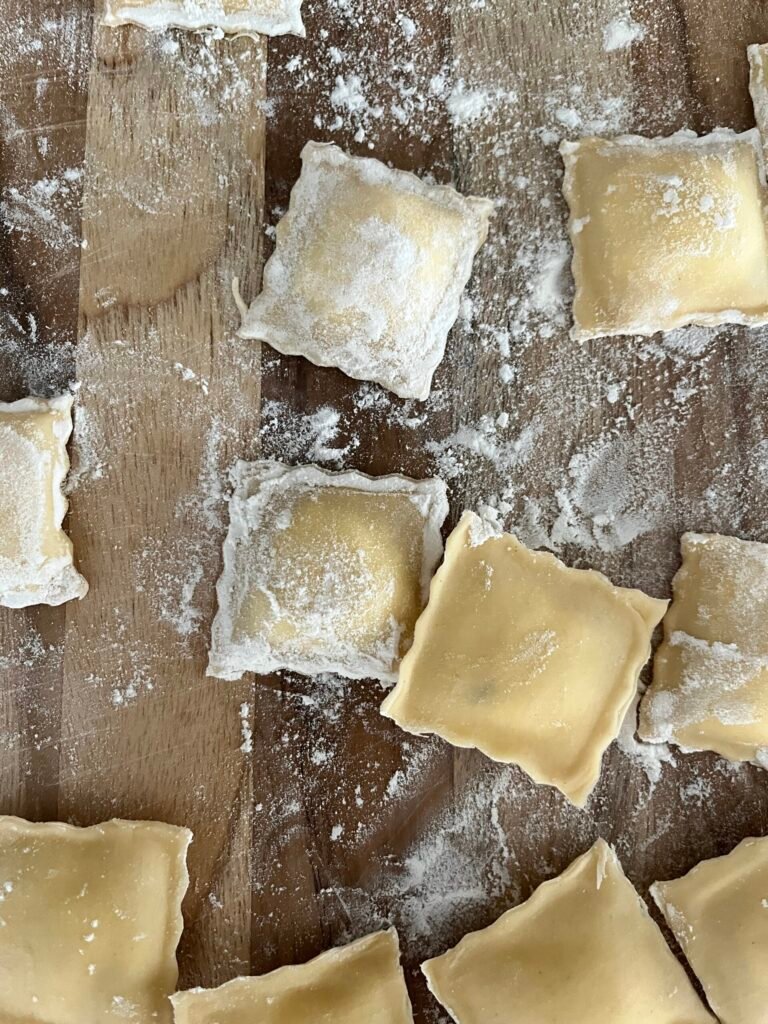
Freeze Before Cooking: Firstly, make sure to sprinkle ravioli and a baking sheet with flour. Then, arrange the shaped ravioli in a single layer on a baking sheet. Very important, make sure the ravioli are not touching. These steps will ensure that your ravioli are not sticking. If your freezer has a fast freeze or flesh freeze function, be sure to use it!
Store for Later: Once frozen solid, transfer the ravioli to a freezer-safe bag or container. Better yet, you can store ravioli using these vacuum storage bags in your freezer for up to six months!![]()
Ricotta Ravioli Preparation:


Get Tools that will help you with this recipe:
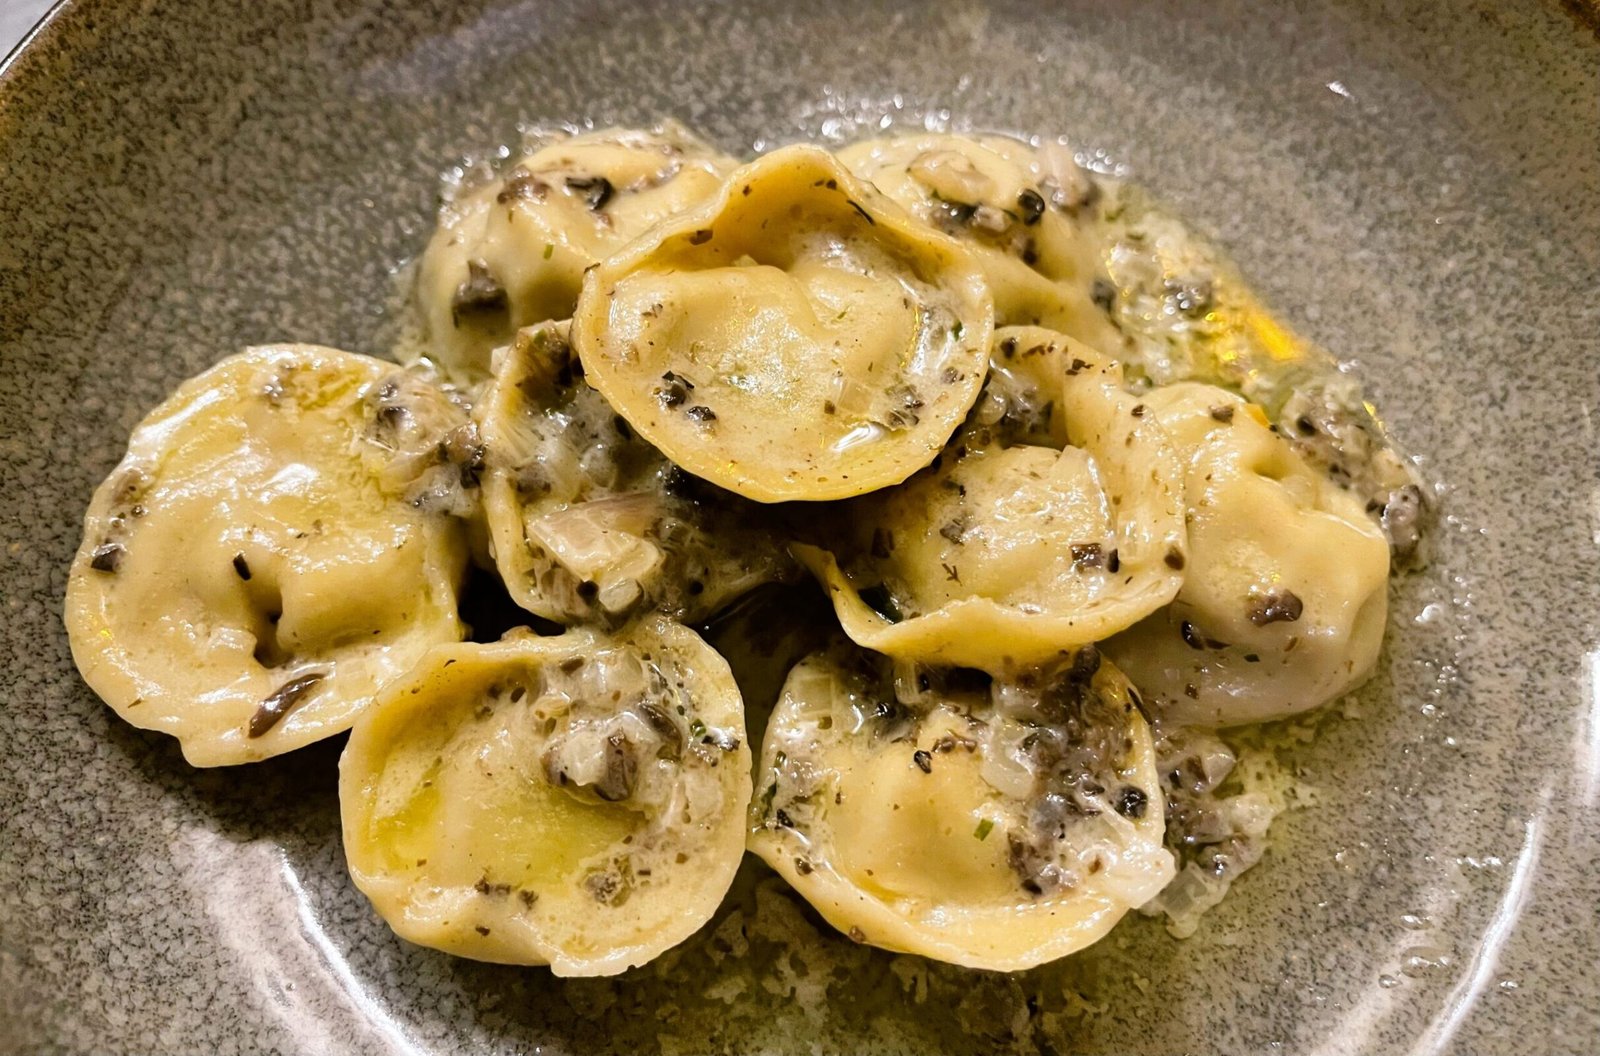
Ricotta Ravioli
Equipment
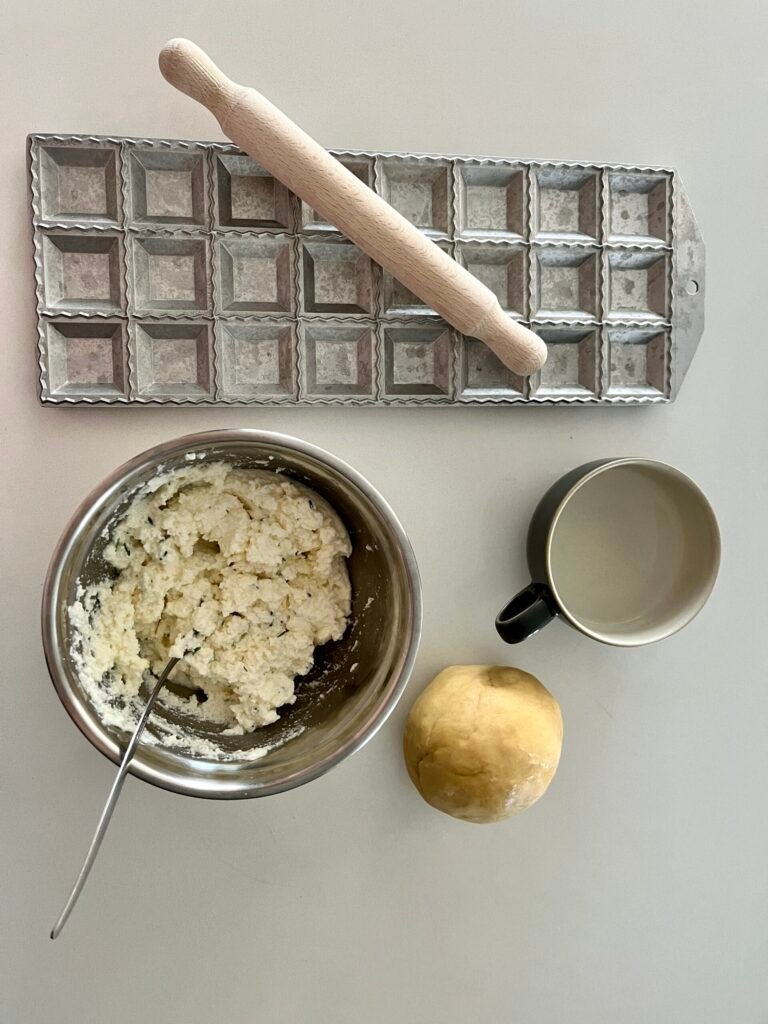
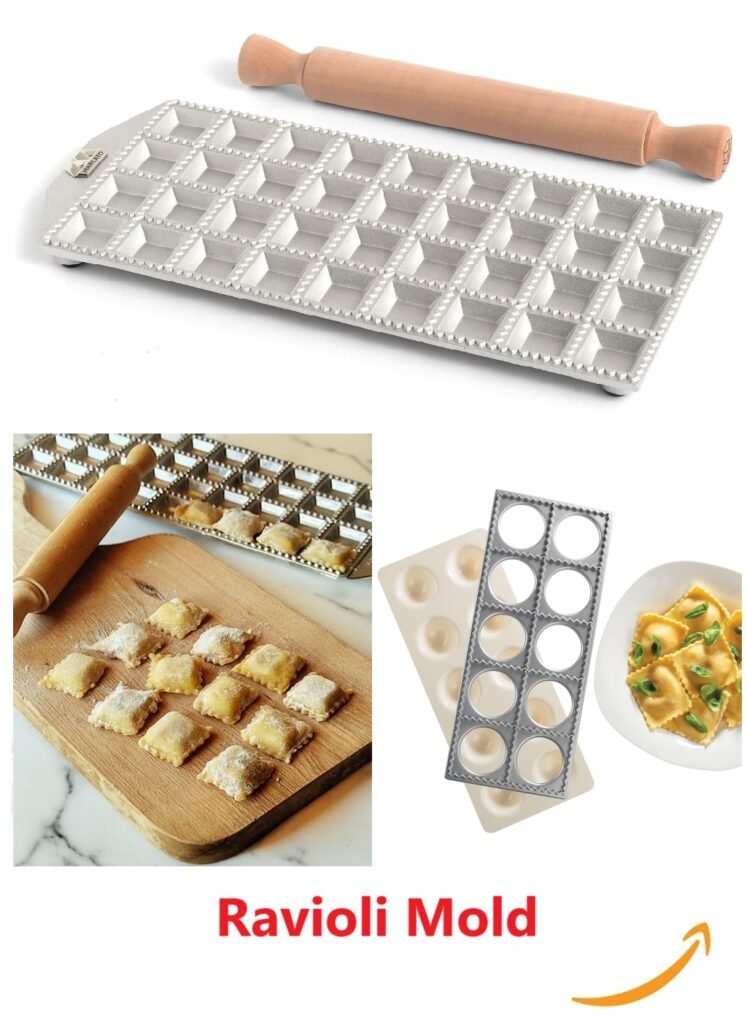
- We used Pasta Machine and Ravioli Mold to make this recipe. See the FAQ section below this recipe for step-by-step instructions on how you can do it with basic kitchen tools.
Ingredients
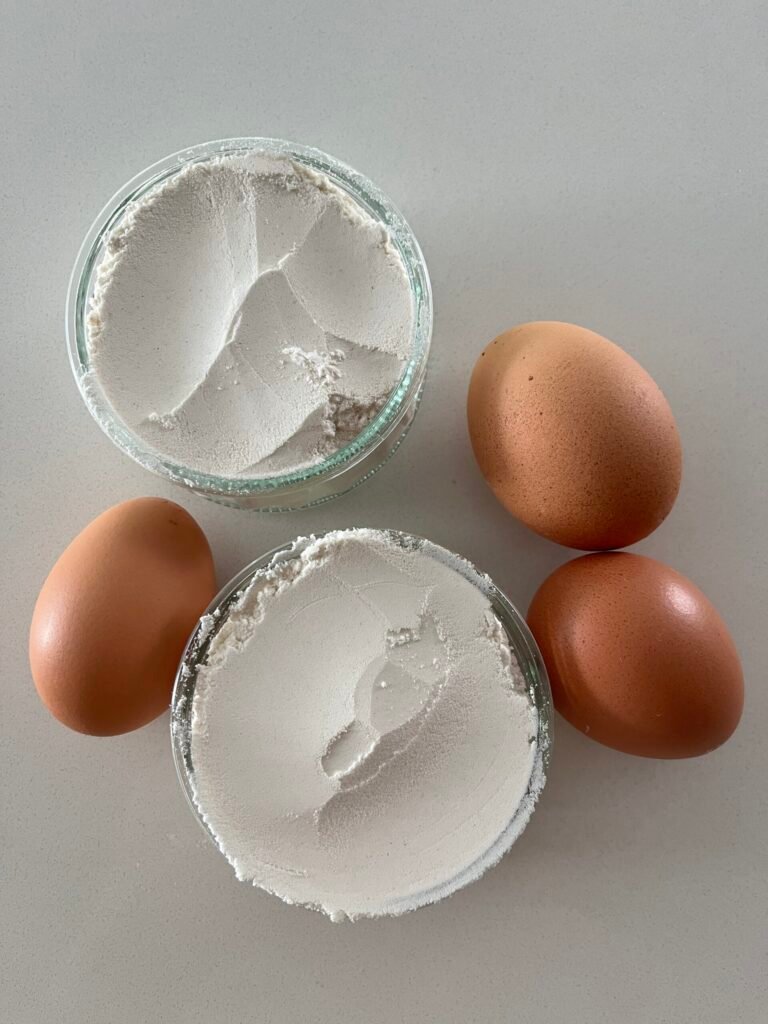
- 3 eggs
- 1 cup 00 flour or pasta blend
- 1 cup all-purpose flour
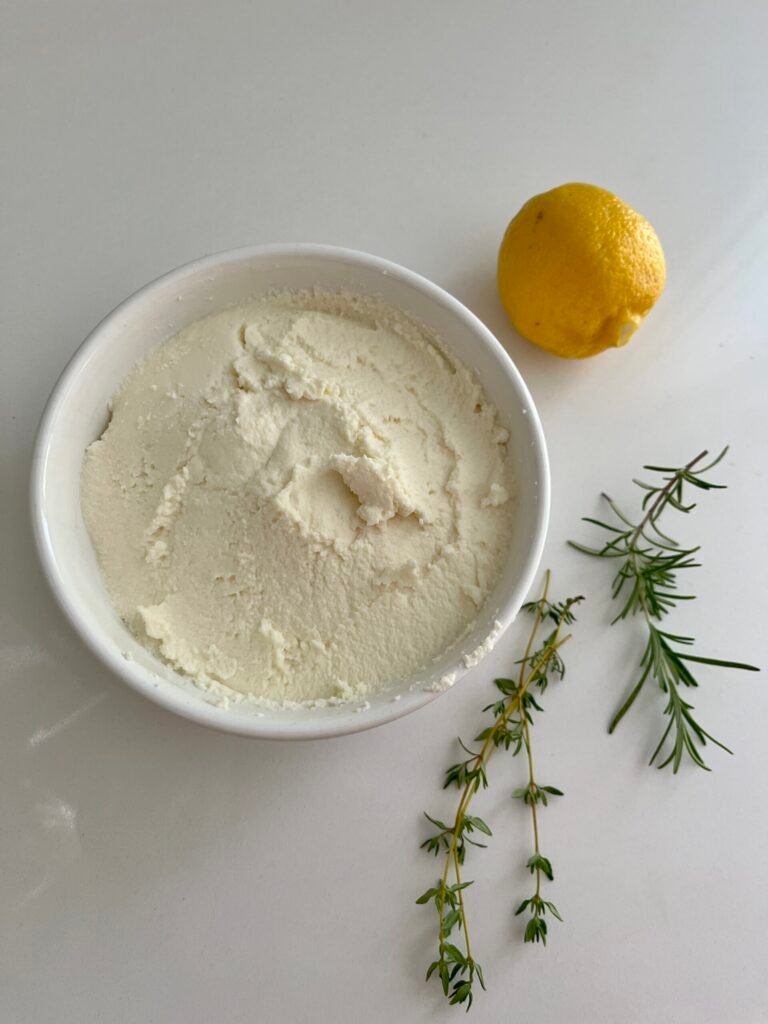
- 16 oz Ricotta cheese 454 gr.
- 1 lemon zested
- 1 large sprig of rosemary
- 2 sprigs of thyme
- salt and black pepper to taste
- a few drops of water – as needed to adjust the dough consistency and sealing the edges.
Instructions
Make the Pasta Dough:
- Combine flour on a clean surface or in a bowl. Make a well in the center.
- Crack eggs into the well.
- Using a fork or your fingers, gradually whisk the eggs while incorporating small amounts of flour from the edges of the well. Continue mixing until the dough starts to come together and becomes too thick to mix with a fork.
- Once the dough begins to take shape, use your hands to knead it into a smooth, elastic ball. This process usually takes about 5-10 minutes. If the dough feels too sticky, you can add a sprinkle of flour. If it’s too dry, you can add a few drops of water.
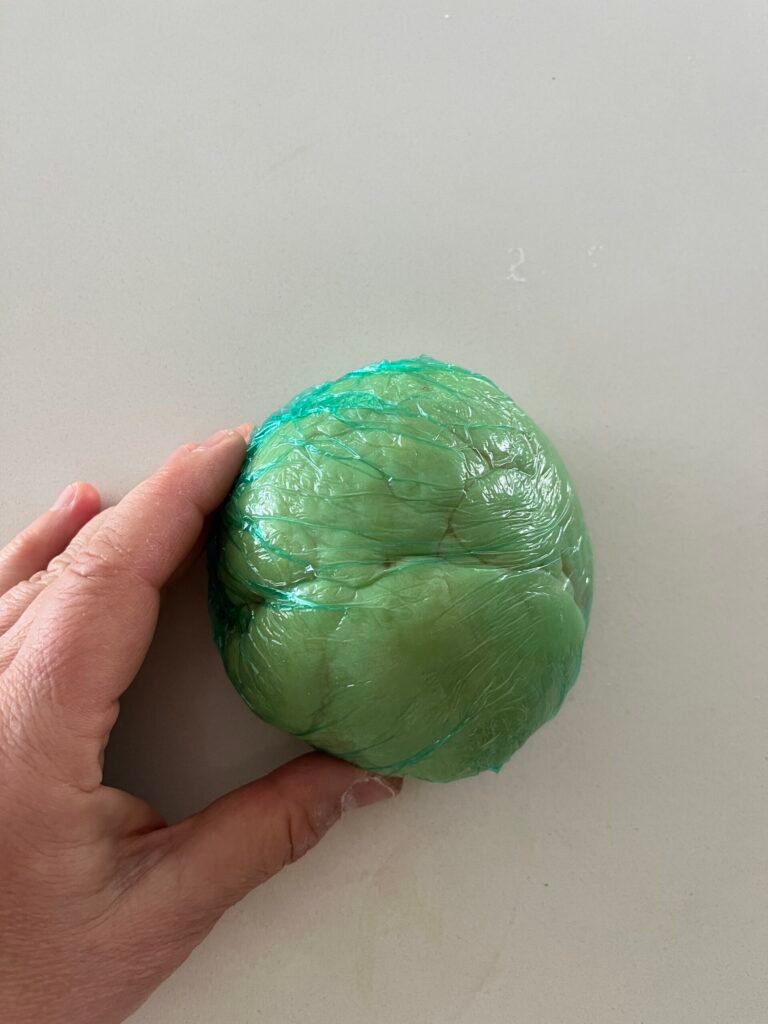
- Once the dough is smooth and elastic, wrap it in plastic wrap and let it rest for at least 30 minutes at room temperature. This allows the gluten to relax and makes the dough easier to roll out.
- After resting, the pasta dough is ready to be rolled
Making ricotta ravioli filling:
- In a mixing bowl, combine the ricotta cheese, lemon zest, and chopped thyme and rosemary. Stir to evenly mix the ingredients.
- Season with salt and pepper to taste. Start with a little and adjust as needed.
- Cover the bowl and refrigerate the filling for at least 30 minutes to let the flavors come together.
Making ricotta ravioli:
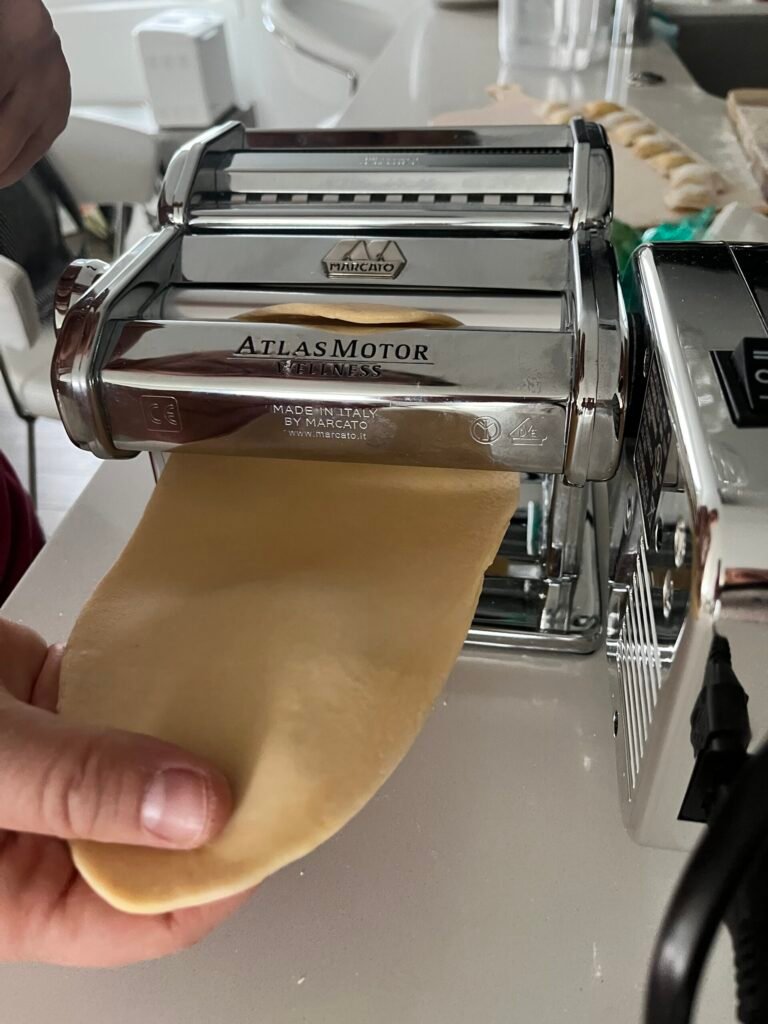
- Once the dough has rested, roll it out using a rolling pin or pasta machine for an even, thin sheet.
- Dust your work surface with flour to prevent sticking, and divide the dough into smaller portions.
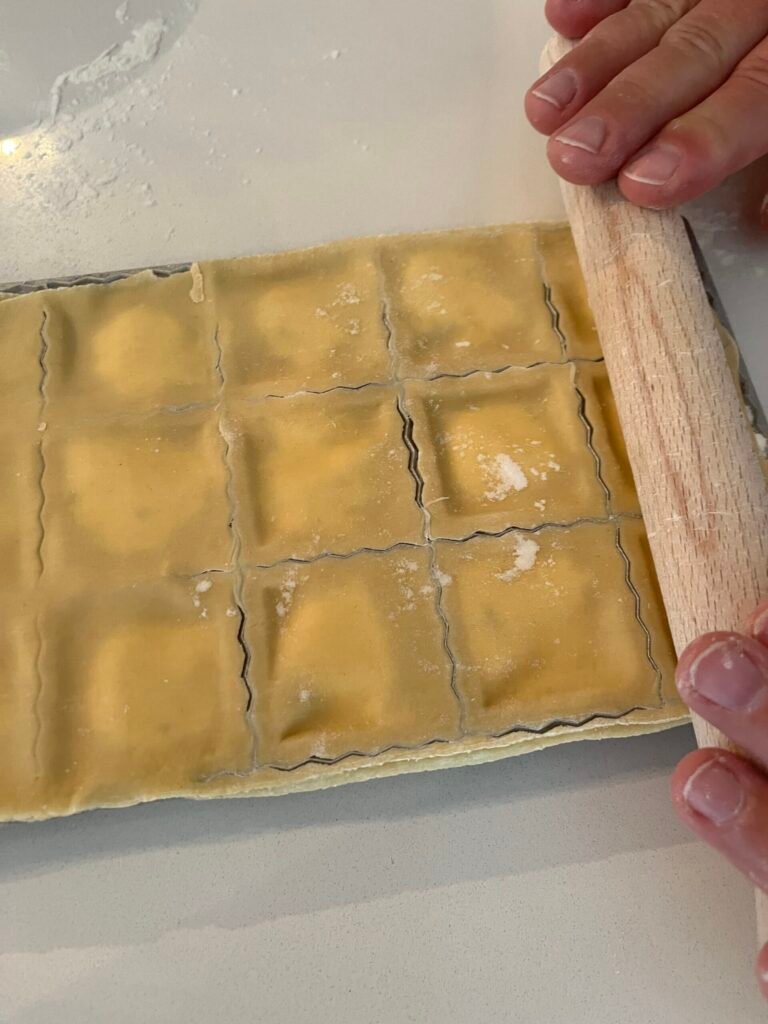
- Roll out one portion into a sheet slightly larger than your ravioli mold. Lay the dough over the mold, pressing it into the indentations.
- Lay the rolled-out pasta dough over the ravioli maker. Gently press the dough into the mold to create indentations for the filling.
- Spoon small amounts (about 1 tsp.) of the ricotta filling into each indentation, being careful not to overfill.
- Lightly moisten the edges of the dough with water to help seal the ravioli.
- Lay another sheet of dough over the top. Use a rolling pin and pressing firmly, seal the ravioli and remove any trapped air.
- Turn the mold over to release the ravioli. Place them on a floured surface or baking sheet without overlapping.
- Repeat with the remaining dough and filling.
Freezing Instructions:
- Place uncooked ravioli in a single layer on a floured parchment or foil-lined flat surface. Freeze until solid.
- Transfer to a freezer-safe bag or container. Store for up to six months.
Cooking from Frozen:
- Boil salted water. Add frozen ricotta ravioli and cook for 3-4 minutes or until they float.
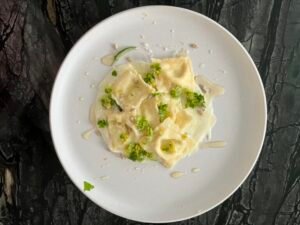
- Remove with a slotted spoon and serve with your favorite sauce.
We can’t wait to learn how this preserve recipe worked out for you. Leave us a comment below, like us on X, Facebook, Pinterest, Instagram and Blue Sky. And remember, sharing is caring!
Frequently Asked Questions
How do I create a flat surface in a fridge to freeze my ravioli with ricotta?
Firstly, you can use baking sheet large enough to fit into your freezer. Line it with a parchment paper or foil before you start arranging your ravioli on it.
Alternatively, line parchment or foil over cutting board and use it as your flat surface.
How can I make ravioli without a ravioli mold?
You don’t need a ravioli mold to make this ricotta ravioli recipe! Although, we highly recommend the one we use.
Here’s how you can do it with basic kitchen tools.
What You’ll Need:
- Rolling pin or pasta machine
- Sharp knife, pizza cutter, or ravioli cutter
- Fork for sealing
Step-by-Step Guide:
- Roll Out the Dough: Roll your pasta dough into two thin, even sheets. If you’re using a rolling pin, try to get the sheets as thin as possible without tearing them.
- Add the Filling: Spoon small mounds of filling onto one sheet of dough, leaving about an inch of space between each dollop. Be consistent with the size to make sealing easier.
- Cover the Filling: Gently place the second sheet of dough over the first, covering the filling. Press the dough down around each mound to remove air pockets and create a seal.
- Cut the Ravioli: Use a knife, pizza cutter, or ravioli cutter to slice around each mound of filling. Aim for square or rectangular shapes, or go for circles if you’re feeling fancy.
- Seal the Edges: Firmly press the edges of each ravioli to ensure they’re tightly sealed. This step prevents leaks while cooking.
What if I don’t have a pasta machine?
A rolling pin works just fine! It might take a bit more elbow grease, but you can still achieve a thin, even sheet.
What setting of the past machine do you use for the dough?
As a rule of thumb, to roll your dough for ravioli or stuffed pasta (like tortellini), you should aim for a slightly thicker dough, usually achieved at setting 5. We like to go a setting higher, and roll our dough at setting 6. This is the setting often recommended for tagliatelle, fettuccine, pappardelle, and similar pasta.
How do I prevent the ravioli from sticking during freezing?
Dust both the parchment paper and ravioli with flour before freezing. Once frozen, transfer your ricotta ravioli into a freezer safe bag to save space.
Can I make gluten-free ravioli with ricotta?
While we never tried it ourselves, we believe this recipe should work just fine with a gluten-free flour blend designed for pasta, and follow the same steps.
Additionally, make sure that the ricotta cheese you pick for your recipe does not contain any gluten.
Sauce Pairings and Serving Ideas
- Classic Marinara: A rich tomato sauce complements the creamy ricotta ravioli filling beautifully.
- Alfredo: For a decadently creamy option, toss the ravioli with ricotta in Alfredo sauce.
- Pesto: This ricotta ravioli tastes fantastic with a fresh, homemade basil pesto.
- Soubise and gremolata: Soubise is a creamy onion sauce, often made by blending onions with béchamel or cream. Gremolata is a zesty Italian condiment that combines parsley, lemon zest, and garlic. This combination works if you’re in the mood for a comforting, luxurious pairing.
You May also like:
-

Not So Classic Italian Tomato Soup: Freezer and Canning Friendly, Make-Ahead Recipe
We start simple: onions, garlic, tomatoes. Classic Italian tomato soup, nothing fancy. Then…surprise! – turmeric goes in. Suddenly it’s not just tomato soup, it’s a flavor explosion. Strain it smooth, stash it in the freezer, or pressure can like a pro. One pot, endless lunches, zero stress. Lunch plans? Done! read more
-
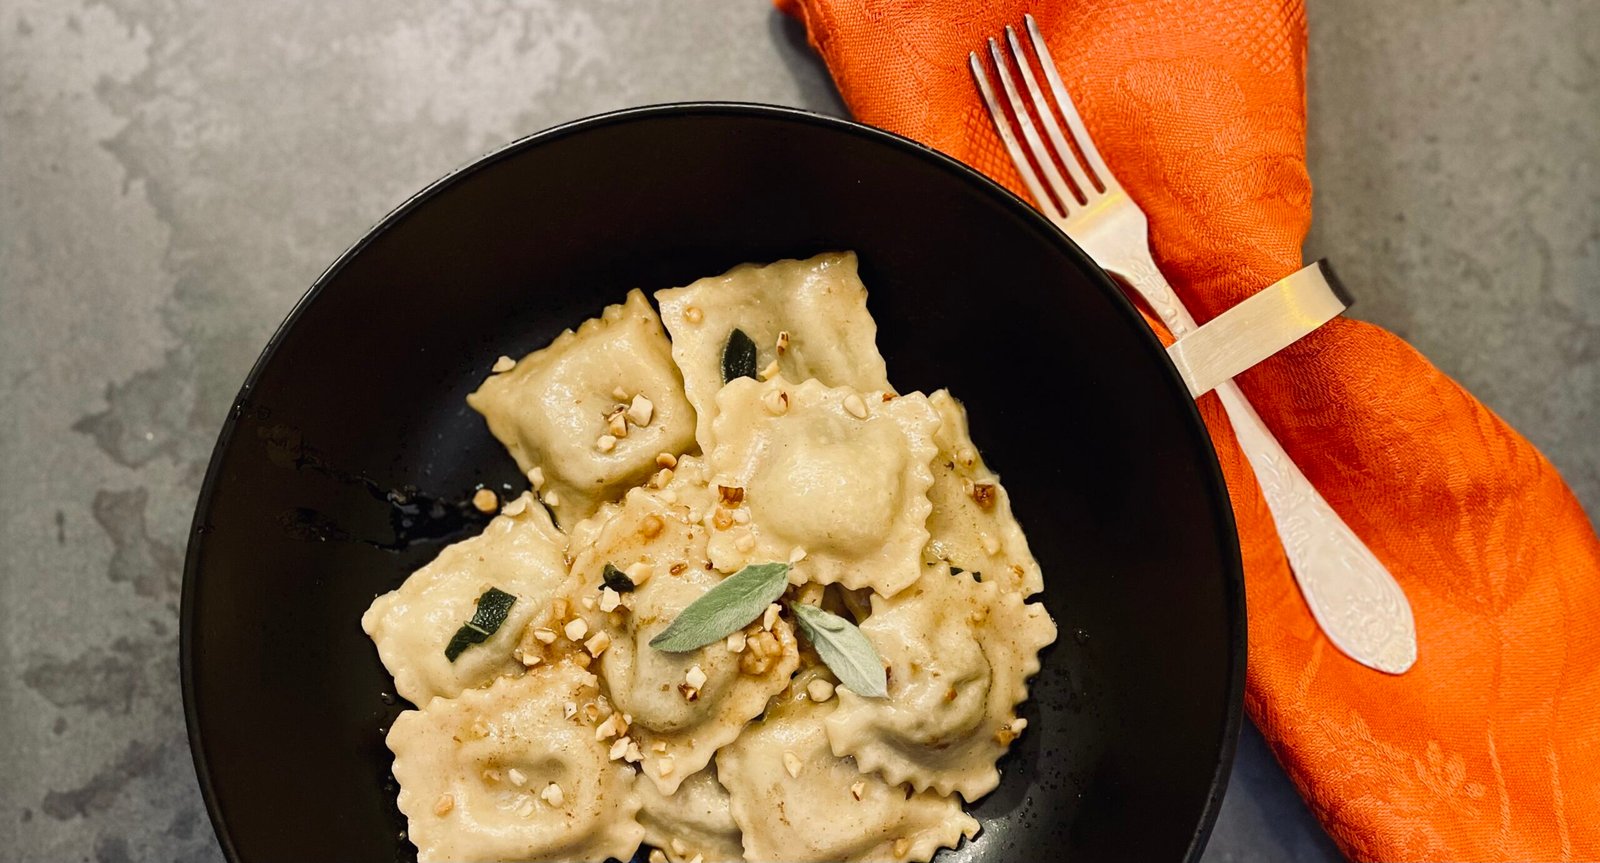
Ravioli with Goat Cheese and Mushroom Filling (Freezer-Friendly, Restaurant-Quality at Home)
Our goat cheese and mushroom ravioli recipe is for those who want an upgrade to a classic ricotta ravioli filling or looking for ways to use mushroom duxelles. Designed as a freezer-friendly, make-ahead meal, these ravioli are also ideal for batch cooking now and enjoying stress-free dinners later read more
-
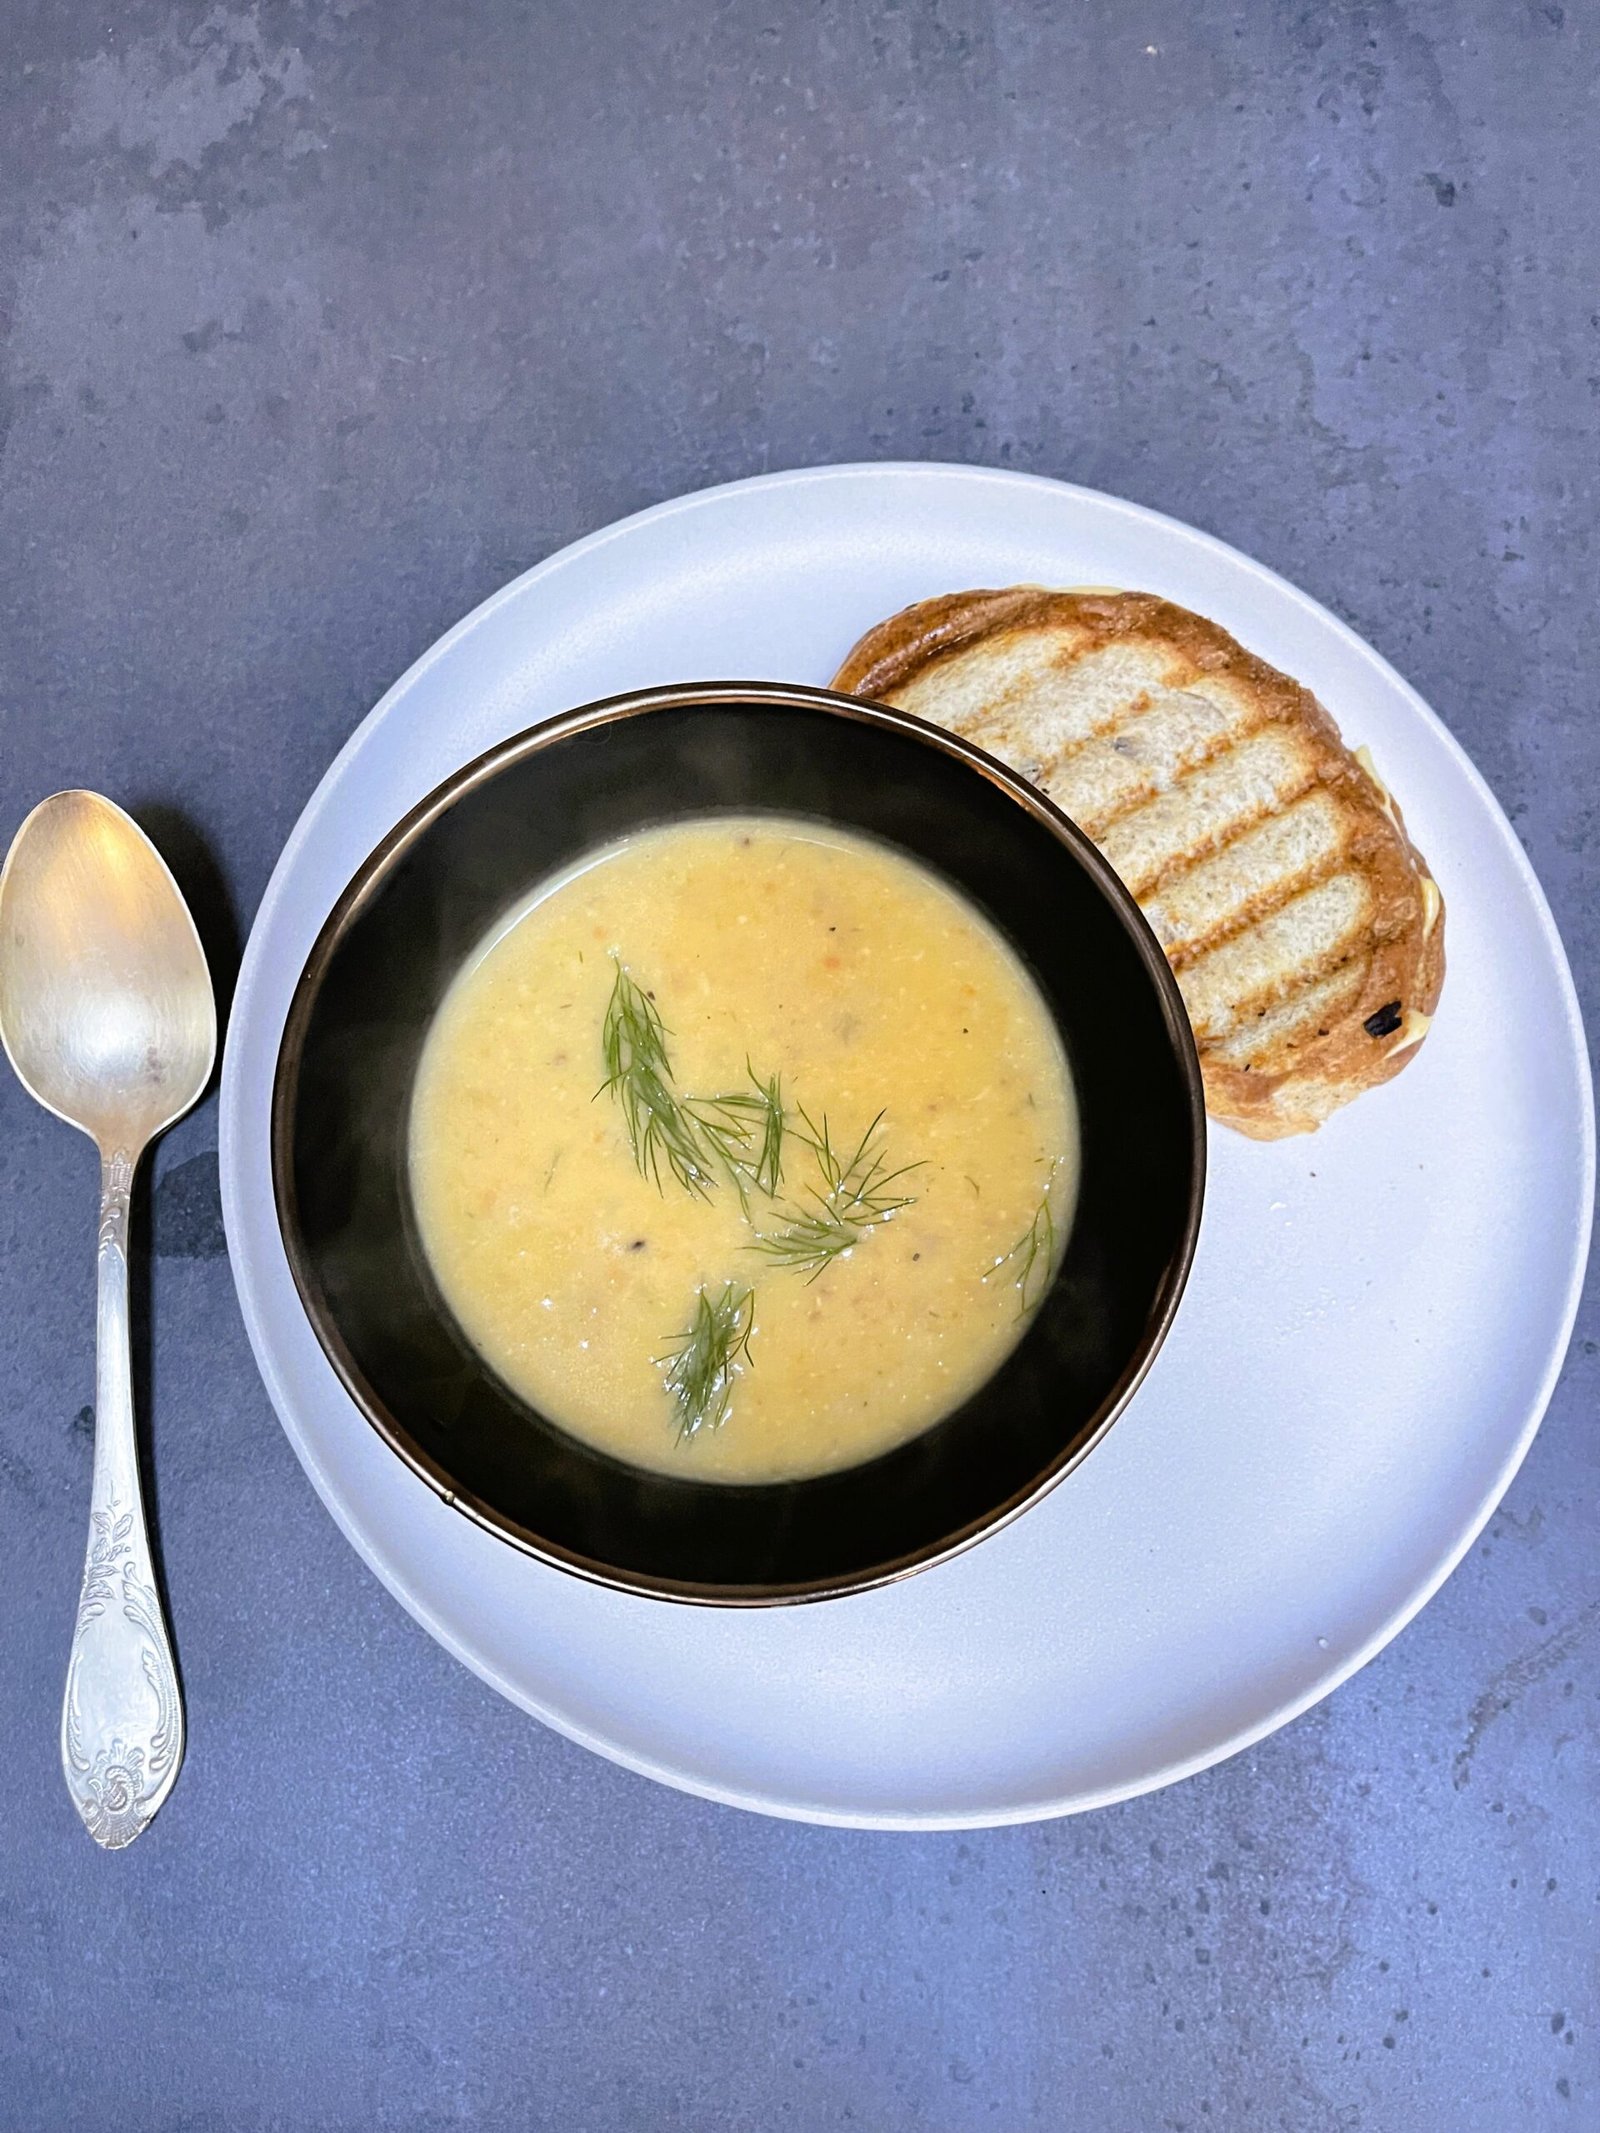
Creamy Potato Leek and Bacon Soup (Suitable for Pressure Canning and Freezing)
There are soups you make to impress, and then there are soups you make because you’re craving comfort, not applause. This potato leek and bacon soup is the food version of your favorite winter sweatpants. It is your reliable, cold-weather soup and exactly what you reach for when you want… read more
-

Roasted Red Pepper And Tomato Soup For Smart Meal Prep
Why pay for a meal kit or overpriced store-bought roasted red pepper and tomato soup? Make it yourself: cheaper, smoother, freezer-ready, and even pressure-canning safe! No subscriptions or mystery ingredients! Full flavor, clean ingredients, and multiple servings. Perfect for busy families, health conscious people, preppers, or anyone who refuses to… read more
-
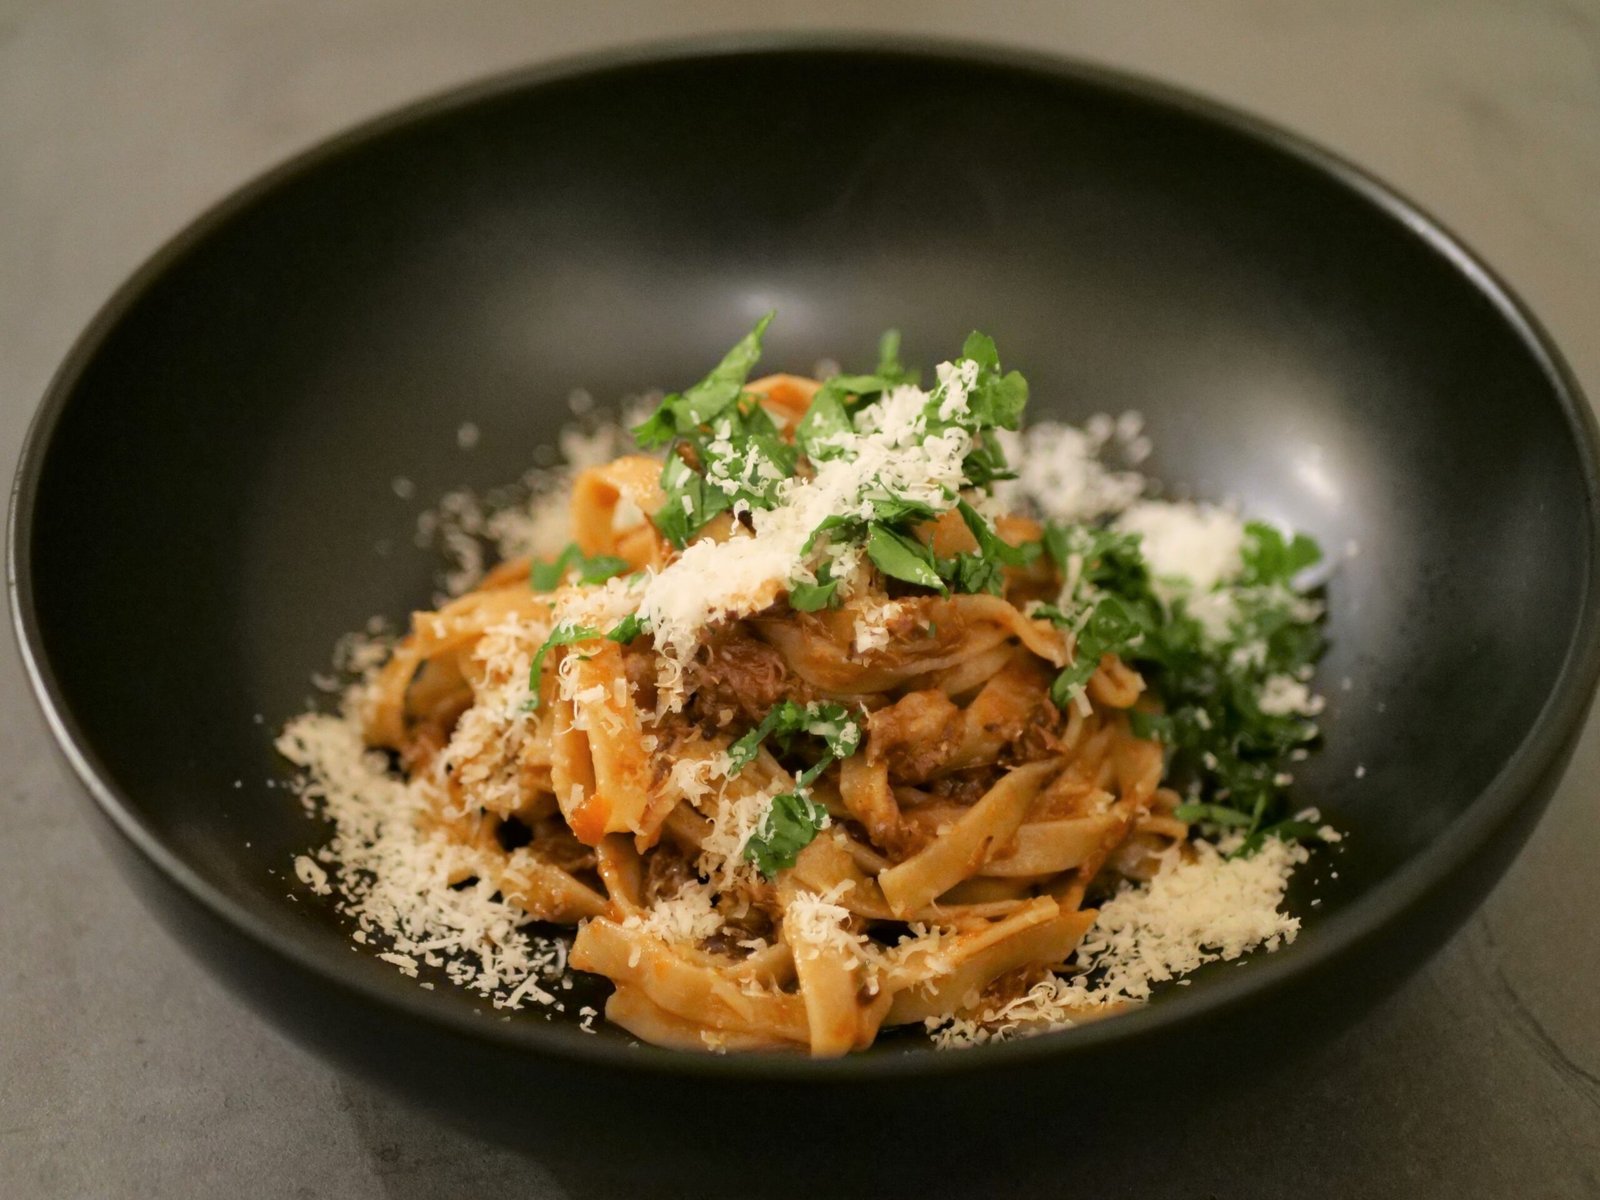
Homemade Tortellini With Potato and Pancetta Filling: Make-Ahead Pasta for the Freezer
These tortellini with potato and pancetta are rich, practical, and made for the freezer. Inspired by Emilia-Romagna tortellini recipe and reminiscent of Ukrainian perogies, this make-ahead homemade pasta is reliable, savory, and built to last. It is perfect for make-ahead meals aficionados and anyone who treats their freezer like a… read more
-

Yellowfoot And Golden Chanterelle Mushroom Soup Made Easy
Did the forest or farmers’ market hand you golden or yellowfoot chanterelles? Did you grab them without thinking what comes next? Stop doom-scrolling, and ignore anyone claiming you should brew them with your coffee. The answer is here: make chanterelle soup and preserve it so you can enjoy it for… read more
-

Dried Porcini Mushroom Soup: Rich, Earthy, And Freezer-Friendly
This dried porcini mushroom soup is the perfect intersection of simple cooking and mindful preservation. It’s rich without being heavy, earthy without being overpowering, and endlessly satisfying. It is also perfect for freezing. Whether you’re meal-prepping or enjoying it fresh, this wild mushroom soup does not disappoint read more
-
How To Make, Freeze And Serve Braised Oxtail Ragu
Maybe you’re not hosting a dinner party. Maybe you’re just reheating this on a Tuesday night, wearing sweatpants, using the fancy bowl to feel something. This braised oxtrail ragu is a freezer meal that makes you look like the person who has it all together, even if you absolutely do… read more
-
Modern Ukrainian Borscht: A Healthier Take On the Classic Dish
This borscht is a gift to your future self. It’s easy to make, feeds you for days, and freezes well for when you need it most. Whether you grew up with it or just discovered it, Ukrainian Borscht is a comfort food with staying power, perfect if you like to… read more
-
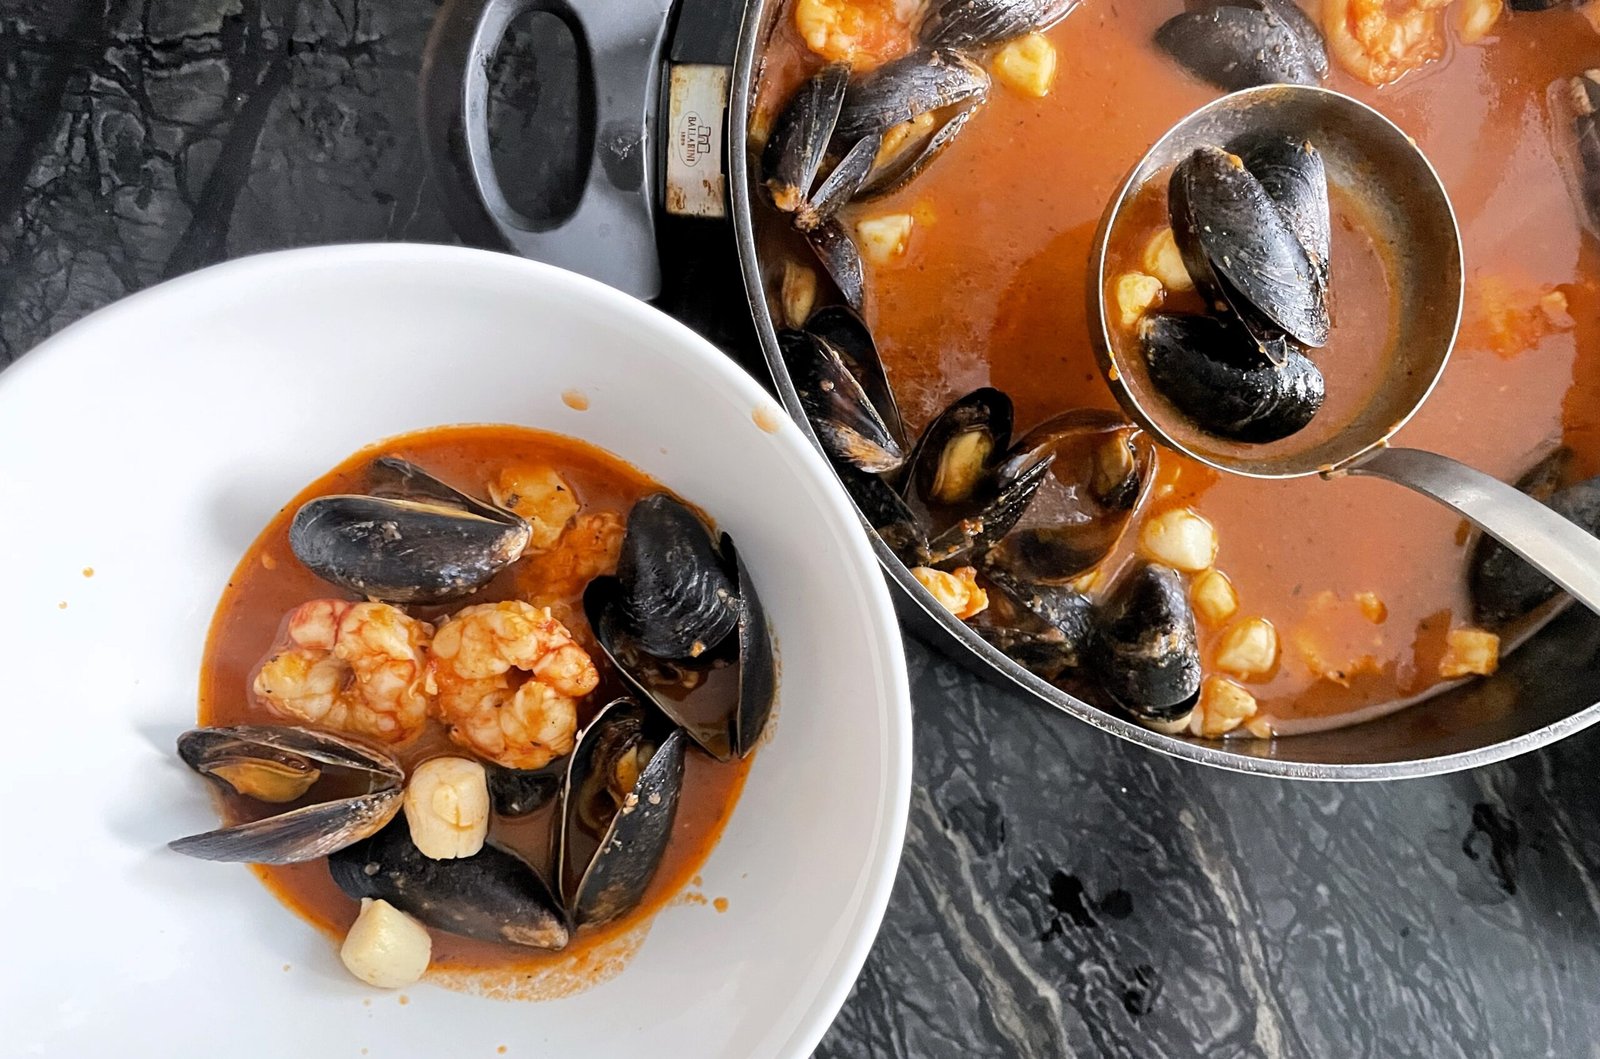
Cioppino Soup Base: Your Simple Solution For Fancy Quick Meals
Let us tell you something we never thought we’d say: Cioppino is weeknight food now. This classic dish from San Francisco, once reserved for splashy dinners with linen napkins, is now 100% doable any weekday at home. Don’t roll your eyes yet—we’re serious. Read on to find out how. read more

Leave a Reply