
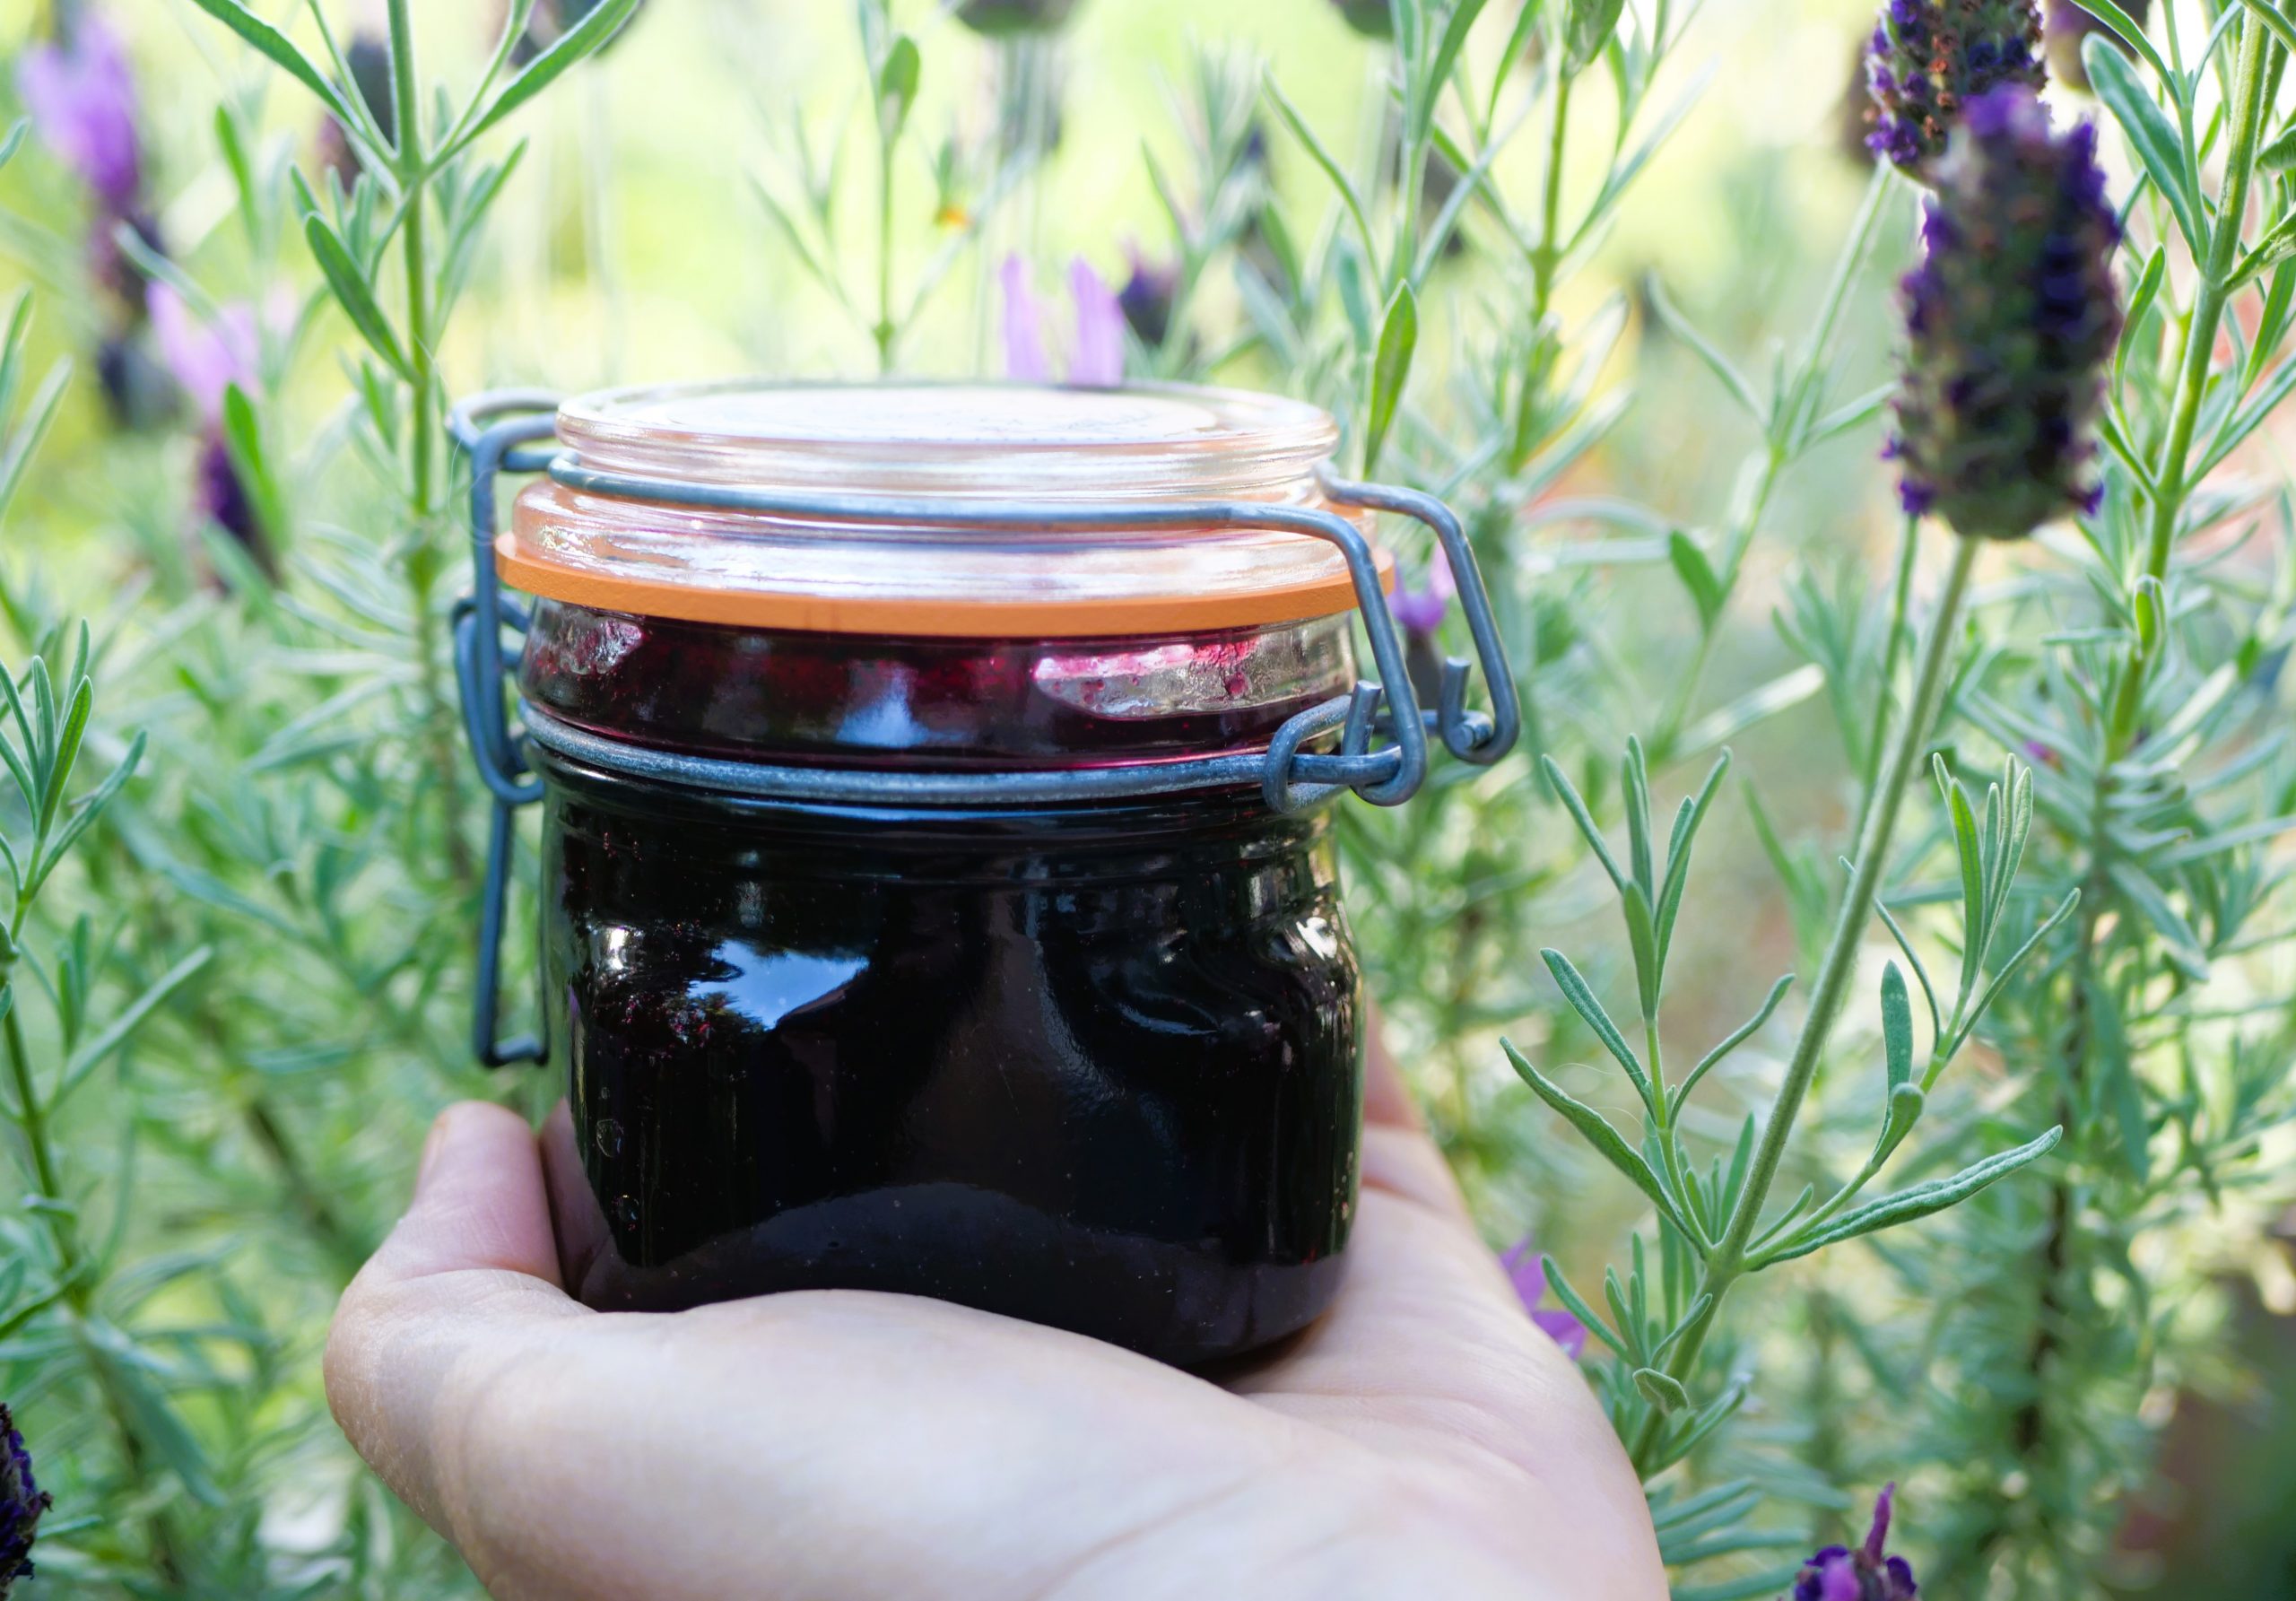
Homemade Spiced Raspberry Syrup: Natural Ingredients, Better Than Smucker’s and Starbucks
Views: 288
For all of us who miss Starbuck’s raspberry syrup or used to love store-bought Smucker’s syrup and now want something real (and still sweet) – this is it. Our simple raspberry syrup is bright, bold, and honest just like you want your breakfast (and life) to be.
Feel free to skip straight to the recipe, or hang out a bit for some handy tips, ingredient recommendations, and tricks to make this jam truly exceptional. Promise, no grandma stories here!
If you ever reached for that bright red bottle of store-bought raspberry syrup, you’re not alone. We loved it…until we flipped the bottle around. Then, we saw the lineup:
High Fructose Corn Syrup. Corn Syrup. Water. Red Raspberries (somewhere down there). Natural Flavor. Citric Acid. Pectin. Xanthan Gum, Red Dye.
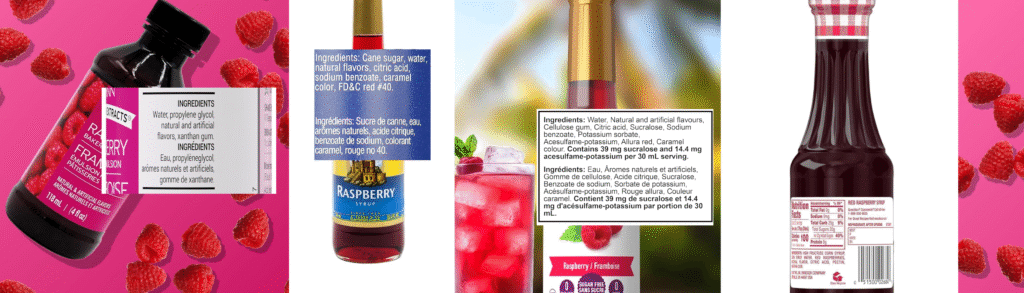
So, where are the berries in the commercially-made raspberry recipe? Spoiler: they’re not the star of the show. And besides, what’s Allura Red? Who exactly asked for red dye in the raspberry syrup to go with their Sunday pancakes?
That’s why we wanted to make raspberry syrup that puts fruit first – no chemistry set required. Just real raspberries, sugar, a hint of cozy cinnamon, and smooth vanilla. That’s it! You will not find weird stabilizers or mystery goo in our raspberry syrup recipe. Just real ingredients you can pronounce and taste.
What’s Really in Commercially-made Raspberry Syrups — And Why You Should Care
Frankly, the best part of making homemade raspberry syrup is that you get to control the entire process – inclusive of the decision to can raspberry syrup or keep it in your fridge. What’s more, you know every single ingredient that goes into your raspberry syrup recipe. When it comes to store-bought, it is not that straightforward.
So, let’s talk about the ingredients listed on the store-bought raspberry syrups’ ingredient labels. First, we’ll break them down for you, ingredient by ingredient. Then, you decide if you still want to buy it or if you might want to run (not walk) away from that bottle.
High Fructose Corn Syrup & Corn Syrup
These two ingredients are cheap and ultra-sweet. Unsurprisingly, both of these always top the list in the commercially prepared fruit syrups.
First, high fructose corn syrup (HFCS). Favorite of many food manufacturers, it is sweeter than regular sugar and easier to blend into liquids. Unfortunately, it’s been linked to higher rates of obesity, fatty liver disease, and other metabolic issues when consumed in excess.
Next, corn syrup. This one isn’t much better. It’s basically glucose syrup made from cornstarch. It adds bulk without adding any real nutritional value. Combined together, these syrups create that sticky, hyper-sweet base you find in store-bought syrups.
Science side note: HFCS is about 55% fructose and 45% glucose, making it even more metabolically risky than table sugar (which is a 50/50 split). Fructose is processed differently in your liver, promoting fat storage and raising triglycerides. By all accounts, not exactly breakfast goals.
Water
Seems harmless, right? However, when listed in the raspberry syrup recipe, it serves only as a filler. It dilutes the actual fruit content even further. As a result, you end up paying for watered-down sugar rather than real fruit.
Raspberries
Ah, finally! But wait, they’re not even near the top. Did you know that ingredients are listed in order of quantity? So, if raspberries are fourth or fifth, you can bet there’s only a sad handful in that bottle of a raspberry syrup that you are putting in your shopping cart.
Natural Flavor
Our all-time favorite ingredient – natural flavor. It sounds innocent. But in reality, it’s a catch-all term for lab-derived compounds. For starters, “natural” doesn’t mean it came straight from a raspberry; it just means it started as something natural before heavy processing. In other words, it might be far from what you picture.
Citric Acid
Citric acid adds tartness and extends shelf life. While it isn’t bad on its own, it’s often there to mimic the tang of real fruit that’s otherwise missing.
Xanthan Gum
This thickener is often needed to give it that glossy, pourable finish.
Allura Red (Red 40)
Finally, the big kicker. This synthetic dye is there to make the syrup look bright and “berry-like.” Unfortunately, Red 40 is derived from petroleum and has been linked to hyperactivity in children. In fact, it’s banned or restricted in several countries.
Why Avoid All These?
When your “raspberry” syrup is mostly corn syrup, water, and dye, you’re essentially pouring candy goo on your pancakes. Instead of real fruit flavor and natural antioxidants, you’re getting empty calories and questionable additives.
Sure, it tastes good in that over-the-top, nostalgic, neon kind of way. But, does it make you feel good afterward? Probably not. Especially if you’re trying to be more mindful about what you eat — or just want something that actually tastes like raspberries — it’s worth making your own.
All About Sugar in Our Raspberry Syrup Canning Recipe
If you’ve read our other jam recipes, you know we’re not big fans of using lots of sugar. Yet, this time around, we went all in on sugar in our raspberry syrup recipe. Wondering why? The answer is -preservation. Sugar acts as a preservative. When used in high enough concentration (generally above ~60% in jam or syrup), it binds water and creates an environment where most bacteria, yeasts, and molds cannot grow.
Yes, you can reduce sugar in preserves—but to keep them safe, you’ll often need to compensate by adding acid (like lemon juice) or by refrigerating or freezing the product. Lemon juice also helps jams set, working with the fruit’s natural pectin. Naturally, that’s not what you want in a syrup, where the goal is pourable, not gel-like.
Why There’s No Lemon juice in Our Raspberry Syrup Recipe
Generally speaking, we add lemon juice to acidify low-acid preserves and make them safe for canning. Acidification helps ensure shelf stability, especially when no other preservatives are added. But in our raspberry syrup recipe, we didn’t include lemon juice because raspberries already have a natural pH of around 3.0–3.6, which is well below the 4.6 threshold that defines low-acid foods. On top of that, we use sugar in excess of 60%, which helps preserve the syrup by inhibiting the growth of mold and other microorganisms.
Tips & Tricks
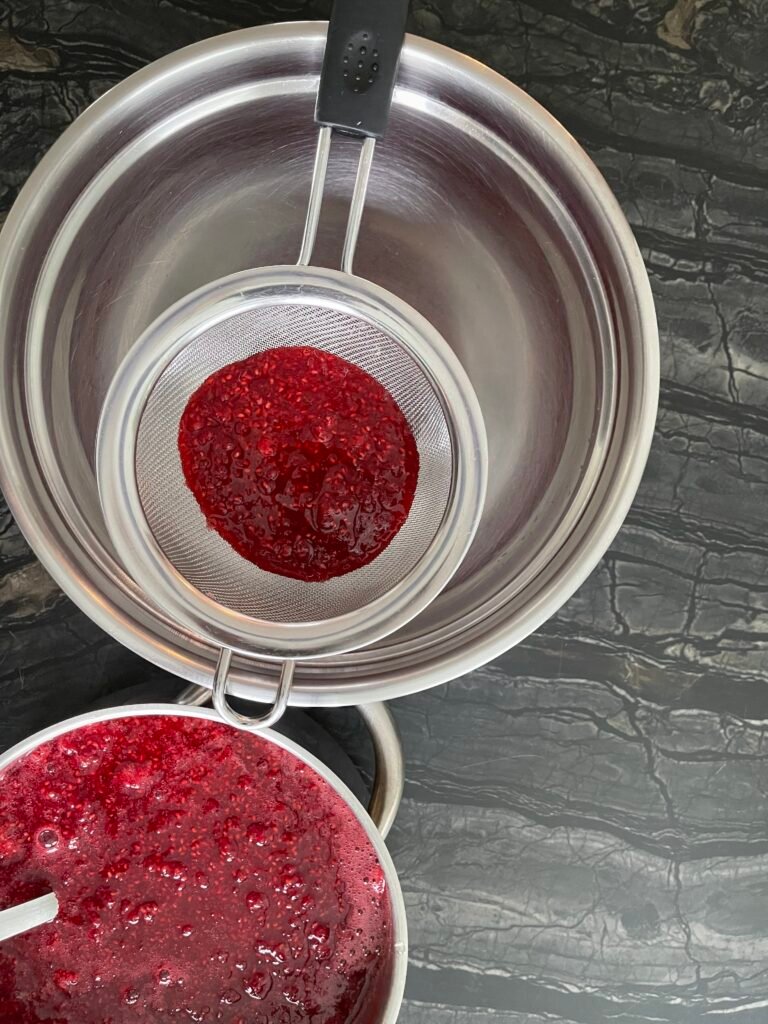
- Strain or not? Our recipe calls for straining the syrup mixture. However, if you’re on team “seeds are part of the berry experience,” leave them in.
- To can or not to can? If you are not into canning – no problem. You can skip the canning steps and store it in your fridge for a month. But, if you want to keep it for the long haul, then you have to process it in a canner. Also, if the mere thought of a water bath canner sends shivers down your spine, know there’s a much easier way to can. You don’t have to “dive” into a pot full of hot water to retrieve your syrup. When you use an atmospheric steam canner, all you have to do is lift the lid and pick your jars from the flat canning tray that sits above the water.
- Customize your spices: We use vanilla and cinnamon because they go so well with raspberries. But, if you want to try other spices, you can swap them with ease. Some of the options that you may want to explore are cardamom or star anise.
Why you want to cold-macerate your berries
Our secret weapon for our sweet preserves is cold maceration. Before you get all worried, cold maceration is really simple. All you need to do is let your lightly crushed berries sit with sugar in the fridge overnight. This step pulls out all the juice, makes the flavor stronger, and keeps the color bright and pretty. Of course, you can skip this step and cook your raspberry syrup right away, but you’ll miss that fresh, punchy berry taste.
Serving Ideas
- Pancakes & Waffles: This one is obvious. Serve it over pancakes and waffles. You will never go wrong.
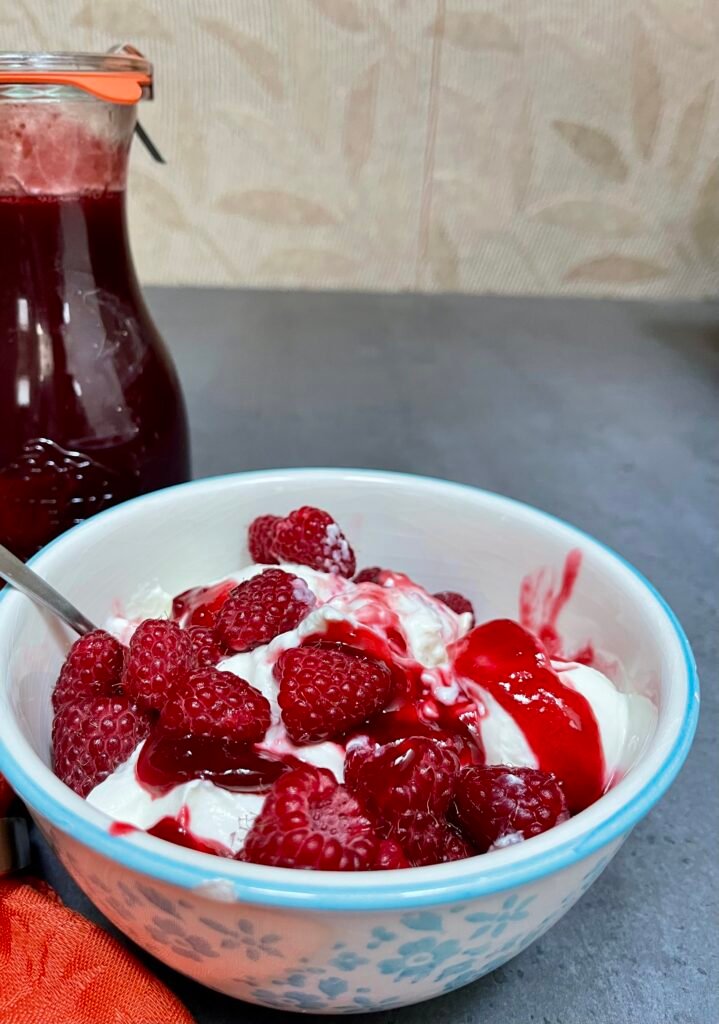
- Yogurt: Skip the flavored yogurts. Instead, add this raspberry syrup to plan yogurt and enjoy a healthy treat.
- Cocktails & Mocktails: How about shaking some of this syrup into a raspberry gin fizz, a spritzer, or a fruity lemonade?
- Ice Cream: Here’s another “no brainer”. Drizzle this raspberry syrup over vanilla or chocolate ice cream for an instant sundae upgrade.
- Cheesecake: This is your instant cheesecake topping. All you need to do is make a cheesecake!
- Overnight oats: Have you ever tried adding syrup to your overnight oats? If you didn’t try some for a sweet morning twist.
How to Make Raspberry Syrup – Step-by-Step

Homemade Raspberry Syrup Recipe
Ingredients
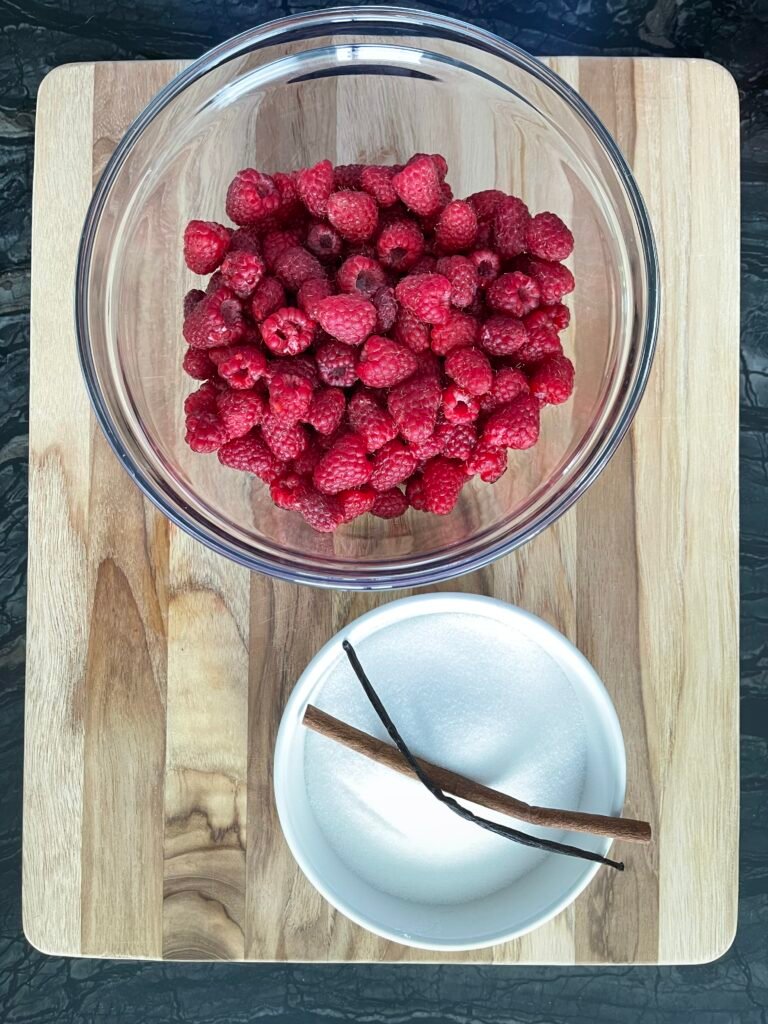
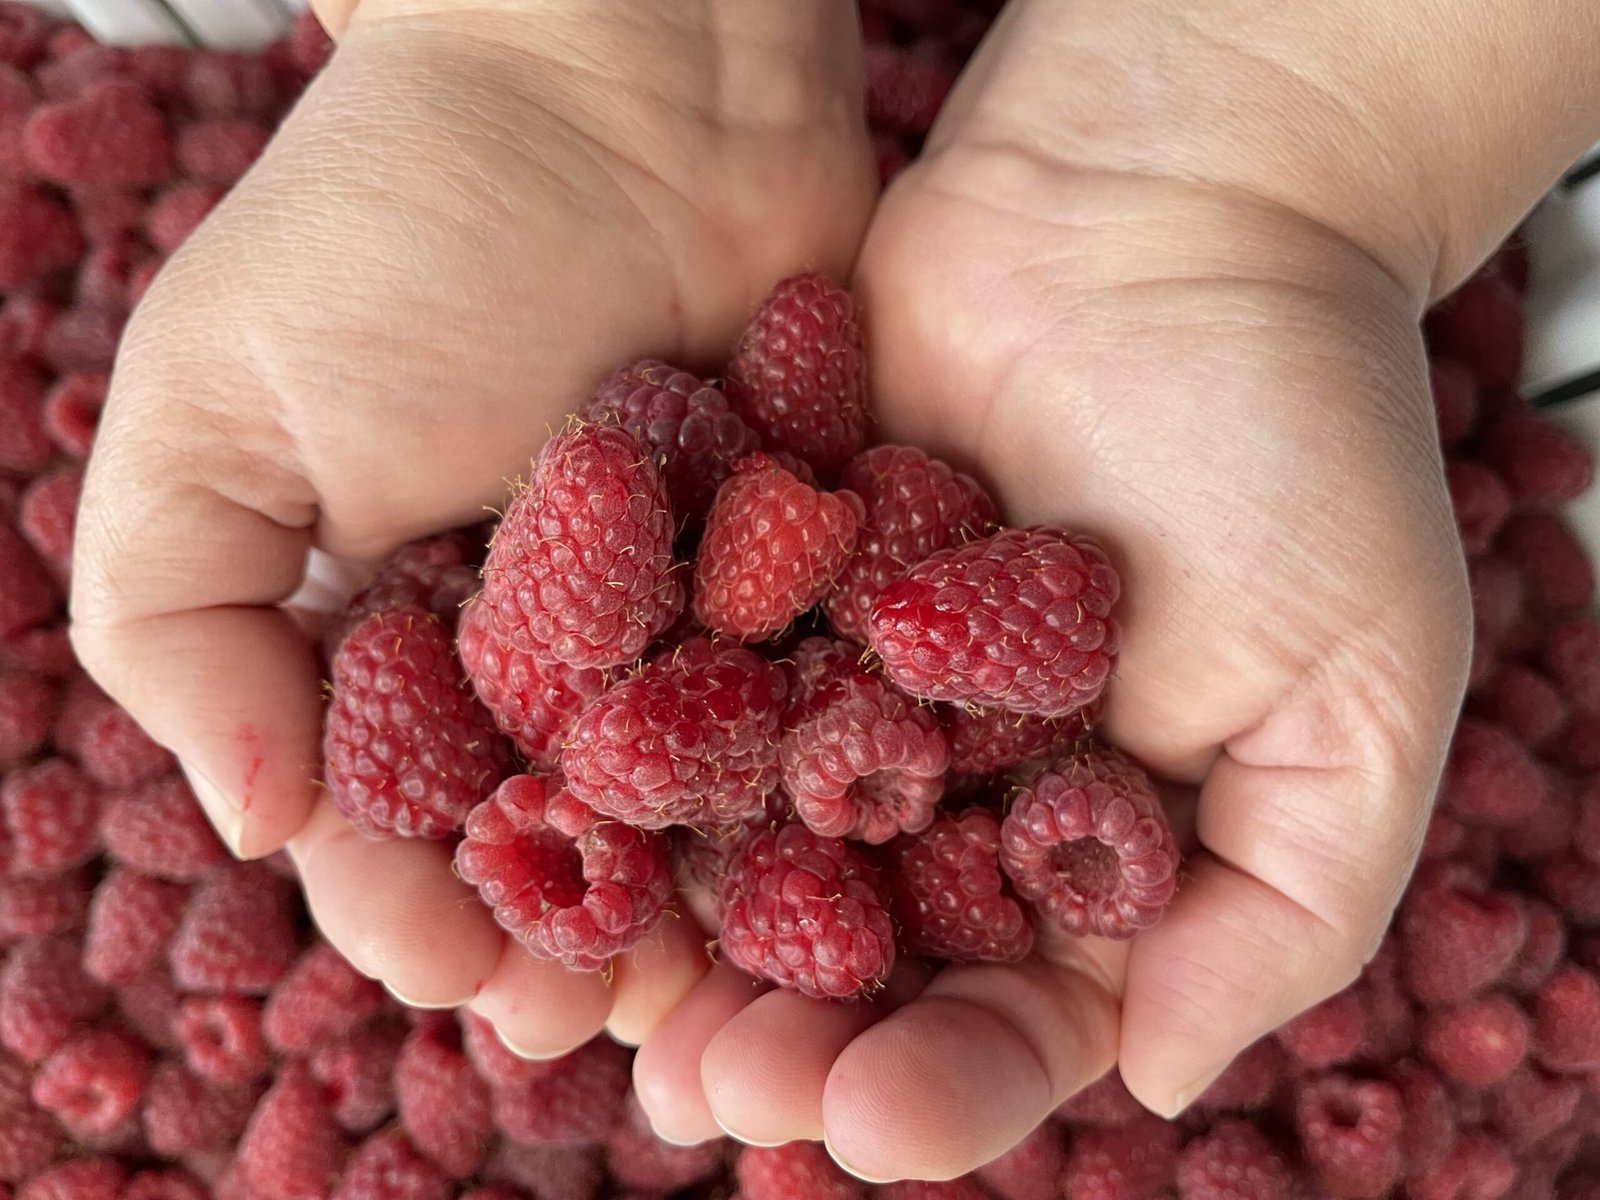
- 3 lbs. raspberries fresh or thawed from frozen (1400g)
- 4 cups sugar 800 grams
- 1 cinnamon stick
- 1 vanilla pod scraped or substitute with 1tsp. vanilla extract
Instructions
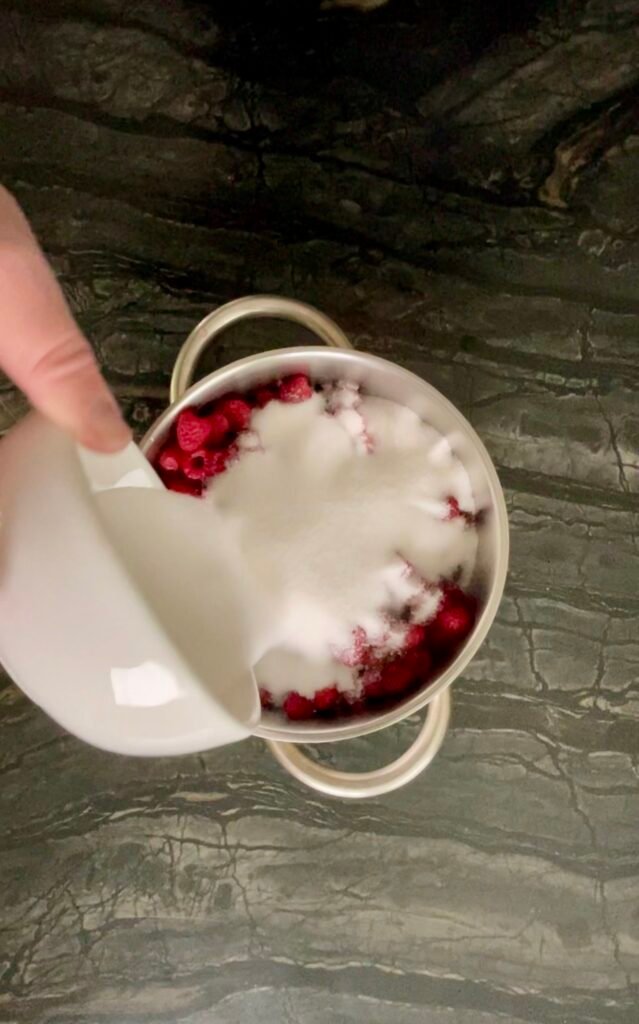
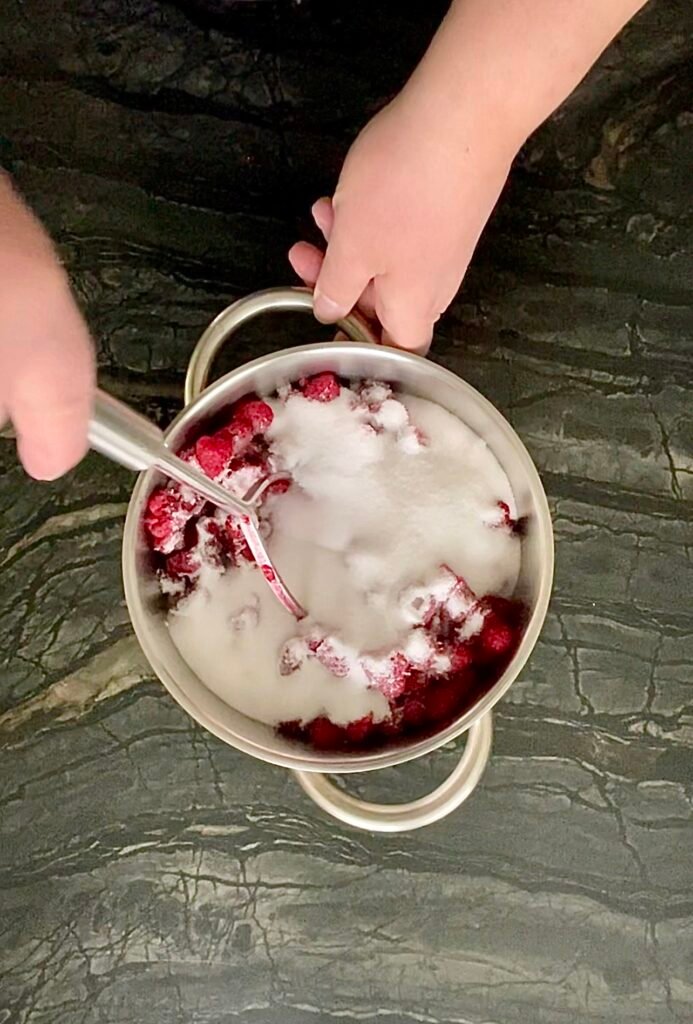
- Combine raspberries and sugar in a wide, heavy-bottomed pot.
- Gently mash the berries with the ¼ of sugar. This helps the sugar pull out the juices.
- Add the cinnamon stick to the pot.
- Cover the pot and let the berries rest (macerate) for 24 hours in the fridge or a cool spot. This makes the flavor stronger and keeps the color bright.
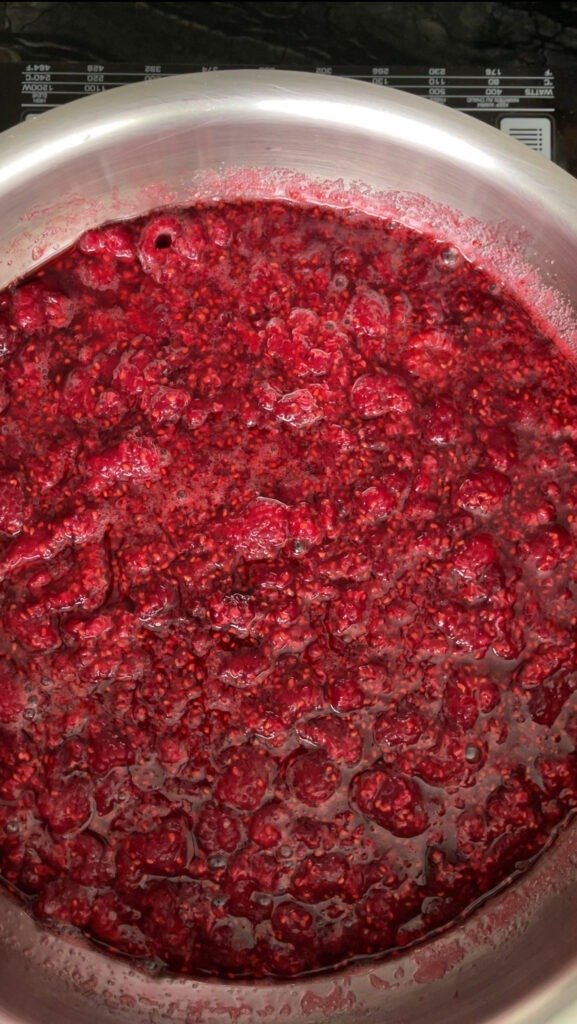
- After 24 hours, take the pot out and heat it over medium. Stir often until the berries break down, about 5 to 7 minutes.
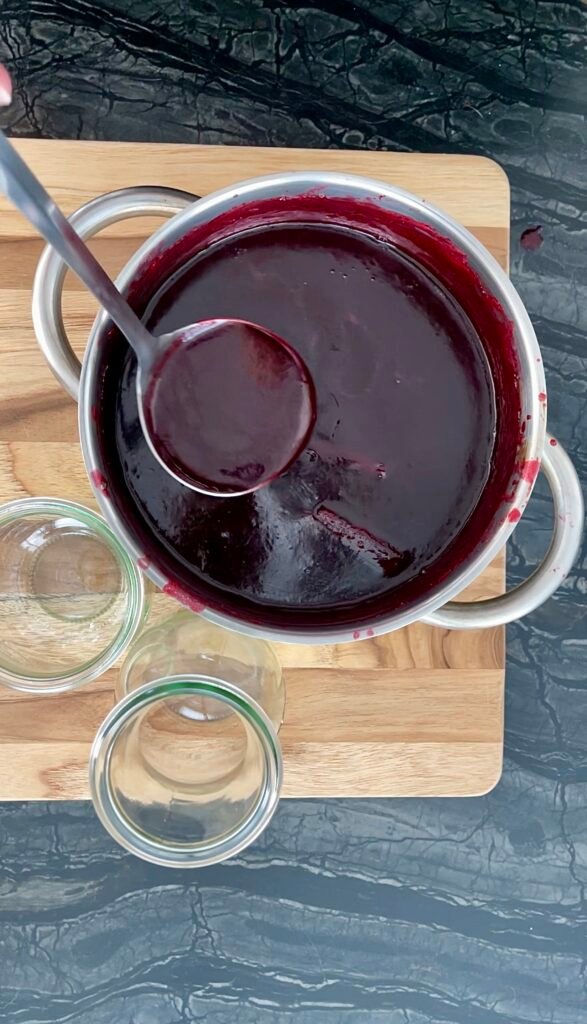
- Remove the pot from the heat. Press the mixture through a fine-mesh strainer or food mill to remove the seeds. Save the cinnamon stick.
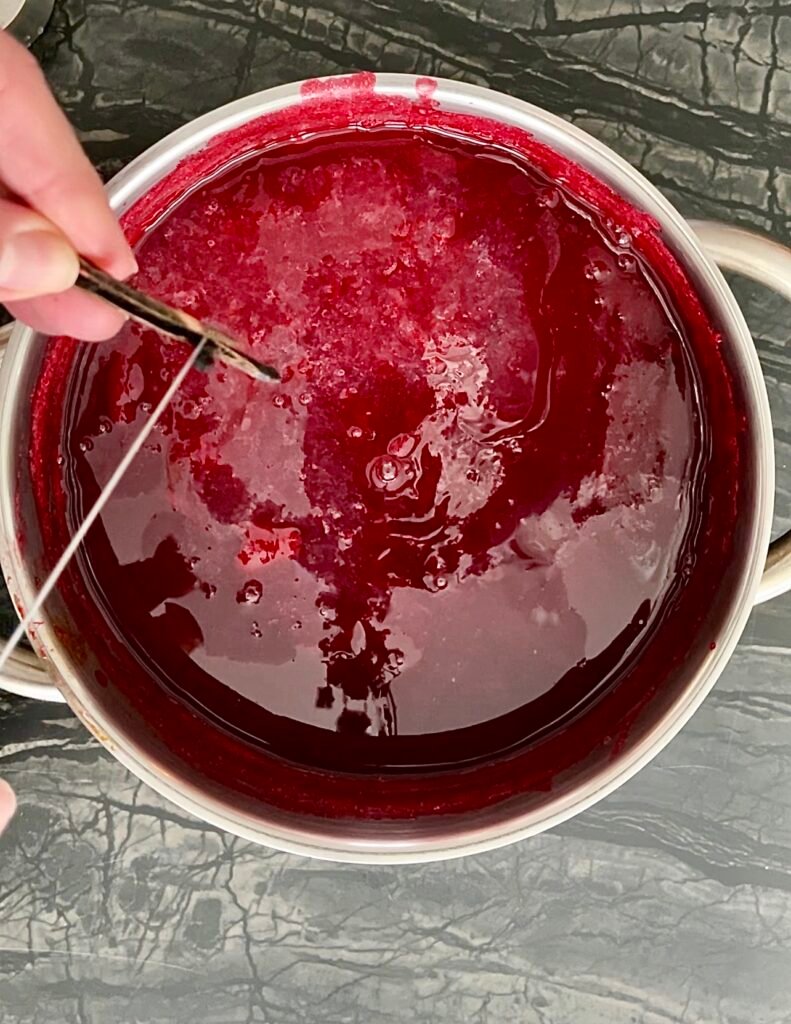
- Pour the strained syrup back into the pot.
- Add the reserved cinnamon stick back to the pot.
- Add all remaining sugar.
- Scrape in the seeds from the vanilla pod.
- Bring the syrup to a gentle boil over medium heat. Stir often to help the sugar dissolve.
- Once it starts boiling, lower the heat and simmer for about 5 to 7 minutes, or until it thickens slightly (it will thicken more as it cools).
- Skim off any foam or impurities that form on the surface of the cooking syrup.
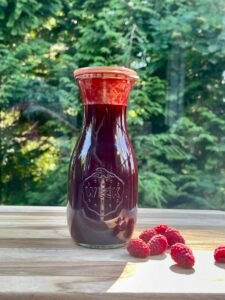
- Ladle the hot syrup into prepared jars, leaving about 1/4 inch of space at the top. Wipe the rims clean, add the lids, and screw on the rings until they are finger-tight. Process the jars in a canner following safe canning instructions
Notes
Processing time guidelines for hot water bath or atmospheric steam canners
Style of Pack: Hot| Process Time at Elevations of: | |||
| Jar Size | 0 – 1,000 ft | 1,001 – 6,000 ft | Above 6,000 ft |
| 1/2 Pint (8 oz, ~250 ml) | 5 min | 10 min | 15 min |
Make a batch! Then come back and tell us how this preserve recipe worked out for you. Leave us a comment below, write us, like us on X, Facebook, Pinterest, Instagram and Blue Sky. And remember, sharing is caring!
FAQ
Can I reduce the sugar?
The good news, yes, you can reduce the sugar slightly. However, because sugar acts as a preservative, you’ll need to store the syrup in the fridge and use it up more quickly. Alternatively, you can add 2 tbsp. lemon juice to your raspberry syrup recipe. Still, we do not recommend reducing the sugar below 40% of the weight of your strained raspberry mixture.
Keep in mind, in jams and jellies, sugar reacts with acid to help the mixture set and create that thick, spreadable texture we all love. So, by adding more lemon juice and keeping the sugar level high enough, you might accidentally end up with unexpected gelatinous clumps in your syrup. In other words, be careful!
How long does it last?
About 1 month in the fridge. But, if canned properly, it will last up to a year.
Got questions? Don’t be shy—leave us a comment or send us a message without ever leaving the blog! [Contact us here.]

- Curious about reusable jars? Want to save money and be eco-smart? We’ve got just the article for you!
- Not sure how to sterilize canning jars? Find the answer about “dos and don’ts” of canning jars sterilization.
You May also like:
-
How to Make Red Huckleberry Jam (Bilberry Jam Canning Recipe)
This red huckleberry jam is a love letter to mossy trails, summer mornings, and berry bounty. If you’ve never tried to make huckleberry jam, this is your sign. Get out… read more
-
Boozy & Spiced Seedless Raspberry Jam for Grown-Ups
Our raspberry jam breaks out of the mold. Seedless, low sugar, spiked with port and pepper, this is the jam that went rogue. It’s like that guest at a polite… read more
-

Make-Ahead Christmas Jam Recipe (Cranberry-Strawberry Jam)
You could wait until December to make your Christmas Jam. You could. But let’s be honest: December is full of burnt cookies, delayed packages, and half-wrapped gifts. You’ll be frazzled.… read more
-
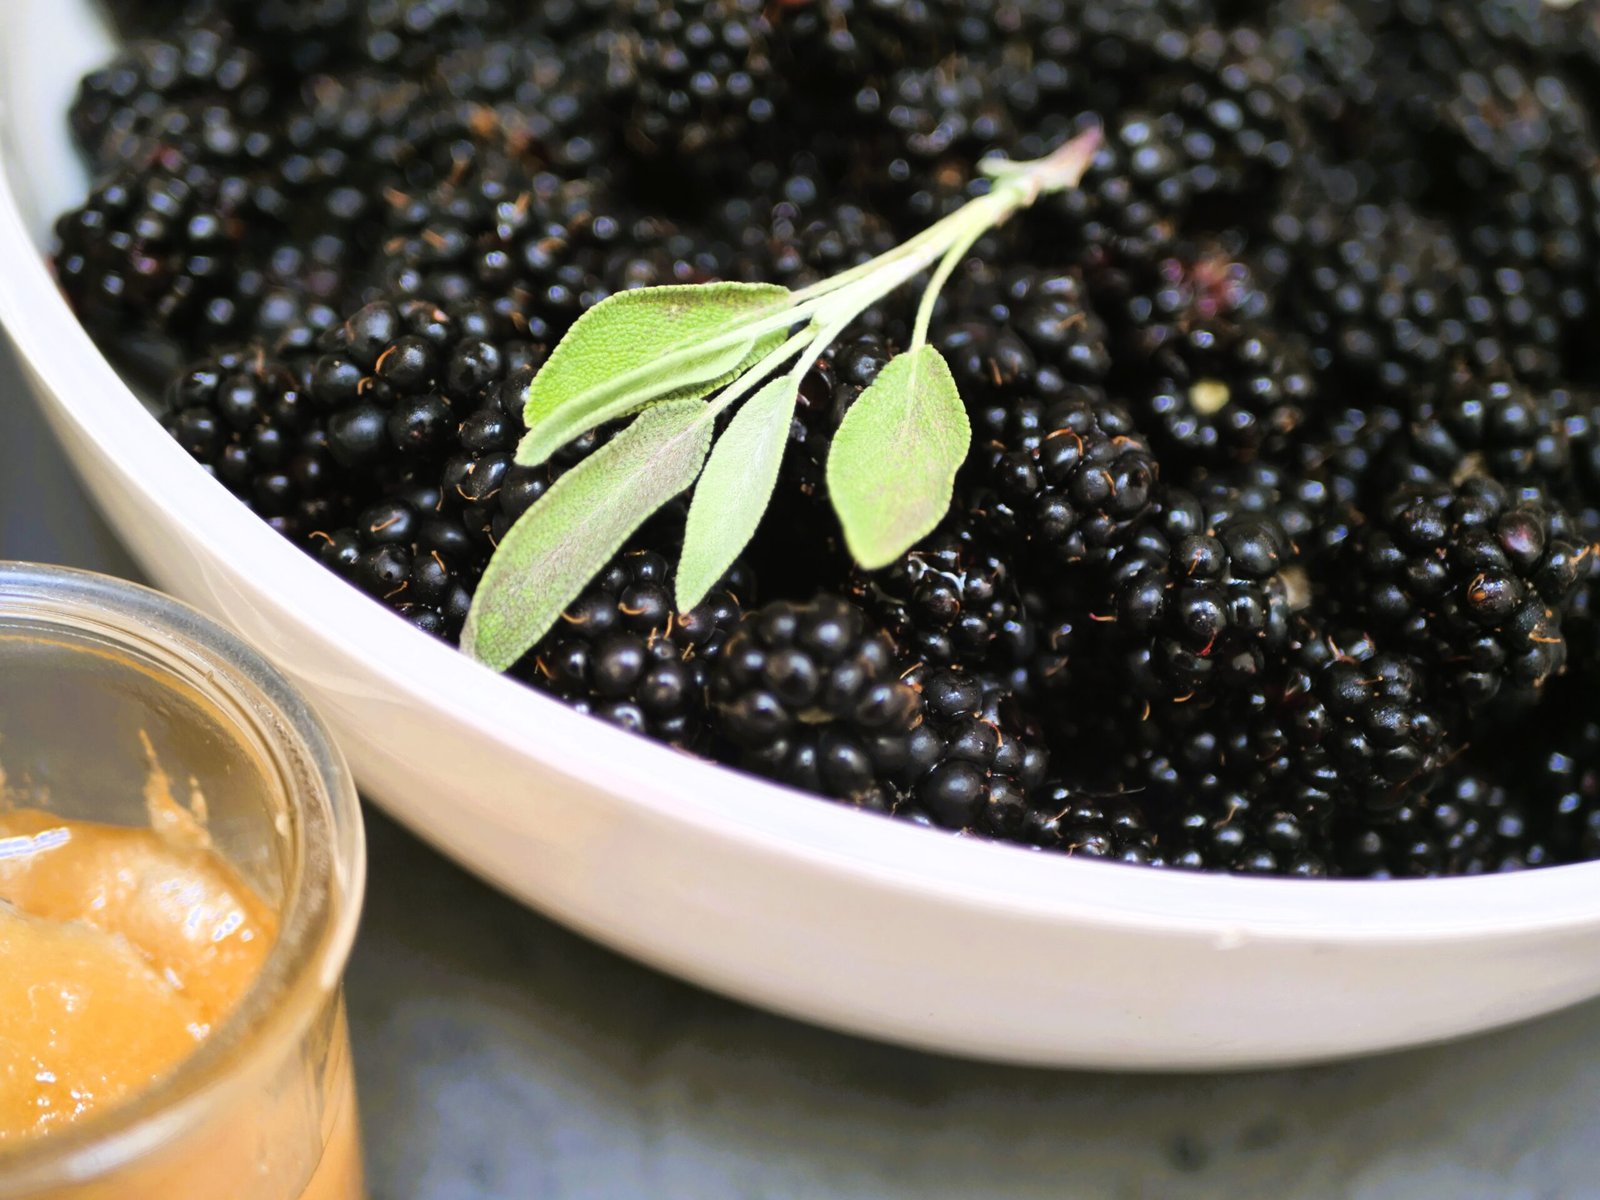
Seedless Blackberry Jam With Honey And Fresh Sage
Love blackberries but can’t stand the seeds? Neither can we! That’s why we made our blackberry jam seedless! Not a fan of overly sugary jams? Same here! That’s why we… read more
-
Low Sugar Blackberry Blueberry Jelly
This blackberry blueberry jelly recipe is ridiculously easy! Crush berries with sugar. Simmer till juices release, then strain. Back to the pot with lemon and pectin. If you think there’s… read more
-

How To Make Blueberry Jelly Without Adding Water
Guess what? You don’t need water to make blueberry jelly! Blueberries are packed with natural juices that get released during cooking. It’s not difficult or complicated. You just need to… read more
-
How To Make And Can Blackcurrant Jostaberry Jelly
Are you handing out jostaberries to friends, neighbors, and coworkers because you don’t know what to do with them? Guess what? The reason people avoid you in the hallways is… read more
-
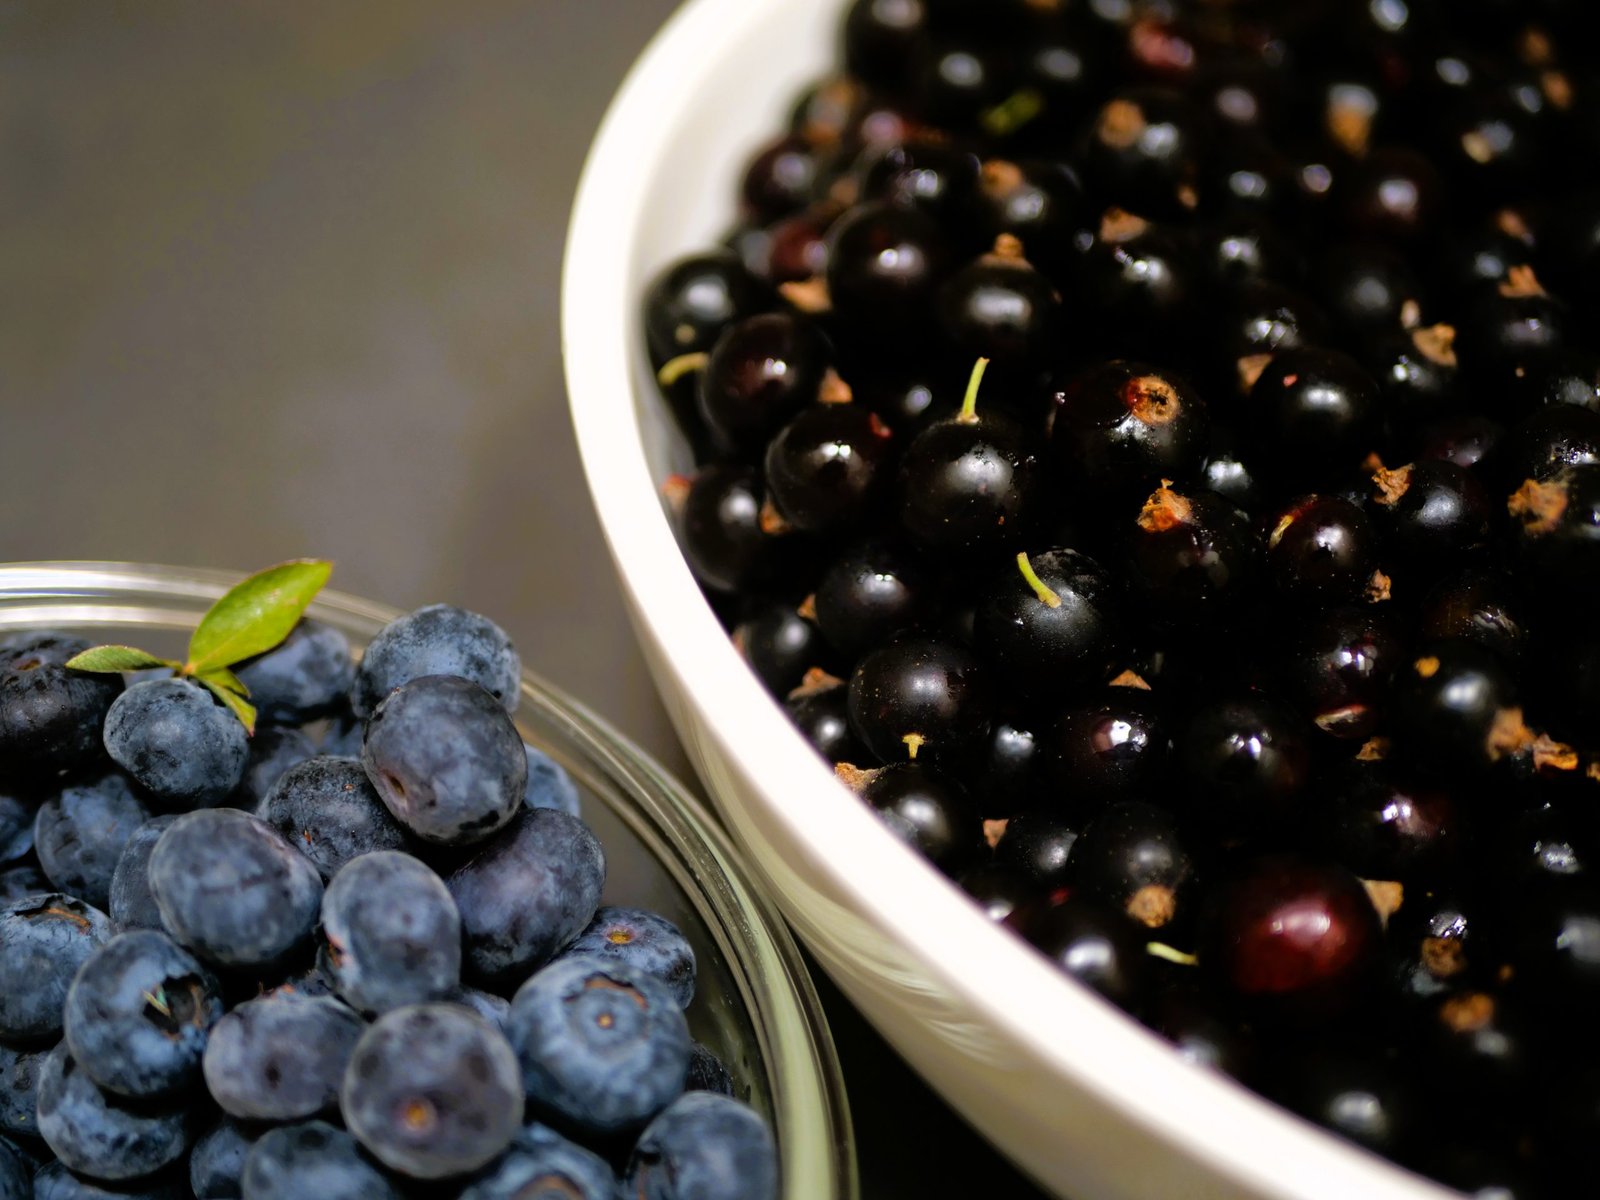
The Ultimate Berry Powerhouse: Blueberry Blackcurrant Jam Recipe
Unlock the ultimate berry powerhouse with our blueberry blackcurrant jam canning recipe! Perfect for beginners and seasoned canners alike, this easy-to-follow canning recipe ensures you capture the vibrant flavors of… read more
-
Low-sugar Blackcurrant Jam Recipe With Just Three Ingredients
Discover the magic of homemade low-sugar blackcurrant jam! With just blackcurrants, sugar, and pectin, you can create a delicious and healthy jam that’s also incredibly easy to make. Once you… read more
-
How To Make Reduced Sugar Blackcurrant Jelly Without Adding Water
Our blackcurrant jelly recipe skips the water and keeps the sugar in check for a healthier, tastier jelly. The best part? It’s super easy to make! But watch out! Once… read more

Leave a Reply