
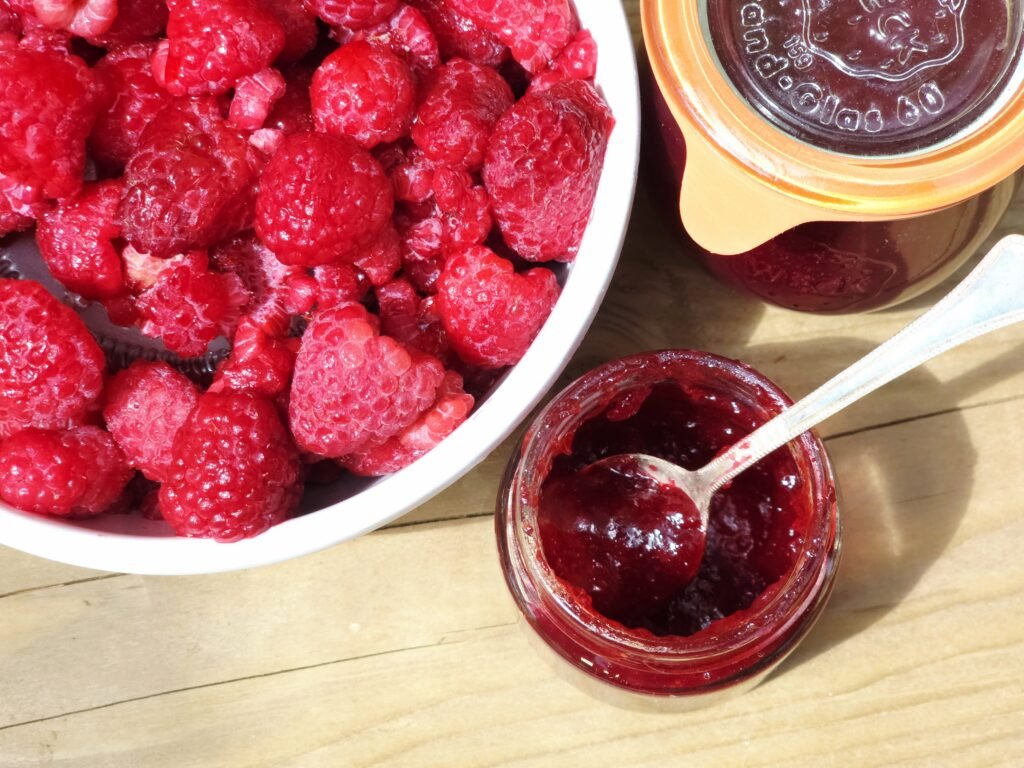
Seedless Raspberry Jam Recipe
Seedless raspberry jam. Strained smooth, no seeds stuck in your teeth. One technique, a choice to make it low-sugar or full sugar, and a handful of ways to make it yours.
🔪 Prep:
20 mins
⏲️ Macerate:
2 hrs
🫕Cook:
45 mins
🫙5
half-pint jars
💰Cost:
~$5 per jar
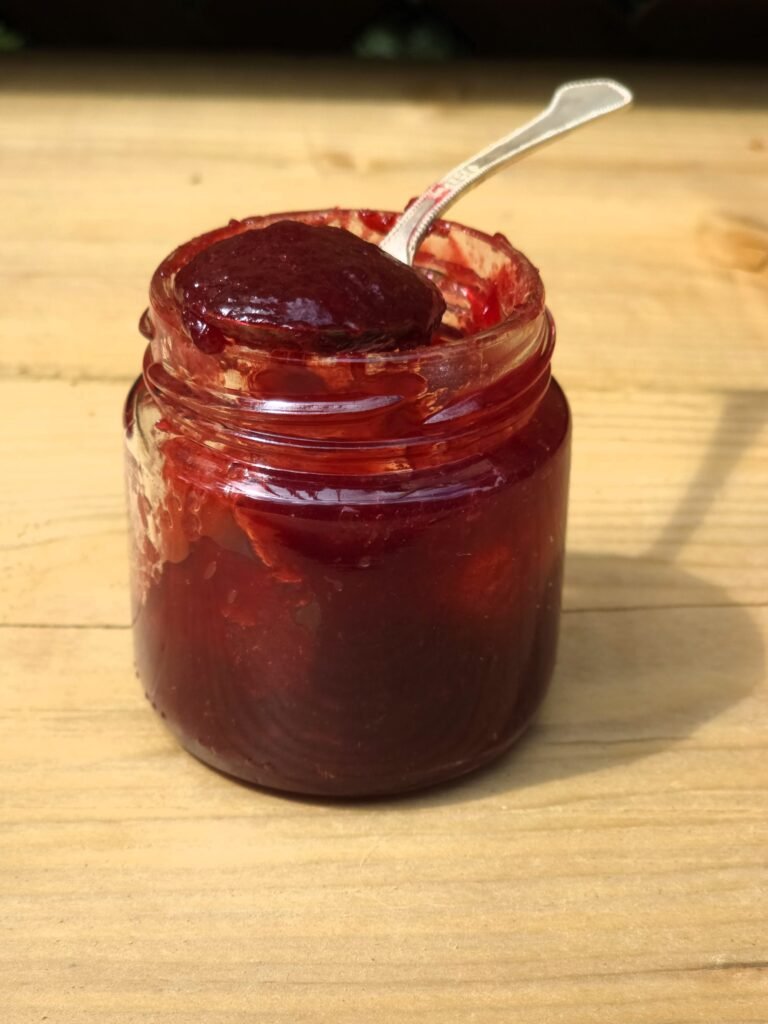
If you’ve ever spent a good afternoon making raspberry jam only to spend the next six months picking seeds out of your teeth, seedless raspberry jam is the answer. A simple, smooth jam that puts raspberries front and center. One base, two methods: low-sugar with Pomona’s or classic with none. Leave it exactly as it is, or experiment with spices, herbs and alcohol.
Why You’ll Love This Raspberry Jam:
- It’s seedless, that’s probably all you wanted to know when you landed on this page
- The foundation for nearly every raspberry jam recipe on Canned Experience.
- Make it traditional or low sugar.
- Works with fresh or frozen raspberries.
- Easy to customize with spices, vanilla, herbs, citrus or alcohol.
- Perfect for beginners but versatile enough for experienced canners.
Why This is Our Base Raspberry Jam Recipe
After making raspberry jam for years, we realized we kept doing exactly the same thing before adding whatever flavor we were experimenting with next. Every batch began the same way: mash the raspberries, let them macerate, strain out the seeds, and cook the fruit into a smooth, glossy jam.
Sure, there were different last few steps depending on what we felt like that week.
One summer it was port wine, timut pepper, and cracked black pepper. Another year it was rose petals. Sometimes we kept it simple with a little vanilla, and sometimes we left it exactly as it was because nothing beats the flavor of pure raspberries.
Eventually, it stopped making sense to repeat those same steps in every raspberry jam recipe on the site. So, we gave this seedless raspberry jam a home of its own.
If you’ve made our Boozy & Spiced raspberry versions before, you’ve already made this recipe. You just didn’t strip it down to see it.
Key Ingredients in This Seedless Raspberry jam Base
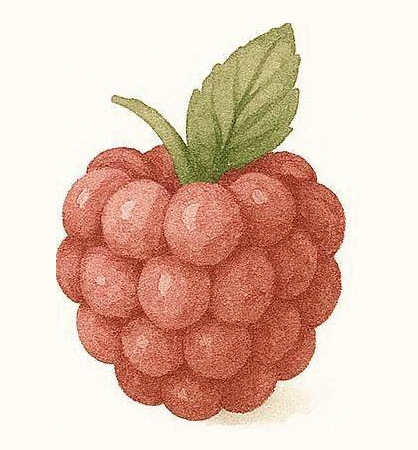
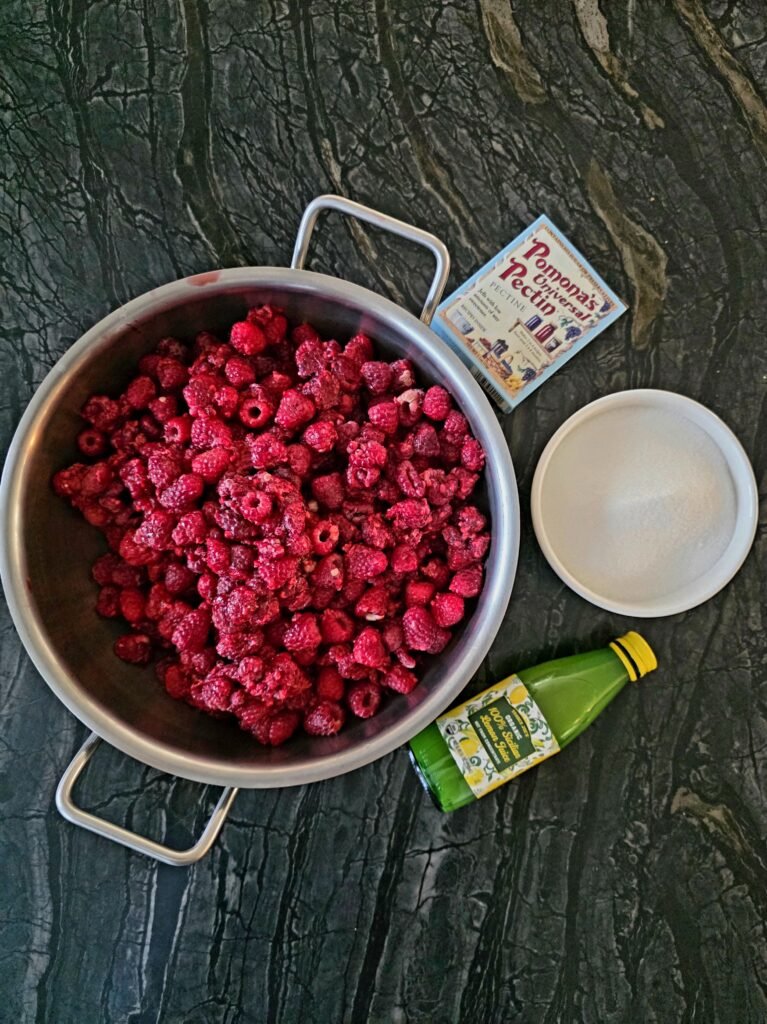
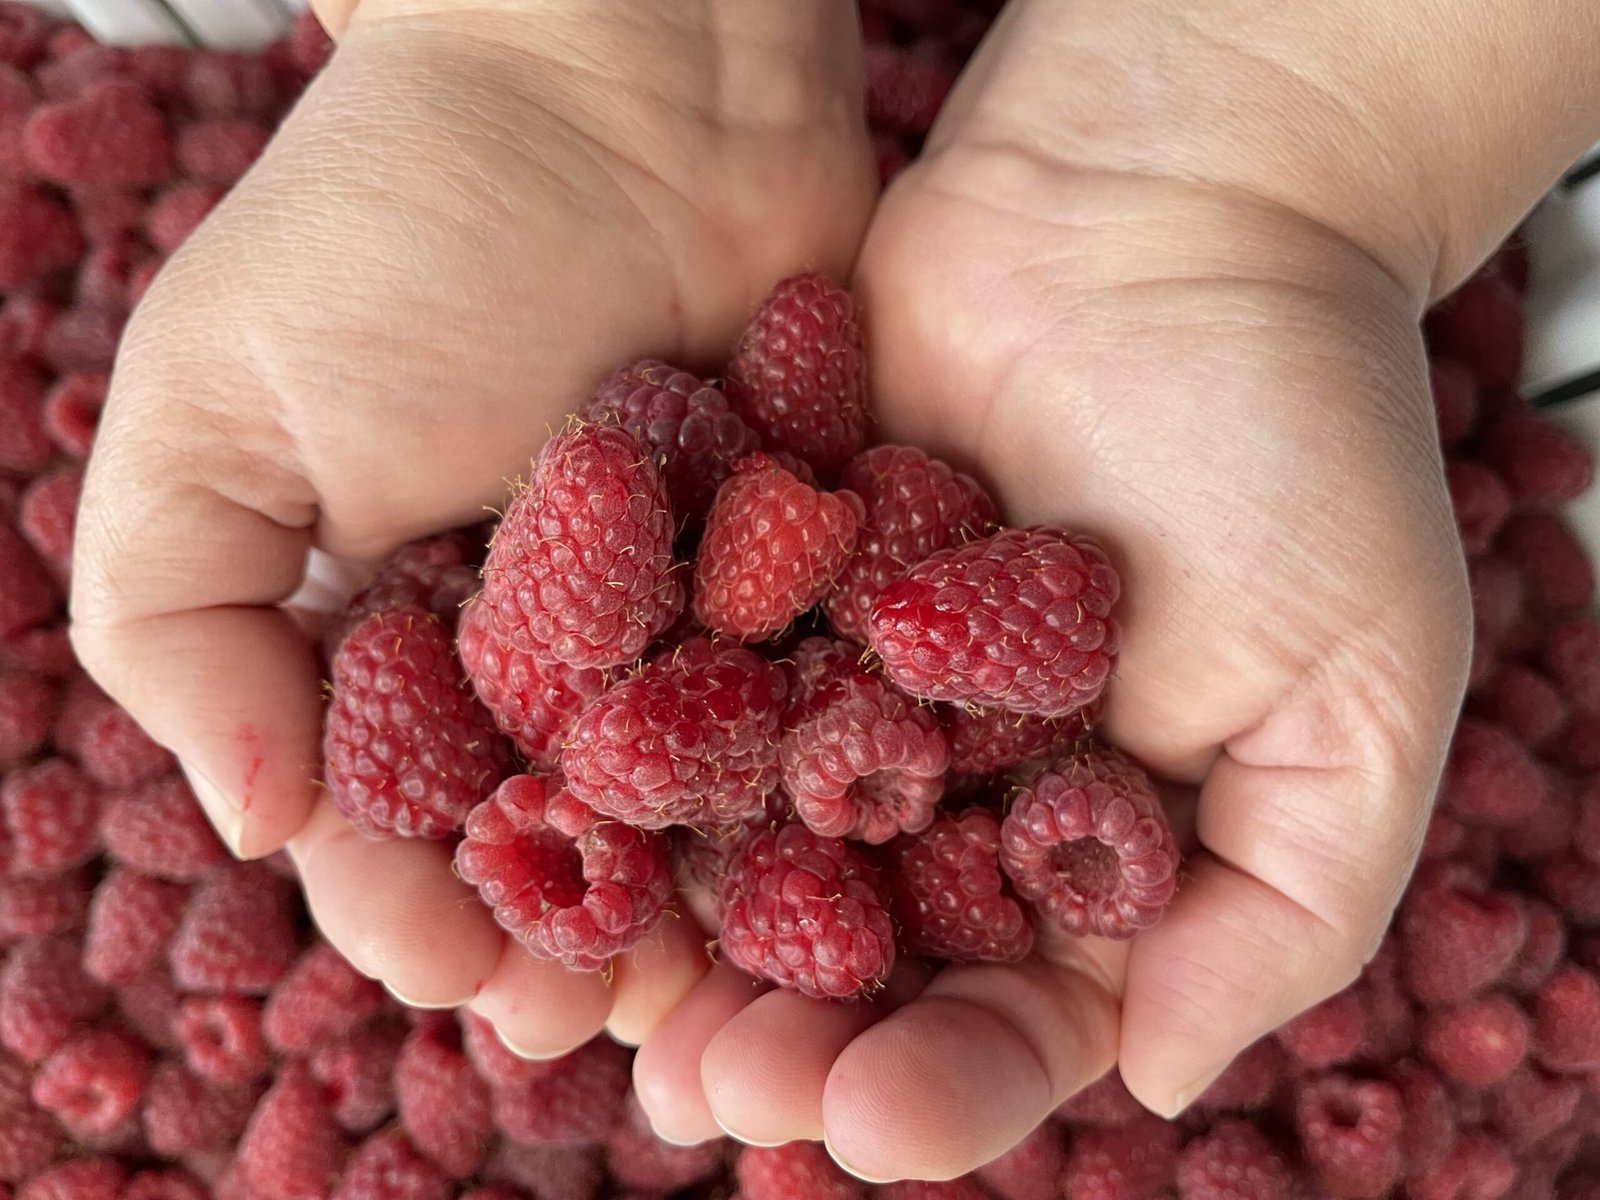
Raspberries – fresh or frozen
Fresh raspberries at peak season taste the best. If making this out of season, frozen work fine the rest of the year. Make sure to thaw and drain before measuring, or that extra meltwater goes straight into your pot and messes up your set. As for substitutes, there isn’t a real substitute here; swapping in another berry changes the acidity, the texture, and every recipe downstream of this base.
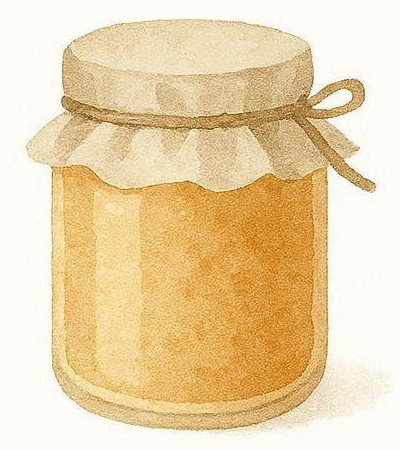
Pectin
The low-sugar path uses Pomona’s Universal Pectin, which sets through calcium activation instead of a near 1:1 fruit-to-sugar ratio. We do not add any calcium – the natural calcium present in raspberries, released by maceration and initial cooking does the trick.
Substitution: The classic path skips added pectin entirely and relies on the raspberries’ own natural pectin and sugar set by boiling to the gel stage. Regular boxed pectin isn’t a drop-in swap for either path. It’s formulated for its own full-box sugar ratio.
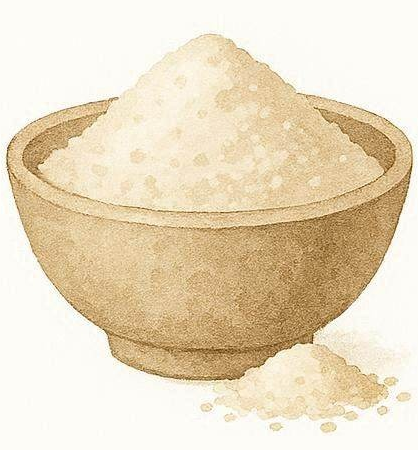
Sugar
If you are using Pomona’s, you can set your jam without any sugar. However, sugar is not only about setting the jam; it also provides sweetness and shelf stability. Don’t cut sugar back further than written in your specific low-sugar recipe, and don’t swap sugar for artificial substitutes without following a tested recipe. Going too low on sugar can cause the growth of mold or premature spoilage once the jar is opened.

Lemon Juice (optional)
Raspberries are naturally high in acid, so this recipe doesn’t require lemon juice for safe water bath or steam canning. But, if you enjoy a brighter, slightly tangier raspberry flavor, you can add 1/4 cup of lemon juice.
For our low-sugar version, we skip the lemon juice in favor of a less processed raspberry jam flavor. However, for the classic, full-sugar version, we always add 1/4 cup of lemon juice to this recipe to balance the higher sugar content, and keep the finished jam from tasting overly sweet or cloying. It isn’t needed for safety or for the jam to set. It’s simply a matter of flavor choice.
A Quick Note on Pectin:
If you see “pectin” on a label and instantly think of synthetic chemical additives, you are not alone – but you can breathe a sigh of relief! Pectin is actually a 100% natural, plant-based soluble fiber found in the cell walls of fruits. Far from being a synthetic lab creation, commercial powdered pectin is cleanly upcycled from real fruit, primarily by simmering down citrus peels and apple pomace left over from the juice industry. In fact, beyond its magical ability to thicken a low-sugar jam, it acts as a powerful prebiotic that actively supports gut health. 🧡We love it because reaching for a clean, high-quality powdered pectin allows us to cut the sugar in our jams drastically without sacrificing texture or relying on weird artificial preservatives.
Note: We do not recommend using liquid pectin because commercial versions contain added shelf-stabilizers and preservatives like sodium benzoate.
Pomona’s Pectin vs. Regular Pectin: Why This Recipe Uses Half the Sugar
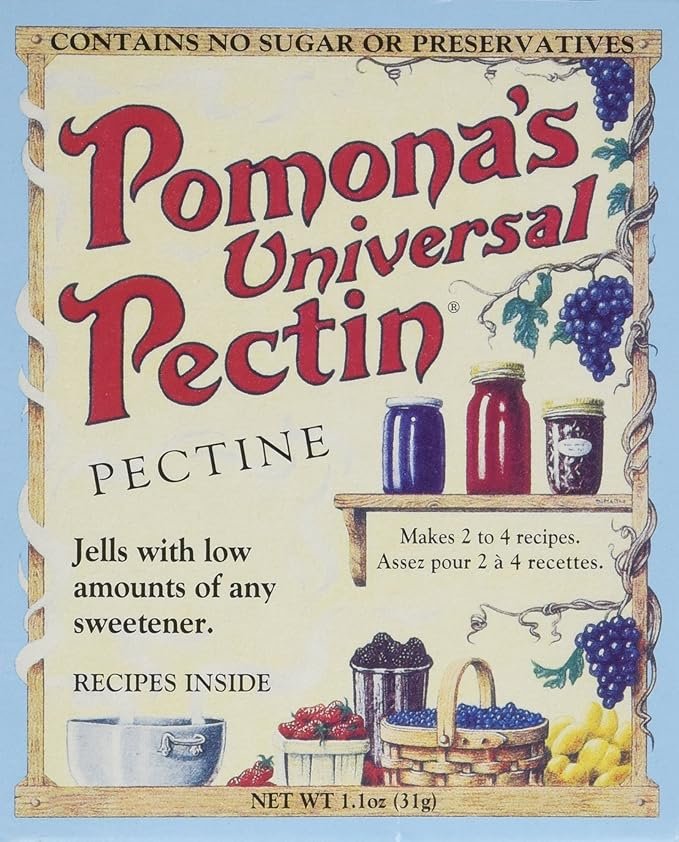
Most jam recipes lean on sugar to do two jobs at once – sweetness and set. Regular pectin needs that high sugar concentration to gel, which is why old-fashioned jam is as sweet as it is. There’s a reason your grandmother’s raspberry jam had a cup of sugar for every cup of fruit.
Pomona’s Universal Pectin works differently. It sets on calcium instead of sugar, so you can cut the sugar in half and still get a jar that holds a spoon.
Here, we go a step further and skip the calcium packet that comes in the box.
The way we macerate and cook the raspberries pulls enough natural calcium out of the fruit to do the job. If you follow the steps as written, that packet stays in the drawer. Cut corners on the maceration or the 5-minute cook, and you’ll want it on hand.
The trade-off with regular boxed pectin is the sugar you’re locked into. The trade-off some people find with Pomona’s is a faint chalky note from the calcium water.
Our method sidesteps both.
How to Strain Raspberry for Seedless Raspberry Jam
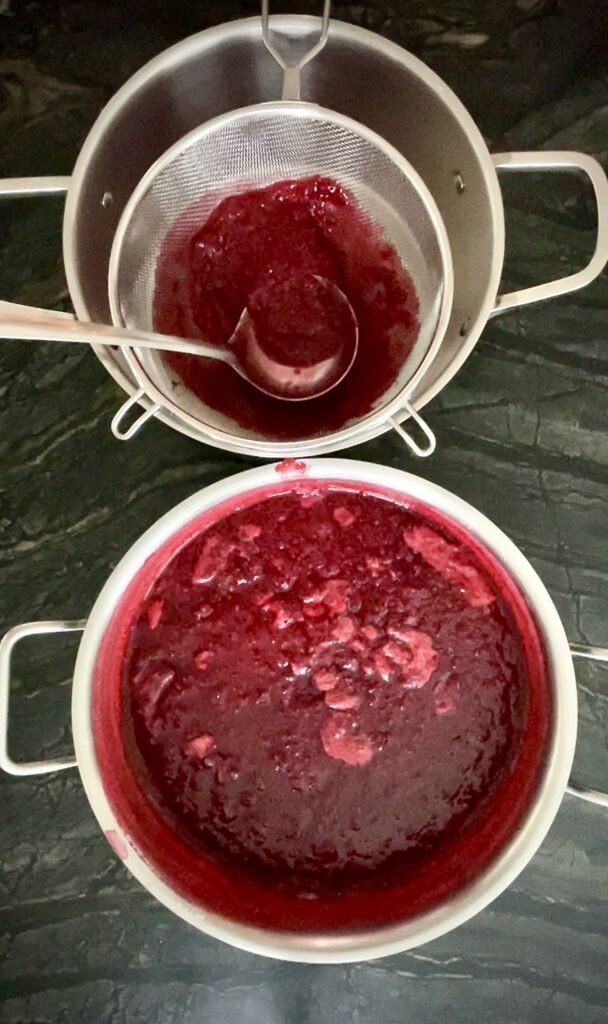
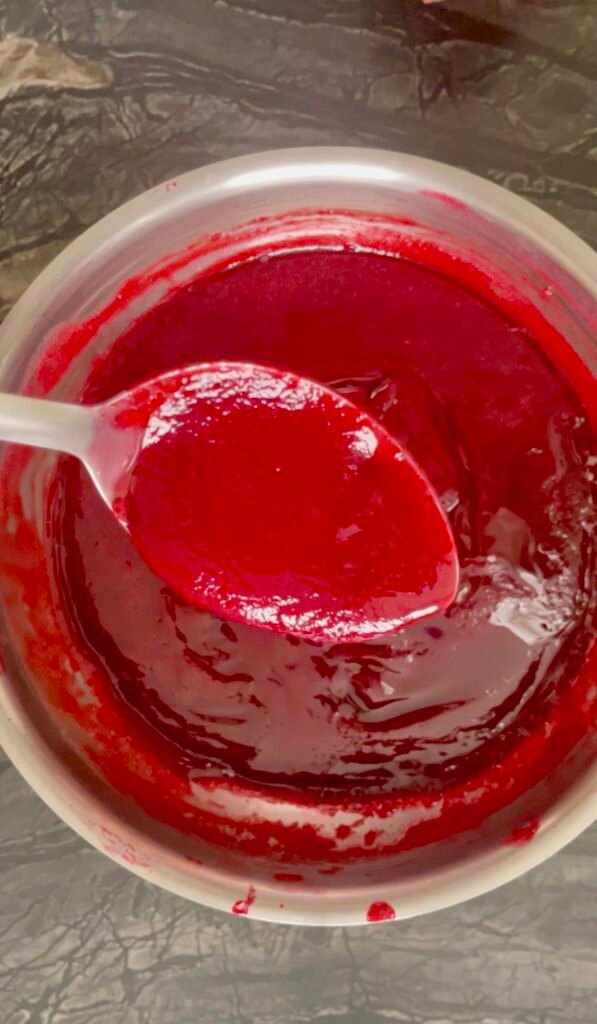
Straining is the step that turns ordinary raspberry jam into smooth, seedless jam. Although it takes a little patience, it’s well worth the effort. Don’t be surprised if it takes 20 minutes or more to strain a large batch. It’s the most time-consuming part of the recipe, but it’s also what gives the jam its silky texture.
Why the Steps Before the Sieve Matter:
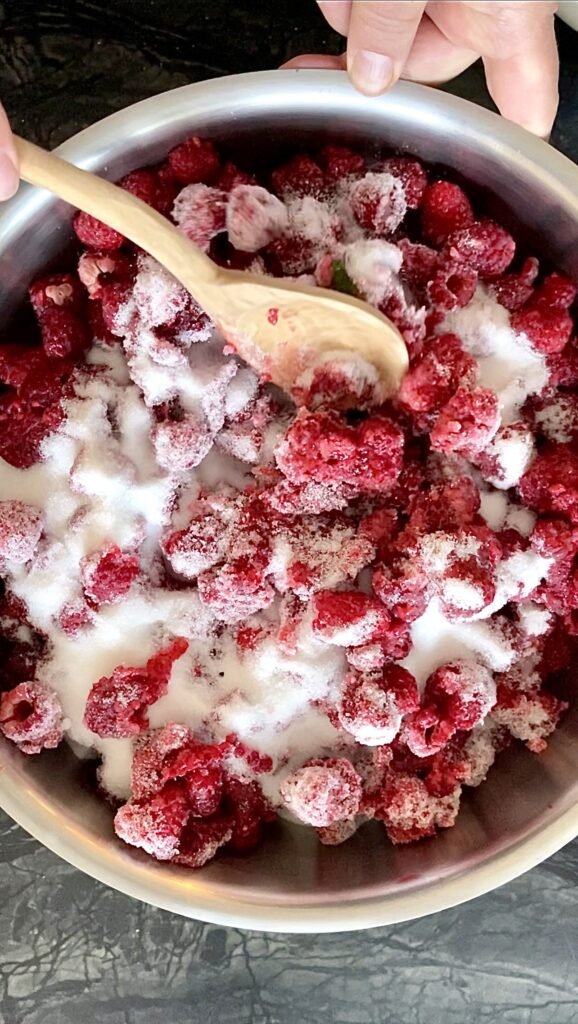
- Maceration pulls the juice out of the fruit and concentrates it.
- Resting allows the natural pectin to leach out of the cell walls.
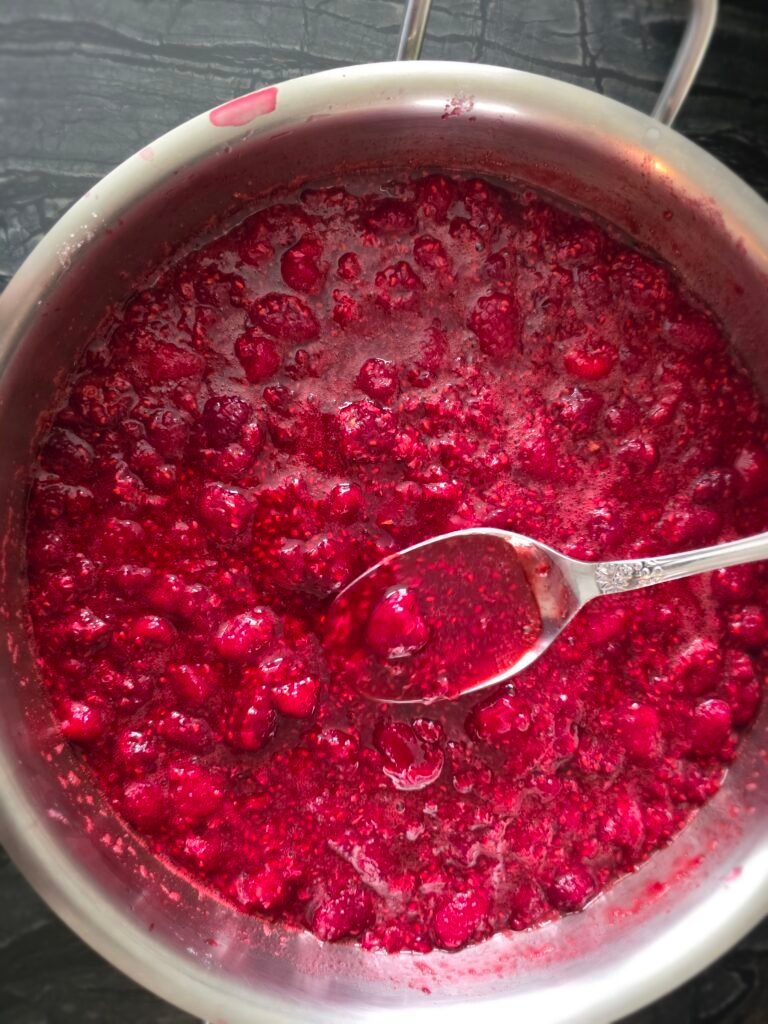
- The Initial 5-Minute Cook breaks down the remaining fruit fibers, freeing up natural calcium.
- The Result: Together, the maceration and initial cooking step thoroughly soften the fruit so it strains effortlessly. In addition, by the time your Pomona’s pectin hits the pot, the raspberries have handed over enough of their own calcium to set the jam perfectly as it cools, making the boxed calcium packet completely unnecessary.
Step-by-Step Straining Guide:
- Work in Small Batches: Once your raspberries have softened, work with just a portion of the fruit at a time to avoid overflowing your sieve.
- Press through : Pour the fruit into a fine-mesh strainer. Using the back of a spoon or a flexible spatula, gently press the pulp and juice through the mesh, leaving the seeds behind. Press firmly, but let the strainer do the work. If you push too hard, tiny seed fragments will end up in your jam.
You are done with a batch when the seeds left behind look fairly dry and you are no longer getting much pulp through. If it feels stuck, don’t use muscle, simply switch to a fresh batch of fruit or give it a little more time.
Sieve vs. Food Mill:
- Our Recommendation: We prefer a fine-mesh metal strainer because it produces a perfectly smooth jam with zero seed fragments.
- The Exception: If you are processing a massive batch, a food mill can be a great time-saver to remove the bulk of the seeds first. Just pass the fruit through the food mill to do the heavy lifting, then finish it through a fine-mesh sieve to catch the remaining fragments.
What this Raspberry Jam Costs to Make
Seedless raspberry jam has never been the cheapest preserve to make. The biggest cost isn’t the sugar or the pectin. It’s the raspberries. Straining out every seed means leaving some pulp behind in the strainer, so you end up needing more fruit than you would for a traditional seeded jam.
That said, if you’re picking your own at a U-pick or buying flats direct from a local farm, this recipe becomes much more affordable. That’s how we buy raspberries every summer, and both are what these numbers are based on. Grocery-store raspberries roughly double the cost.
| Ingredient | USD $ | CAD $ |
| Raspberries, fresh, U-pick (6 lb / 2.7 kg) | $11.30 – $13.50 | $15.00 – $18.00 |
| Granulated sugar (5 cups / ~1 kg) | $1.30 – $1.60 | $1.75 – 2.10 |
| Pomona’s Universal Pectin (1½ tsp) | $2.00 – $2.60 | $2.60 – $3.20 |
| Total batch cost (5 half-pint jars) | $14.60 – $17.70 | $19.35 – $23.30 |
Max Cost per Jar: $3.54 USD / $4.66 CAD
A 250 mL jar of artisan seedless raspberry jam runs $10–$14 USD / $14–$18 CAD at farmers’ markets and specialty shops. This recipe brings that down to about $2.92 – $3.54 USD / $3.87 – $4.66 CAD per jar. That’s a third of the market price for a jar you controlled from the first berry in your pot.
Common Mistakes When Making Seedless Raspberry Jam (and how to fix them)
❌Rushing the maceration. Three hours is the floor, not the goal. Do not skip this step or shorten the maceration. Overnight in the fridge pulls a lot more juice out of the berries before the pot ever hits the stove.
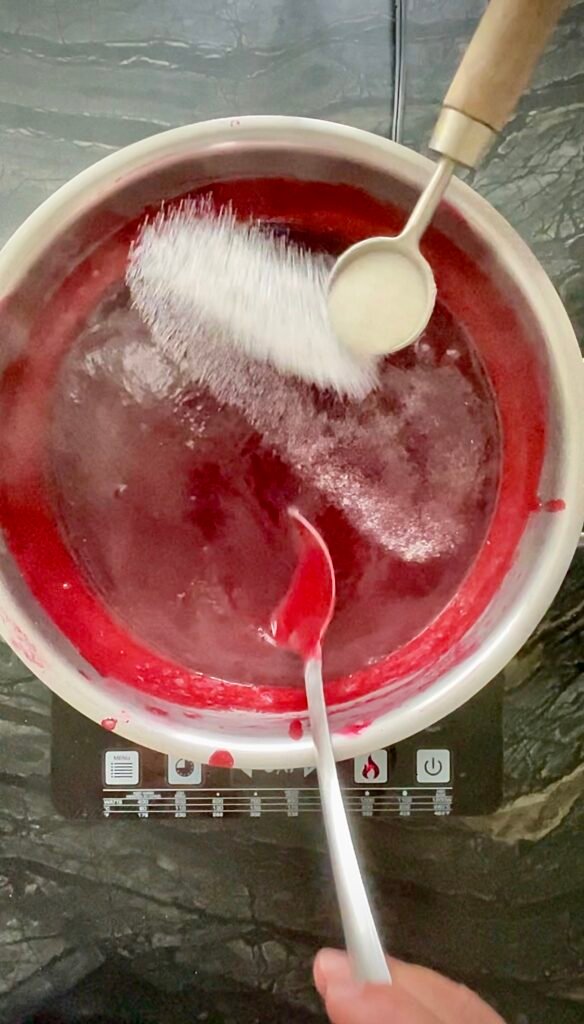
❌Mixing the pectin straight into the hot jam. Pectin needs to be mixed thoroughly into the reserved sugar first, then added slowly while stirring. Dump it straight into the pot and it clumps before it has a chance to activate evenly, and you’ll be picking slimy lumps of pectin out of a jar later.
❌Trusting a strainer that isn’t fine enough. The mixture can look perfectly smooth and glossy even when it isn’t. Unfortunately, the grit doesn’t always show until you taste it. This happens with a mesh strainer that’s too coarse, and it happens with a food mill too, since a food mill’s plate will let the same fine seed fragments through. So, don’t assume it’s smooth just because it looks smooth. Always taste a spoonful, and if you catch any grit, run the batch through a second, finer strainer before moving on.

Pantry Master Note on Acid (and Why There’s No Lemon Juice Here)
Raspberries are naturally acidic. They are typically pH 3.2–4.0.
That number is comfortably below the 4.6 threshold where botulism risk becomes a factor for water bath or steam canning. Unlike borderline fruits such as tomatoes or figs, raspberries don’t need added lemon juice to reach a safe pH, which is why our tested low-sugar path skips it entirely.
Substitution: If you’re making the classic, full-sugar jam instead, ¼ cup of lemon juice is also optional. However, it will help support the gel (that path leans on a sugar-acid-pectin reaction) and brightens flavor, but it isn’t doing safety work here the way it does in something like tomato canning.
Homemade Seedless Raspberry Jam Recipe for Canning
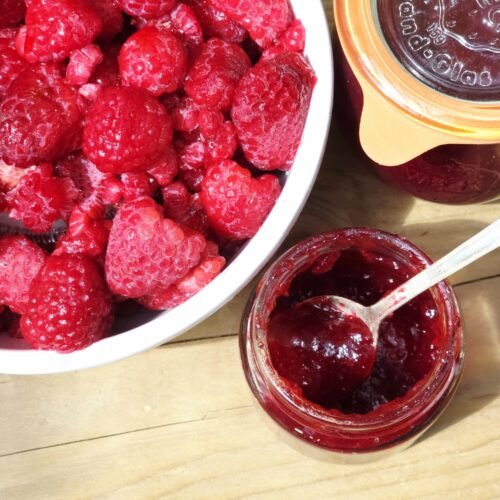
Creative Gourmet Variations for Seedless Raspberry Jam
Once you have mastered this seedless raspberry jam base, you can easily adapt it into a variety of creative, artisan preserves. Use these flavor combinations to get started:
| If You Want to Make… | Add This to Your Batch… |
| Cinnamon Raspberry Sauce | Cinnamon stick |
| Raspberry Vodka Jam | Vodka |
| Raspberry Black Pepper + Port Jam [read more↗️] | Port wine & cracked black pepper |
| Raspberry Rose Petal + Timut Pepper Jam [read more↗️] | Food-grade rose petals & Timut pepper |
How to Infuse Spices vs. Alcohol
The most important thing to remember is that vanilla, spices, and dried herbs are much more forgiving than alcohol. For the best result, add dry spices during the cooking step to give them plenty of time to infuse into the hot jam.
Spirits and liquor behave differently, and their final flavor changes dramatically depending on exactly when they hit the pot:
- Added Early: If you add alcohol at the start of the cooking stage, it will blend into the jam mixture and leave only a subtle flavor note in your jam. This is because the raw alcohol cooks off.
- Added at the End: If you add alcohol right before ladling the jam into your jars, it will stand out much more prominently in both aroma and sharp flavor.
It is the exact same ingredient, but changing the timing completely changes your finished jar. Don’t be afraid to experiment until you find the perfect balance!
Canning Methods
This is a high-acid, jelly style preserve. While the standard processing time for jellies is 5-10-15 minutes, we recommend the NCHFP’s optional 10-minute boiling water/ atmospheric steam canner process that is believed to provide a stronger vacuum in the jar for hot pepper jelly type preserves.
Both water bath canning and atmospheric steam canning use identical processing times for this recipe. We typically use an atmospheric steam canner for speed and lower water use, but a water bath canner works equally well and is the most widely used method in home preserving.
Processing table – Steam Canner & Water Bath
Jar size: Half-pint or Pint (8 oz / ~250 mL or 16 oz / ~500 mL)
Pack style: Hot
Applies to: Atmospheric steam canner AND water bath canner (same processing times)
| Altitude | Processing time |
| 0–1,000 ft | 10 min |
| 1,001–6,000 ft | 15 min |
| Above 6,000 ft | 20 min |
Not sure which elevation band is yours? Our Canning Altitude Calculator will give you the answer in a couple of seconds.
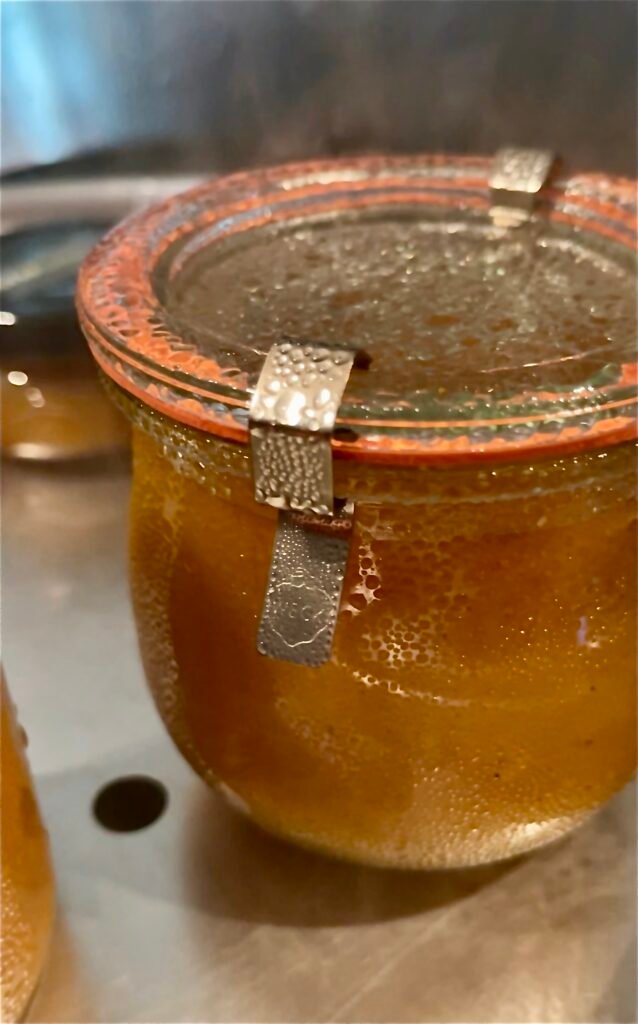
Atmospheric Steam Canning
Atmospheric steam canning is newer to the home canning world. Nevertheless, it has been validated for high-acid preserves like this. It uses less water, heats up faster, and doesn’t require jars to be submerged.
- Prepare your atmospheric steam canner according to the manufacturer’s instructions. Typically, fill the base with the recommended amount of water and preheat until steam begins to vent.
- Place filled jars on the canner rack. Cover with the dome lid.
- Start timing once a steady column of steam has been venting continuously.
- When processing time is complete, turn off heat.
- Remove jars straight up with a jar lifter. Most important, do not tilt. Place on a towel-lined counter or cutting board.
New to steam canning?
Ready to ditch water bath canners?
Water Bath Canning
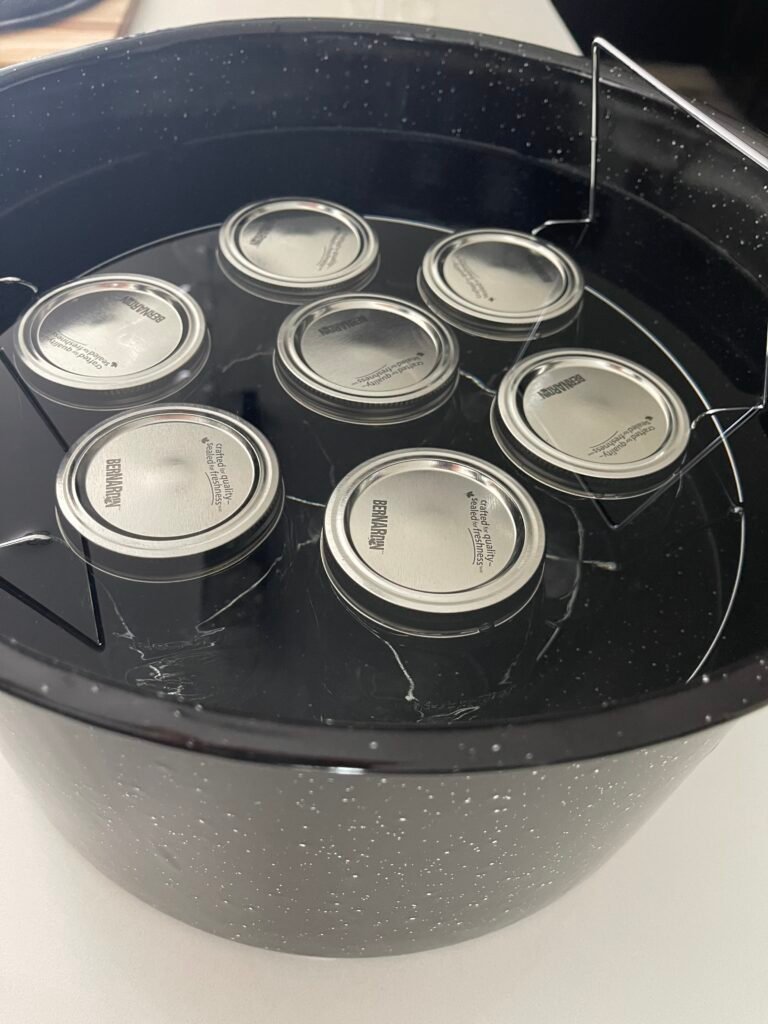
Undeniably, water bath canning is the most widely used method for high-acid preserves and the one most canners learn first. If you already own a water bath canner, this is a perfectly sound way to process this jam.
- Place filled jars on the canner rack and lower it into boiling water. Always remember, water must cover the lids by at least 1 inch.
- Start timing once you reach a full rolling boil. Processing times are identical to the table above.
- When processing is complete, turn off heat and let jars rest in the water for 5 minutes before removing them. This step helps prevent siphoning.
- Lastly, remove jars straight up with a jar lifter.
Looking to understand how the two methods compare?

Prefer Open Kettle?
Open kettle canning is not a USDA-recommended method. For this recipe, we used atmospheric steam canning to get consistent, shelf-stable results. However, open kettle remains a long-established traditional method that some experienced canners still use for high-acid preserves.
We don’t dismiss traditional methods. For those who choose to use open kettle, we’ve put together a guide that explains how it is practiced, along with the key steps aimed at reducing common risks within that traditional approach.
After sealing (all methods)
- Do not touch, adjust bands, or press lids for 12–24 hours.
- After cooling, check seals: press the center of each lid. If it doesn’t flex, the seal is good. Any jar that didn’t seal goes in the fridge → use within 3 weeks.
- Remove bands for storage (they trap moisture and can mask a broken seal over time). Label with contents and date.
- Store in a cool, dark place. Peak quality for 12–18 months.
Check your processing time/ canning pressure if you’re above 1,000 feet↗️
How to Make Seedless Raspberry Jam – Step-by-Step Photo Gallery
Seedless Raspberry Jam Serving Suggestions
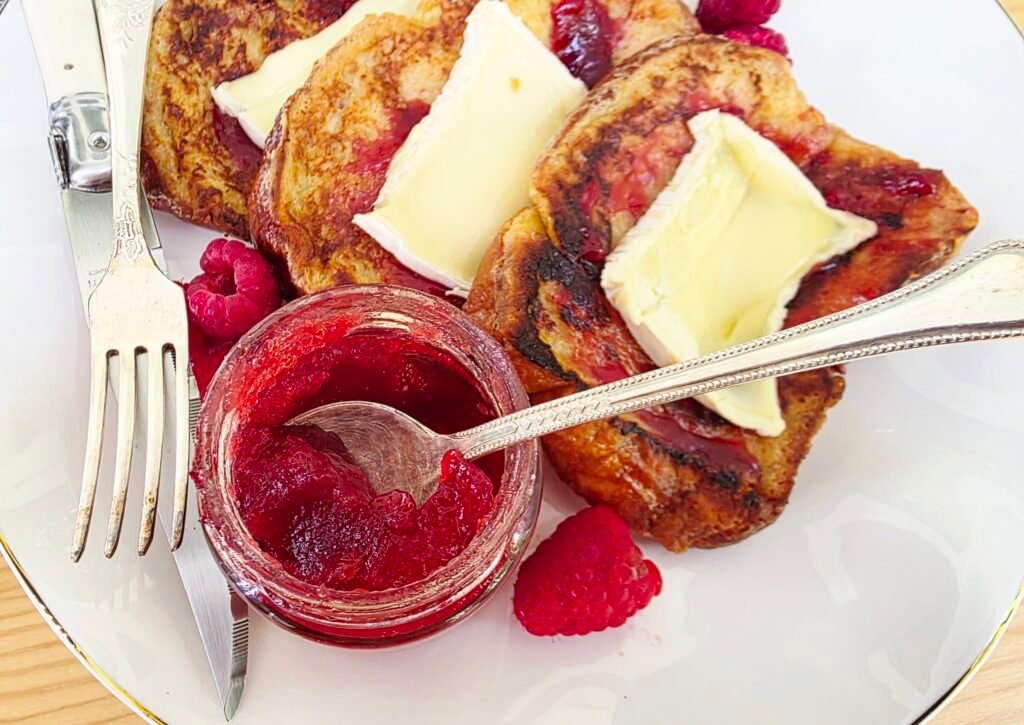
A jar of this jam goes wherever a bright raspberry flavor is needed. In our experience, it’s the jar to reach for when everyone at the table needs to eat it, kids included.
That said, try it with:
- Plain yogurt and a handful of granola
- A warm croissant, or folded into French toast batter before cooking
- Two soft sugar cookies, for an instant sandwich cookie
- Sparkling water and a squeeze of lime, for a raspberry spritz with no booze required. Use this with a classic, no-pectin version of this jam.
- A wedge of brie or fresh chèvre, when you need to setup a cheese board that appeals to everyone.
FAQ
Seedless raspberry jam is made from ordinary raspberries. The only difference is that the cooked fruit is strained through a fine-mesh strainer to remove the seeds before the jam is finished. You still get all the raspberry flavor, just without the seeds
Jelly is made from raspberry juice only. Seedless raspberry jam keeps both the juice and the soft fruit pulp, giving it a fuller texture and richer raspberry flavor while still being completely smooth.
Yes. First, let the jam cool, then spoon it into freezer-safe containers. Make sure to leave a little room for expansion. Freeze for up to one year and thaw in the refrigerator before using.
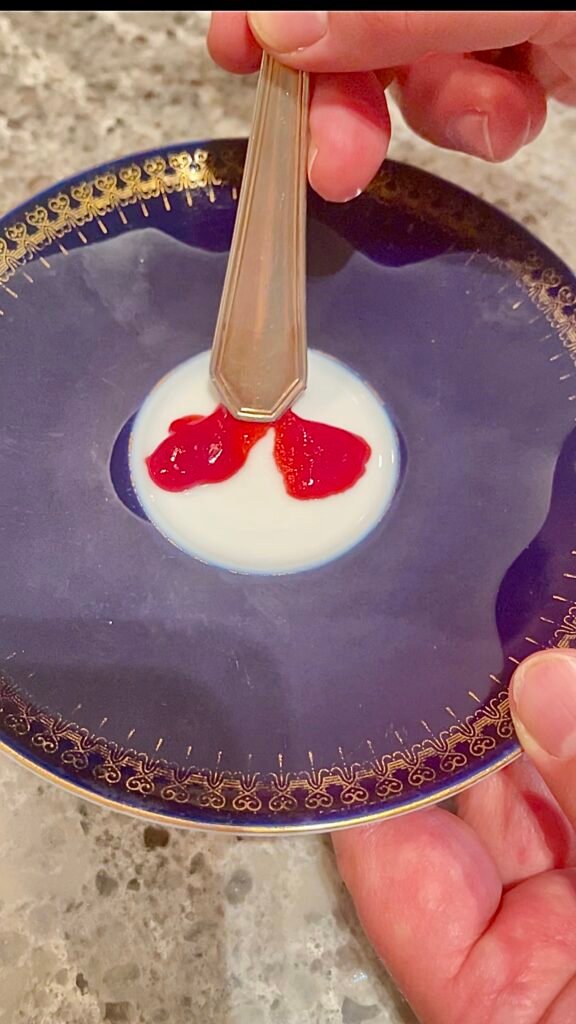
Give it at least 24 to 48 hours before deciding it didn’t set. Jam often continues to firm up after it’s processed. If it’s still too soft after two days, return it to the pot, bring it back to a full boil, and test it again using the cold plate test before reprocessing.
You can, provided your pot can hold everything with room to boil hard without boiling over. Past double, we don’t recommend making larger batches because they’re harder to cook evenly and may not set as well.
We haven’t tested honey or maple syrup in either the low-sugar or classic version. Because they’re liquid sweeteners, they can change both the consistency and the way the jam sets. Pomona’s pectin is designed to work with any sweetener but replacing sugar with any other sweetener will likely mean you must use calcium package. If you want to experiment, do it as a small test batch first rather than your whole harvest.
Half-pint (250 mL) jars are our favorite for this recipe. They’re a practical size for everyday use and are the jars we use when following the processing times in this recipe.
Frozen raspberries work well in this recipe. Thaw them first and drain off the excess liquid so you don’t water down the jam. Fresh raspberries are our first choice during berry season, but frozen berries are a great option the rest of the year.
No. Raspberries are naturally high in acid, so this recipe doesn’t require lemon juice for safe canning. Depending on your taste preferences, you can add 1/4 cup of lemon juice to your batch, but it’s entirely optional.
This recipe is not a USDA, NCHFP, Ball, or Bernardin tested recipe. The classic version is based on well-established raspberry jam methods published by a variety of trusted canning authorities. The low-sugar version uses Pomona’s Universal Pectin but follows a different process than the manufacturer’s published direction for this pectin type. Both methods have been developed and repeatedly made in our kitchen, but they have not been independently laboratory tested by a recognized canning authority
Related Recipes
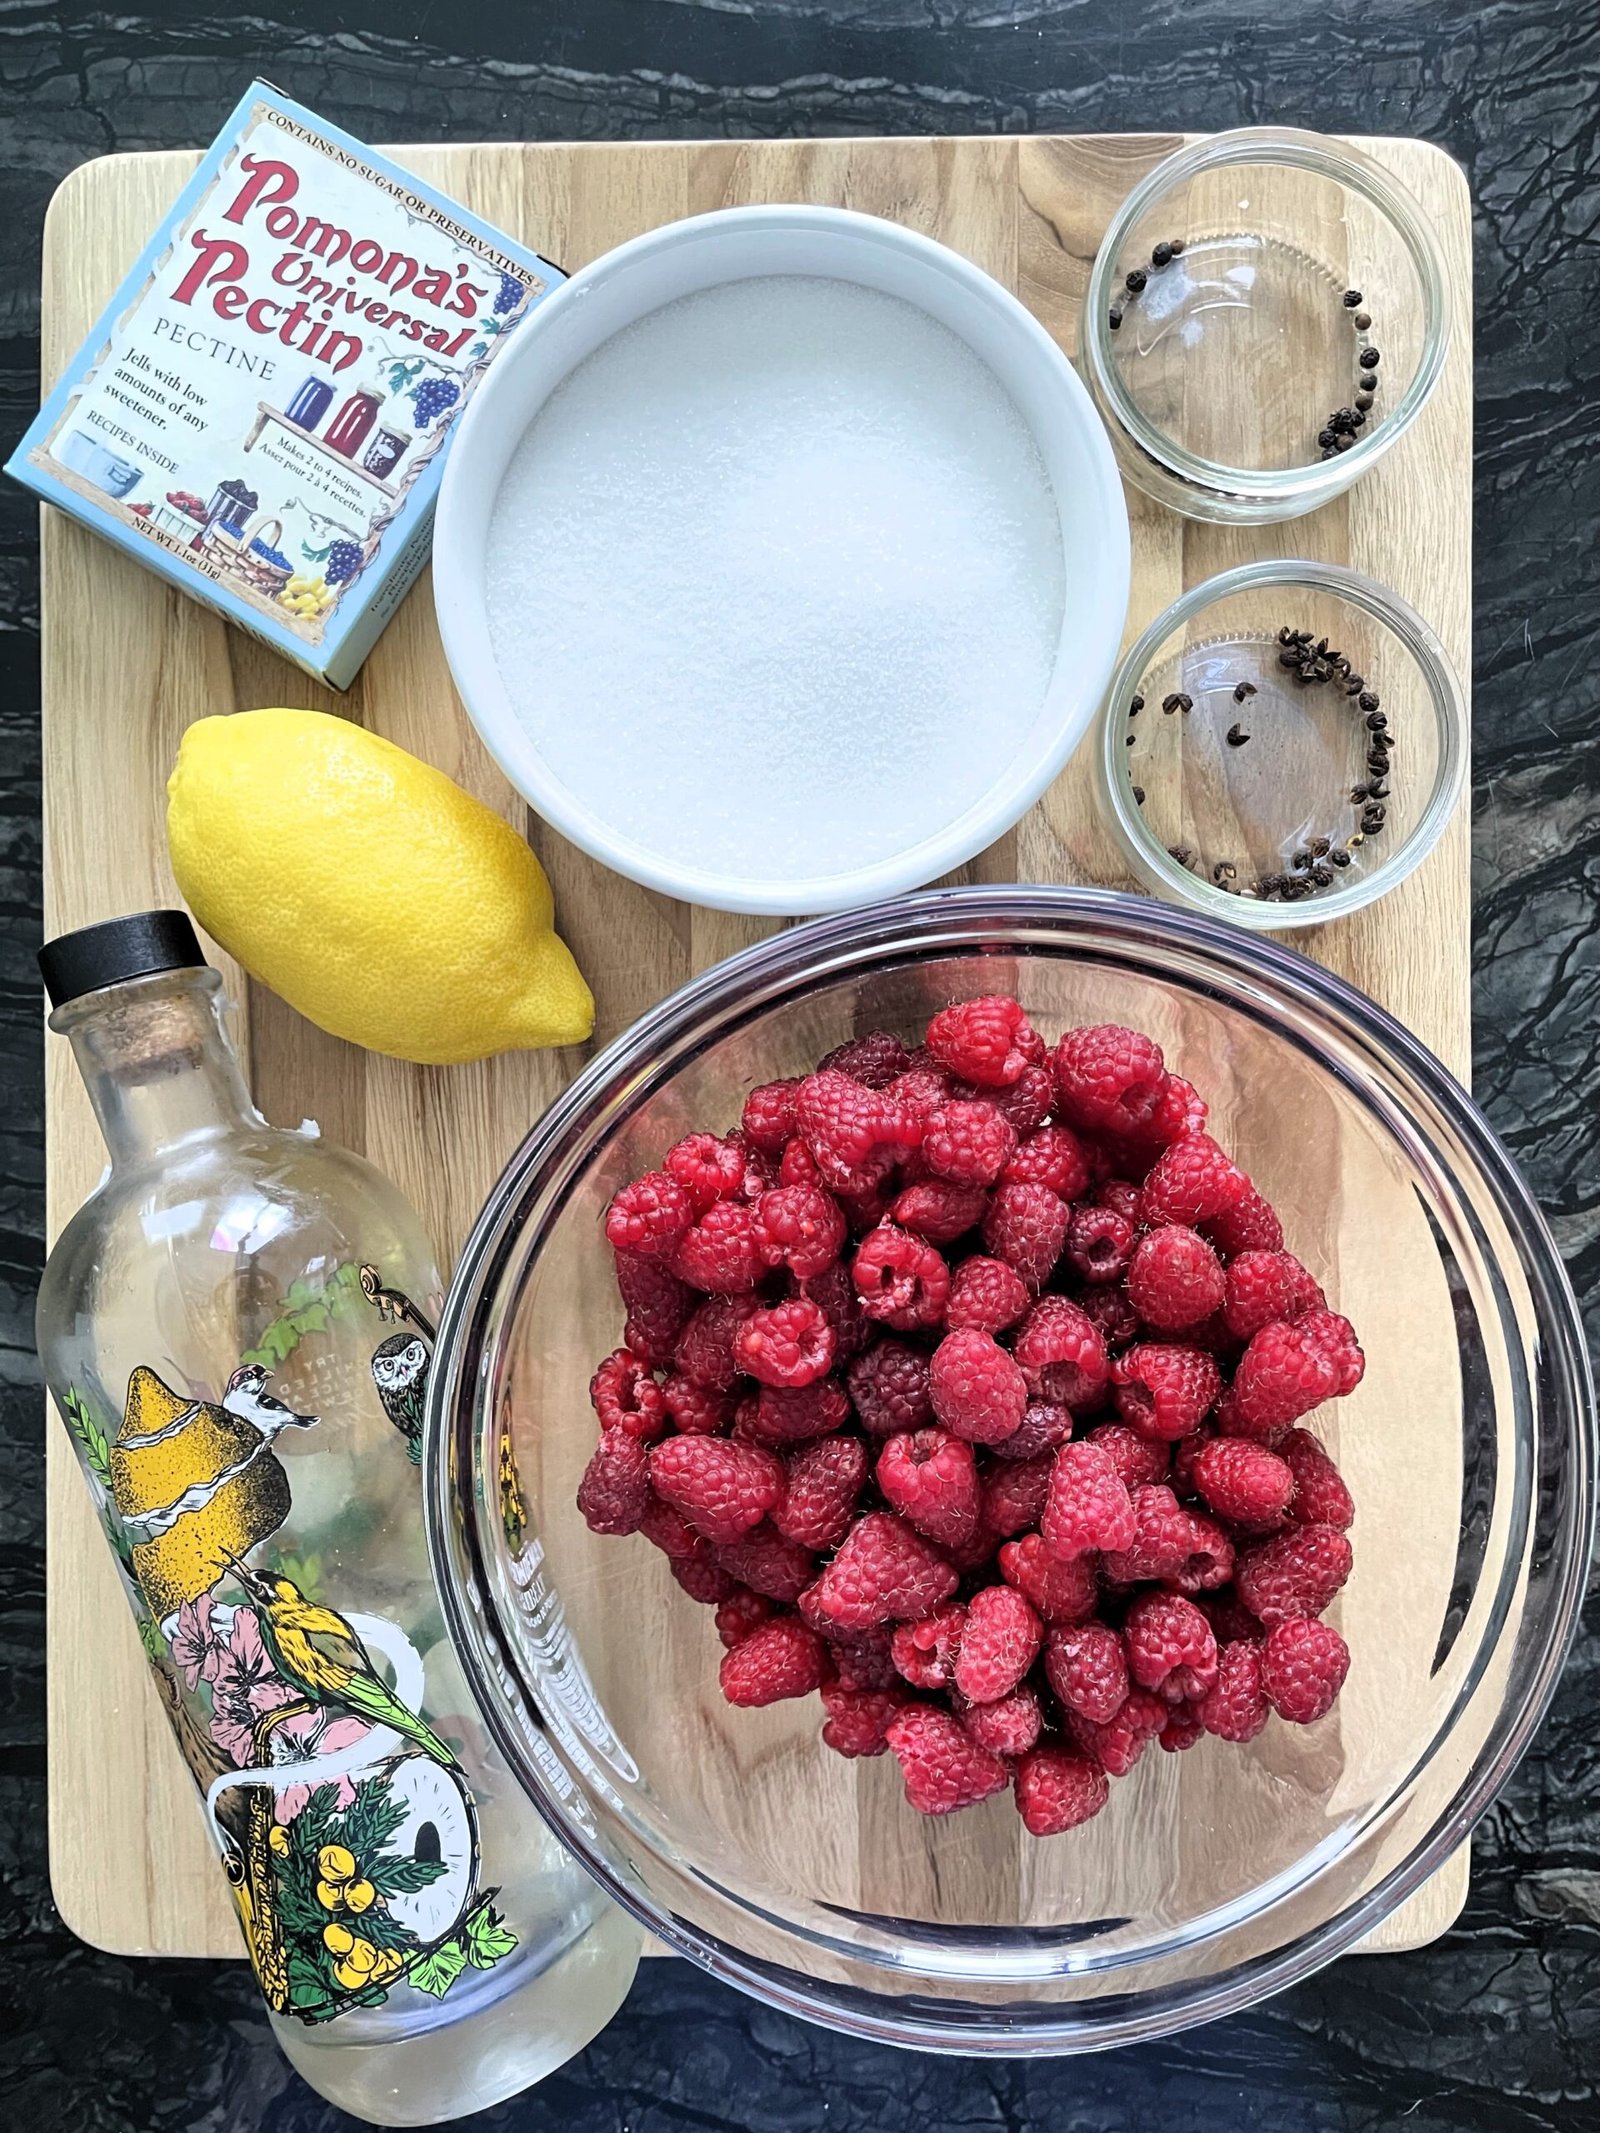
Boozy & Spiced Seedless Raspberry Jam for Grown-Ups
The original: this same base with port wine, cracked black pepper, and citrusy Timut pepper added back in.
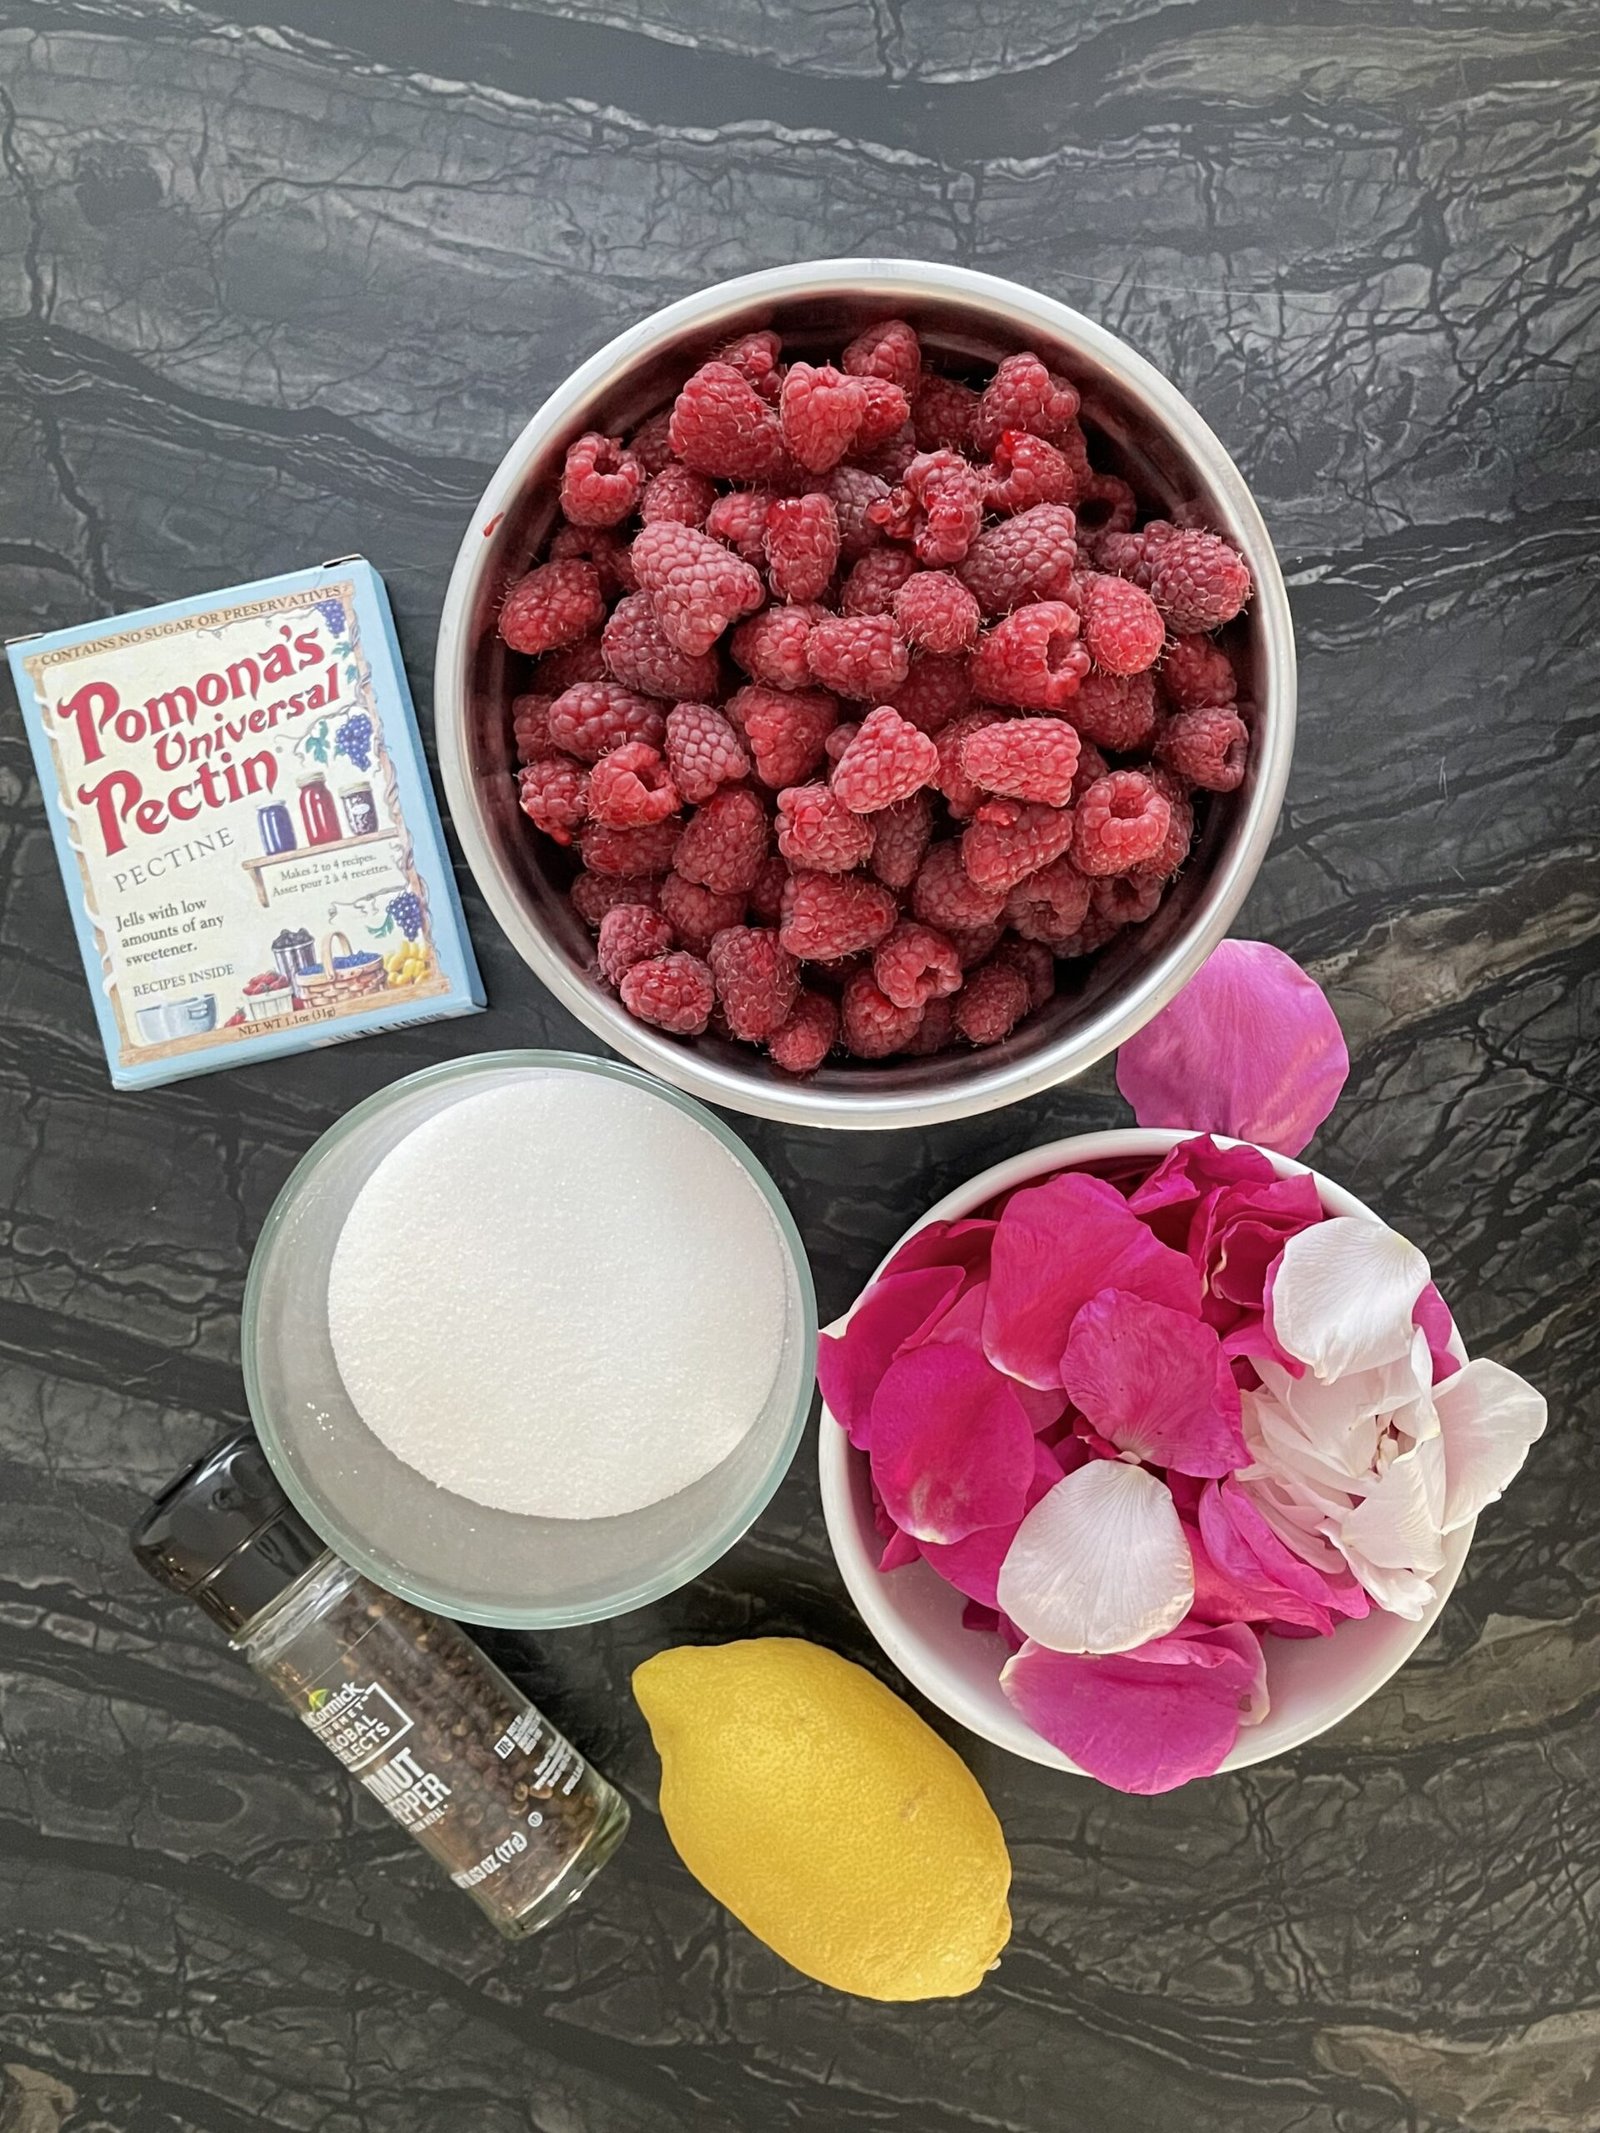
Unique Raspberry & Rose Petal Jam – Made Just for Cheese
A floral-forward jam built for pairing with cheese
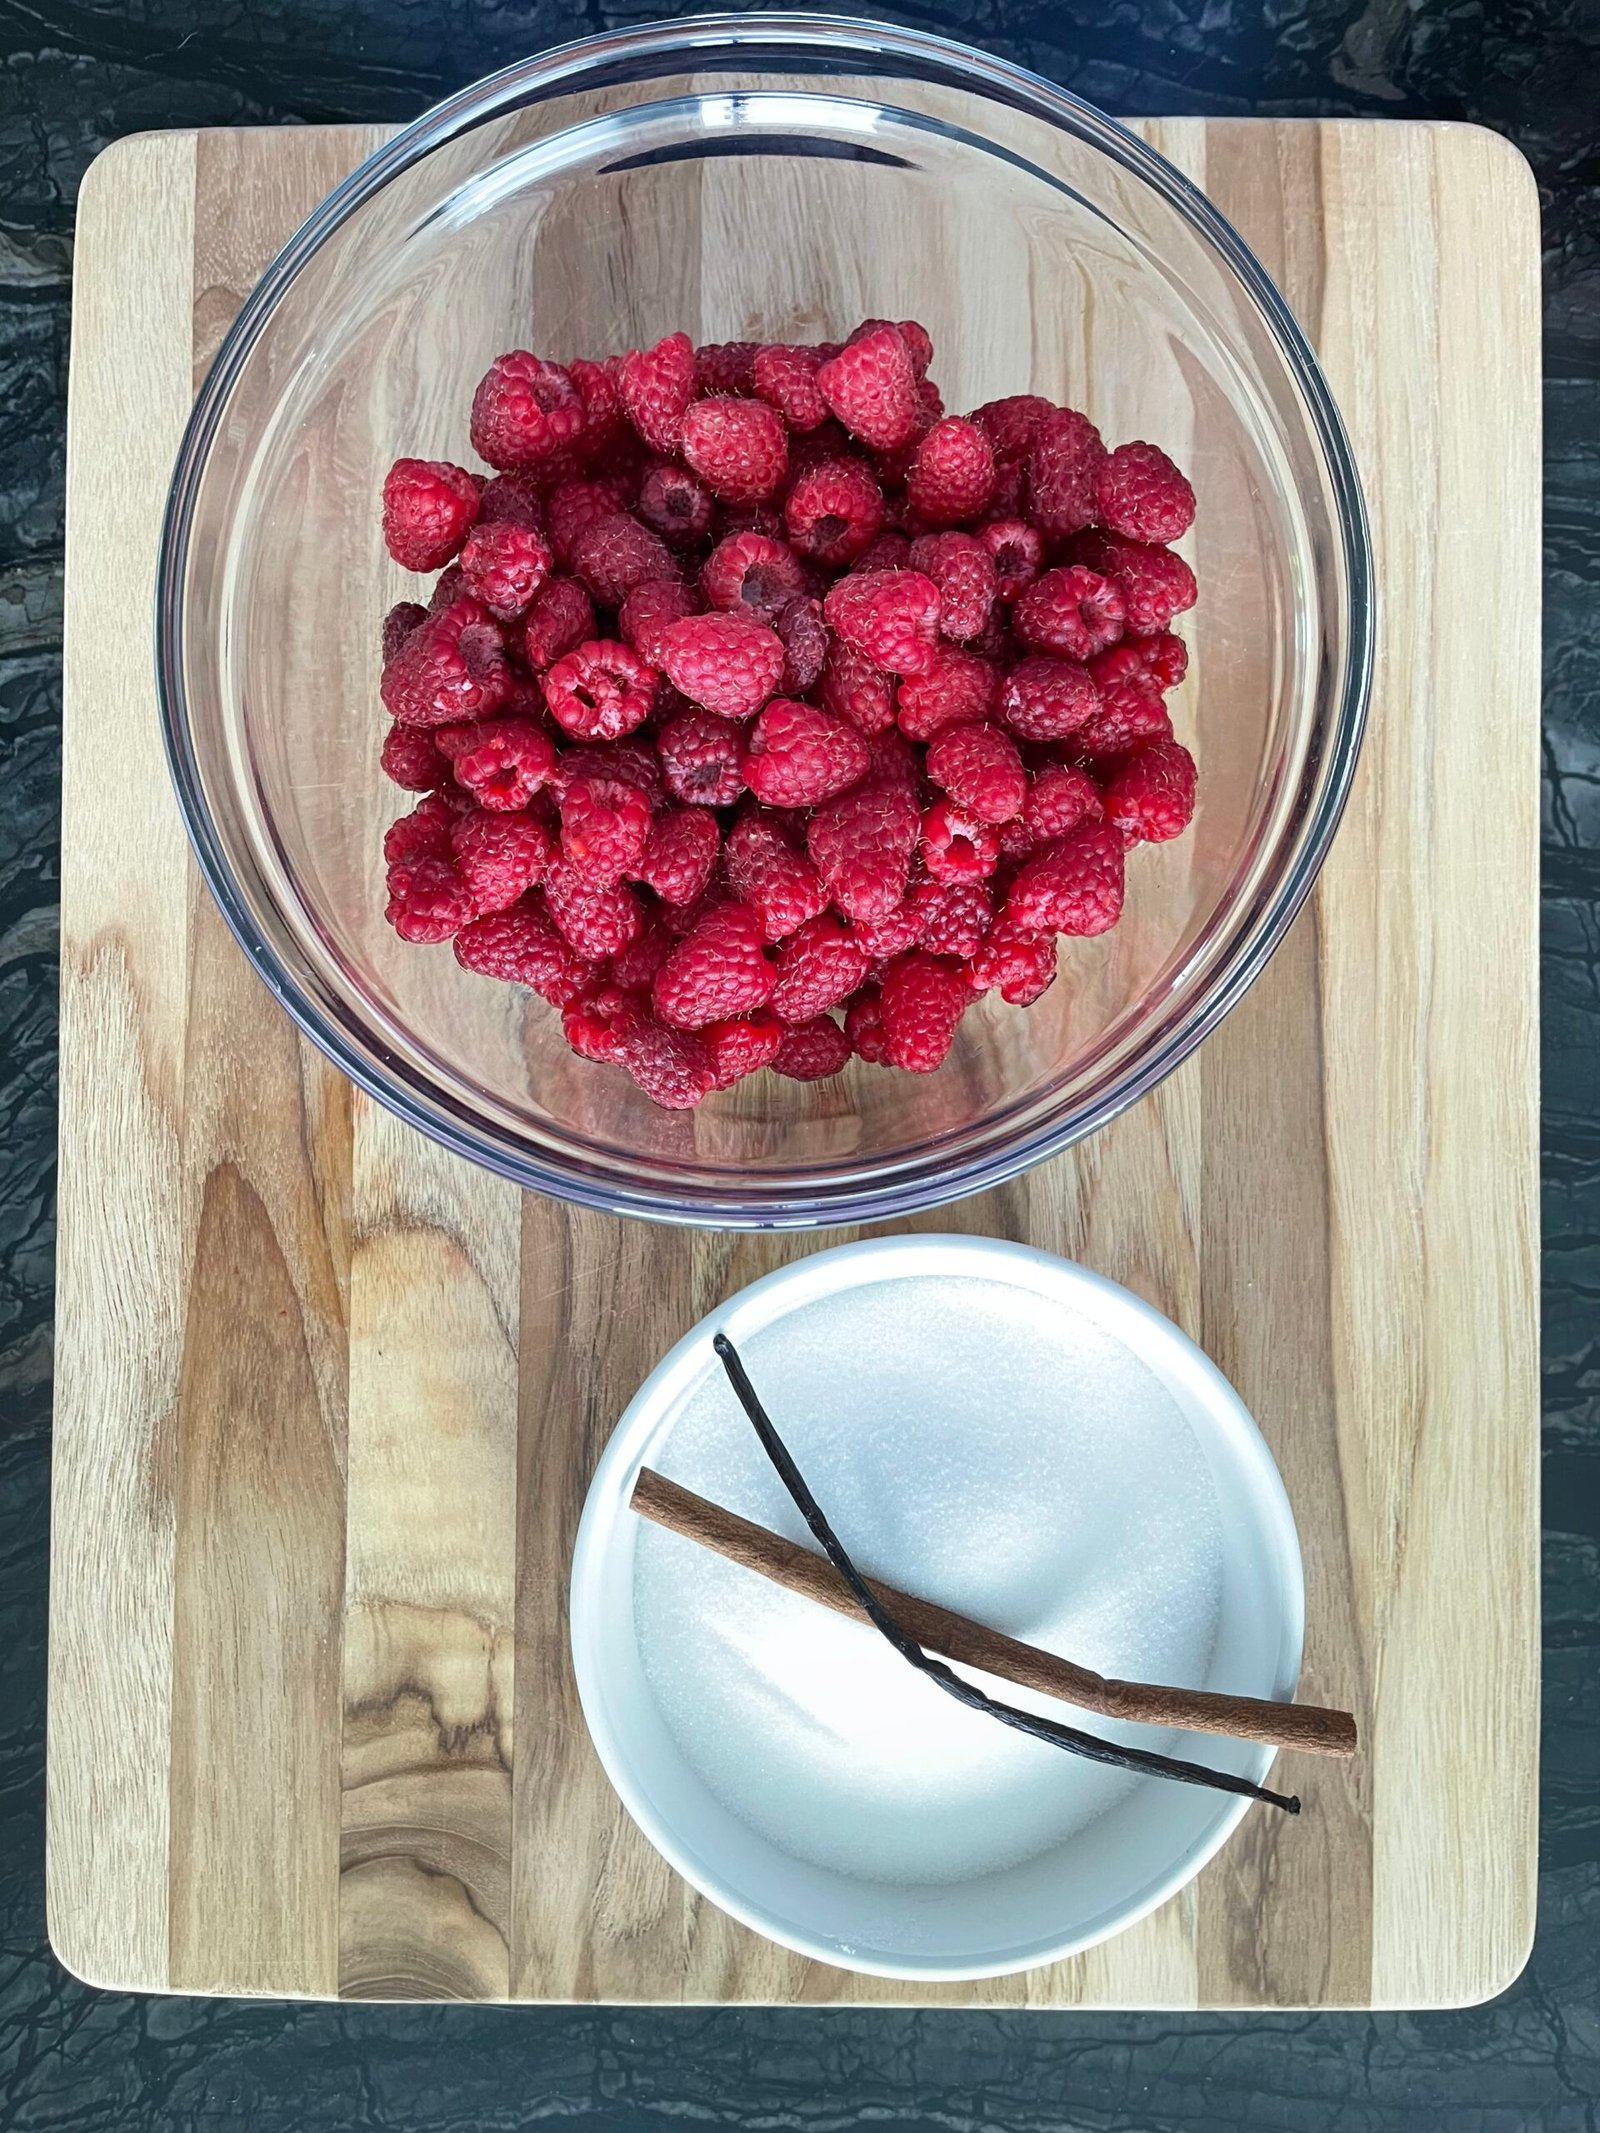
Homemade Spiced Raspberry Syrup
Same fruit, same straining step, taken pourable instead of spreadable . Some vanilla and cinnamon, no pectin needed.
Join the pantry
Fresh recipes when the season calls for them. Preservation guides you can trust – every method, traditional to modern. Ideas for turning your pantry into weeknight dinners. Seasonal alerts that help you preserve more for less. Honest reviews of the tools that matter.
Tried this preserve? We’d love to hear how it turned out!