How To Render Duck Fat The Best Way
Views: 268
Rendering duck fat has several culinary advantages that make it worth the effort for many chefs and home cooks. Firstly, rendered duck fat has a rich, savory flavor that adds a unique and delicious taste to dishes. Additionally, it has a higher smoke point compared to some other fats, making it suitable for high-temperature cooking methods such as frying and roasting.
Notably, duck fat is an integral part of the various traditional cuisines. For example, rendered duck fat is commonly used in French cuisine, where it is required to make dishes like confit (slow-cooked meat) and pommes sarladaises (potatoes cooked in duck fat). Keep reading about the types of fat to use and various fat rendering methods, or just jump to the recipe card here.
Type of fat to use for rendering
There are two primary sources of fat in a duck suitable for rendering. You could render duck fat from duck skin, the backside of the bird and the base of the neck. If you use the backside of the duck, take great care to clean it well. Additionally, you can utilize the visceral fat lining the internal organs, such as the gizzard.
Where to get un-rendered duck fat?
We source un-rendered duck fat directly from a local poultry farm, where it is meticulously stripped from the bird and conveniently sold in 2 ½ lb freezer-safe packages. If this option is not available in your area, an alternative is to purchase a whole duck and remove the fat and fatty skin yourself.
The fat we use comes entirely from the domestic, farm raised Pekin duck. Pekin ducks are considered to have higher fat content than Muscovy duck, the other popular duck breed.
While using fat from wild ducks is not uncommon, we recommend exercising caution due to potential safety concerns associated with both the bird and its fat.
Ethical considerations with duck fat
Science direct article: “Duck fat: Physicochemical characteristics, health effects, and food utilizations” notes that “with the increasing global consumption and production of duck meat, the disposal of duck by-products has become both a serious environmental and economic concern.” Unsurprisingly, rendering duck fat is considered to be both environmentally and ethically good approach to handling the consumption of the entire bird.
Rendered duck fat nutrition and health benefits
Unlike a number of other animal fats, duck is known to be high in unsaturated fats such as oleic and linoleic acids.
Furthermore, it has several advantages, such as its anti-obesity, hepatic health effects, and anti-vascular aging effects. Additionally, duck fat has been credited as a cure for arthritis.
How to render duck fat?
There are several ways to render duck fat. The most popular methods are drying rendering and hot water rendering. You can do drying rendering in an oven and on a stovetop.
How to render duck fat in an oven?
This method requires you to put un-rendered duck fat in an oven-safe dish, cover, and heat it at 250 °F (120 °C) for 2 hours in a dry oven. It is suitable for rendering fat from un-rendered duck fat. However, if you are trying to render fat from the duck skin, it will take you much longer to do so.
How to render duck fat on a stovetop using drying method?
In order to render duck fat on the stovetop using the drying method, put un-rendered duck fat in a frying pan. Fry it without adding water until all the duck fat melts, leaving you with duck cracklings and liquid duck fat in the pan.
Why you should avoid the dry oven or stovetop rendering methods
Both of these methods involve exposing rendered duck fat to high heat for a long time, especially when fat is combined with duck skin. As you wait for the skins to produce fat, the already-rendered fat starts to burn and change its chemical composition. You might see the rendered fat turning brown, which means it now has cancer-causing chemicals. If you still prefer the drying method, we recommend using duck fat only or grinding duck skins with duck fat for a more consistent fat rendering.
Boiling water method
This method requires you to place duck fat in a pot with water and bring it to a boil. Once the water is boiling, you need to lower the heat and simmer it until the fat has melted and the water evaporated. Boiling water provides gentle and even heat, which helps in slowly melting the fat without subjecting it to high temperatures. Unlike dry methods, such as the stovetop or oven, boiling water prevents the fat from browning during the rendering process.
How is our duck fat rendering method different?
While the boiling water method is by far the best and the healthiest method to render duck fat, we looked for ways to improve this method even further. Our objective was, firstly, to limit the active monitoring time of the rendering process and, secondly, to limit the temperature. We found that the heat from the boiled water efficiently extracts fat from the duck. You do not need to boil the water all the time. Once the process begins, you can let the fat sit in the boiled water for an extended period without constant boiling and monitoring, making it both a convenient and healthy method.
Recipe Card:
Duck Fat Rendering Recipe
Ingredients
- 2 ½ lb duck fat 1 kg
- 1 ½ cups water or more as required
Instructions
Prepare Ingredients:
- Wash and thoroughly dry duck fat and duck skin slices. Remove any blood vessels and trim off any remaining meat.
- If using duck skin, grind duck fat and duck skin together. If grinder is not available, chop duck skin into small pieces.
Rendering duck fat:
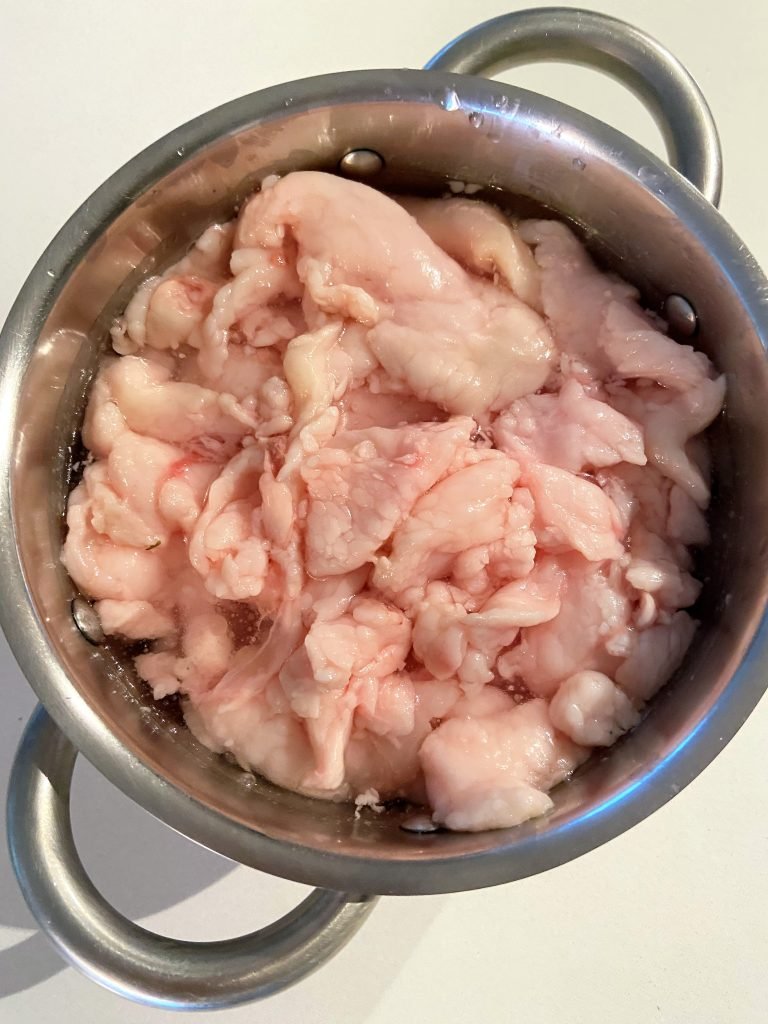
- Begin by placing duck fat pieces into a large, heavy-bottomed pot. Add enough water to cover two-thirds of the duck fat pieces.
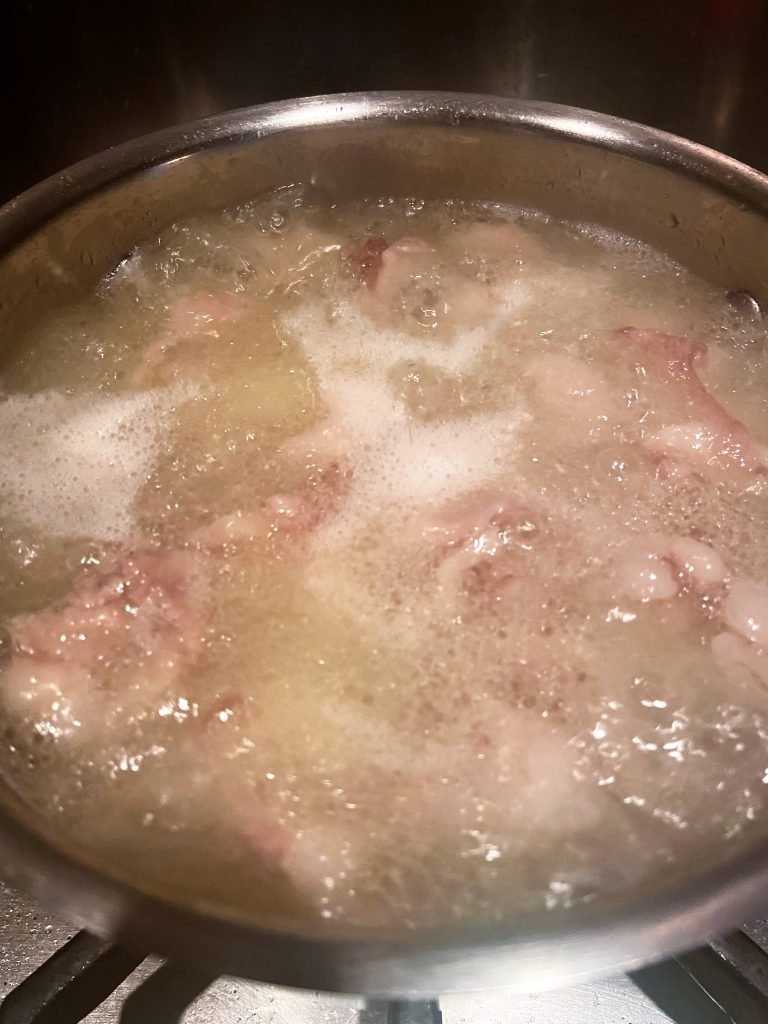
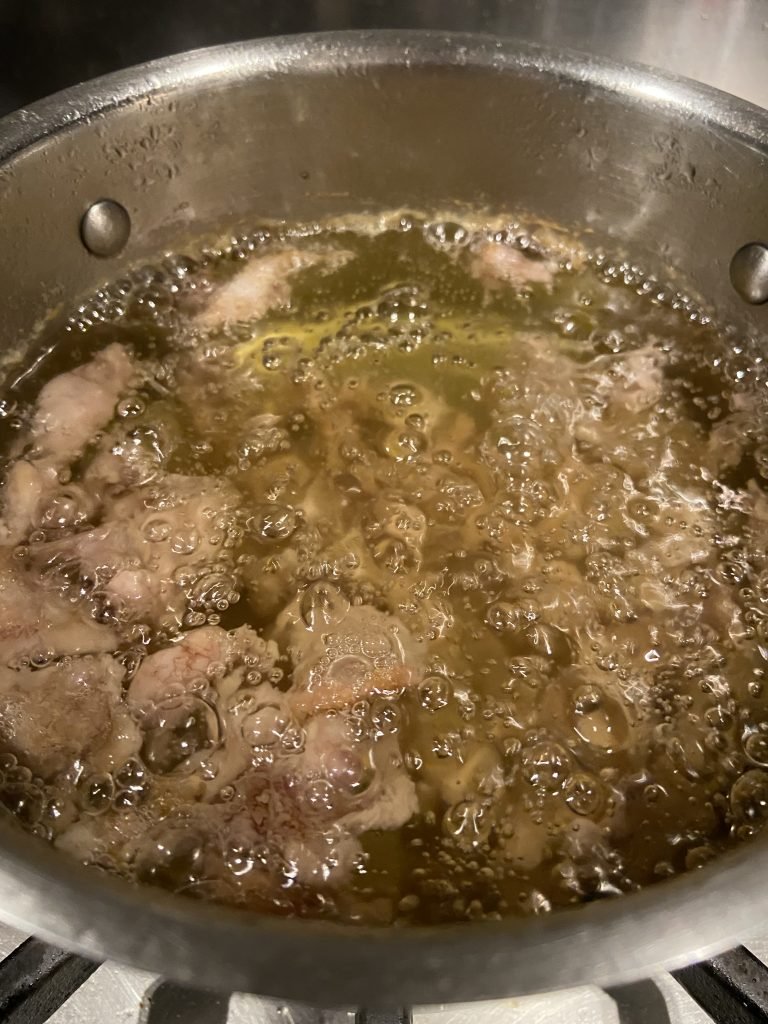
- Put the pot on the stove over medium heat, bringing it to a gentle boil. Reduce the heat and let the duck fat simmer in hot water for 15-20 minutes. Remove any surface foam and turn off the heat. The liquid will appear milky white. Cover the pot with a lid.
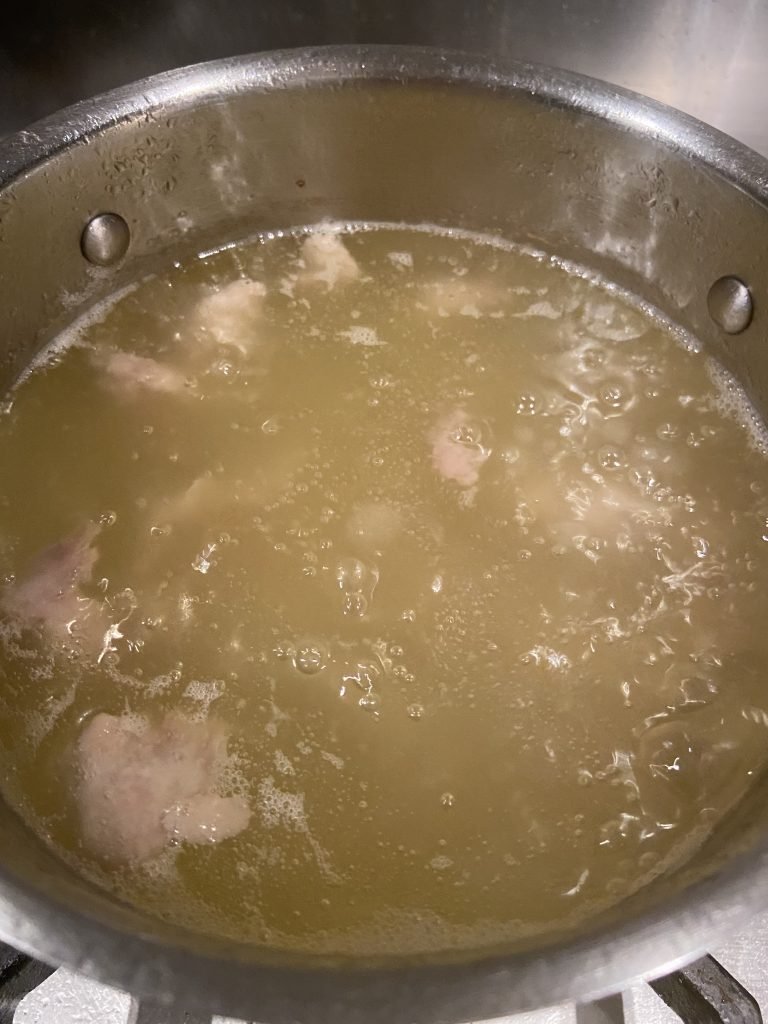
- Allow the fat to slowly melt in hot water. Take a break and let the hot water work its magic, leaving the fat to sit in boiled water for 2-4 hours or even overnight.
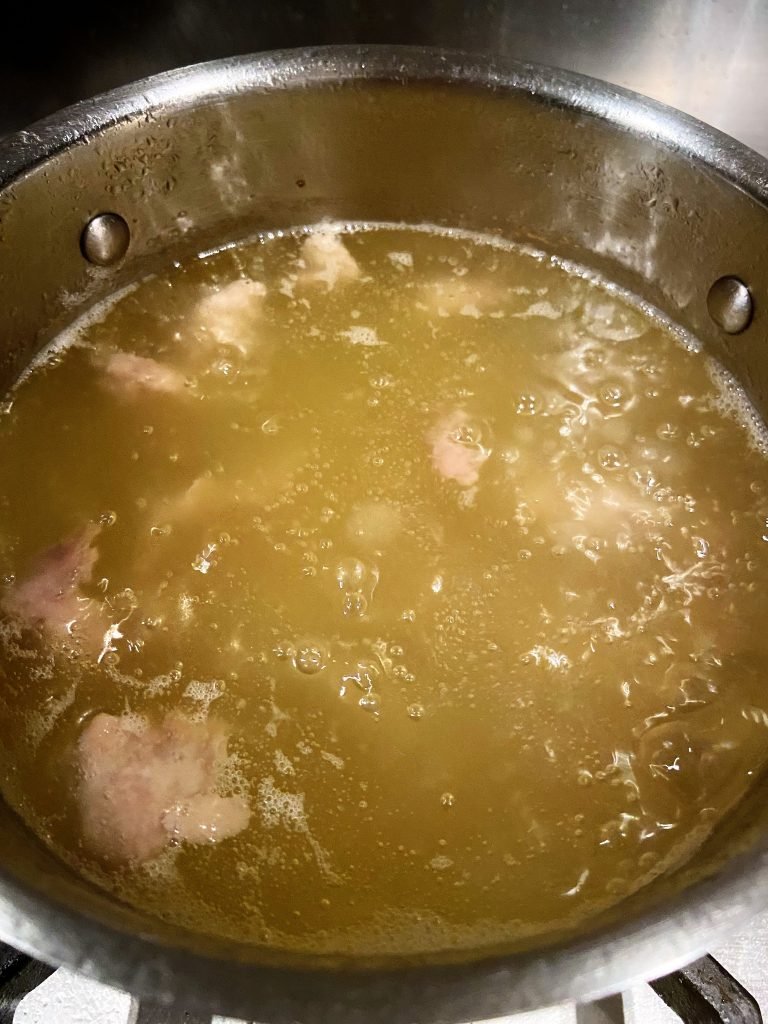
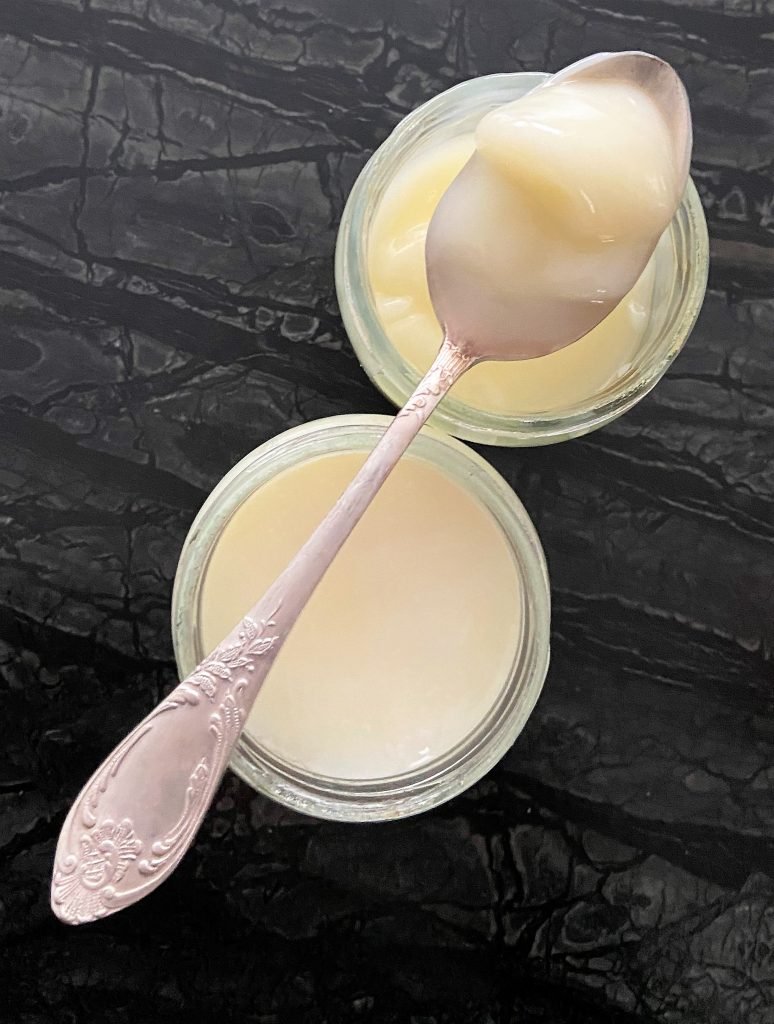
- Reheat the mixture, bringing it to a simmer. Lower the heat further. In about 15- 20 minutes, most of the water should evaporate, and the duck fat pieces will considerably shrink. Your rendered duck fat is ready when the fat inside the pot becomes translucent.
Prepare rendered duck fat for storage:
- Strain the liquid duck fat into a glass storage container using a fine mesh metal strainer.
- Let it cool completely on the counter, then cover tightly and store in the fridge for up to one year or in the freezer for up to two years (using freezer-safe glass jars).
Equipment to use:
- wide heavy-bottomed pot (rondeau or braiser)
- stainless steel spoon for stirring
- stainless steel slotted spoon
- stainless steel ladle
- potholders, oven mitts, trivets for hot dishes
- stainless steel fine mesh colander or strainer or cheesecloth, optional
- stainless steel funnel, optional
- Freezer safe mason jars
Frequently asked questions
Can I store duck fat in plastic containers?
Due to the risk of plastic packaging leaking harmful elements into fatty foods, we recommend against using plastic for storing rendered fats. Plastic leaking can occur due to various factors, such as the type of plastic used, the temperature of the food, the duration of contact, and the presence of acidic or fatty substances in the food.
How is rendering duck fat different from rendering chicken fat?
The steps for rendering chicken or goose fat are generally the same, with adjustments made to accommodate the specific heat and cooking time needed for each type of fat. Beyond these considerations, you can follow the exact steps we provided for rendering duck fat.
How long does rendered duck fat last
Studies have shown that duck fat has better oxidative stability during storage when compared to vegetable oil.
In general, rendered duck fat has a relatively long shelf life when stored properly. Here are some general guidelines for the storage duration of rendered duck fat:
- Refrigerator Storage:
- If kept in an airtight container in the refrigerator, rendered duck fat can last for up to 6 months. Make sure to cover it tightly to prevent any odors from affecting the flavor.
- Freezer Storage:
- For extended storage, you can freeze rendered duck fat. In the freezer, it can last for up to a year or even longer. Use freezer-safe containers to protect the fat from freezer burn.
- Quality Check:
- Over time, the color and flavor of duck fat may change slightly, but it should still be safe to use as long as it doesn’t exhibit signs of spoilage, such as off odors or unusual colors. If in doubt, perform a sensory check before using.
Rendered duck fat uses
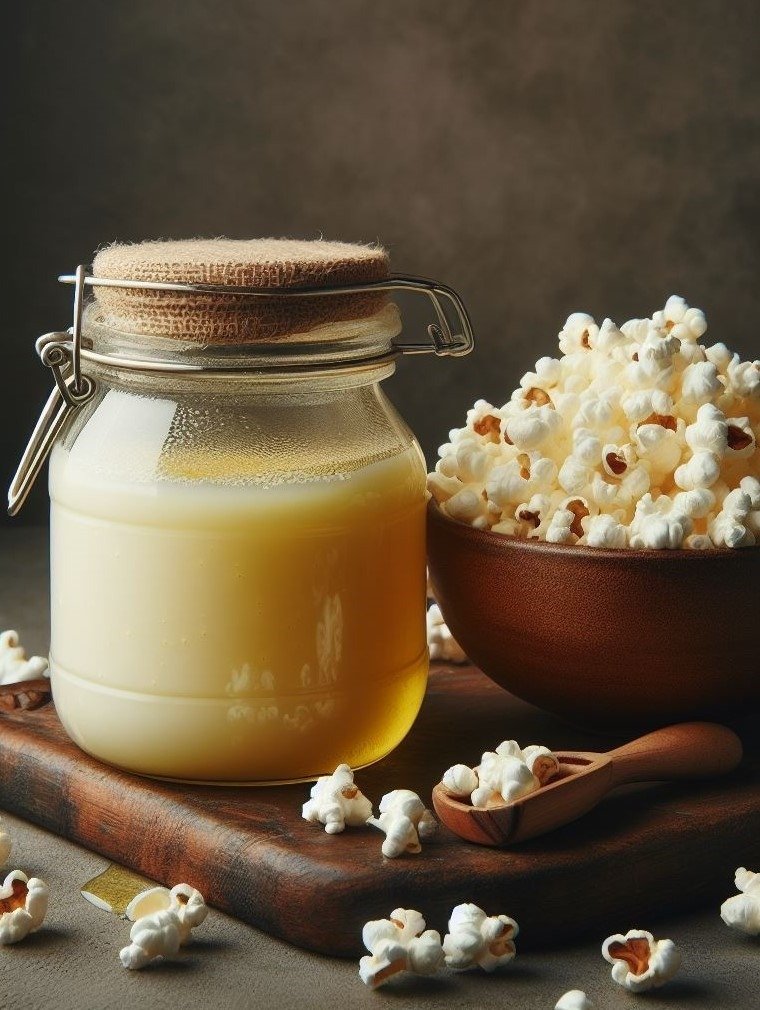
Rendered duck fat has a versatile range of culinary uses, thanks to its rich flavor and unique properties. Here are some common uses for rendered duck fat:
- Cooking and Roasting:
- Duck fat is excellent for roasting vegetables, potatoes, and other root vegetables. It imparts a savory flavor and makes vegetables crispy.
- Frying:
- Duck fat has a high smoke point, making it suitable for frying. It adds a distinct flavor to fried foods like potatoes, chicken, and other meats.
- Sautéing:
- Use duck fat as a flavorful alternative to butter or oil when sautéing vegetables, mushrooms, or greens. It enhances the taste of the ingredients.
- Baking:
- Incorporate duck fat into pastry and pie crust recipes for a unique flavor and flakiness. It can be used in place of butter or lard in various baked goods.
- Popcorn Topping:
- Drizzle melted duck fat over popcorn for a gourmet twist. It adds richness and a savory taste to the snack.
- Spread for Bread:
- Similar to butter or spreads, duck fat can be used on bread or crackers for a savory and distinctive taste.
- Confit:
- Duck confit involves slow-cooking meat in its own fat. Duck fat is a traditional choice for confit due to its rich flavor, preserving the meat and creating a tender texture.
- Flavoring Dishes:
- Add a dollop of duck fat to soups, stews, and sauces to enhance their depth of flavor. It works well with hearty dishes.
- Grilling:
- Brush duck fat onto meats before grilling for added flavor and moisture.
Related Recipes:
How To Make And Preserve Pork Lard And Lard Cracklings
Here it is! The most decadent and simplest pork preserve recipe ever! Featuring a slab of pork shoulder slowly cooked in a warm blanket of pork lard, then shredded and preserved in even more lard. The result is the most tender and flavorful meat you’ve ever tried.

How To Make Pork Confit And French-Style Rillettes
Here it is! The most decadent and simplest pork preserve recipe ever! Featuring a slab of pork shoulder slowly cooked in a warm blanket of pork lard, then shredded and preserved in even more lard. The result is the most tender and flavorful meat you’ve ever tried.



Leave a Reply