Homemade Tortellini With Potato and Pancetta Filling: Make-Ahead Pasta for the Freezer
Views: 235
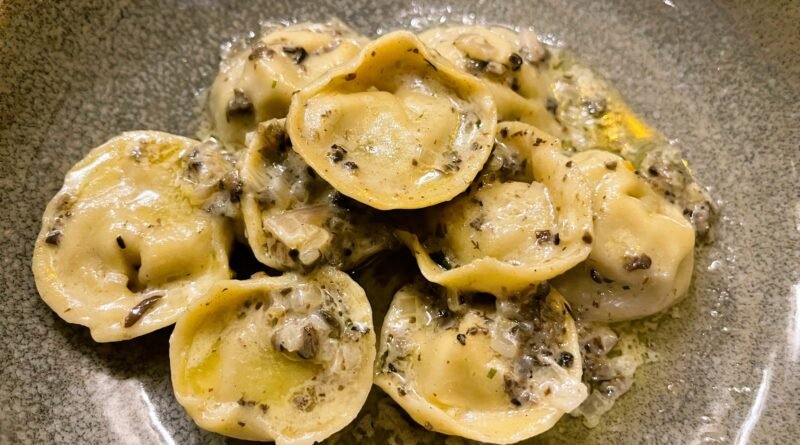
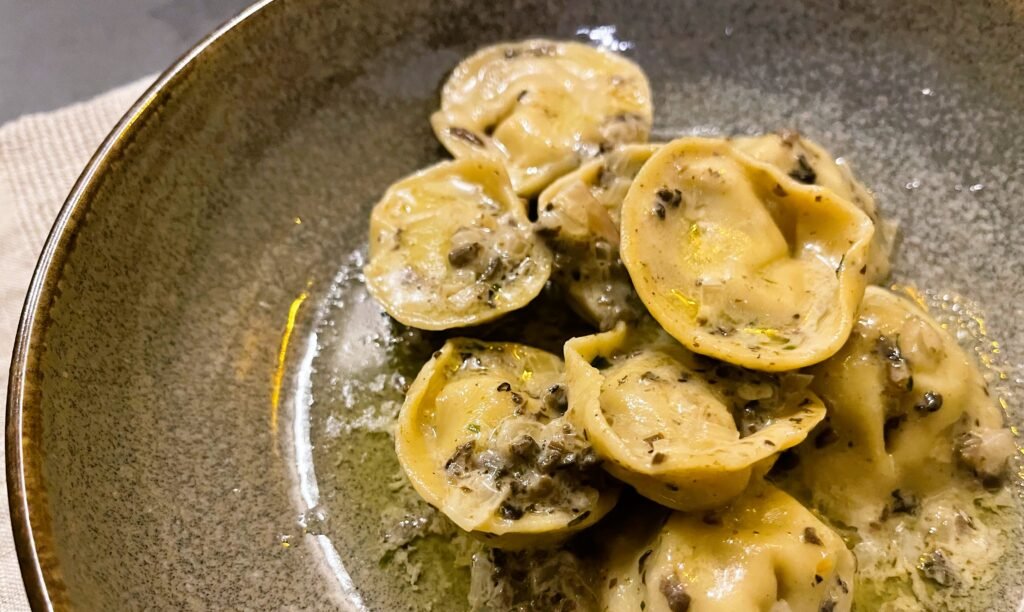
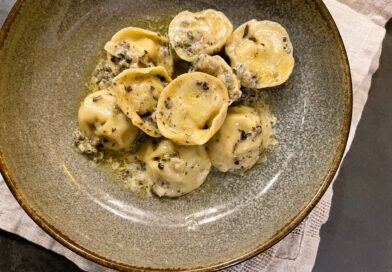
If you’re already preserving jams, sauces, and fruit, making pasta deserves a spot in your repertoire. Homemade tortellini freeze beautifully, cook straight from frozen, and turn a chaotic evening into a real meal with almost no effort. Our tortellini with potato and pancetta recipe takes make-ahead meals to another level. The first time we served this pasta, we were blown away. It’s hearty and rich, yet still elegant. Simply put, it is a proof that you don’t need a Michelin restaurant to eat like one at home.
Feel free to jump straight to the recipe, or stick around for a few quick tips and flavor ideas that will make this tortellini truly shine. No long stories – just practical tricks to help you get the best results.
If you want to make homemade tortellini and are searching for tortellini filling ideas, potato and pancetta might sound unexpected. Perhaps, even novel at first. However, in Emilia-Romagna region of Italy, this tortellini filling recipe is classic. In fact, in many parts of Italy, potatoes have long been used to build rich, structured fillings that hold their shape, freeze well, and don’t rely on cheese to do all the work. In addition, if, like us, you grew up with Ukrainian pierogis, this recipe will feel instantly familiar. It follows the same comfort-driven logic: humble ingredients, properly seasoned, wrapped in dough, and meant to be made in batches. So make no mistake, potato with pancetta or bacon isn’t a novelty filling. Rather, it’s a practical, traditional solution that just happens to be very good and very popular all over Europe.
Tips and Tricks for a Great Tortellini Filling
Most tortellini problems don’t start with the dough. Instead, they start with the filling. Specifically, a filling that’s too wet, too loose, or too coarse will push against the pasta and cause cracking, leaking, or burst seams. Here’s how to avoid the most common mistakes:
👩🍳Keep the tortellini filling dry
Water is the enemy. Potatoes should be cooked in their skins and fully cooled before ricing. If the filling feels loose or glossy, it’s too wet and will steam inside the pasta, weakening the seal.
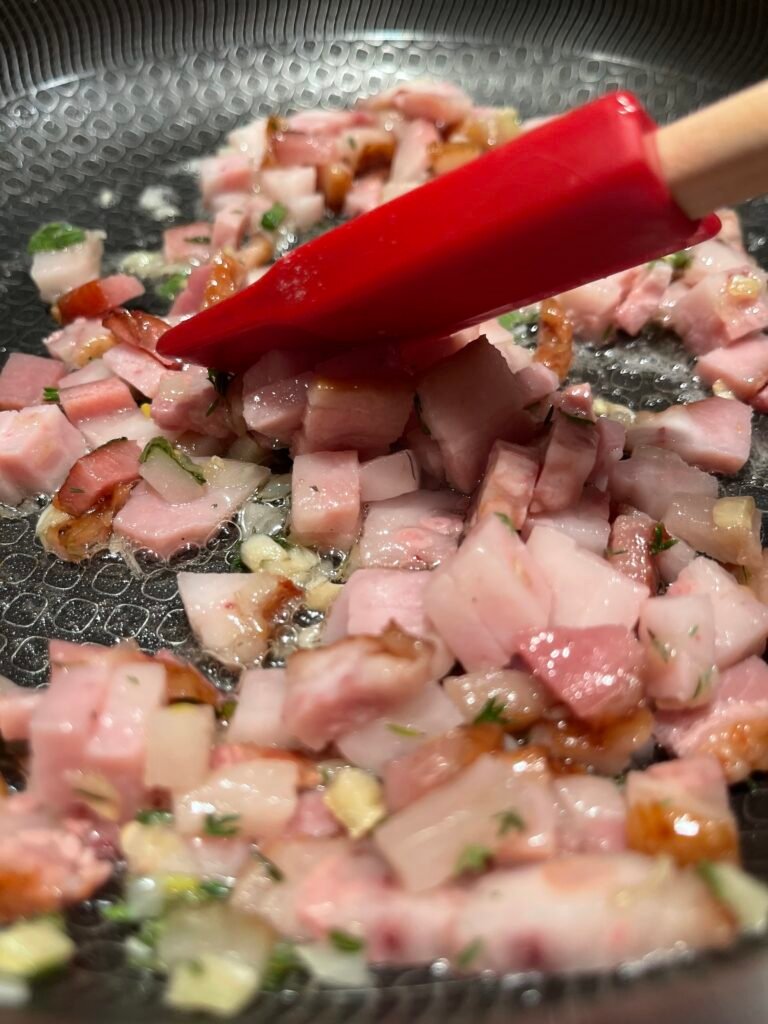
👩🍳Avoid browning the pancetta
Color equals rendered fat and evaporation. While that’s great for flavor, it makes the filling oily and unstable. Keep the pancetta pale and translucent so it blends smoothly into the potatoes without separating.
👩🍳Let the tortellini filling cool completely
Warm filling softens pasta dough on contact, making it stretch and tear as you shape. A cool, cohesive filling gives you control and clean seams.
👩🍳Use restraint with seasoning and fat
Over-buttering or over-oiling creates slippage inside the pasta. You want the filling to bind, not slide. The egg should hold everything together—not turn it into mashed potatoes.
👩🍳Don’t overfill your homemade tortellini
This is the fastest way to cracked tortellini. Tortellini are small by design. Use less filling than you think you need; it will expand slightly during cooking.
👩🍳Press out air pockets
Trapped air expands in boiling water and forces seams open. Seal firmly and deliberately, especially at the corners.
Tortellini Preparation Steps

How to Freeze Tortellini Properly
Freezing tortellini properly is what turns this recipe into a true make-ahead meal. The key is freezing them raw, not cooked.
When tortellini are cooked, the pasta dough:
- Absorbs water
- Swells and softens
- Loses its tight structure around the filling
Once that water-saturated dough is frozen, ice crystals form inside the pasta. When the tortellini are reheated, that trapped moisture is released. The result is pasta that feels soft, slack, and fragile, with a higher chance of splitting or leaking filling
So, while it’s safe to freeze cooked tortellini, the texture suffers. Freezing them raw avoids all of this. The pasta cooks once, in the final dish, which is exactly what fresh pasta is designed to do.
Freezing Tortellini Step by Step
- First, arrange the freshly shaped tortellini in a single layer on a parchment-lined baking sheet. Make sure they aren’t touching! This step matters! Don’t skip it!
- Next, transfer the tray to the freezer and freeze until completely solid, about 1.5 to 2.5 hours.
- Once frozen, move the tortellini into freezer bags or airtight containers, pressing out as much air as possible. Label and date them. For best texture and flavor, use within preferably 3 months. While they remain safe to eat longer, this window preserves the quality of both the pasta dough and the potato and pancetta filling.
- Do not thaw before cooking.
How to Cook Frozen Tortellini
Homemade tortellini are designed to be cooked straight from frozen. Thawing them first only increases the risk of tearing or leaking. This is how to cook frozen tortellini properly:
- Bring a large pot of well-salted water to a rolling boil.
- Add the frozen tortellini and stir gently to prevent sticking.
- Once they float to the surface, continue cooking for 3-4 minutes. The goal is tender pasta that still holds its shape, not soft seams or split edges.
- Drain carefully and finish in butter, sauce, or broth. When cooked properly, the filling stays creamy and intact, and the pasta remains delicate but sturdy.
Serving Suggestions for Potato and Pancetta Tortellini
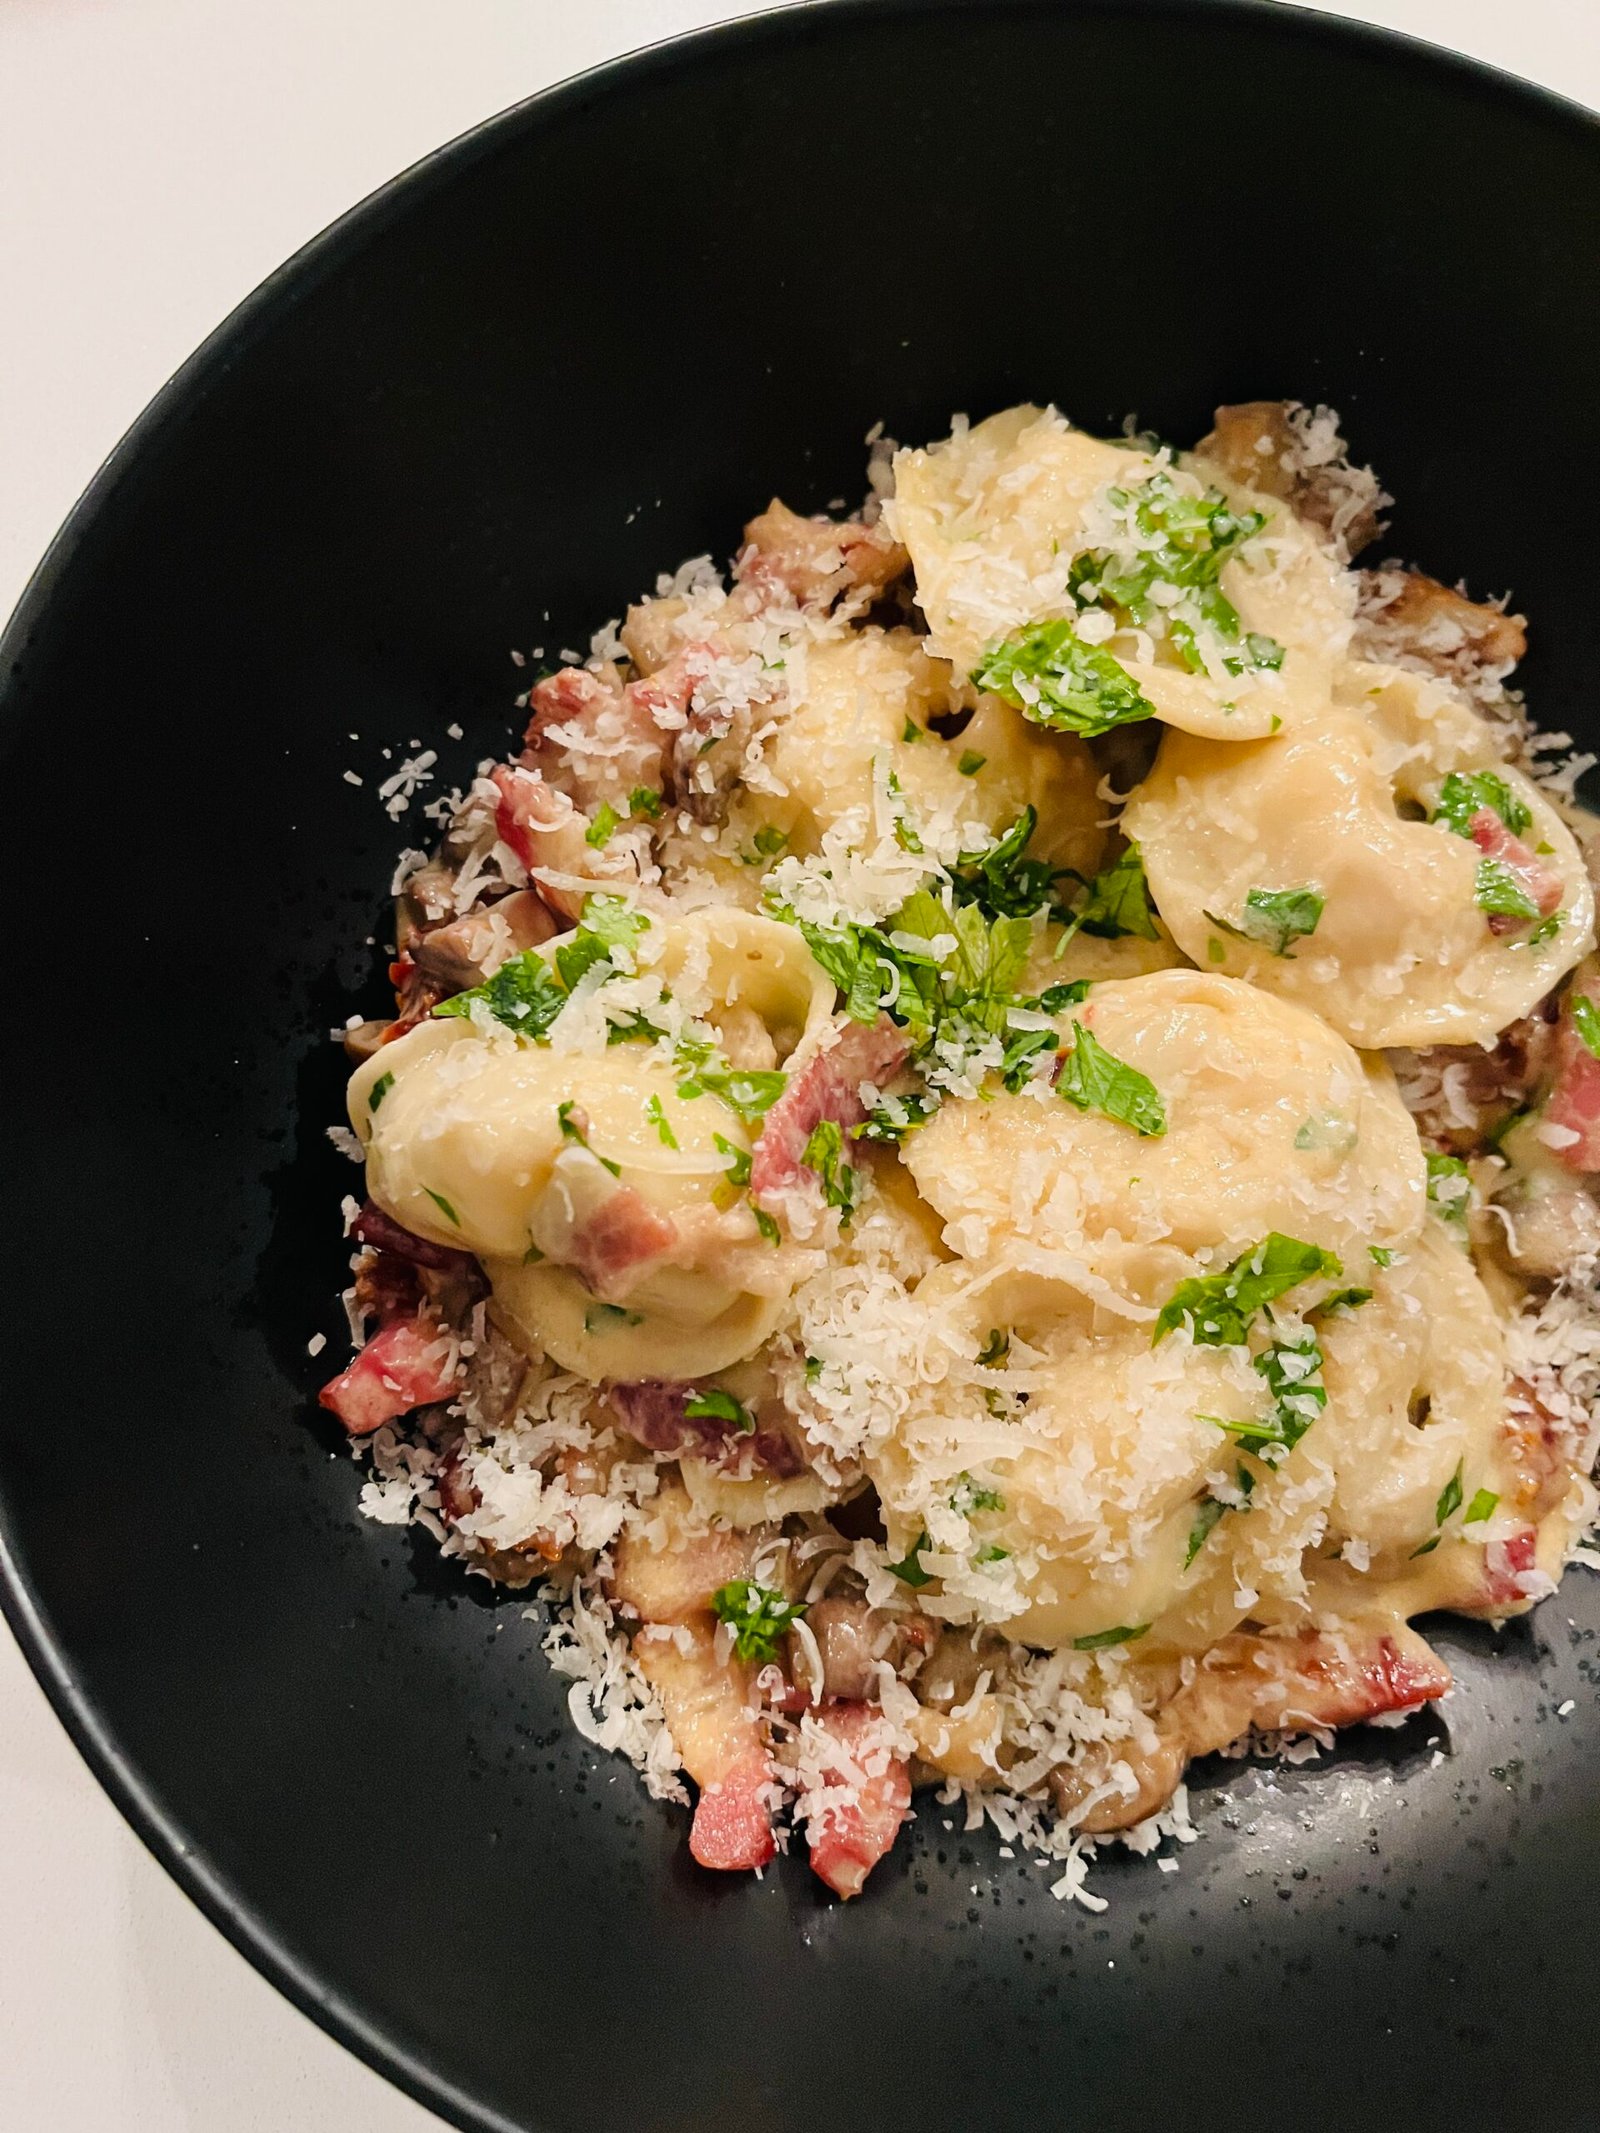
This tortellini filling is rich, savory, and surprisingly versatile, so you can dress it up or keep it simple depending on your mood.
🍝Butter and Sage: Classic, minimal, and elegant. Simply sauté fresh sage leaves in butter and toss the cooked tortellini for a fragrant, silky coating.
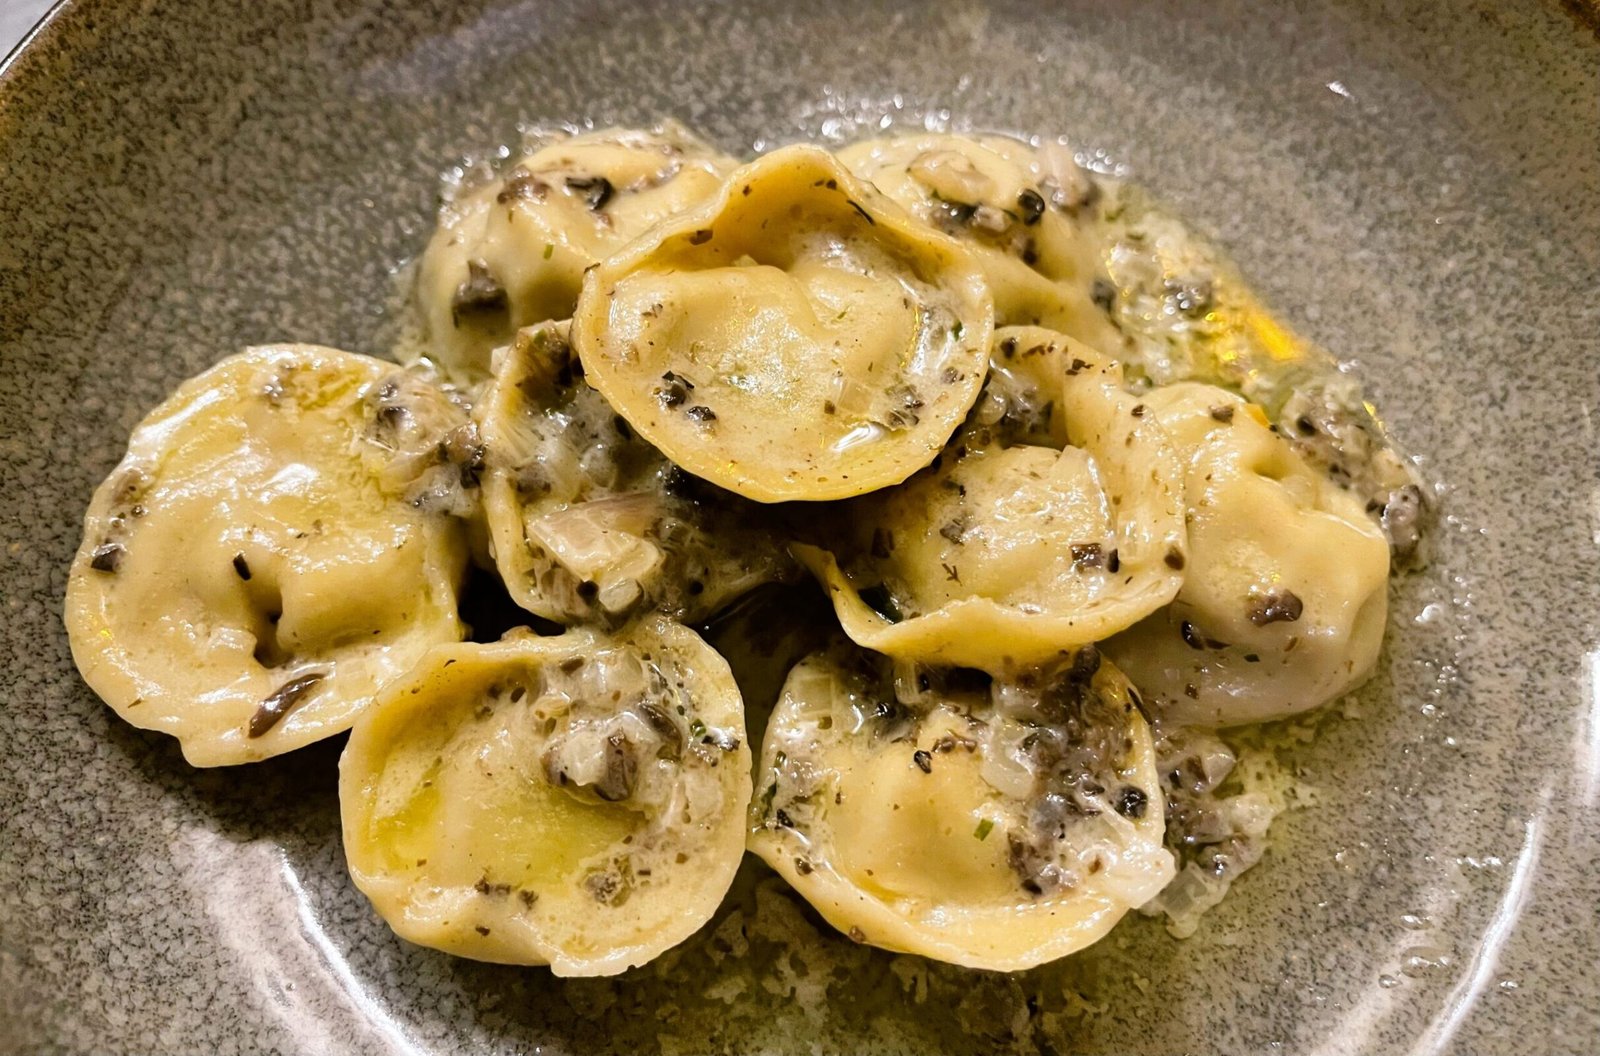
🍝Mushrooms: Porcini or chanterelle mushrooms are our top pick. Sauté them with a touch of butter, garlic, and thyme, then fold in the tortellini for an earthy, indulgent dish.
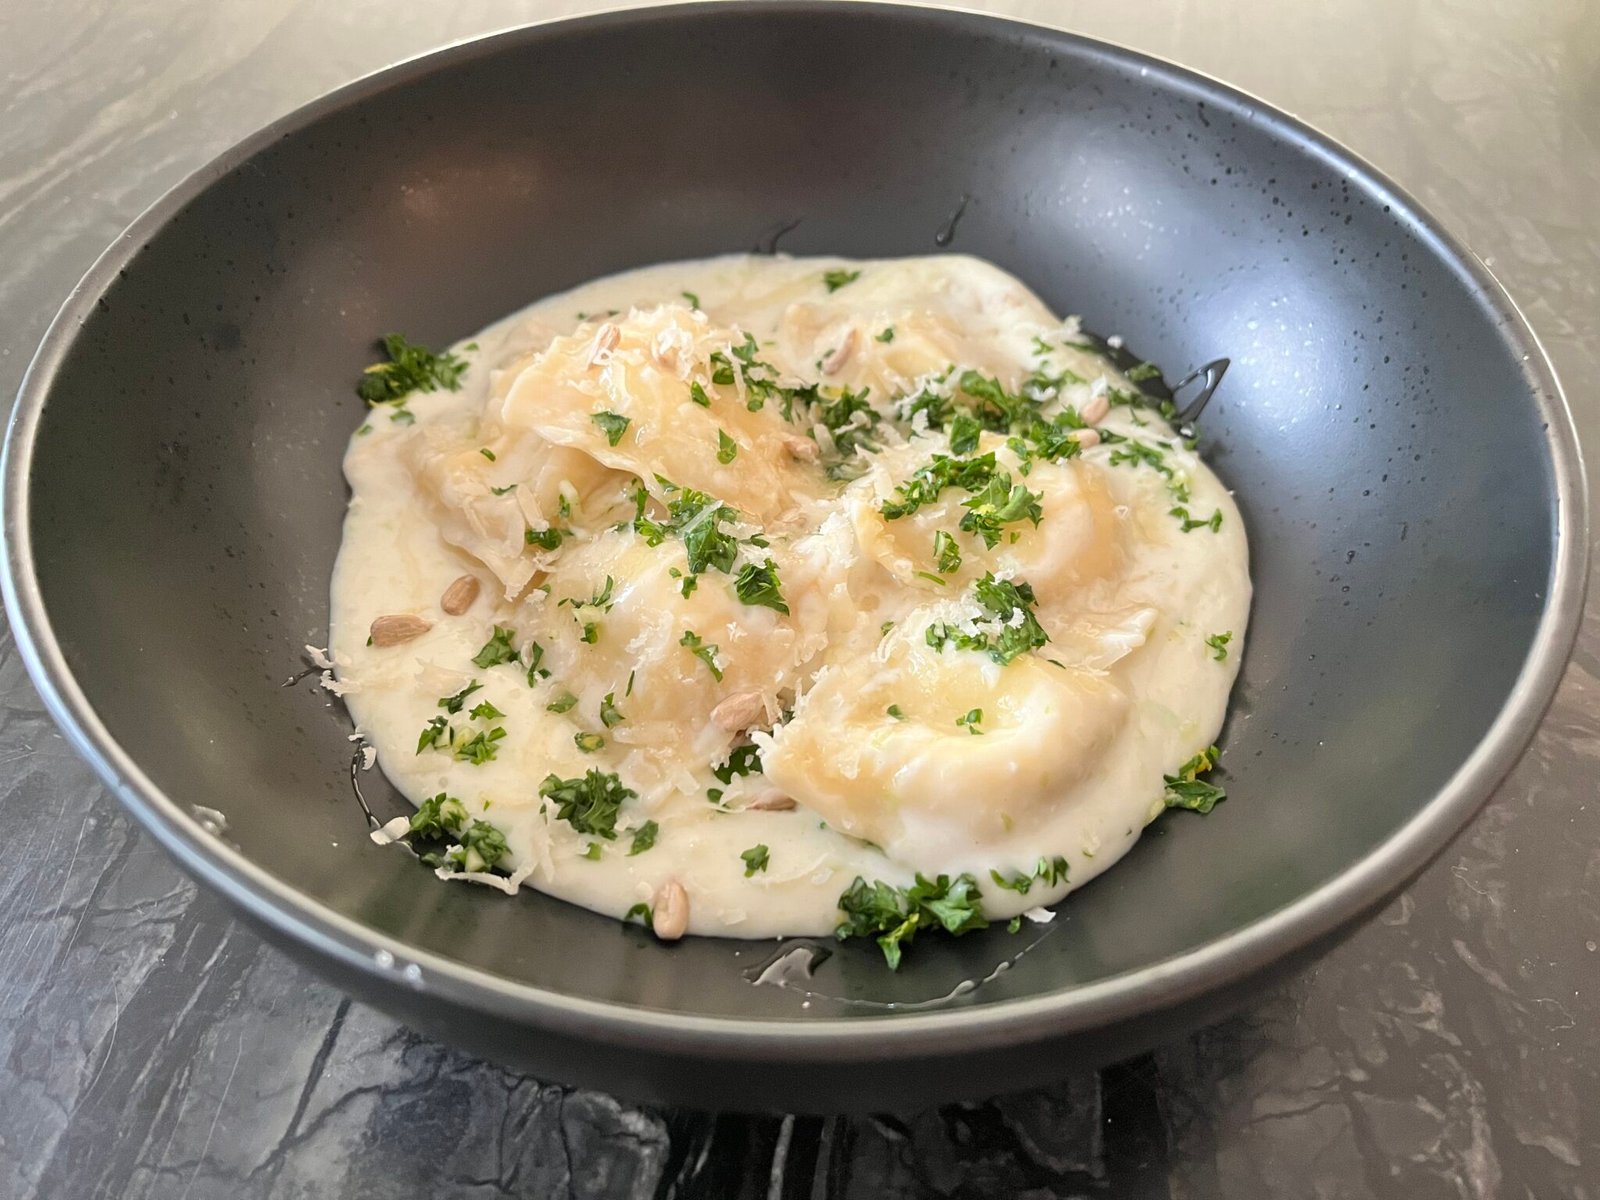
🍝Pan Sauce or Butter Sauce : Lightly cook the tortellini in a pan sauce made with shallot, broth and whipping cream or serve it with beurre blanc. These sauces cling beautifully to pasta and enhance the potato and pancetta filling without overpowering it.
🍝Broth (Tortellini-in-Brodo): For a comforting, soup-like presentation, serve tortellini in a simple chicken or vegetable broth.
Simple Homemade Tortellini Recipe – with Pancetta and Potato Filling
Ingredients
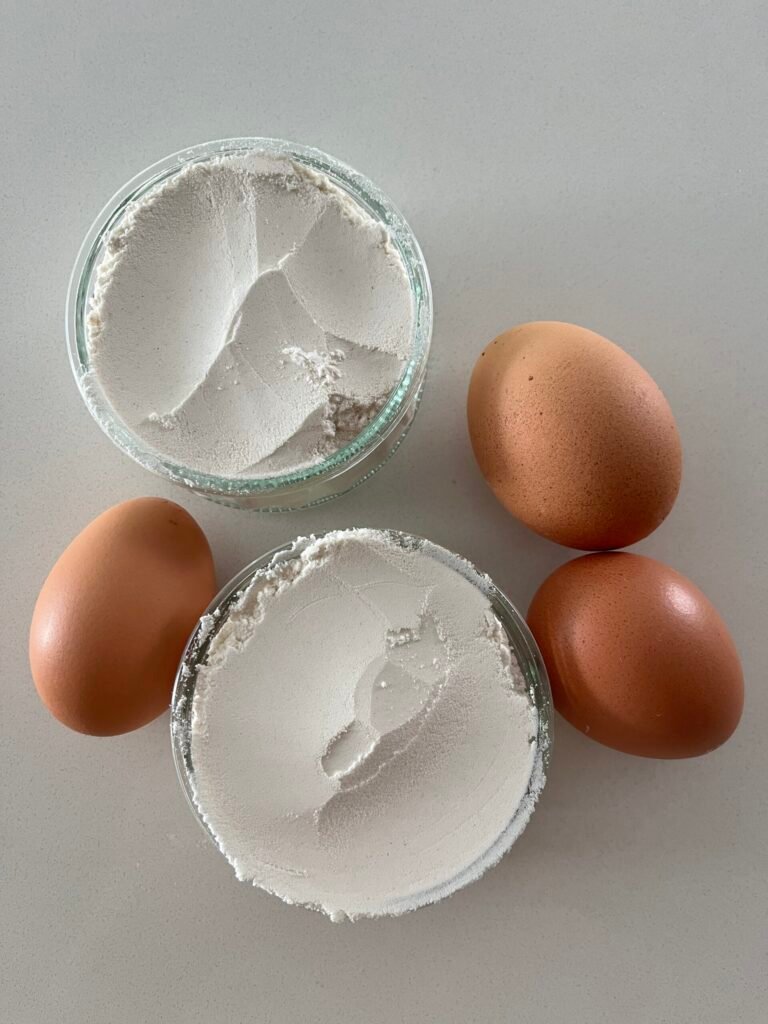
Pasta Dough:
- 1 cup 00 flour - Semolina
- 1 cup all purpose flour
- 3 eggs
Filling:
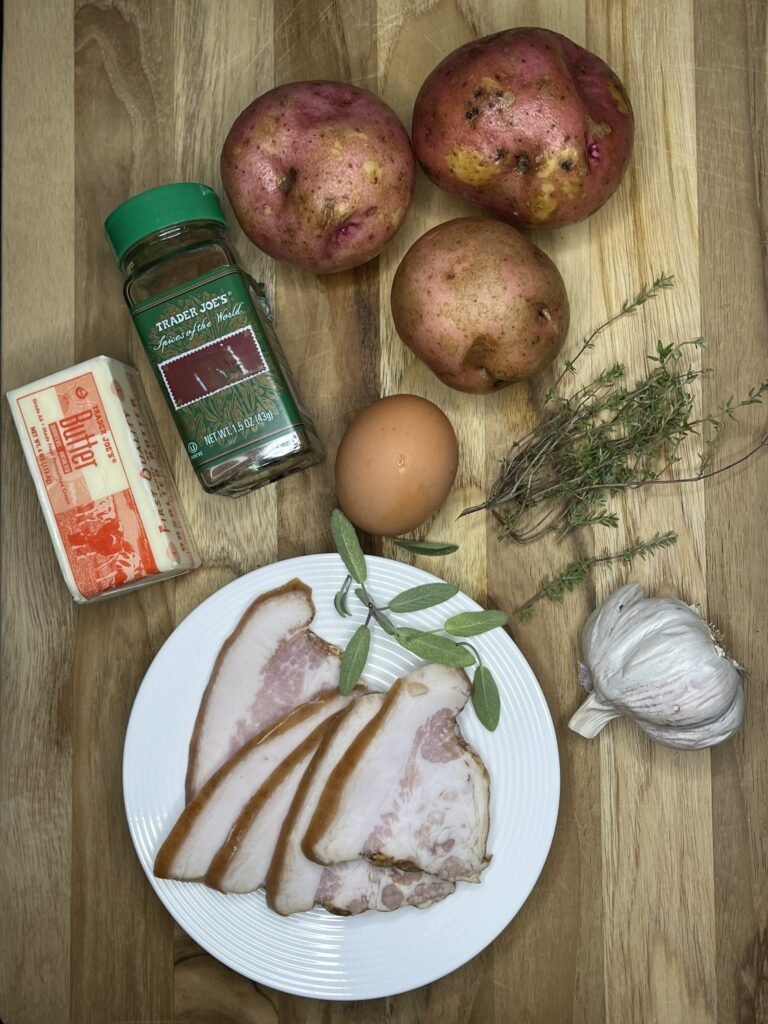
- 2 –3 red or Yukon Gold potatoes
- 5 oz pancetta - about 140 g – You can substitute by bacon or guanciale
- 2 garlic cloves - minced
- 6 sage leaves - finely chopped
- 2 thyme sprigs - leaves only
- 1 tbsp butter
- 1 large egg
- nutmeg - to taste – freshly grated
- salt and black pepper - to taste

Instructions
(A) Make the Pasta Dough:
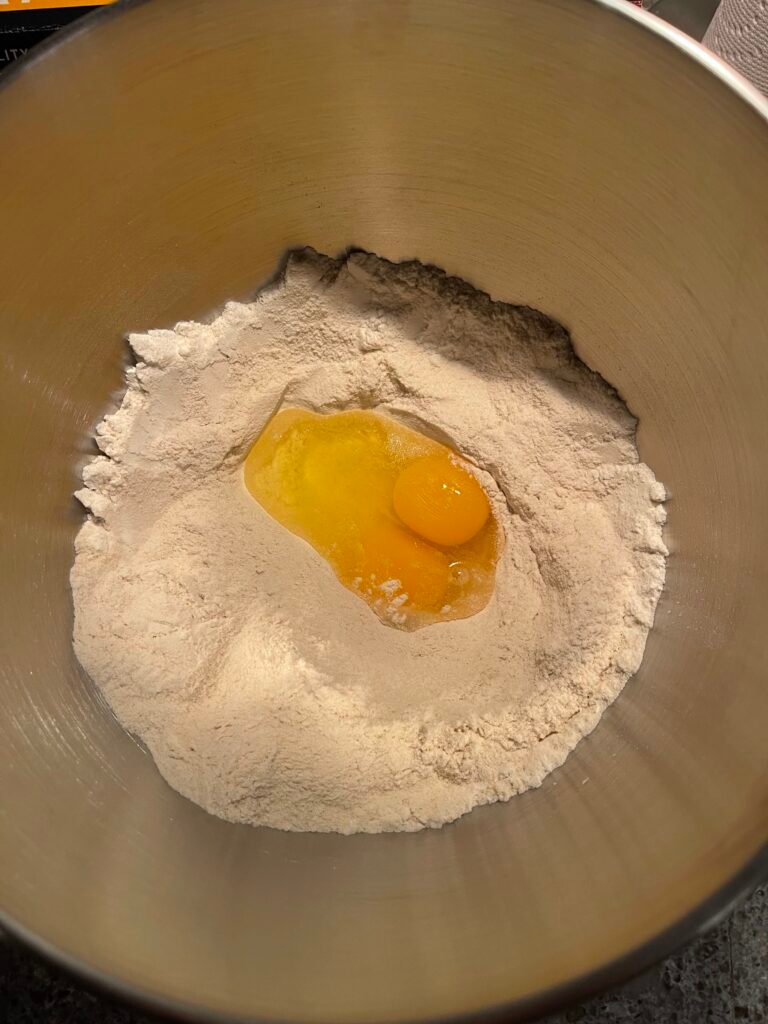
- Combine flour on a clean surface or in a bowl. Make a well in the center.
- Crack eggs into the well.
- Using a fork or your fingers, gradually whisk the eggs while incorporating small amounts of flour from the edges of the well. Continue mixing until the dough starts to come together and becomes too thick to mix with a fork.
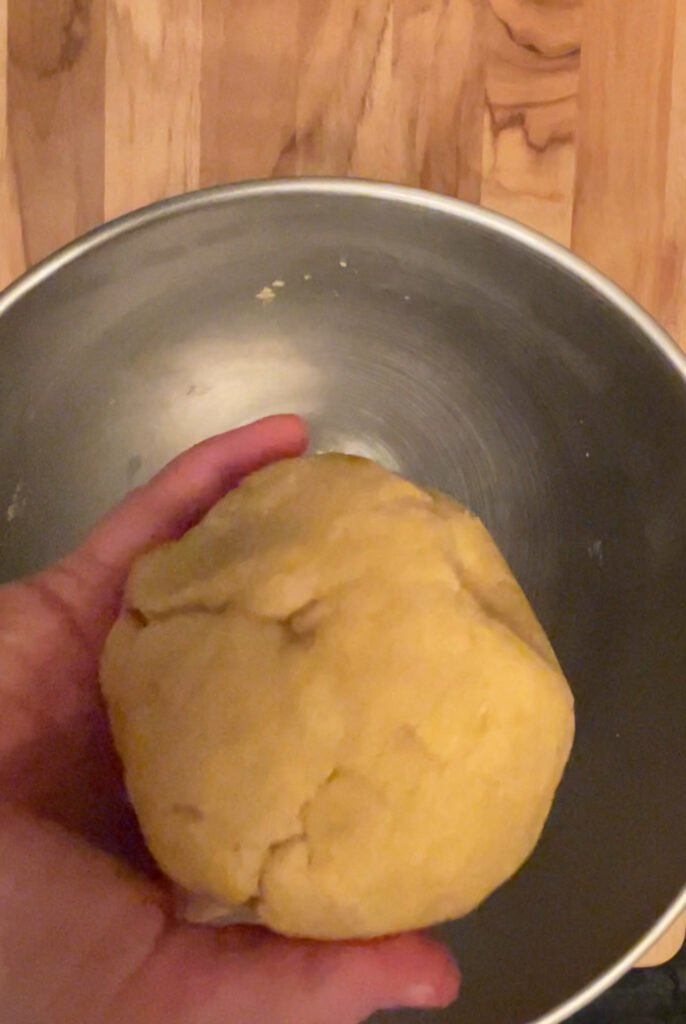
- Once the dough begins to take shape, use your hands to knead it into a smooth, elastic ball. This process usually takes about 5-10 minutes.
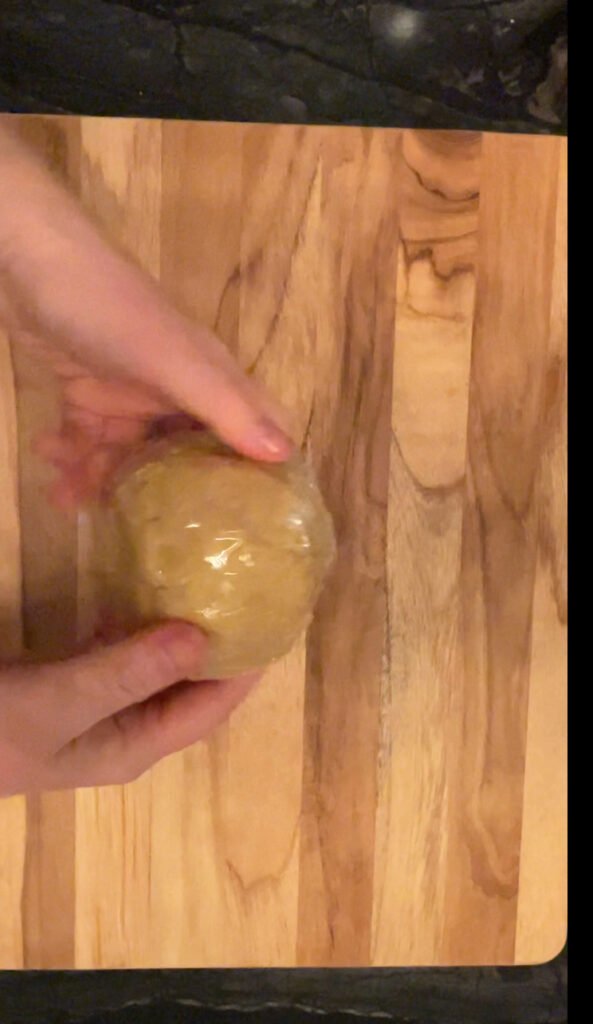
- Once the dough is smooth and elastic, wrap it in plastic wrap and let it rest for at least 30 minutes at room temperature. This allows the gluten to relax and makes the dough easier to roll out.
- After resting, the pasta dough is ready to be rolled.
(B) Make the Filling:
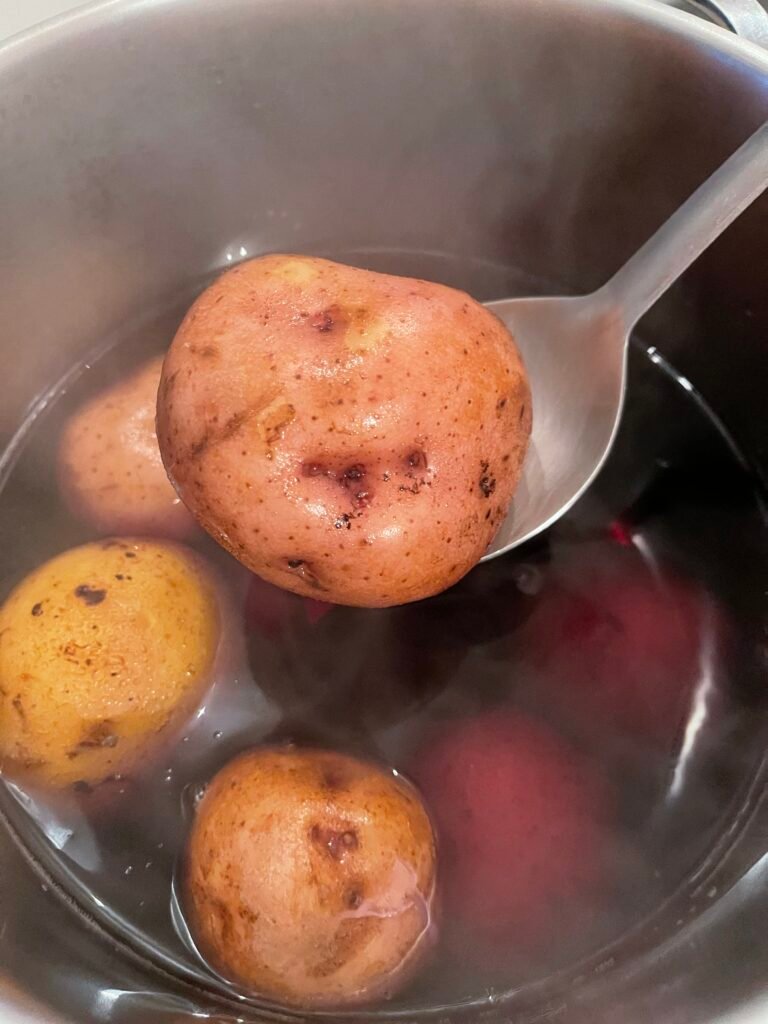
- Cook the potatoes: Place potatoes (skins on) in cold salted water. Bring to a boil and cook for about 20 minutes, or until easily pierced. Drain and set aside until cool enough to handle.
- Prepare the pancetta base: Cut pancetta into small cubes. Melt butter in a saucepan over medium heat. Add pancetta, garlic, sage, and thyme. Sauté gently until the pancetta is translucent, not browned. Remove from heat.
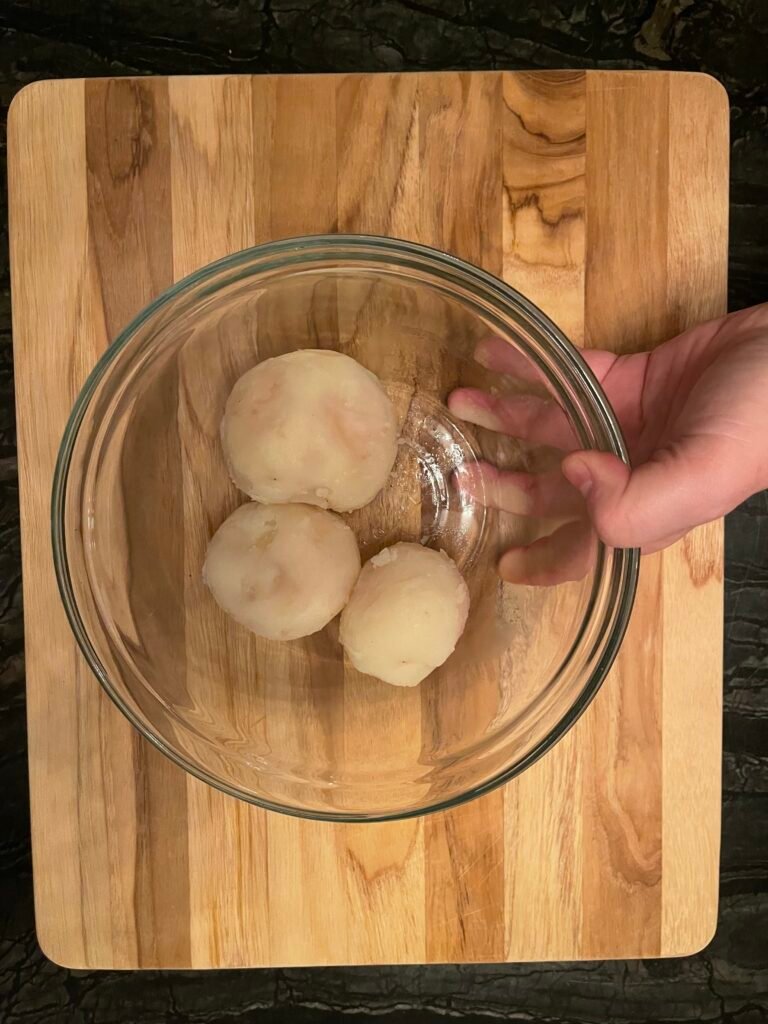
- Rice the potatoes: Peel the warm potatoes and rice them into a large bowl.
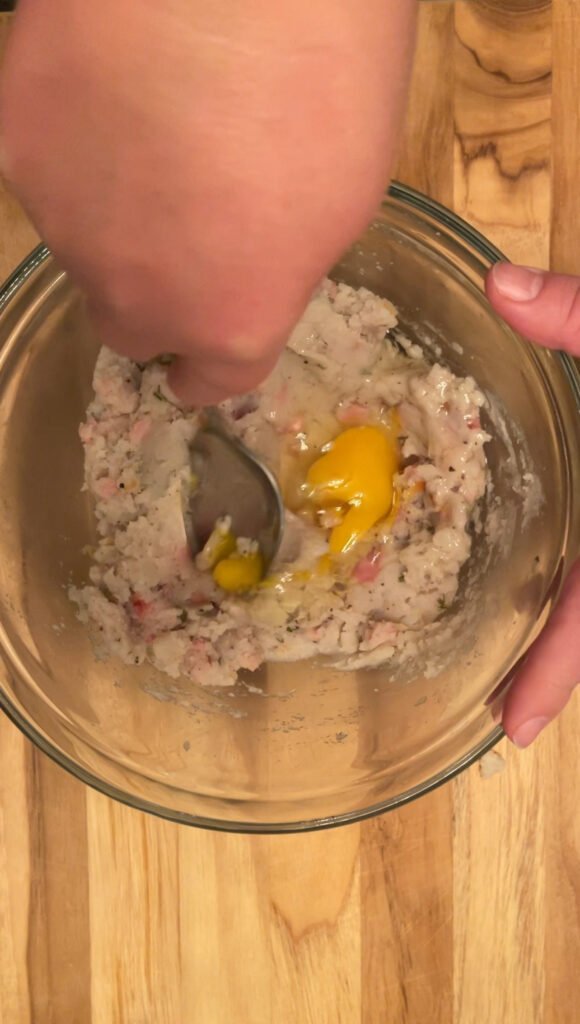
- Combine: Stir in the pancetta mixture into the same bowl. Add the raw egg, salt, pepper, and nutmeg.
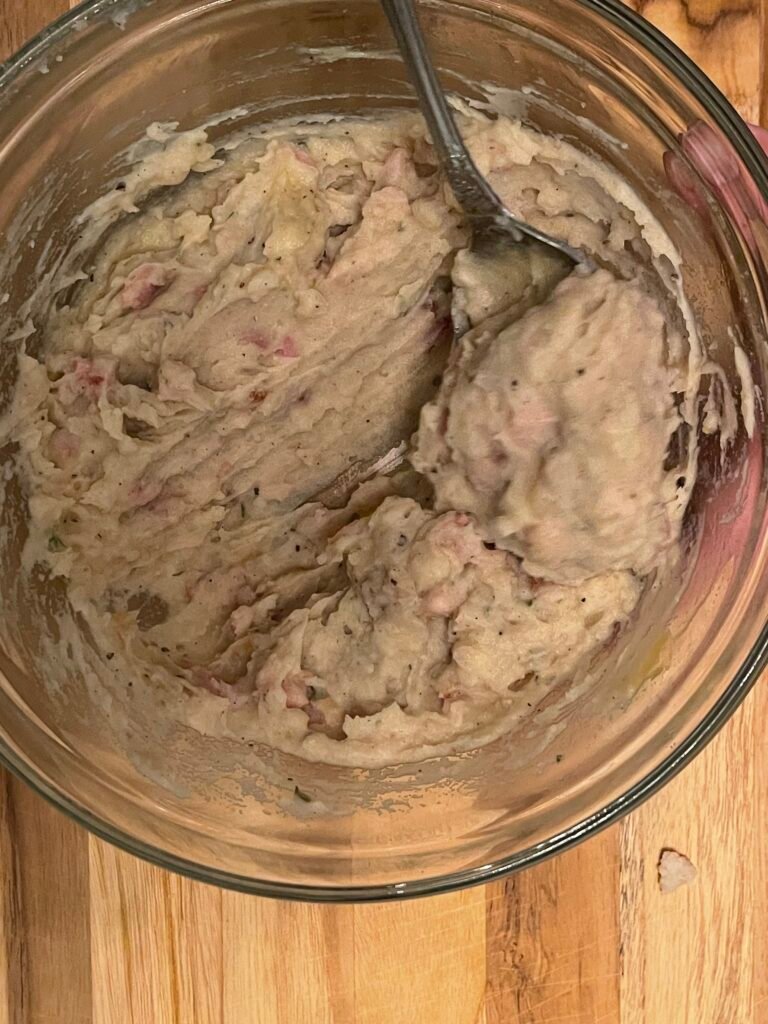
- Mix until fully combined. The filling should be soft, cohesive, and spoonable – not wet.
- Cool completely before filling pasta.
(C) Shape Tortellini:
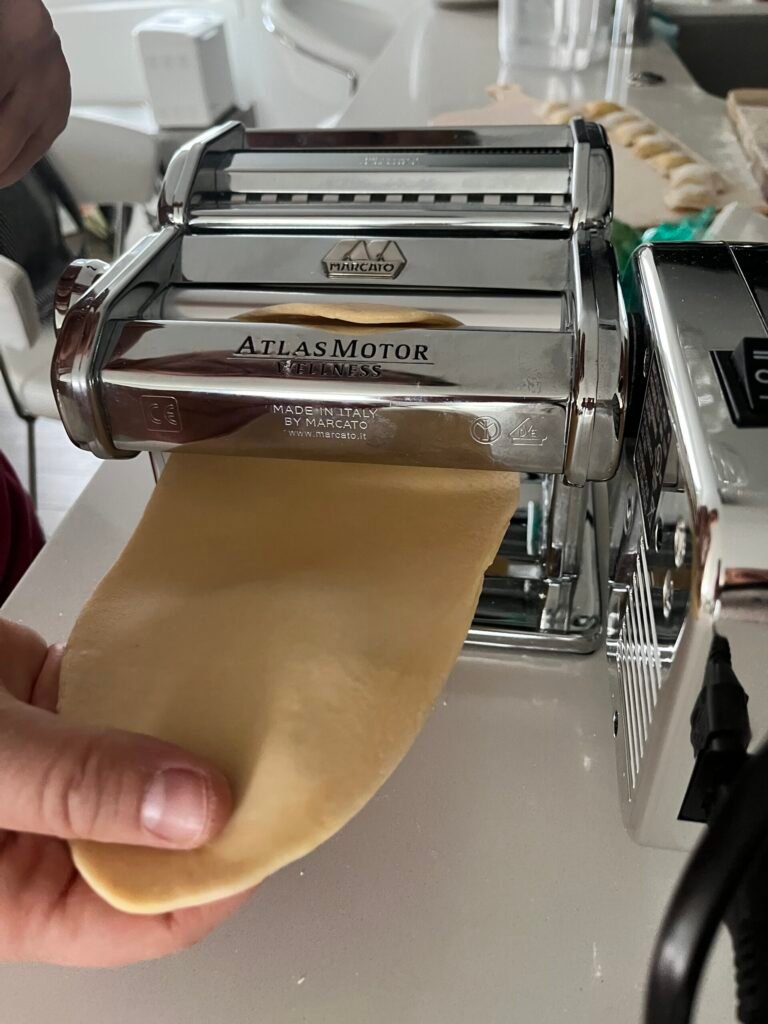
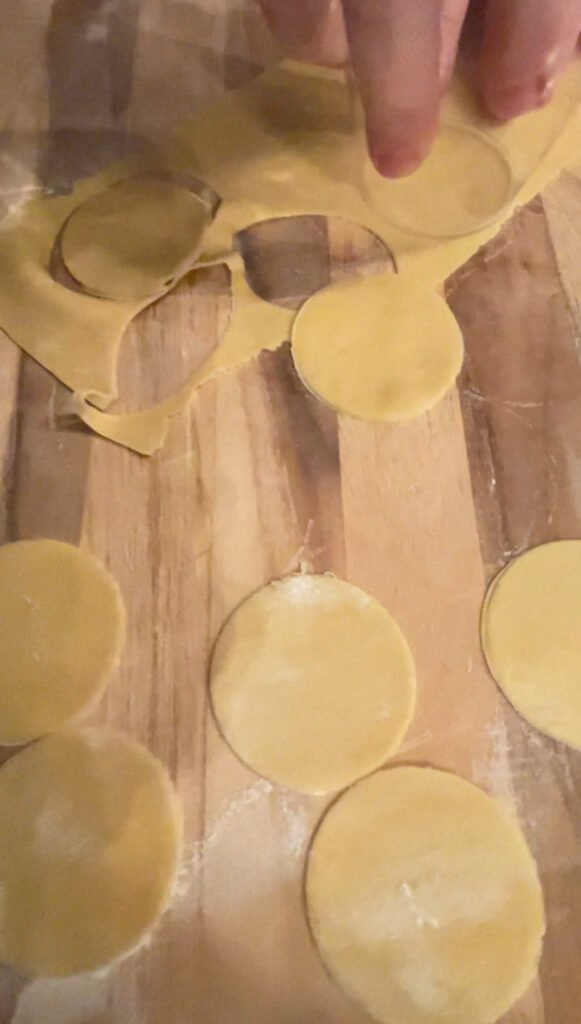
- Once the dough has rested, roll it out using a rolling pin or pasta machine for an even, thin sheet.
- Dust your work surface with flour to prevent sticking, and divide the dough into smaller portions.
- Roll pasta sheets thin (setting 6 – if using a pasta machine).
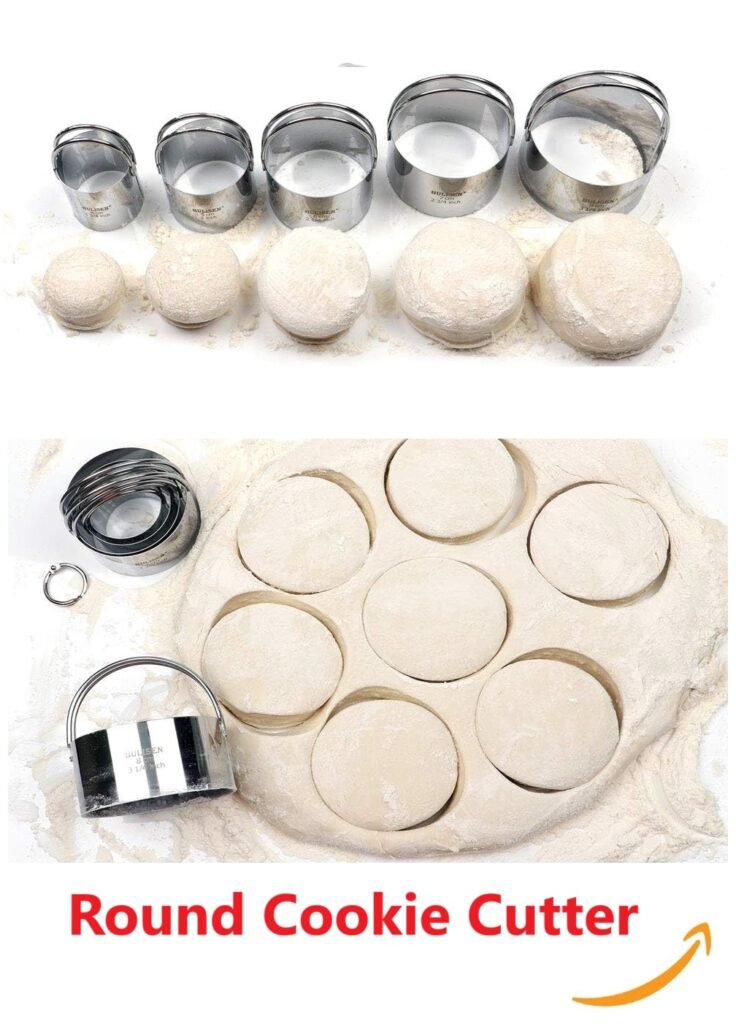
- Cut the dough into rounds about 4 inches in diameter using a glass or round cookie cutter.
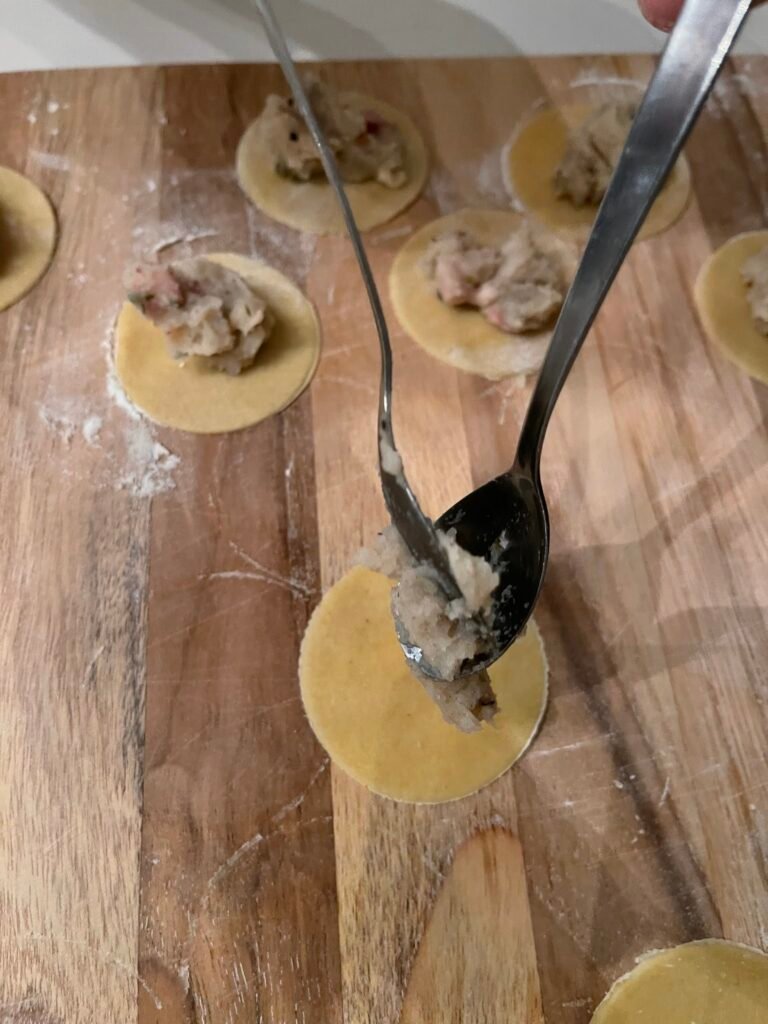
- Place a small teaspoon of filling in the center of each round.
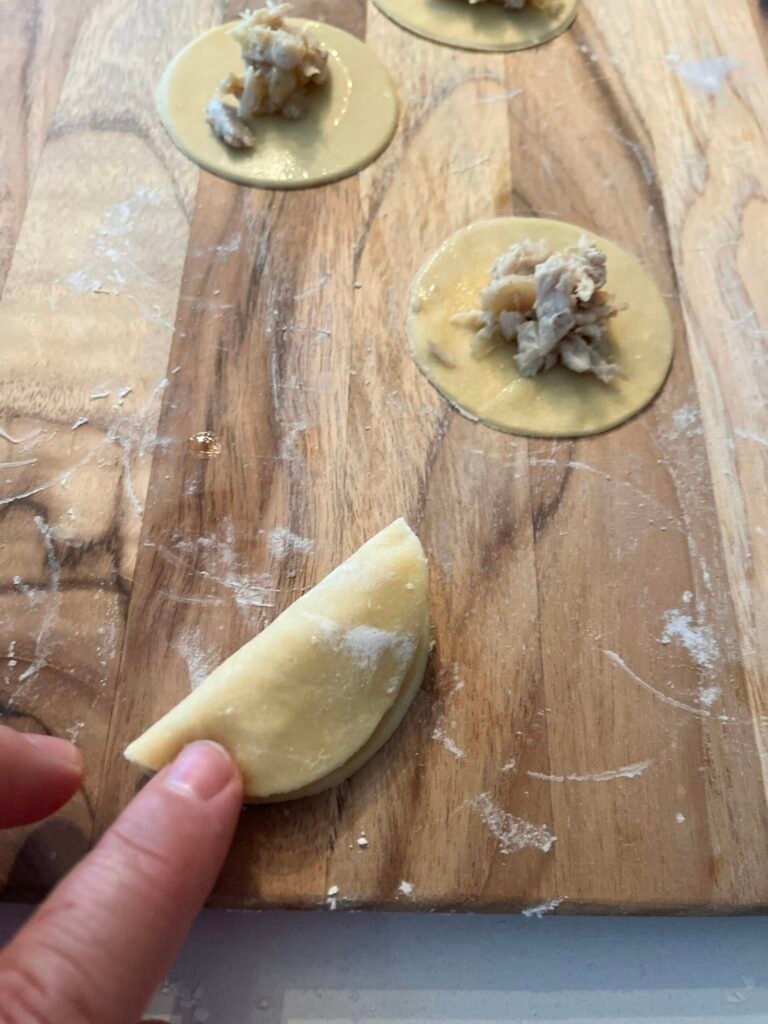
- Press each round shut to form half moons, making sure the edges are pinched firmly shut.
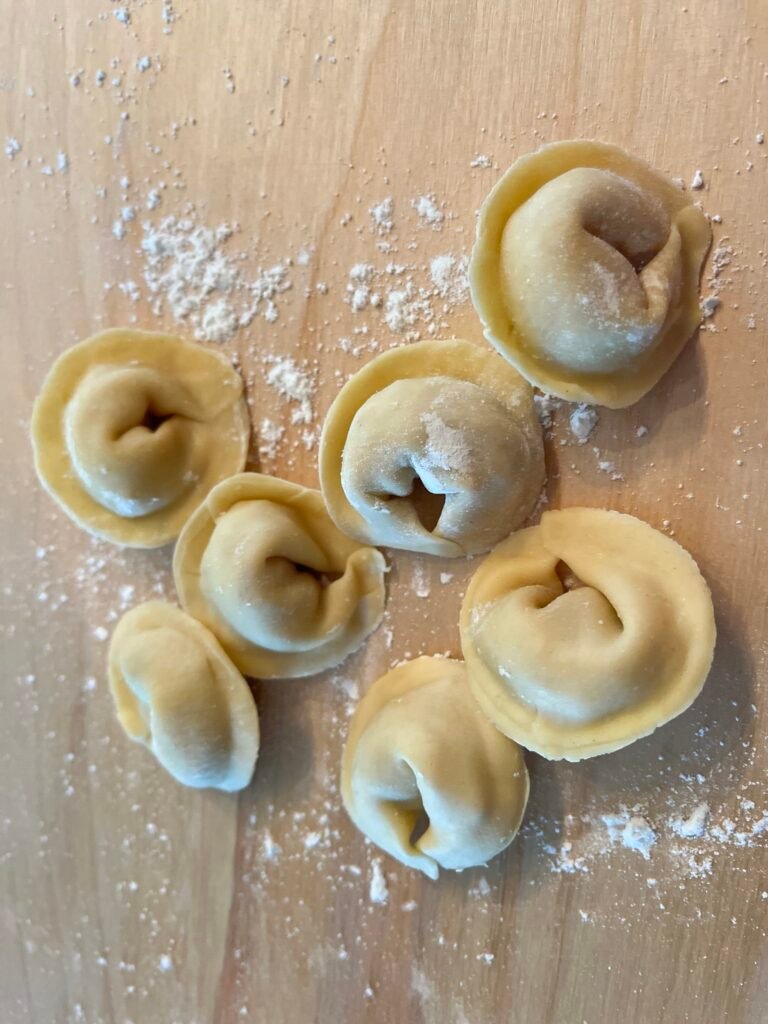
- Wrap each half moon around your thumb and press the ends together.
- Repeat with the remaining dough and filling.
You don’t need a machine to roll pasta dough – but we find it incredibly convenient.
Ever since we got our Marcato, we’ve been making and freezing fresh pasta every few weeks, and it’s made the process so much more enjoyable.
(This is the machine we use and love. If you choose to buy through our link, we may earn a small commission at no extra cost to you.)
Make a batch! Then come back and tell us how this recipe worked out for you. Leave us a comment below, write us, like us on X, Facebook, Pinterest, Instagram and Blue Sky. And remember, sharing is caring!
FAQ
You can use baking sheet large enough to fit into your freezer. Line it with a parchment paper or foil before you start arranging your tortellini on it.
Alternatively, line parchment or foil over cutting board and use it as your flat surface.
This happens when tortellini touch before they’re fully frozen or dry.
Always freeze tortellini in a single layer first. Once they are frozen solid, transfer them to bags or containers. Skipping this step almost always leads to clumps that tear when separated.
Lightly dusting the tray with flour also helps prevent sticking.
Those pale, dry spots you see on your pasta are freezer burn.
Unfortunately, freezer burn happens when fresh pasta is exposed to freezing cold air. To prevent it, remove as much air as possible from freezer bags and seal them tightly. If you use containers, make sure they are truly airtight. While freezer-burned tortellini are still safe to eat, the texture may suffer.
Leaking usually means the seal failed.
This can happen if flour gets trapped along the edges, preventing the dough from sticking. Brush away excess flour before sealing. It can also happen if the tortellini were overfilled. Use less filling than you think you need.
Finally, check that the dough isn’t drying out while you work. Dry dough doesn’t seal well. Cover unused sheets with a clean towel. Moisten dough around the edges when sealing.
This usually happens for three reasons.
First, the filling was too wet.
Second, the pasta was rolled too thin. Thin pasta looks nice, but torellini meant for the freezer need more strength to survive freezing and boiling.
Third, the tortellini weren’t sealed properly. Trapped air expands in hot water and forces the seams open. Press firmly around the filling and push out as much air as possible before sealing.
If you’re cooking tortellini from frozen, keep the water at a gentle boil, not a rolling one. Too much movement in the pot can tear the pasta.
![]() Got more questions? Don’t be shy – leave us a comment or send us a message without ever leaving the blog! [Contact us here.]
Got more questions? Don’t be shy – leave us a comment or send us a message without ever leaving the blog! [Contact us here.]![]()
You May also like:
-
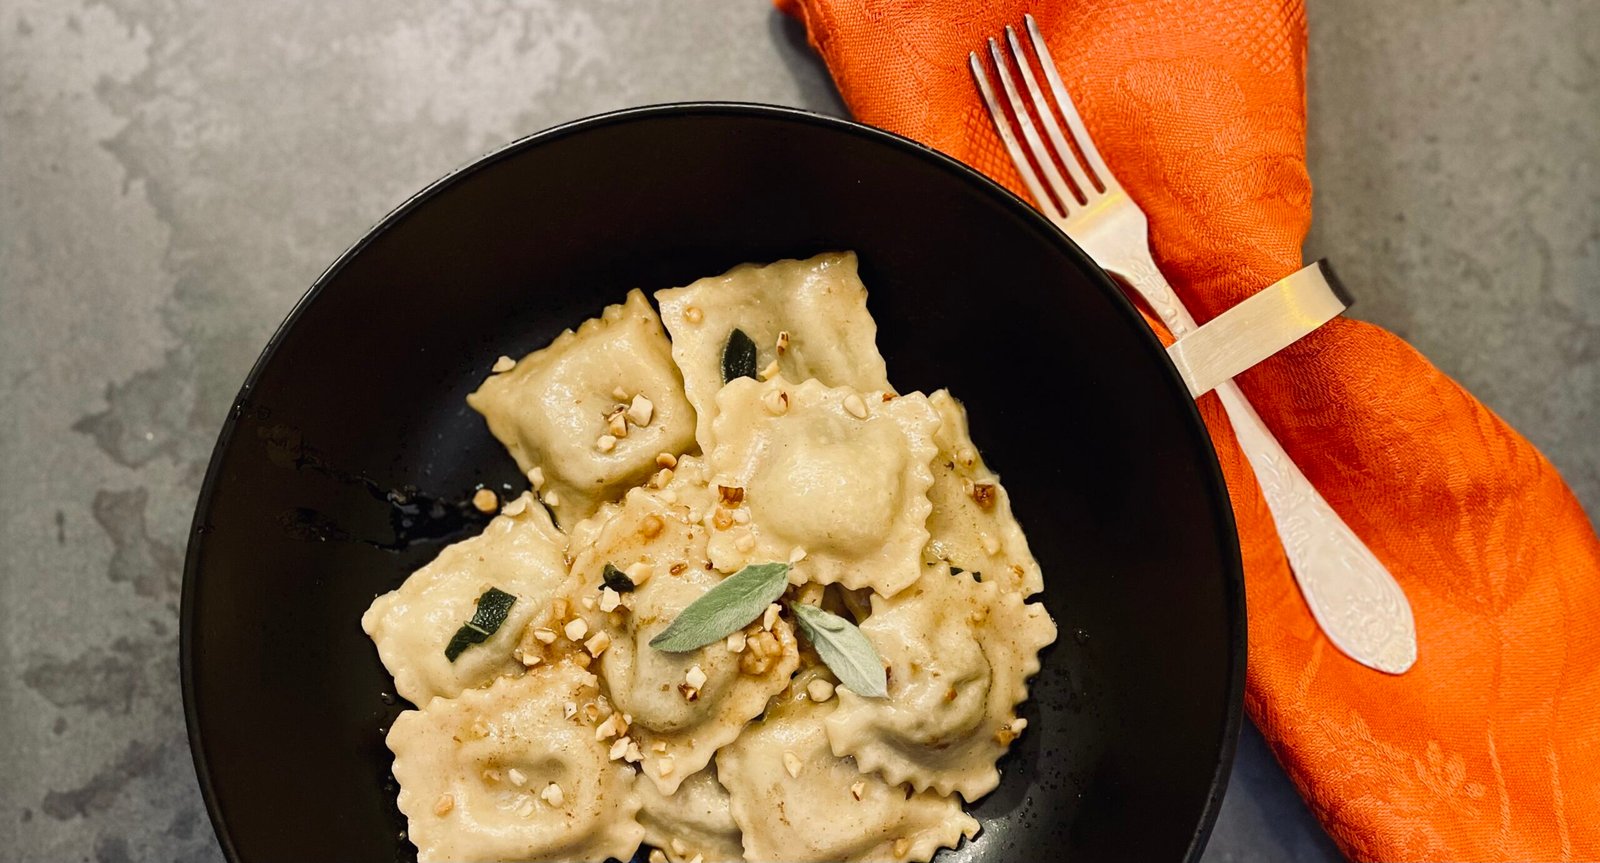
Ravioli with Goat Cheese and Mushroom Filling (Freezer-Friendly, Restaurant-Quality at Home)
Our goat cheese and mushroom ravioli recipe is for those who want an upgrade to a classic ricotta ravioli filling or looking for ways to use mushroom duxelles. Designed as… read more
-
Homemade Tortellini With Potato and Pancetta Filling: Make-Ahead Pasta for the Freezer
These tortellini with potato and pancetta are rich, practical, and made for the freezer. Inspired by Emilia-Romagna tortellini recipe and reminiscent of Ukrainian perogies, this make-ahead homemade pasta is reliable,… read more
-
How To Make Freezer Friendly Ricotta Ravioli From Scratch
Making ricotta ravioli at home might seem intimidating, but with this step-by-step guide, it’s entirely doable — and so worth it! Freezer meals don’t have to be predictable. This recipe… read more
-
How to Make Turkey Tortellini from Christmas Turkey Leftover
Got leftover Christmas turkey still hanging out in your fridge? Transform it into roast turkey tortellini with our ultimate Christmas turkey leftover recipe! These tortellini are easy to freeze, and… read more

Leave a Reply