How To Make Pelmeni Dumplings: Freezer-Friendly Quick Meals Recipe
Views: 414
Pelmeni dumplings are traditionally associated with Russian cuisine, but they are also popular in other Eastern European countries. Historically, they originated in the Siberian regions of Russia, where people relied on them as an easy-to-store food during long, harsh winters. Hence, the name “Siberian pelmeni”. Interestingly, pelmeni taste better after being frozen rather than cooked fresh. That’s why they’re perfect for make-ahead, freezer-friendly meals!
In our native Ukraine, pelmeni are a staple in many homes, sitting alongside classics like varenyky (pierogi). Over time, every family developed their own take on the Siberian pelmeni. Our family is no exception! This pelmeni recipe reflects our family’s version of the classic Siberian pelmeni dumpling. We hope you will enjoy it as much as we do.
The Difference Between Pelmeni, Vareniki, and Pierogi
If you’ve ever wondered whether pelmeni, pierogi, and vareniki are just different names for the same dumpling, you’re not alone! All three are dumplings, but they differ in filling, dough thickness, and preparation methods:
- Pelmeni – These are small, round dumplings always filled with raw minced meat (pork, beef, chicken or a pork and beef mix). They have a thin dough and are always cooked in boiling water, then served with butter, sour cream, or vinegar. Unlike vareniki and pierogi, pelmeni are never sweet.
- Vareniki – Like pelmeni, this Ukrainian staple is cooked in boiling water, but that’s where the similarities end. For one, vareniki are about twice the size of pelmeni and have a thicker dough. More importantly, they never contain meat—raw or cooked. Instead, savory vareniki are usually filled with fully cooked mashed potatoes and served with fried onions. They can also be made with sweetened cottage cheese, diced plums, cherries, or other berries and served with sour cream.
- Pierogi – The Polish counterpart to vareniki, pierogi are similar in size and dough texture. In our opinion, they’re the same dumpling! The main difference comes down to regional variations in fillings and serving styles.
Tips and Tricks for Perfect Pelmeni Dumplings:
 Dough That Won’t Let You Down
- Use warm milk or warm water for a softer dough. Our recipe calls for milk, but you can swap it for warm water if you prefer. Just avoid cold water—it makes the dough tough and difficult to roll out.
- Let the dough rest! Just like with manti, pelmeni dough needs time to relax. Let it rest for at least 30 minutes after kneading. This helps soften the gluten. As a result, you will have a dough that is much easier to roll.
- Knead, but don’t overdo it! The goal is a smooth, elastic dough. If you kneed dough to much, it will be stiff and harder to work with.
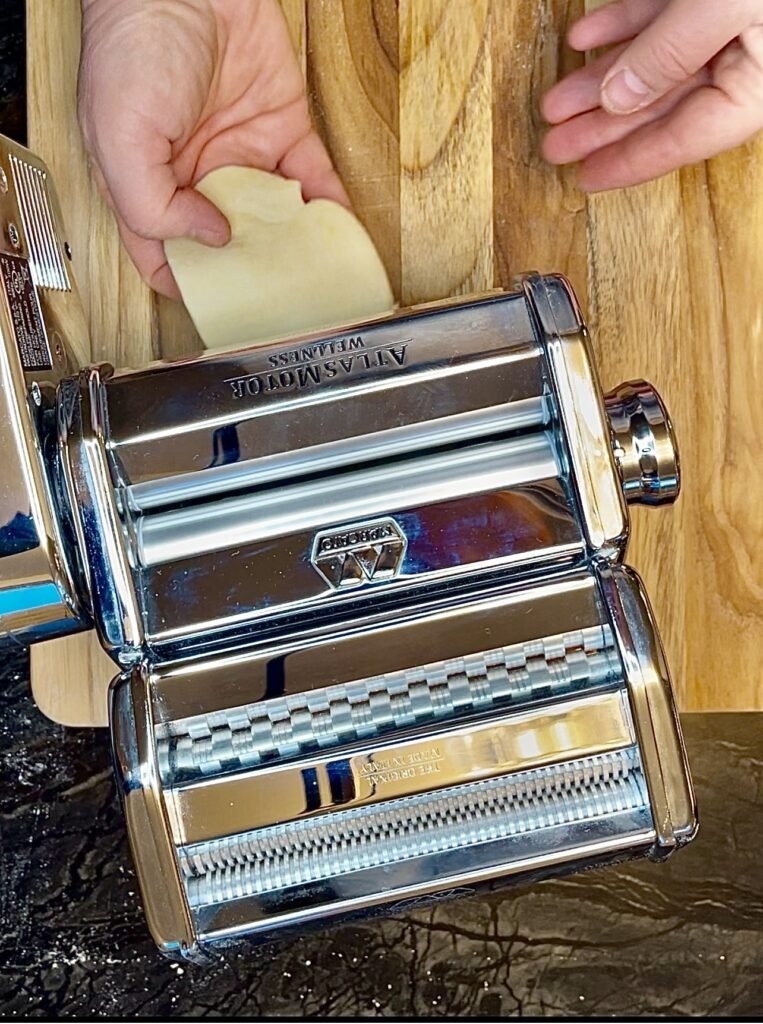
- Roll the dough thin, but not too thin. For the best texture, we recommend rolling the dough to about 1/16 inch (1.5 mm). If you don’t feel like turning this into an arm workout, use a pasta machine with dough roller set to medium-thin (6).
Filling That Stays Juicy
- If using minced beef, mix in a bit of warm water, broth, or neutral oil. This helps the filling stick together instead of crumbling like Bolognese sauce when cooked.
- Pelmeni filling needs salt, pepper, and onion. Some home cooks use a 1:1 ratio of meat to onion, but we prefer a 1:1/3 ratio. If you like a stronger onion flavor, you can add more, but don’t use less—too little onion can make the filling dry and take away that classic pelmeni taste.
Siberian Pelmeni: Assembly, Freezing & Cooking Hacks
- Lightly flour your work surface, but don’t overdo it. A little flour prevents pelmeni dough from sticking to the work surface, but too much can make it harder to seal the dumplings properly.
- Work in batches when cutting dough circles. If you’re filling pelmeni by hand, avoid cutting too many dough circles at once. Remember, dough dries out quickly. If you don’t fill and shape pelmeni fast, the unused dough circles will be hard to seal.
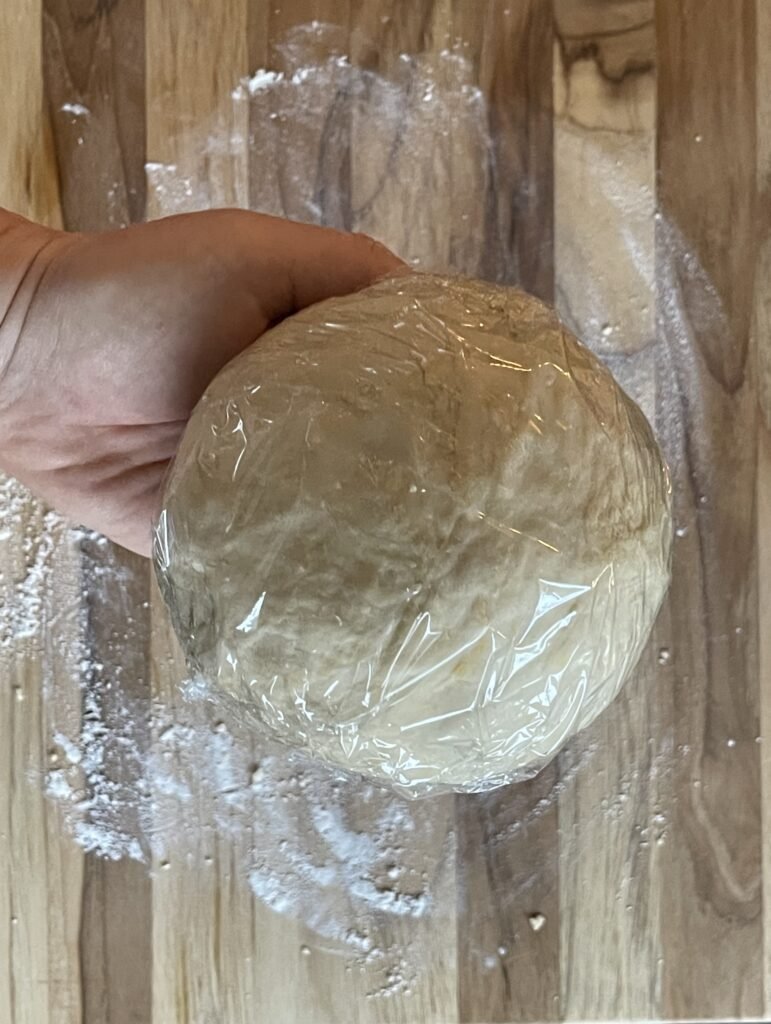
- Keep unused dough wrapped. To prevent it from drying out, always wrap leftover dough. Plastic wrap works best for this. Seal tightly to prevent leaks. Press the edges firmly, and if your dough feels dry, dab a little water along the edges to help them stick.
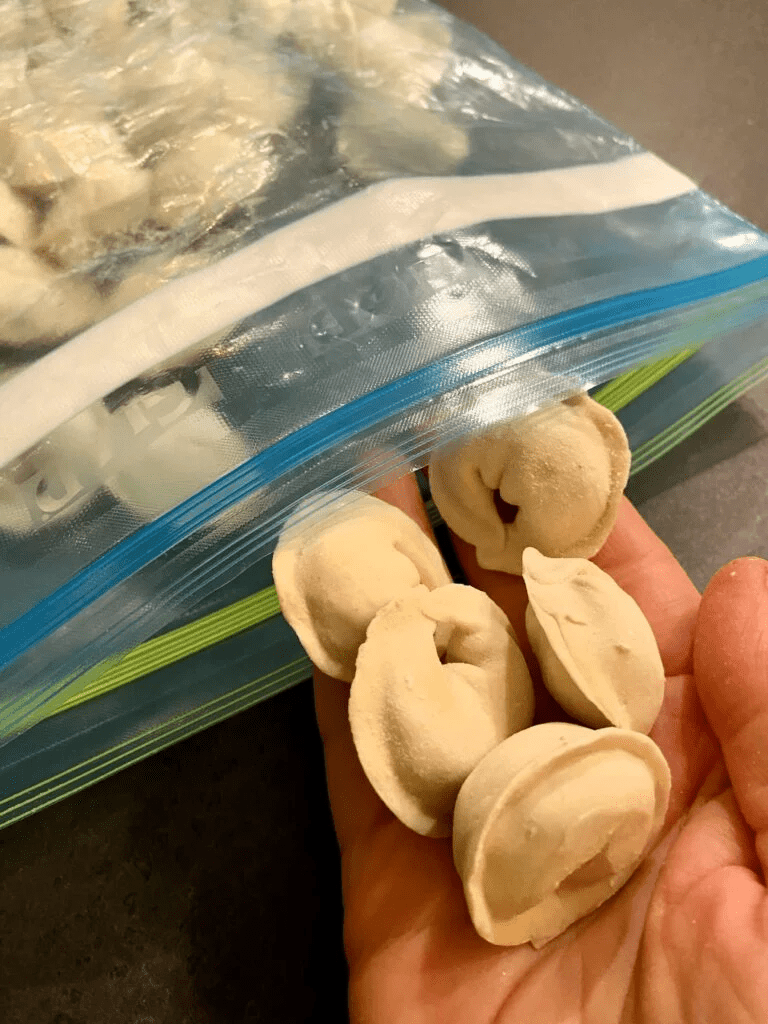
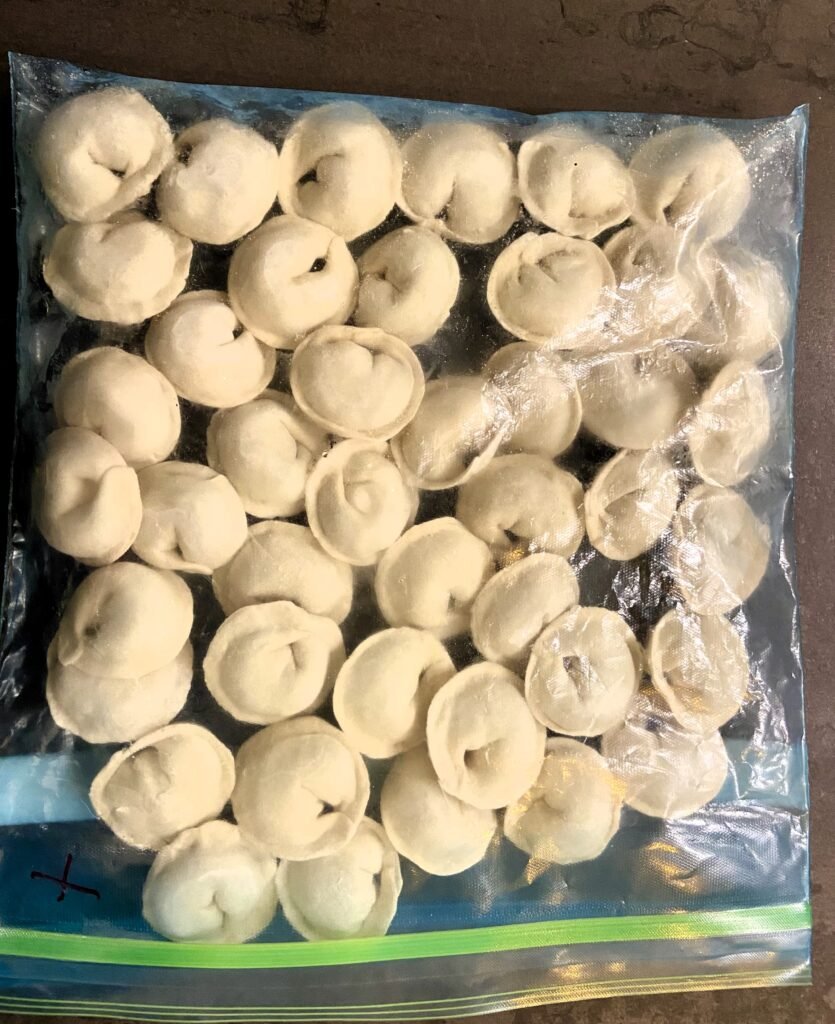
- Freeze properly to avoid a sticky mess. Place uncooked pelmeni on a floured tray in a single layer and freeze them before transferring to a bag. This keeps pelmeni dumplings from clumping together.
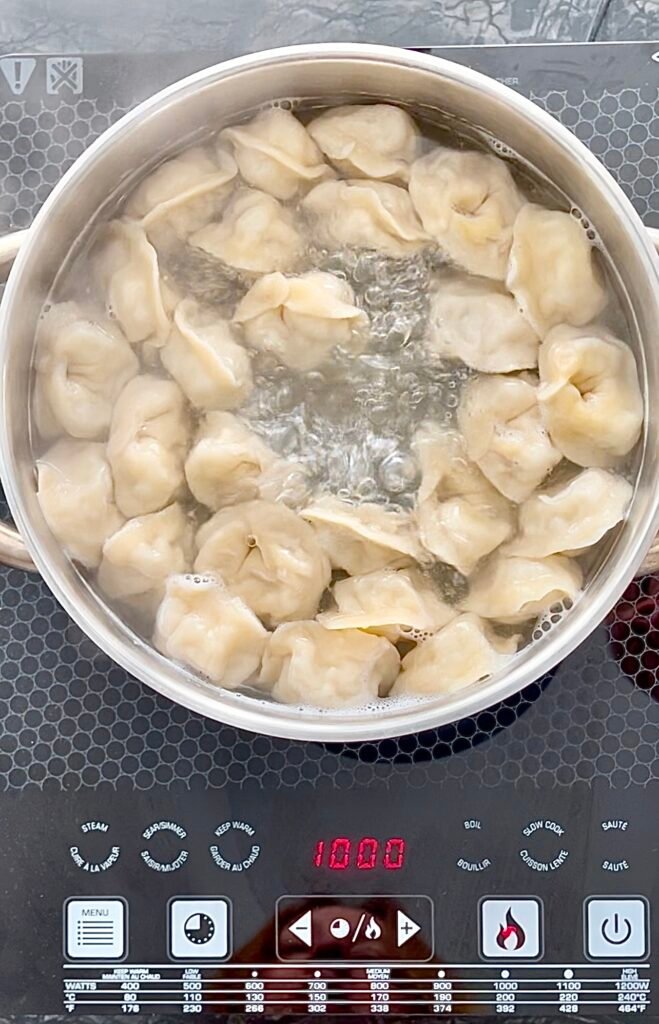
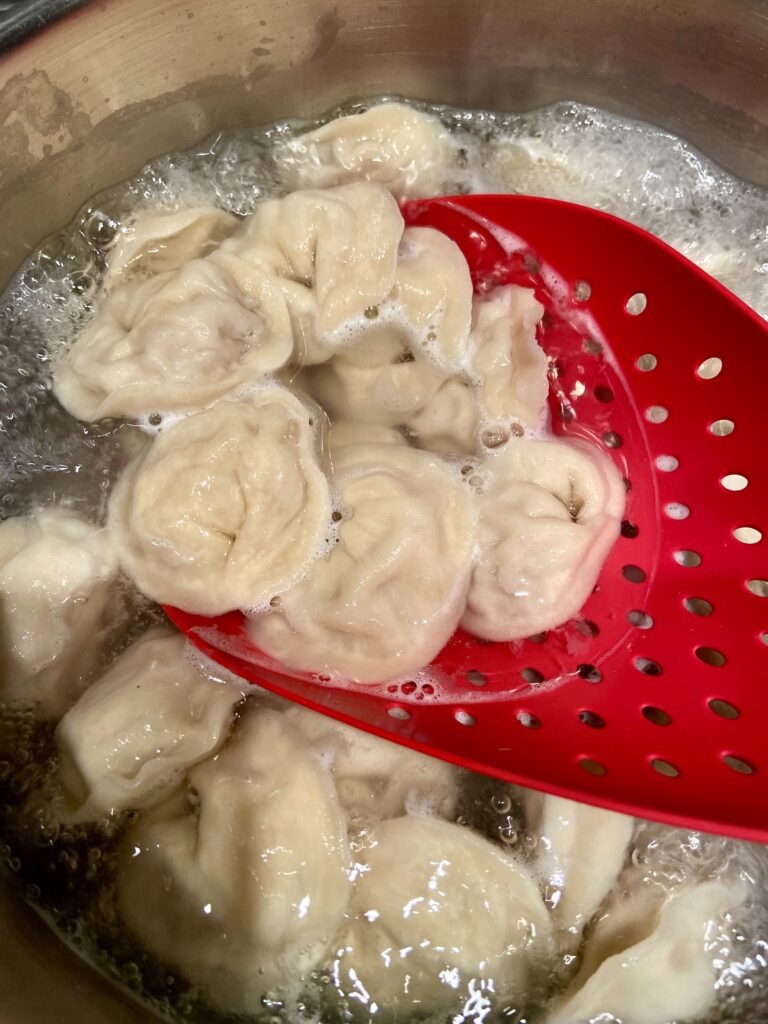
- Once ready to cook, drop frozen pelmeni dumplings into boiling salted water and stir gently. Once pelmeni float, let them cook for another 5 minutes before serving.
Instructions for Refrigerating and Freezing Pelmeni Dough
Unquestionably, making pelmeni takes time! While it’s not as labor-intensive as manti dumplings, it’s still a lot of work. On the positive side, you can prepare the dough a day ahead, cover it, and refrigerate it. Just let it come to room temperature before rolling it out. Here’s how to do it:
- Prepare the Dough: Follow the recipe, then wrap the dough tightly in plastic wrap to prevent it from drying out.
- Freeze: If using the dough within a day, keep it in the fridge. For longer storage, place the wrapped dough in the freezer, where it will stay fresh for up to 3 months.
- Thaw and Use: When you’re ready to make pelmeni, transfer the dough from the freezer to the fridge and let it thaw overnight. Once it’s fully thawed, knead it for a couple of minutes to restore its elasticity. Then, let it come to room temperature before rolling it out
Freezing the dough is a great time-saver, especially if you’re meal prepping or planning a big batch for a special occasion. But before tossing it in the freezer, don’t forget to label it! Trust us, it’s no fund to dig out a random, unmarked lump of dough months later and having no idea what it is.
How to Shape Pelmeni Like a Pro
Shaping pelmeni isn’t difficult, and it can be a lot of fun, especially if you do it with your family or friends! If you’ve ever made tortellini, you already have the skills to master this. Plus, if you want to speed things up, a pelmeni mold can make the process even easier. Whether you’re shaping them by hand or using a mold, here’s how to do it like a pro!
Method 1: How to Shape Pelmeni Using Traditional Hand-Folded Way
Arguably, when Siberian pelmeni were first invented, long before modern kitchen gadgets, shaping pelmeni was a way to gather and socialize with family and friends. This is how hand-shaping works:
- First, roll the dough thin – about 1 mm (less then 1/16 inch). Too thick, and they’ll be chewy; too thin, and they might break. Place it on a floured surface.
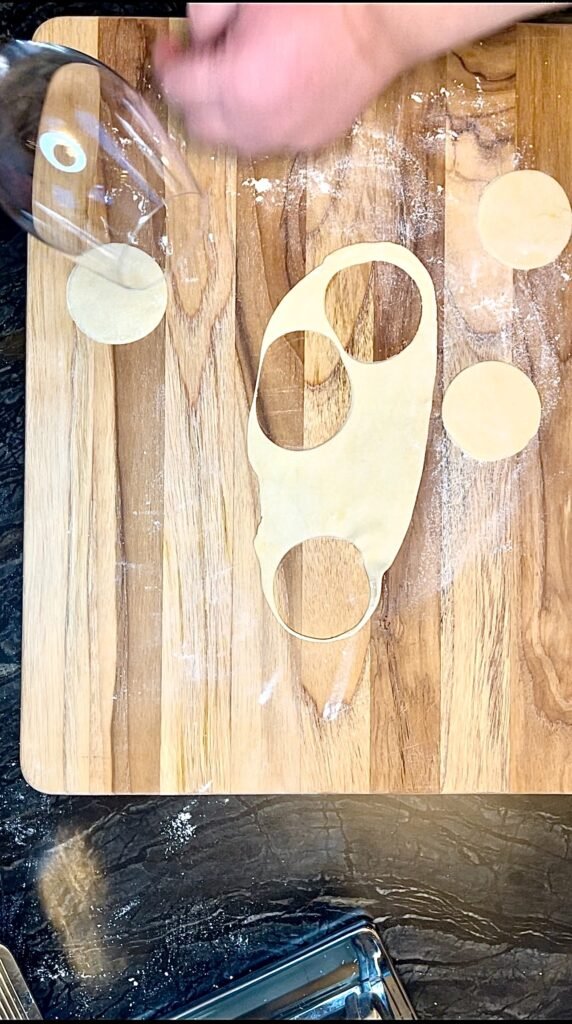
- Next, use a small round cutter, such as a glass or a cookie cutter, to cut out 2-inch circles.
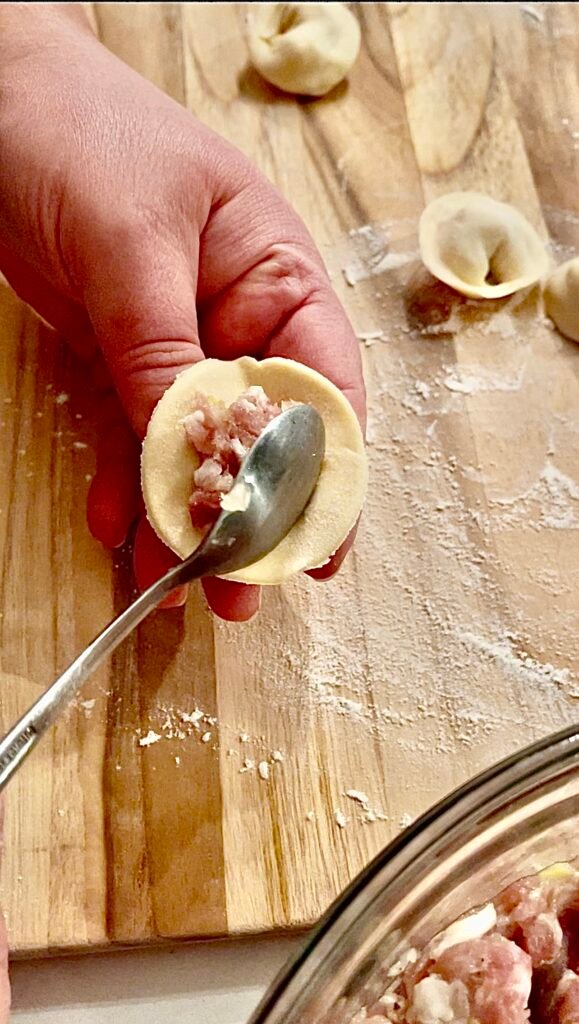
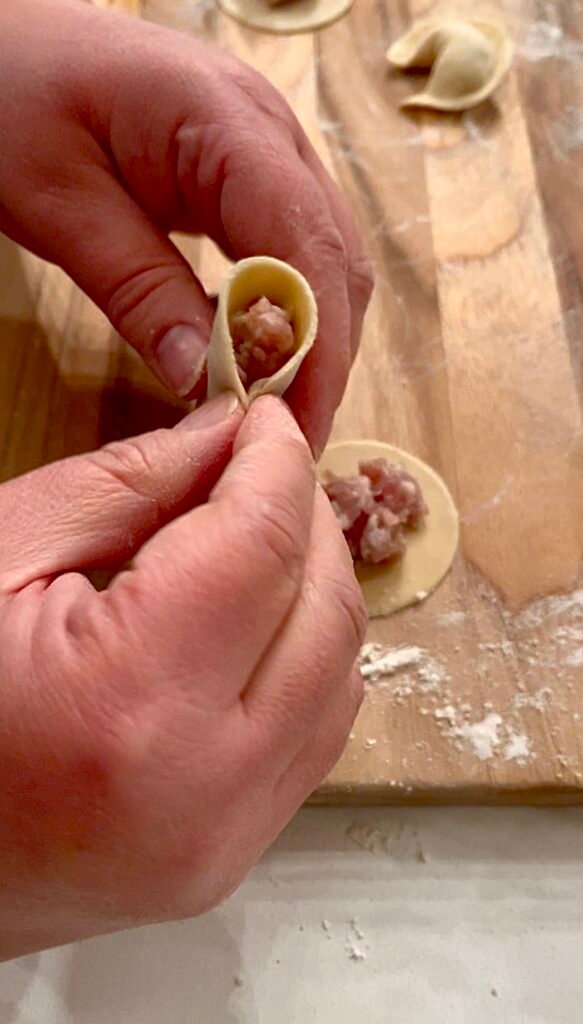
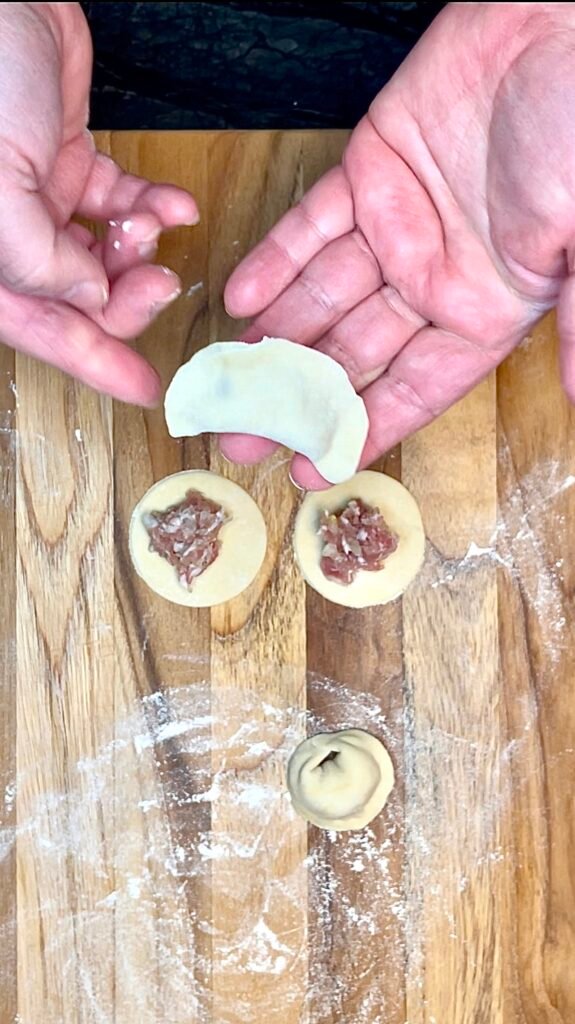
- Once done, it is time to fill the circles. Place a small amount of filling (about 1 teaspoon) in the center of each circle. Don’t overfill, or they’ll burst while cooking.
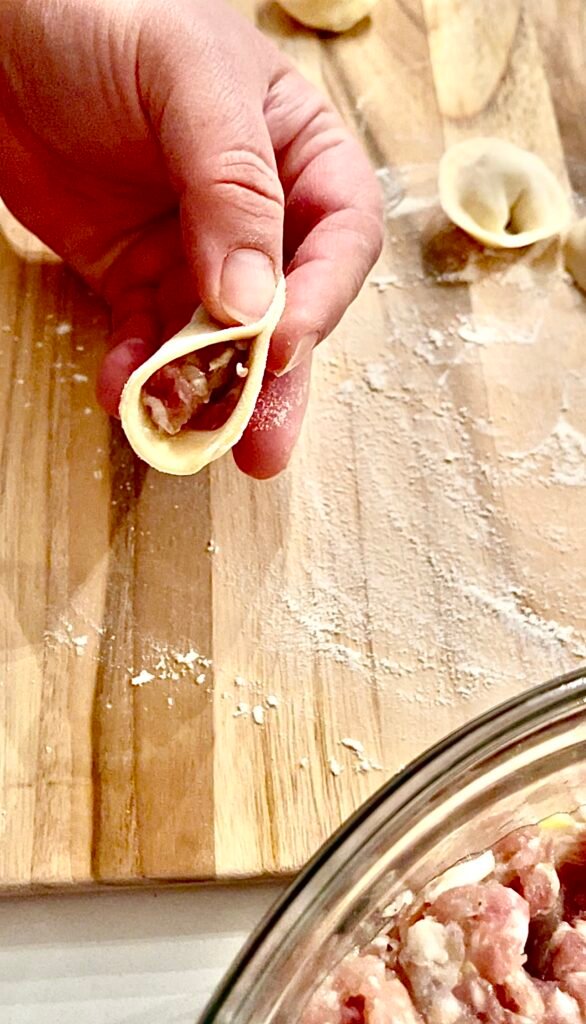
- Fold the dough over the filling to make a half-moon shape. Press the edges firmly to seal. If the dough is dry and won’t stick, lightly dampen the edges with a bit of water.
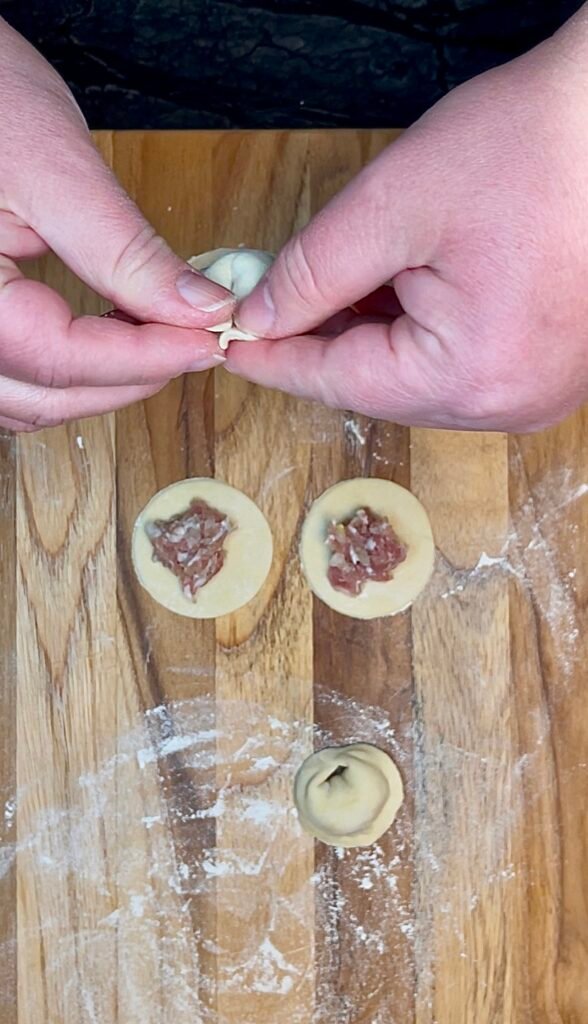
The last step is optional, but it makes pelmeni dumplings look pretty. Take the two corners of the half-moon and pinch them together to form the classic pelmeni shape.
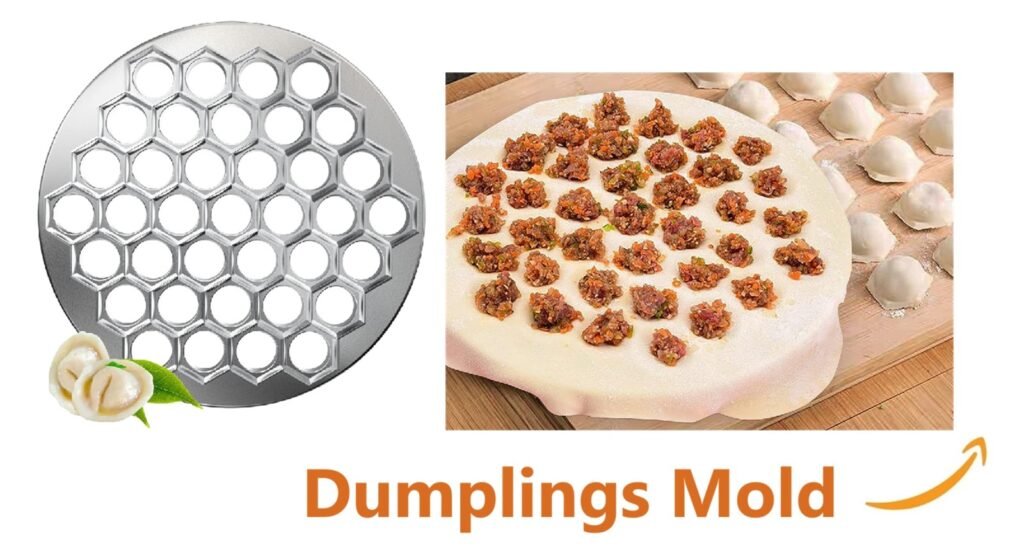
Method 2: Using a Pelmeni Mold to Shape Pelmeni.
For all efficiency enthusiasts, rejoice, there are modern tools that will make the process of pelmeni making faster. Using pelmeni mold is one such method. Here’s how to use one:
- Firstly, roll one sheet of dough large enough to cover the mold.
- Next, lightly flour the mold and place the dough on top.
- Once done, spoon small amounts of filling into each indentation.
- Roll out a second sheet and place it over the filled mold—just like you would with a ravioli mold.
- Lastly, use a rolling pin to press and seal the pelmeni. The sharp edges of the mold will cut them into perfect little dumplings.
- Once done, flip the mold over, and the pelmeni should pop right out, ready to be cooked or frozen.
Get Tools that will help you with this recipe:

How to Make Pelmeni Dumpling Filling
How to Make Pelmeni Dough
How to Roll, Fill the Dough & Shape Pelmeni
How to Freeze, Cook and Serve Pelmeni
How to make Siberian pelmeni dumplings from scratch
Ingredients
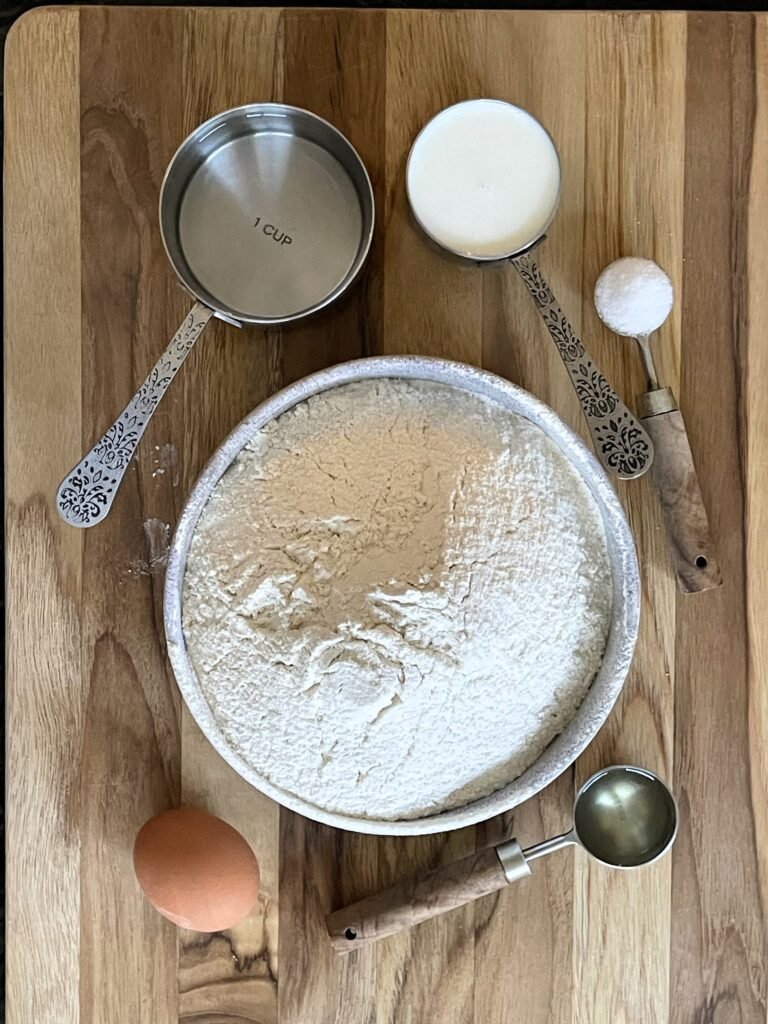
For the Dough:
- 4 cups flour - sieved, all-purpose
- 1 egg
- 1 tbsp. sunflower oil - or corn oil
- 1 ⅓ cups warm milk, - or water
- ½ tbsp. salt, - or to taste
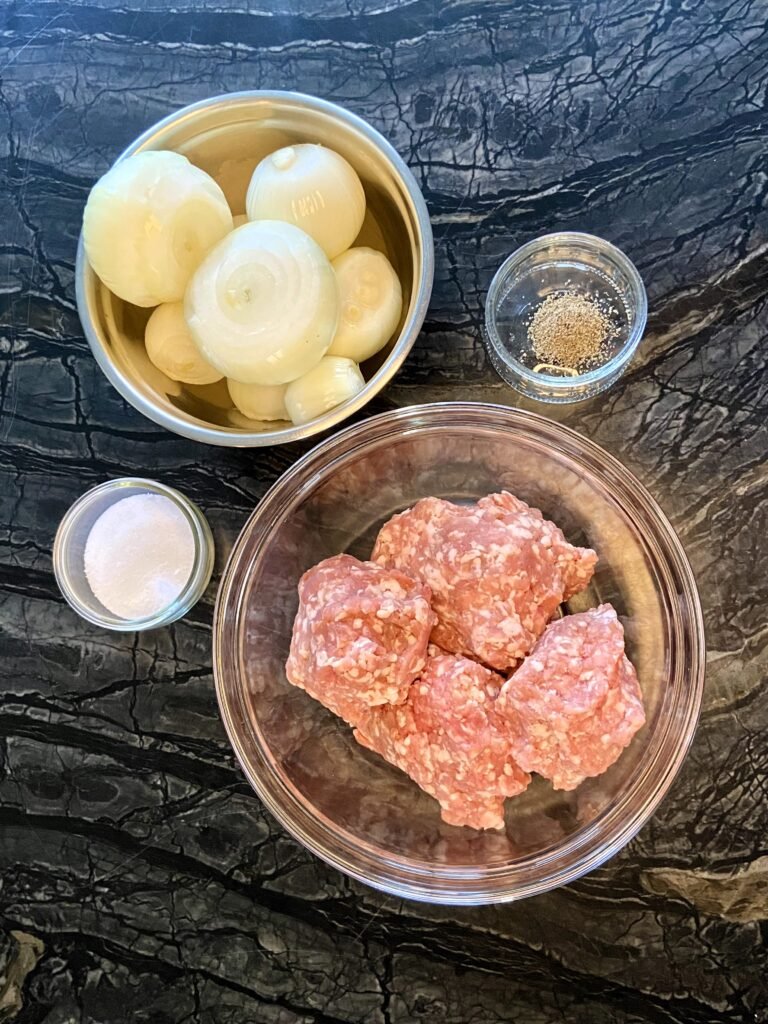
For the Filling:
- 6 lb. minced meat - pork, beef or chicken
- 2 lb. yellow onions
- salt and pepper, - to taste

Instructions
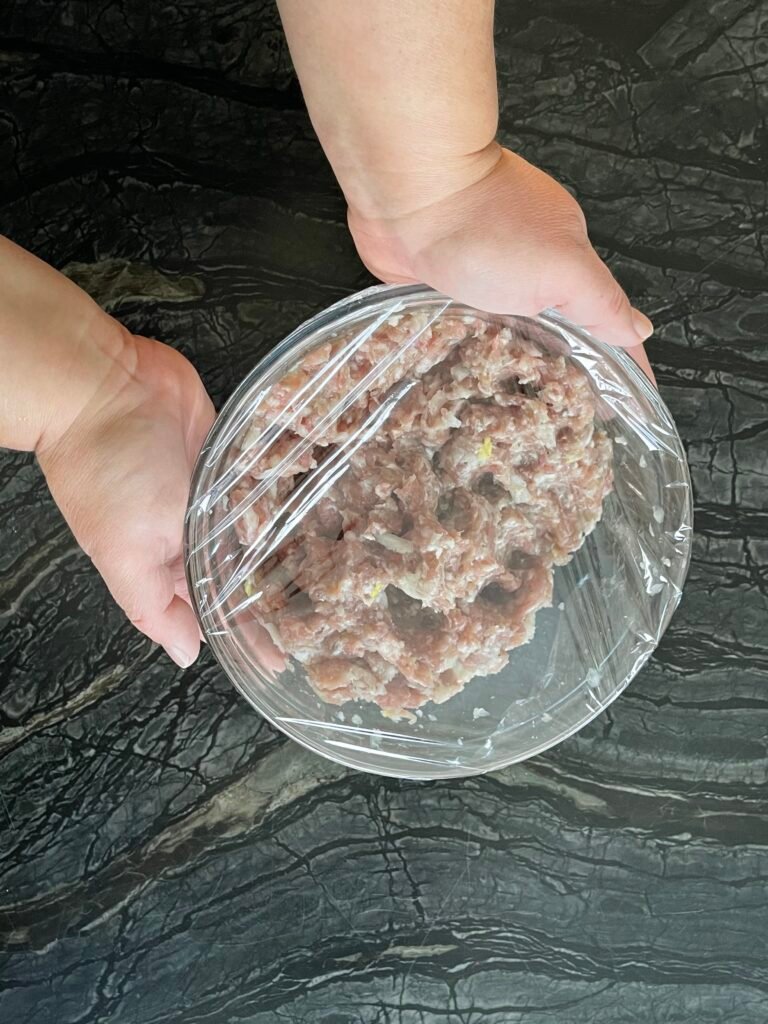
Step 1: Prepare the Pelmeni Filling (Allow to Rest for 3 Hours)
- Mince the onions in a food processor until they are paste-like.
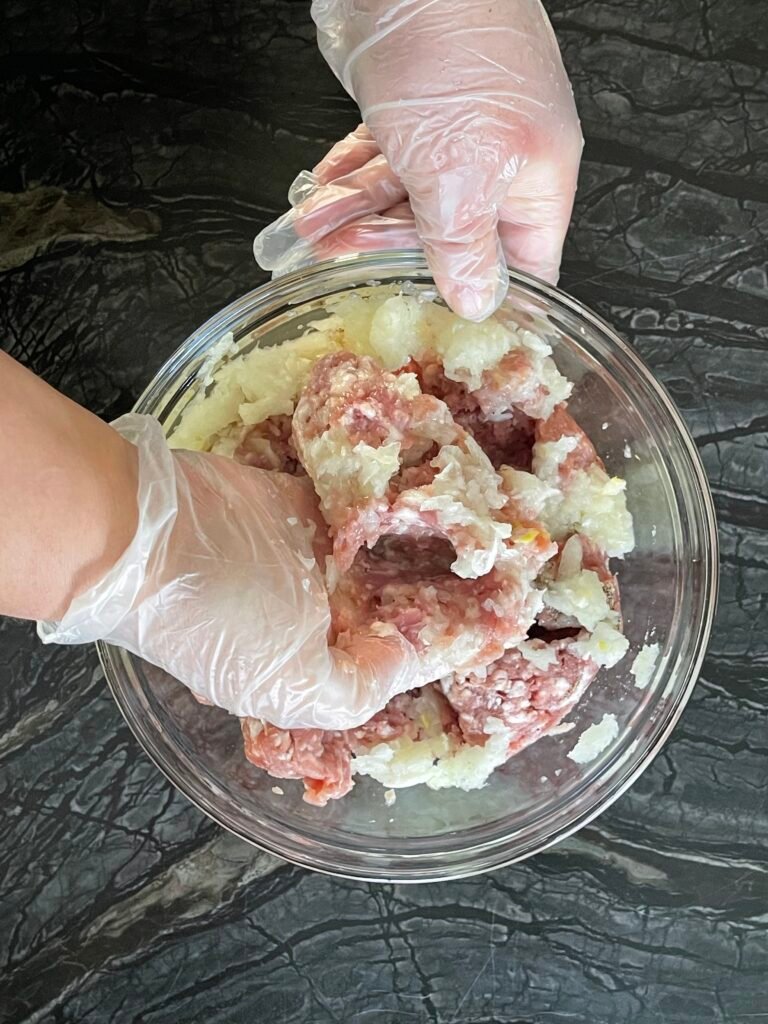
- In a large bowl, combine minced meat, onion paste, salt and pepper
- Mix well till onions are fully incorporated into the meat, cover, and let it rest in the fridge for at least 3 hours.
Step 2: Make the Dough (While Filling Rests)
- In a large bowl, mix flour and salt.
- Add egg and oil, and mix. Gradually pour in milk, mixing with a fork or hands until a rough dough forms.
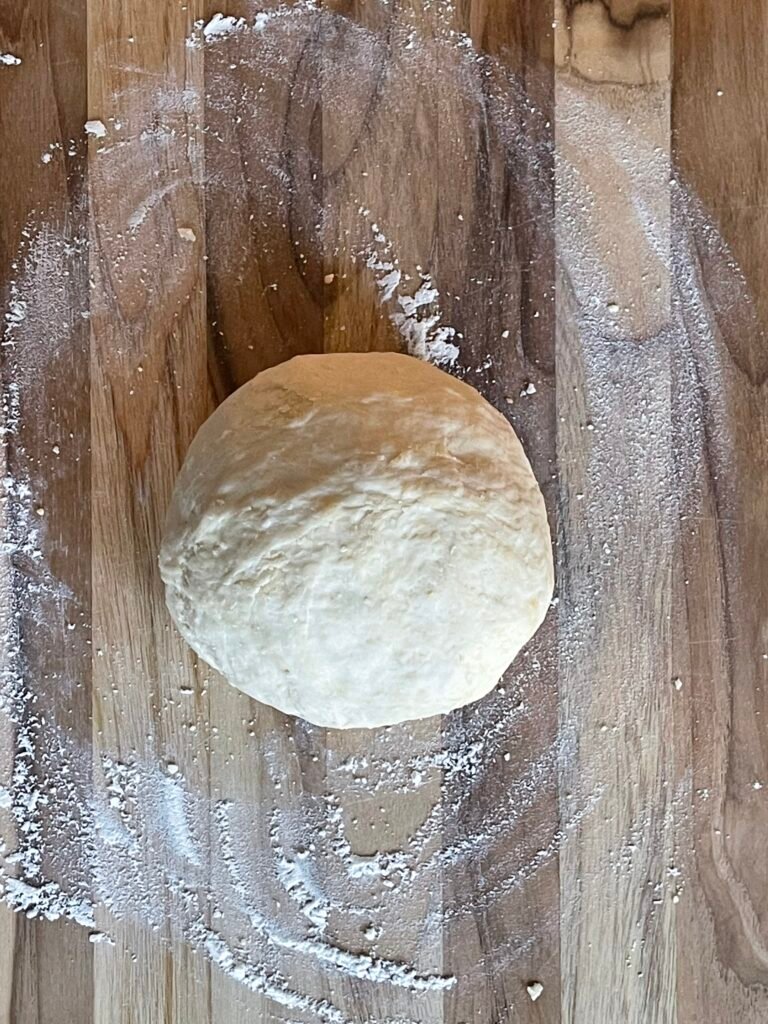
- Knead for 8–10 minutes until the dough is smooth and elastic. If sticky, dust with more flour; if too dry, add a teaspoon of warm water at a time.
- Wrap the dough in plastic wrap and let it rest for at least 30 minutes, preferably 1 hour. If you won't be using the dough within 2 hours, store it in the fridge. (!) Important: always ensure the dough is tightly wrapped to prevent it from drying out.
Step 3: Roll, Fill the Dough and Shape Pelmeni
- Divide the rested dough into 4 equal pieces, take one of the pieces at a time. Roll each piece into a thin sheet (about 1 mm or less 1/16 inch thick). We use a pasta machine set to setting 6 for rolling. (!) Remember to always keep the dough you are not working on wrapped.
- Cut into 2 inch rounds using a round cutter.
- Place a spoonful of filling in the center of each dough piece.
- To shape: fold the dough over the filling and start pinching till the filling is completely sealed. Pinch corners of the half-moon shaped dumpling together. The shape of the finished dumpling should be very similar to Italian tortellini
**Making Ahead**
To Freeze Uncooked Pelmeni:
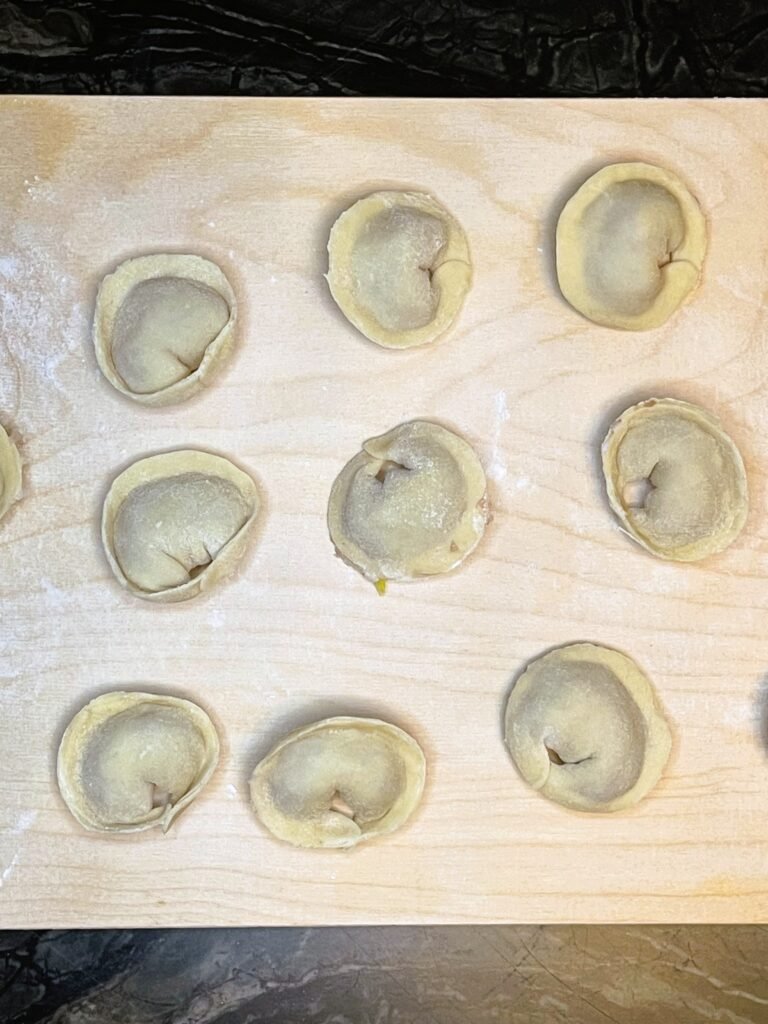
- Arrange pelmeni in a single layer on a baking sheet or a flat cutting board.
- Freeze for 1–2 hours, or until solid.
- Transfer frozen pelmeni to a freezer-safe bag or container and store for up to 3 months.
To Cook Frozen Pelmeni (No Thawing Needed!):
- Bring salted water to a boil.
- Add frozen pelmeni, and cook until they float to the surface. Let them simmer for another 6-7 minutes before removing them with a slotted spoon.
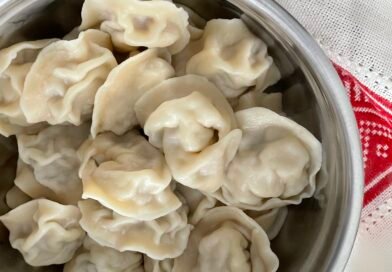
- Serve immediately. Read FAQ sections for serving suggestions.
We can’t wait to learn how this preserve recipe worked out for you. Leave us a comment below, like us on X, Facebook, Pinterest, Instagram and Blue Sky. And remember, sharing is caring!
Frequently Asked Questions
Do I need to thaw pelmeni dumplings??
No need to thaw frozen pelmeni! Simply drop them straight into boiling water and cook for 5 minutes after they float.
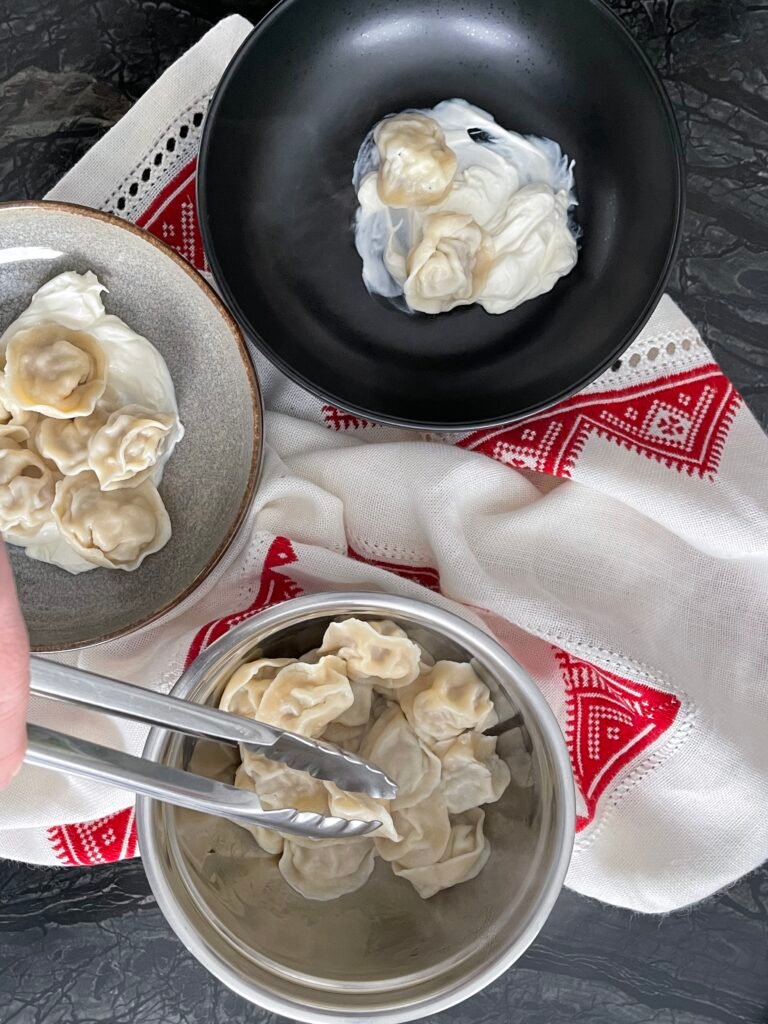
Pelmeni Serving Suggestions:
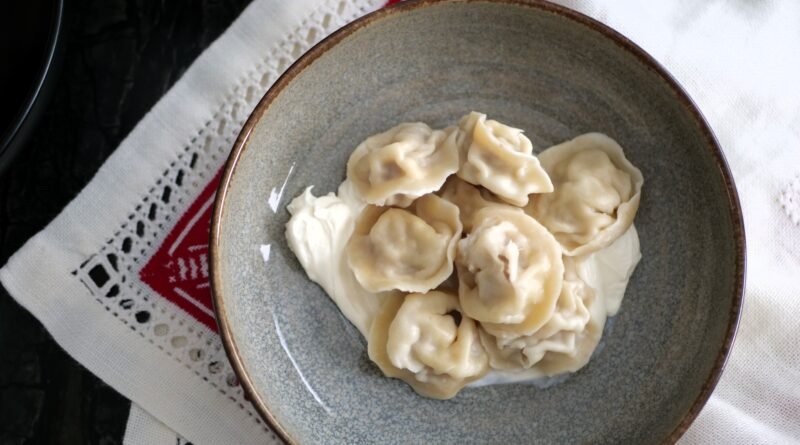
Our favorite way to serve pelmeni dumplings is with a dollop of sour cream. If you are not a fan of sour cream, there are other ways to serve pelmeni:
- Simple & Classic – Add a slice of butter on top of the freshly cooked pelmeni and let the heat from the dumplings do the melting.
- Classic & Fresh – Melt butter, mix in a bit of chopped dill, and drizzle it over the dumplings.
- 1980s Russian Style – Melt butter, stir in a teaspoon of mustard, and pour it over the pelmeni. For extra tang, add a drizzle of white wine vinegar.
- Siberian Style – Serve pelmeni in a bowl of hot chicken or beef broth. This serving suggestion works the best when it is cold and miserable outside.
Can I make pelmeni without a mold?
Yes, you can! This is what we do! You can cut circles using a glass or cookie cutter and shape them by hand.
Can You Freeze and Reheat Cooked Pelmeni?
We strongly advise against it! Cooked pelmeni just don’t freeze well, and reheating them can be tricky. Unlike other dumplings, pelmeni don’t hold up to multiple rounds of cooking. If you must reheat them, the microwave is your best (and only) option.
Here’s how to do it:
- Place the pelmeni on a plate and cover them with a damp paper towel.
- Microwave for 1–2 minutes, checking to make sure they don’t dry out.
You May also like:
-

Not So Classic Italian Tomato Soup: Freezer and Canning Friendly, Make-Ahead Recipe
We start simple: onions, garlic, tomatoes. Classic Italian tomato soup, nothing fancy. Then…surprise! – turmeric goes in. Suddenly it’s not just tomato soup, it’s a flavor explosion. Strain it smooth, stash it in the freezer, or pressure can like a pro. One pot, endless lunches, zero stress. Lunch plans? Done! read more
-
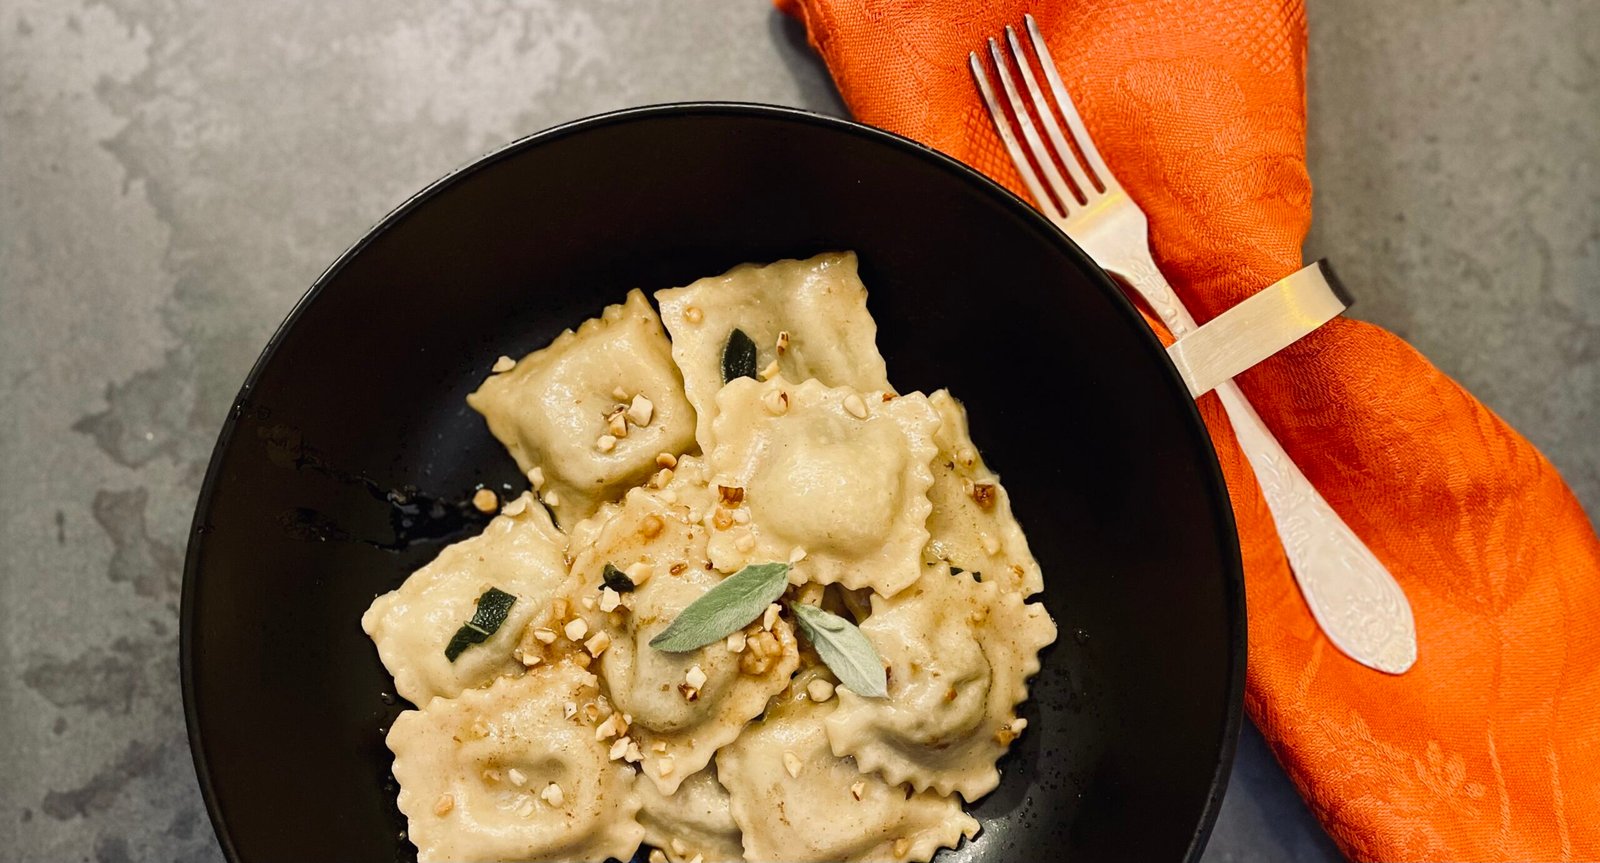
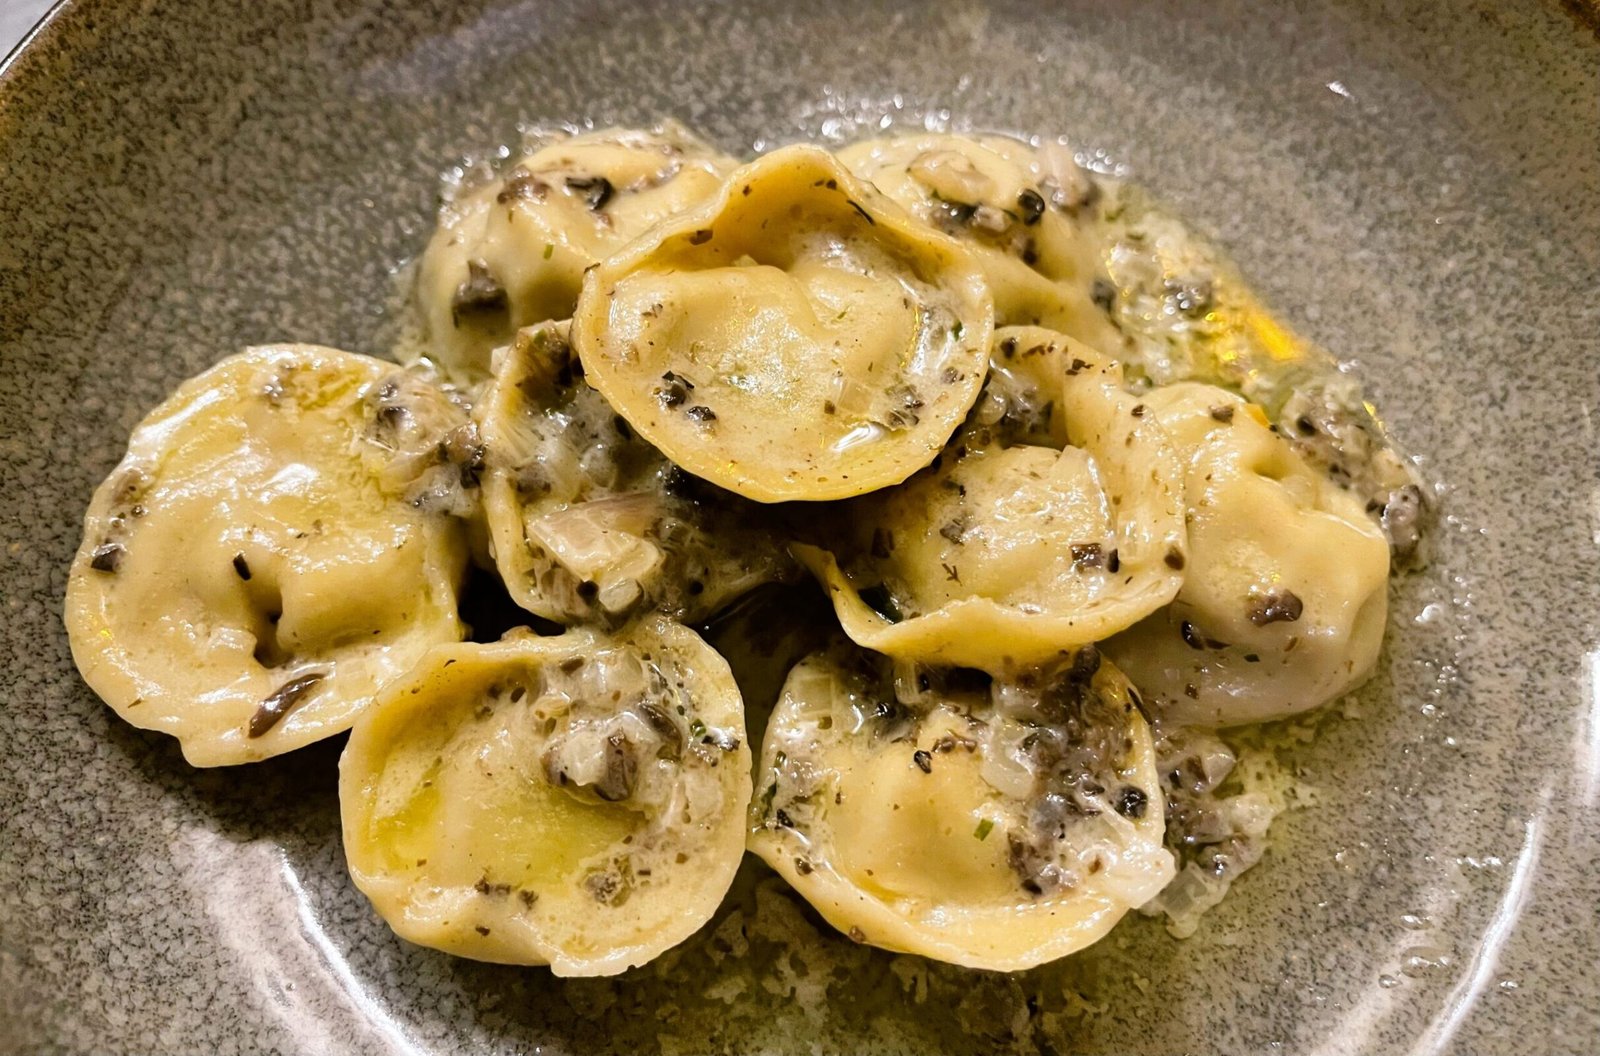
Ravioli with Goat Cheese and Mushroom Filling (Freezer-Friendly, Restaurant-Quality at Home)
Our goat cheese and mushroom ravioli recipe is for those who want an upgrade to a classic ricotta ravioli filling or looking for ways to use mushroom duxelles. Designed as a freezer-friendly, make-ahead meal, these ravioli are also ideal for batch cooking now and enjoying stress-free dinners later read more
-
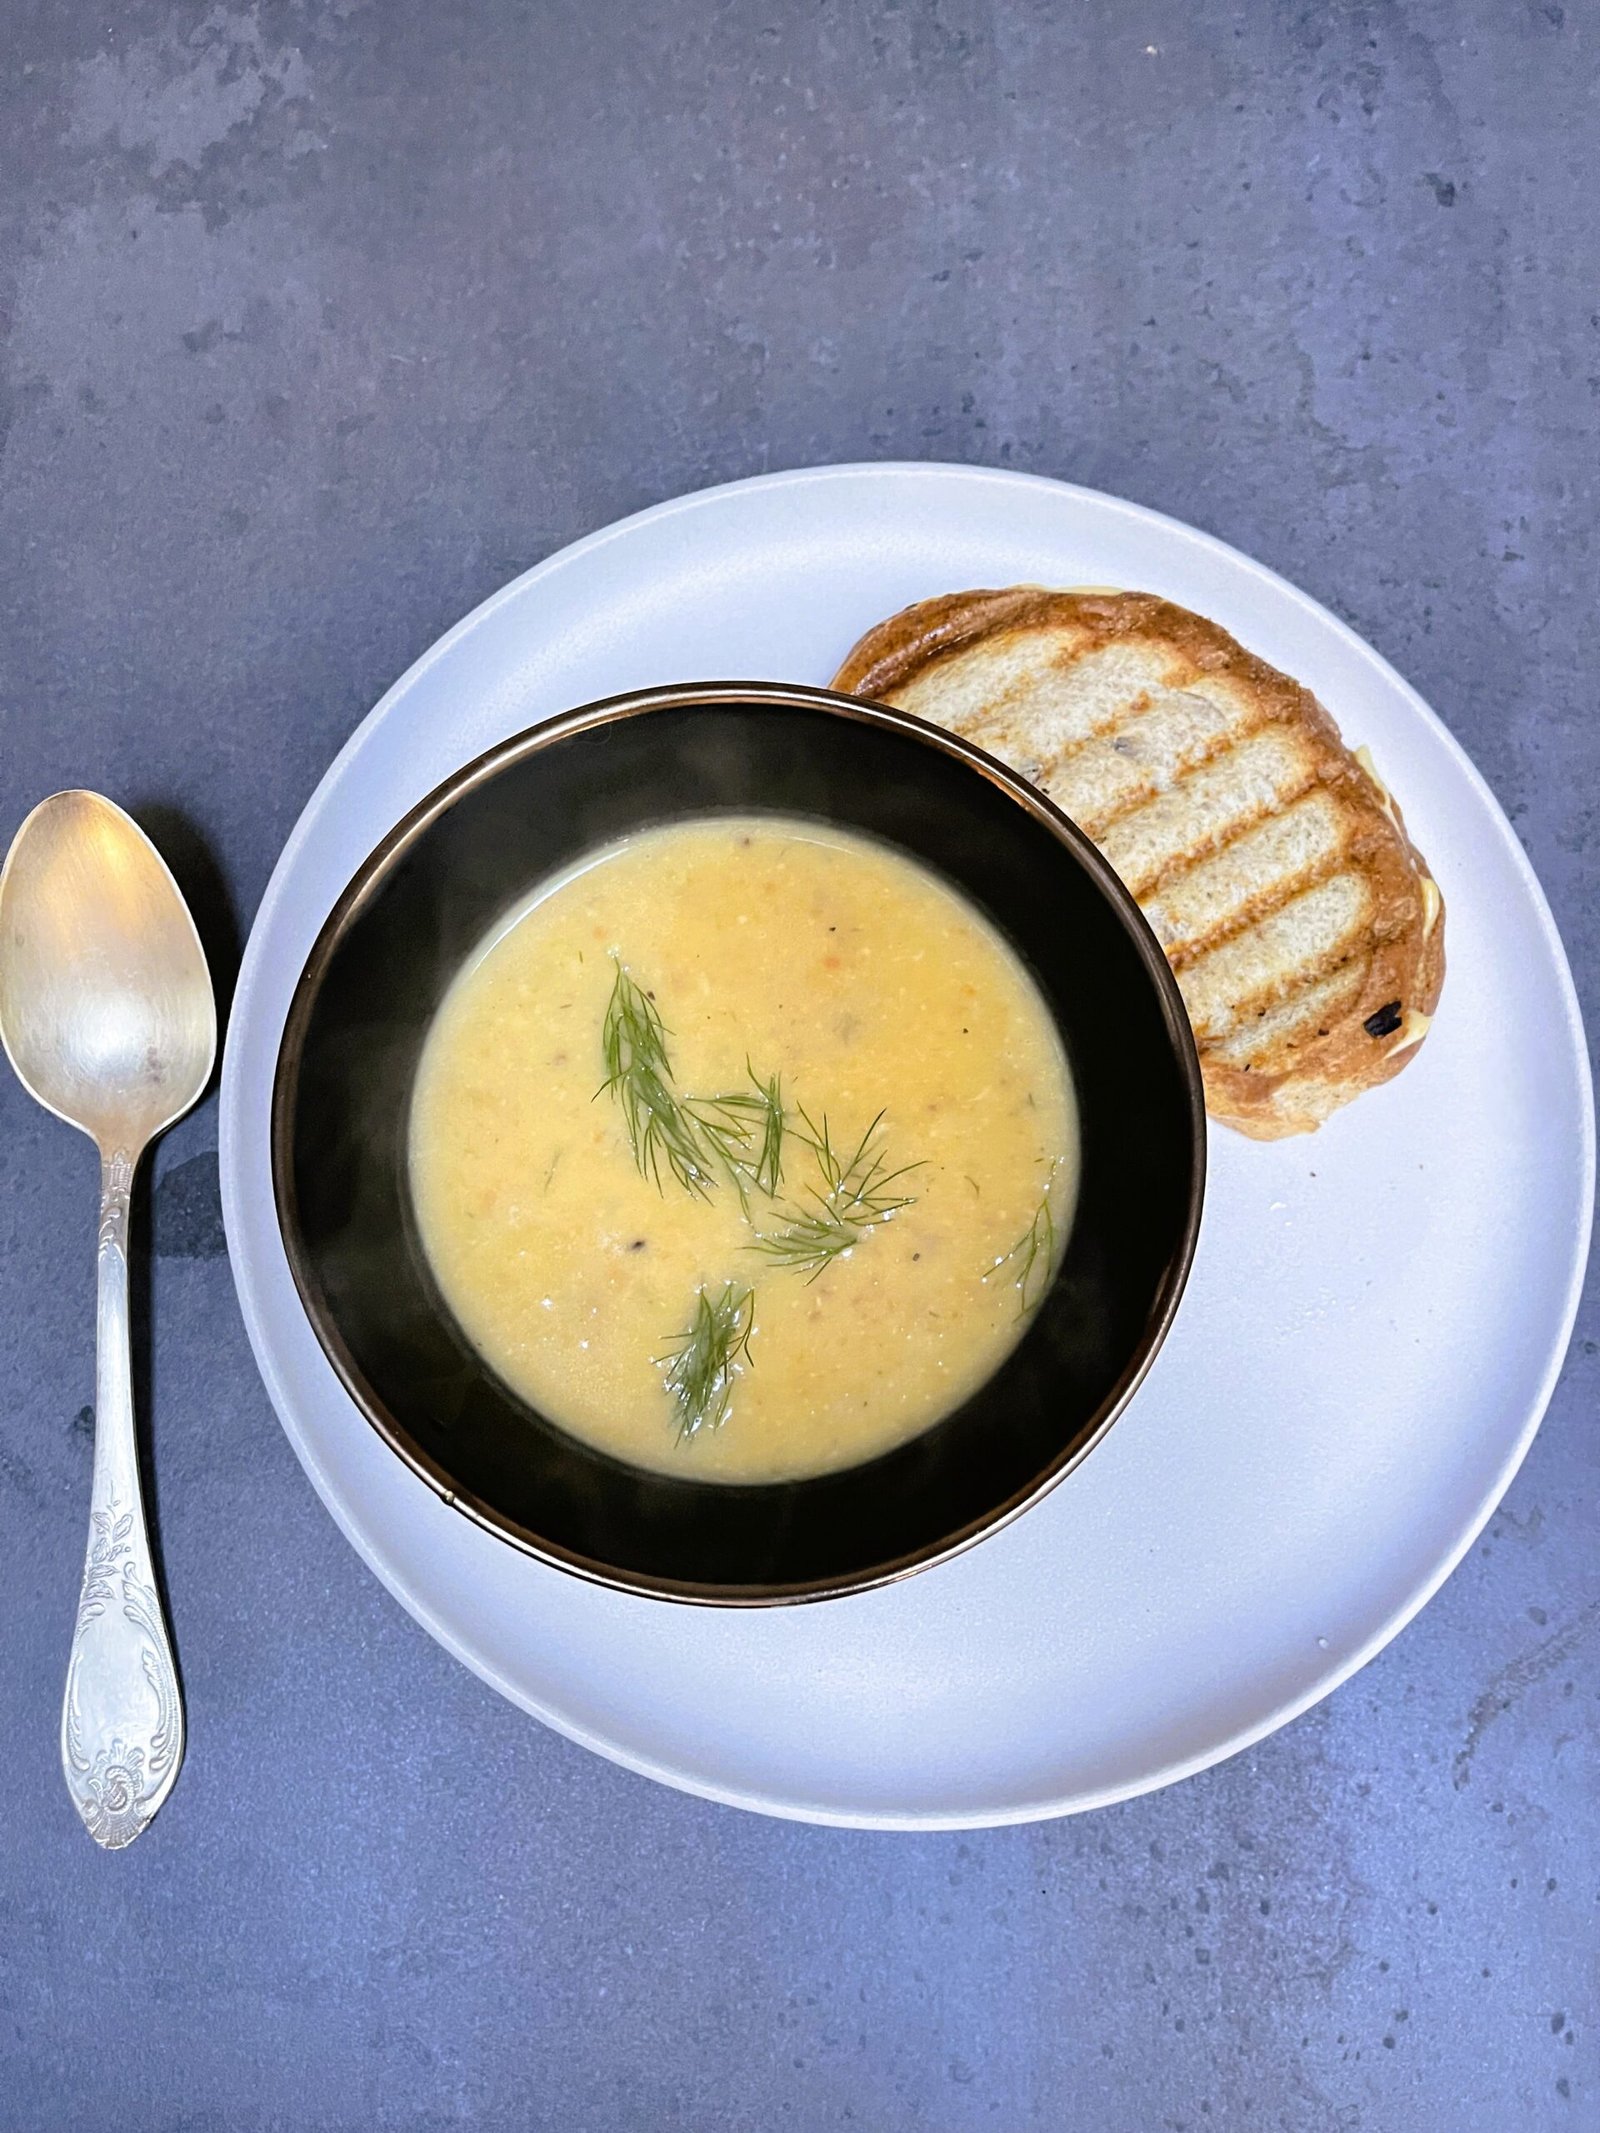
Creamy Potato Leek and Bacon Soup (Suitable for Pressure Canning and Freezing)
There are soups you make to impress, and then there are soups you make because you’re craving comfort, not applause. This potato leek and bacon soup is the food version of your favorite winter sweatpants. It is your reliable, cold-weather soup and exactly what you reach for when you want… read more
-

Roasted Red Pepper And Tomato Soup For Smart Meal Prep
Why pay for a meal kit or overpriced store-bought roasted red pepper and tomato soup? Make it yourself: cheaper, smoother, freezer-ready, and even pressure-canning safe! No subscriptions or mystery ingredients! Full flavor, clean ingredients, and multiple servings. Perfect for busy families, health conscious people, preppers, or anyone who refuses to… read more
-
Homemade Tortellini With Potato and Pancetta Filling: Make-Ahead Pasta for the Freezer
These tortellini with potato and pancetta are rich, practical, and made for the freezer. Inspired by Emilia-Romagna tortellini recipe and reminiscent of Ukrainian perogies, this make-ahead homemade pasta is reliable, savory, and built to last. It is perfect for make-ahead meals aficionados and anyone who treats their freezer like a… read more
-

Yellowfoot And Golden Chanterelle Mushroom Soup Made Easy
Did the forest or farmers’ market hand you golden or yellowfoot chanterelles? Did you grab them without thinking what comes next? Stop doom-scrolling, and ignore anyone claiming you should brew them with your coffee. The answer is here: make chanterelle soup and preserve it so you can enjoy it for… read more
-

Dried Porcini Mushroom Soup: Rich, Earthy, And Freezer-Friendly
This dried porcini mushroom soup is the perfect intersection of simple cooking and mindful preservation. It’s rich without being heavy, earthy without being overpowering, and endlessly satisfying. It is also perfect for freezing. Whether you’re meal-prepping or enjoying it fresh, this wild mushroom soup does not disappoint read more
-
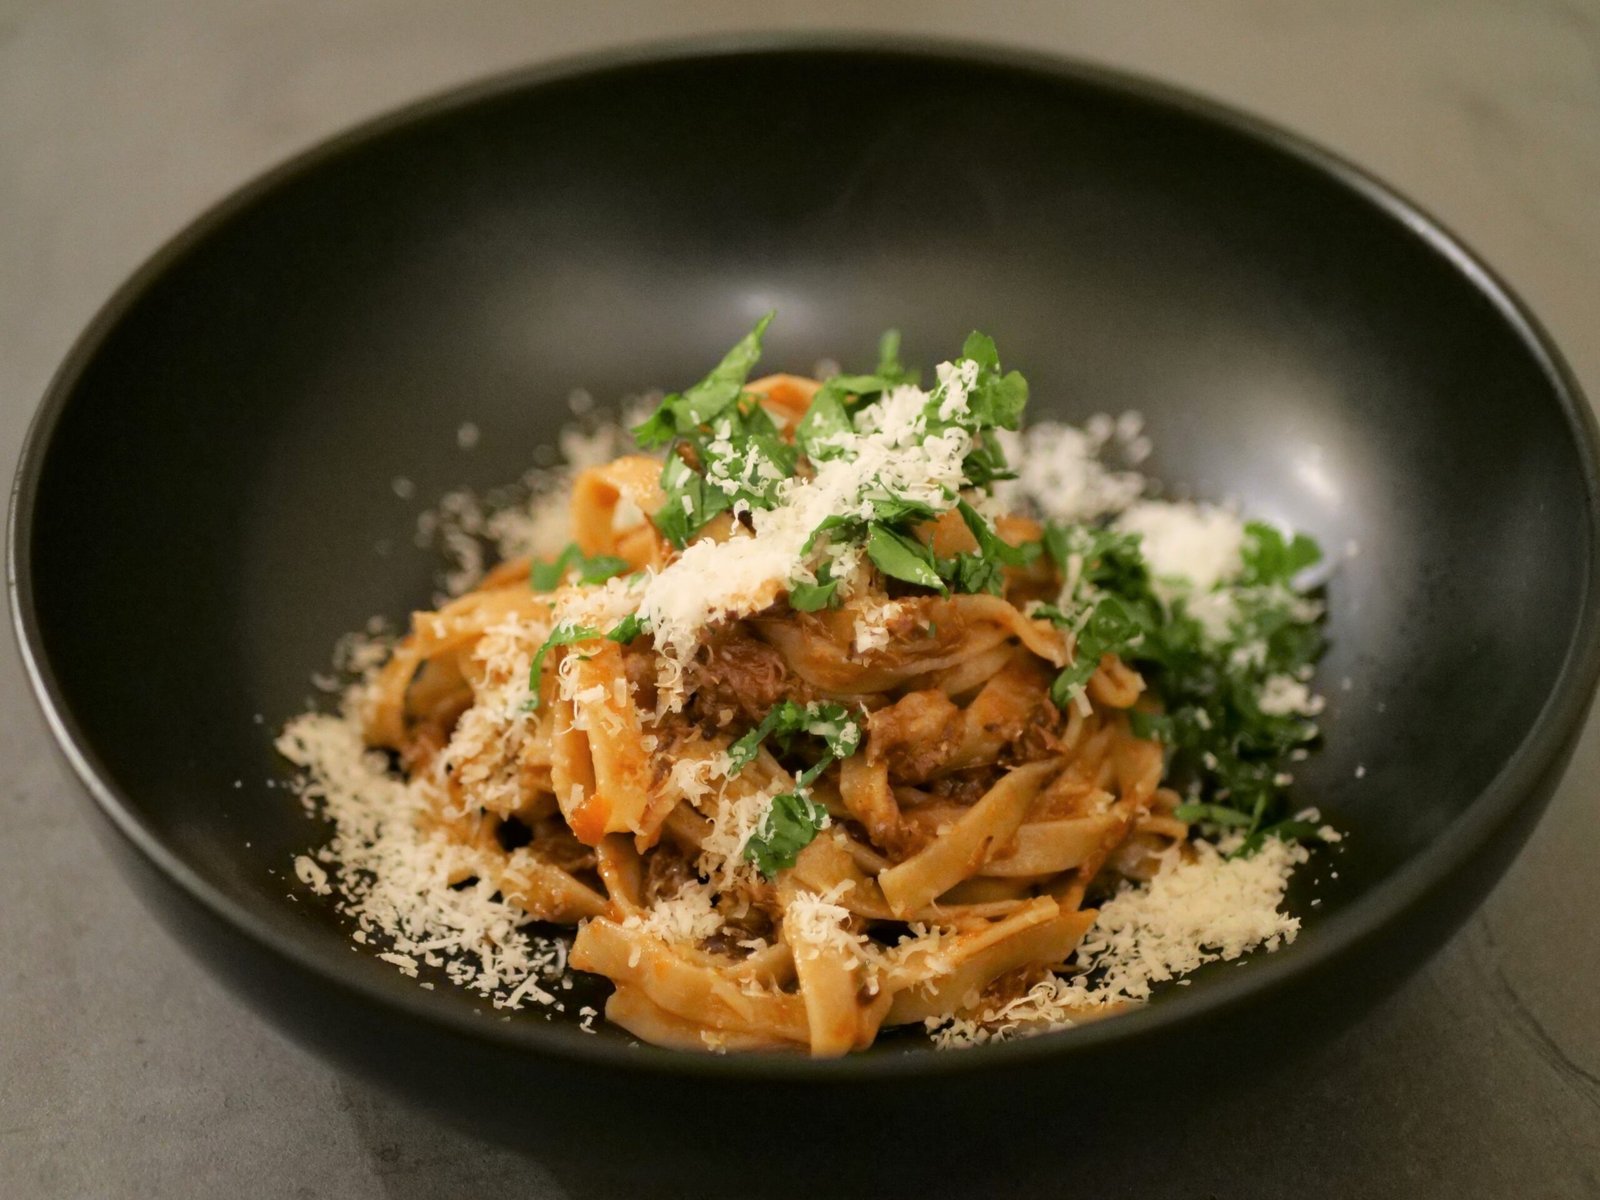
How To Make, Freeze And Serve Braised Oxtail Ragu
Maybe you’re not hosting a dinner party. Maybe you’re just reheating this on a Tuesday night, wearing sweatpants, using the fancy bowl to feel something. This braised oxtrail ragu is a freezer meal that makes you look like the person who has it all together, even if you absolutely do… read more
-
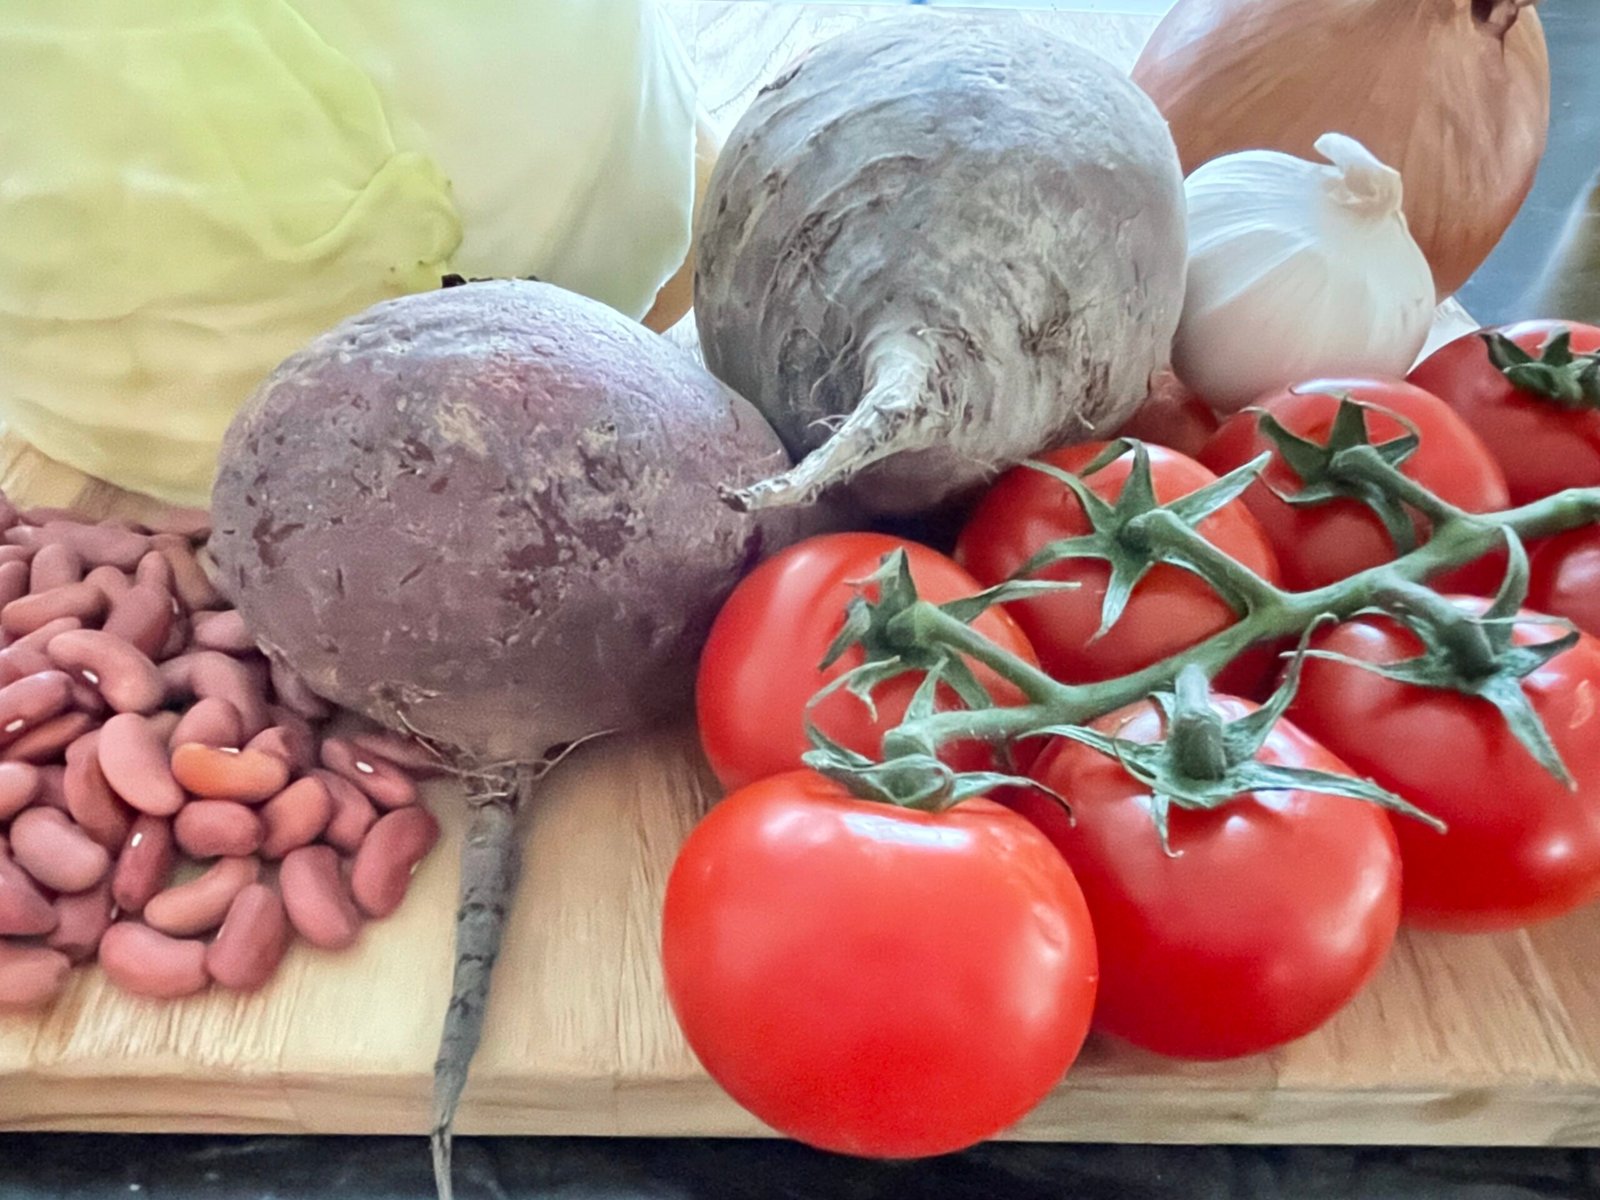
Modern Ukrainian Borscht: A Healthier Take On the Classic Dish
This borscht is a gift to your future self. It’s easy to make, feeds you for days, and freezes well for when you need it most. Whether you grew up with it or just discovered it, Ukrainian Borscht is a comfort food with staying power, perfect if you like to… read more
-
Cioppino Soup Base: Your Simple Solution For Fancy Quick Meals
Let us tell you something we never thought we’d say: Cioppino is weeknight food now. This classic dish from San Francisco, once reserved for splashy dinners with linen napkins, is now 100% doable any weekday at home. Don’t roll your eyes yet—we’re serious. Read on to find out how. read more

Leave a Reply