How to can whole tomatoes the old fashioned way
Views: 313
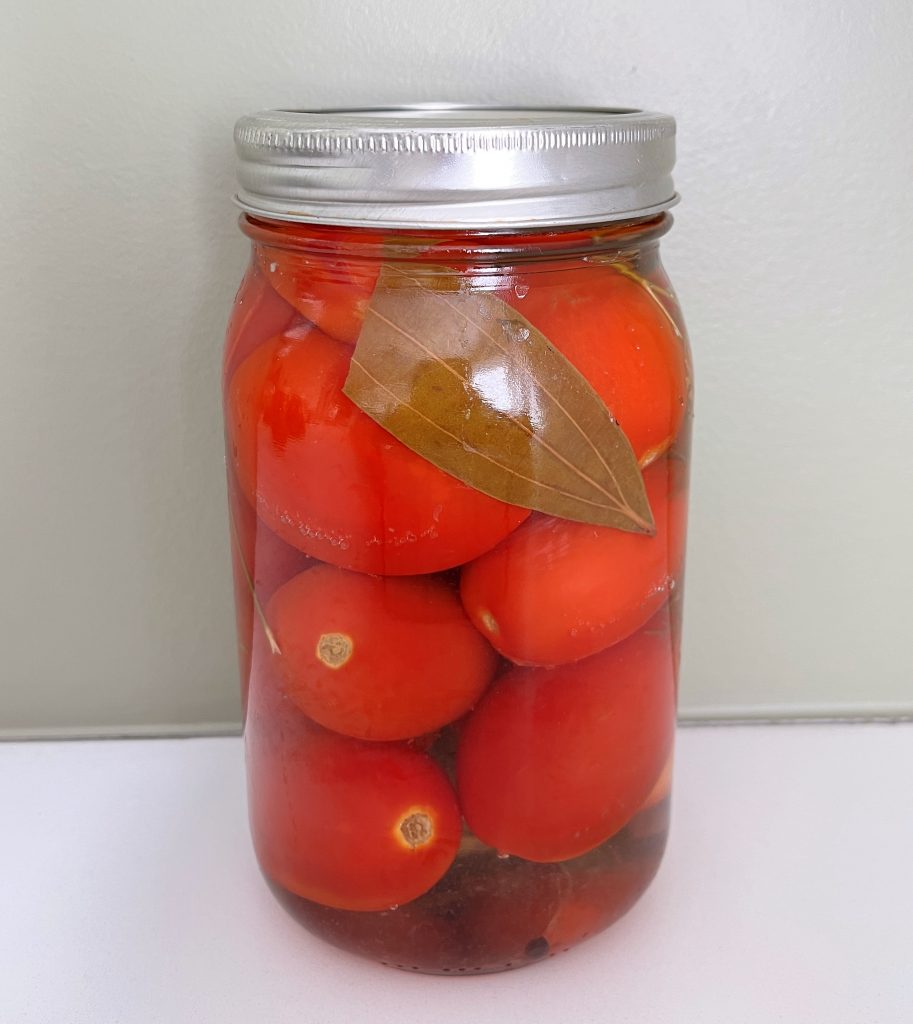
Discover how to can whole tomatoes with this old fashioned canning recipe. Our homemade tomato pickles recipe is still widely in use today throughout most of the Europe. Unsurprisingly, this recipe is all about using old fashioned canning techniques to can tomatoes at home without a canner – no fancy equipment that will cost you pretty penny. What’s more, it’s about simplicity with natural ingredients – no excessive vinegar, salt, or artificial preservatives. Crafted through generations, these canned tomatoes boast an authentic, mouth-watering taste that modern methods like pressure canners and hot water bath struggle to replicate.
Disclaimer
Despite being widely endorsed and utilized in the 80th, inversion canning, also known as open kettle canning is no longer considered safe. To emphasize, both USDA and National Center for Home Food Preservation do not recognize open kettle (inversion) canning as an approved canning method. For that reason, this and other open kettle canning recipes would not be USDA approved recipes. Learn about the USDA approved canning methods USDA National Institute of Food and Agriculture website.
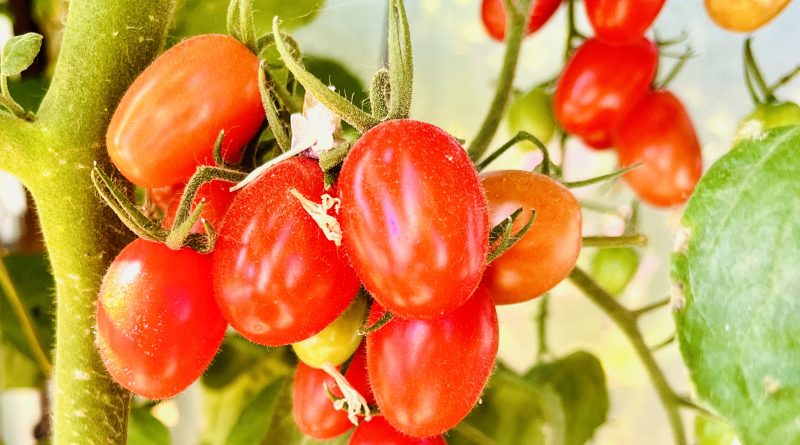
Tomatoes to use when you want to can whole tomatoes
If you are trying to learn how to can whole tomatoes, make sure to also understand the types of tomatoes that are suitable for the canning process. That’s because when it comes to the pickling and canning, not all tomatoes are created equal! We recommend using ripe but still firm Roma tomatoes or cherry tomatoes. These hold up well in hot brine and look good on the table served as side dish. Do not use tomatoes that are soft or bruised.
Jars to use to can whole tomatoes
We recommend 1-liter (32 oz.) Mason jars with wide mouths. If your tomatoes don’t fill the jar, use a half-liter (16 oz.) jar for the extras.
Recipe disclaimer
Despite being widely endorsed and utilized in the 80th, inversion canning is no longer considered safe. To emphasize, both USDA and National Center for Home Food Preservation do not recognize open kettle (inversion) canning as an approved canning method. If you are not are not comfortable with the inversion canning method, we advise you against using this recipe.

Old fashioned canning recipe for how to can whole tomatoes without a canner
Equipment
- large pot
- wooden spoon or silicone spatula
- potholders, oven mitts, trivets for hot dishes clean, non-slippery
- measuring cup
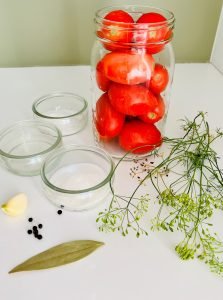
Ingredients
- 1.5 pounds (0.7 kg) small Roma or Cherry tomatoes, approximate quantity
PICKLING BRINE FOR TOMATOES
- Note: The required amount of marinade (brine) is determined by the number of 32 oz. 1-liter Mason jars used, not the weight of the tomatoes. This is because a pound of large tomatoes will require more space in your jars than a pound of small or cherry tomatoes. We made 1 liter of brine for this recipe.
- 1 ½ cup clean cold water per 1-liter (32 oz.) jar
- 1 tbsp pickling salt (opt for kosher salt for a kosher diet) per 1-liter (32 oz.) jar
- 2 tbsp sugar per 1-liter (32 oz.) jar
- 2 tbsp 7% Pickling vinegar per 1-liter (32 oz.) jar
- 2 garlic cloves per 1-liter (32 oz.) jar
- 2 dill heads per 1-liter (32 oz.) jar
- 1 bay leaf per 1-liter (32 oz.) jar
- 6 whole black peppercorns per 1-liter (32 oz.) jar
- 3 slices of horseradish root optional per 1-liter (32 oz.) jar
Instructions
- Jar Preparation: Firstly, ensure that the jar is cleaned with soapy water and sterilized following the method in the section titled: “How to can pickles using open kettle (inversion) canning method” – see below.
- Prepare tomatoes and garlic. Start by giving the tomatoes a thorough wash. Next cut the garlic cloves in halves or quarters.
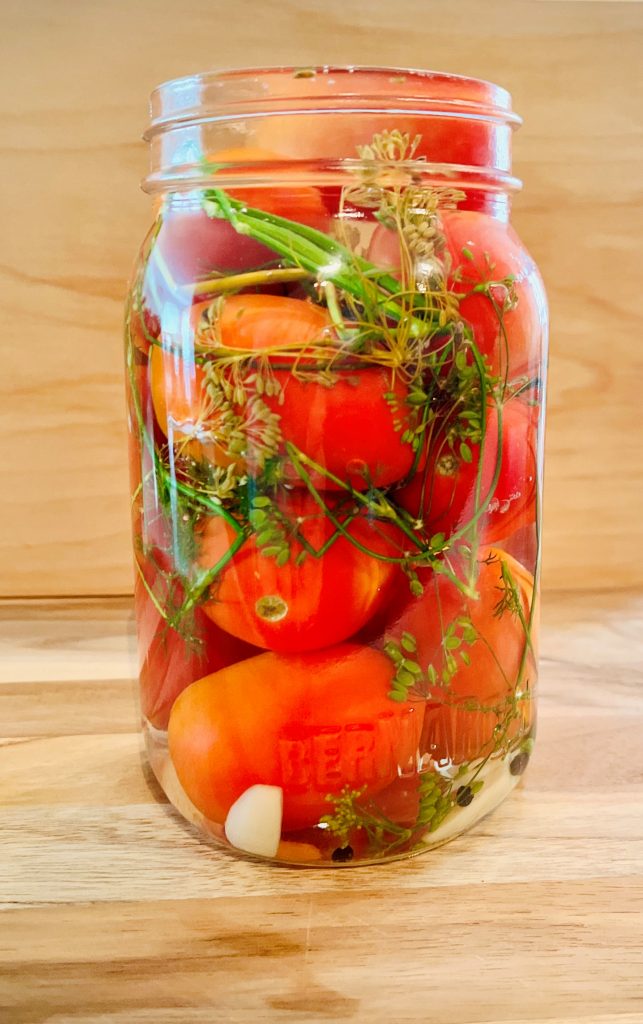
- Once the jars are sterilized and cooled, begin by adding garlic, followed by peppercorns, bay leaves, dill heads, and optionally sliced horseradish root, arranging spices at the bottom or between the tomatoes. Then, tightly but gently pack the whole tomatoes into the cleaned and sterilized jars, taking care to minimize gaps.
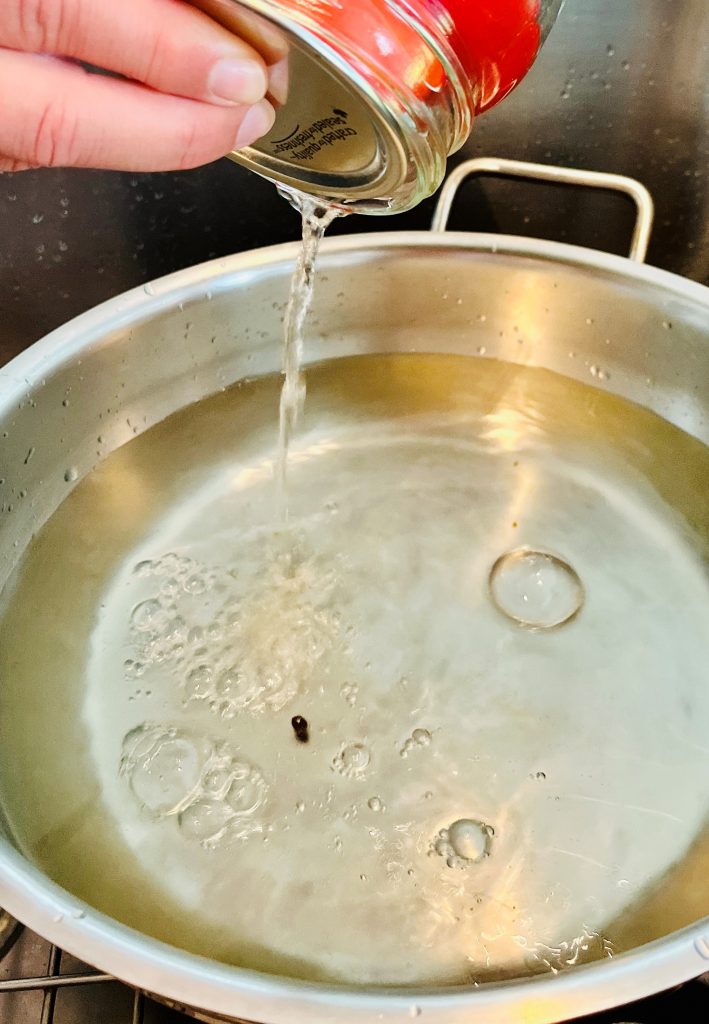
- Measure out 1 ½ cups of cold clean water, which translates to one full 32 oz. jar of water, plus an additional cup, for each 1-liter (32 oz.) jar filled with tomatoes. In a suitably sized pot, bring the measured out water to a rolling boil and maintain for 5 minutes.Taking great care to avoid scalding, remove pot from heat and promptly pour the boiling hot water into the tomatoes-filled jar. For added safety, it is best to do this while keeping your jar in a kitchen sink. Allow the tomatoes to steep in the hot water for 15 minutes.
- Prepare for Lid Sterilization: While the tomatoes are steeping, boil a smaller pot of water. This water will be used to sterilize the lids and soften the seal that ensures long shelf life. (!) Important: Avoid boiling the lids. Turn off the heat just before placing the lids into the water.
- To begin, pour the water back into the pot. This time, add the measured salt and sugar to make a brine mixture. Once done, bring it to a boil and continue boiling until the sugar and salt are fully dissolved. As you're about to turn off the heat, add the pickling vinegar. Turn off the heat immediately. This is your pickling brine.
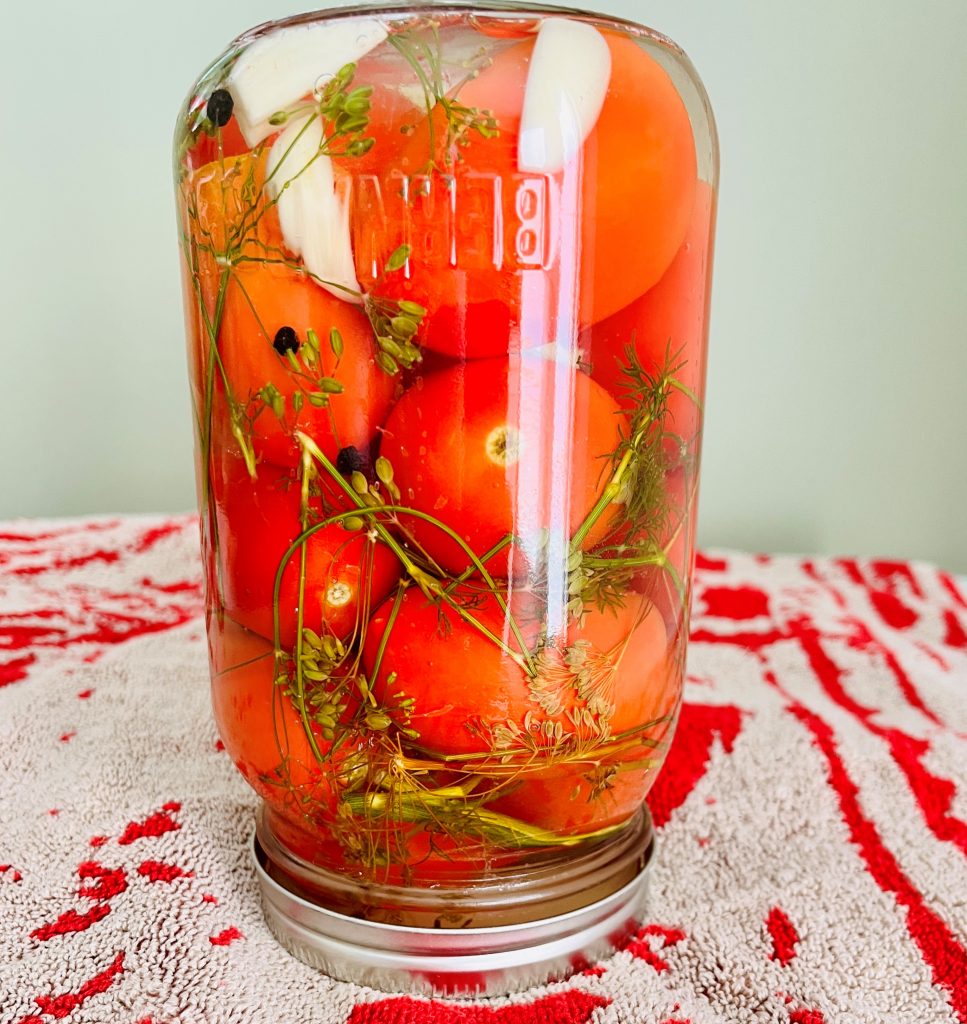
- Carefully pour the prepared brine into the jars containing the tomatoes.
- Once you have poured pickling brine into the jars, place the jar lids into the freshly boiled water for not more than one minute. Cover the jars with lid right away and securely tighten the lid band.
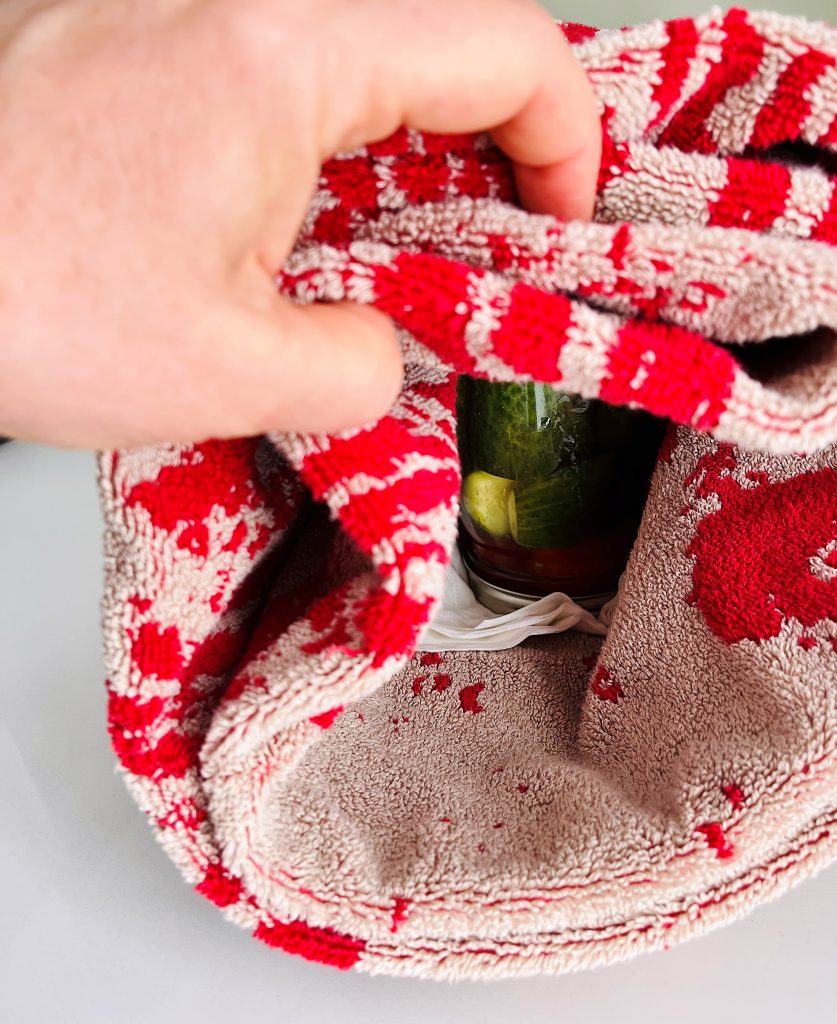
- To can whole tomatoes without a canner, maker sure to turn the jar upside down and wrap them snugly with thick towels. Allow the jars to rest like this for 2 days or until it's cooled completely to touch. Congratulations, you now know how to pickle whole tomatoes using an open kettle canning method. Your pickling journey is complete. Your jar is now ready for storage in your pantry!

How to can pickles using open kettle (inversion) canning method
Equipment
- Mason jars with matching tight lids
- large pot
- steamer basket Alternatively, a metal or silicone colander or strainer can be used. (!) Make sure it fits securely atop the pot.
- pot holders, oven mitts, trivets for hot dishes clean, non-slippery
- stainless steel tongs
- thick kitchen towel or a thick beach towel.
Instructions
- Wash Mason jars along with their lids and screw bands in hot soapy water, rinse, and let them dry.
- Fill a quarter of a pot with water and bring it to a boil.
- Place a steamer basket securely over the pot, ensuring the basket doesn’t touch the water. If a steamer basket isn’t available, a metal or silicone colander or strainer can be used.
- Position the jars, mouth side down, onto the steamer basket. Wait until hot steam condenses inside the jars and forms water droplet. Steam jars for 20 minutes. This step is similar to sterilizing jars in water bath canner. After 20 minutes carefully remove the jars and place them in an upright position, ensuring not to touch the inner surfaces of the jars. Take great care not to burn yourself as jars will be very hot. Use kitchen towel or pot mittens to handle the jars.
- Turn off the heat and remove the steamer basket. Use the remaining hot water to sterilize the tongs and lids.
- Fill the jars as per recipe almost to the top, leaving about 1/2 inch headspace. This is to help minimize the air in the jars.
- Submerge the Mason jar lids and the jaws of the tongs into the boiled water. After 1 minute, use tongs to retrieve the lids and seal the jars tightly. Make sure not to touch the inside of the lids with your fingers. This is to ensure that you do not introduce contaminants from your hands into the jars.
- Use non-slip pot holders to immediately flip the jars upside down and then cover them snugly with a warm towel. Let them remain in this position for at least 24 hours. You might hear a “pop” sound as the lids cool and seal – this is normal.
- Before storing the preserve, check that the lids are properly sealed. Press the center of each lid with a finger or thumb. If the lid springs up when you release your finger, the lid is unsealed and the preserve will not be shelf stable.
- Store the preserve jars upright, with the lids facing upward. Always make sure the lid seal integrity is intact before opening jar and enjoying the content.
Always Follow these Safety Guidelines:
-
Only preserve fresh, clean products. Wash them thoroughly and discard any that are spoiled or damaged.
-
Use undamaged Mason jars with proper matching lids that seal tightly.
-
To ensure the safety of canned food and to prevent illness, follow the preservation recipe and sterilize your jars.
-
Handle sterilized jars and lids carefully to prevent contamination. Use clean, non-slip oven mitts when handling hot jars and utensils.
-
Fill each sterilized jar promptly with hot preserves and immediately place a sterilized lid on top.
-
Always make sure the lid seal integrity is intact before opening the jar and enjoying its content.
Frequently asked questions
Did you know that you can pickle whole tomatoes?
The tradition to pickle fresh vegetables dates back to bygone eras when pickling was the way to preserve the harvest’s bounty for the colder months. While tomatoes are, strictly speaking, a type of fruit, you can pickle and can them too. Unquestionably, the allure of pickling tomatoes extends beyond necessity. It introduces an array of tastes, textures and flavors that elevate tomatoes to culinary stardom, even when fresh produce abounds.
How soon can you eat these pickled tomatoes?
Pickled tomatoes need time to develop their taste. Allow at least a week before cracking open your jar, but for the best experience, wait a full month.
Do you have to blanch tomatoes before canning?
While our recipe does not require you to blanch tomatoes, the process of pouring hot boiling water over the whole tomatoes packed in jars is identical in nature to blanching vegetables. If you want to can whole tomatoes, and keep them intact, we recommend using the method described in our recipe.
Do you have to peel tomatoes before canning?
While it’s not strictly necessary to peel tomatoes before canning, many recipes recommend or prefer peeled tomatoes for a smoother texture of the final product. However, if you want to can whole tomatoes and have them stay whole after the canning process is long finished, you need to keep the skin on.
How long do homemade canned tomatoes last?
Not only do these tomatoes taste good but they also last for a long time! Our tomatoes are shelf stable for a minimum of 1, but we’ve had them last for two years before. Vased on our extended family’s experience, tomatoes canned with vinegar using this method can last up to three years.
Using Pickled Tomatoes: Versatility at Its Best
These pickled tomatoes are flavor-packed wonders waiting to be explored. Here are cool ways to enjoy them:
- With Grilled Meats: Serve them as a tangy side to grilled or roasted meats for a delicious combo of flavors.
- Sauce ingredient: Use them in various Italian tomato-based sauces
You may also like:
-
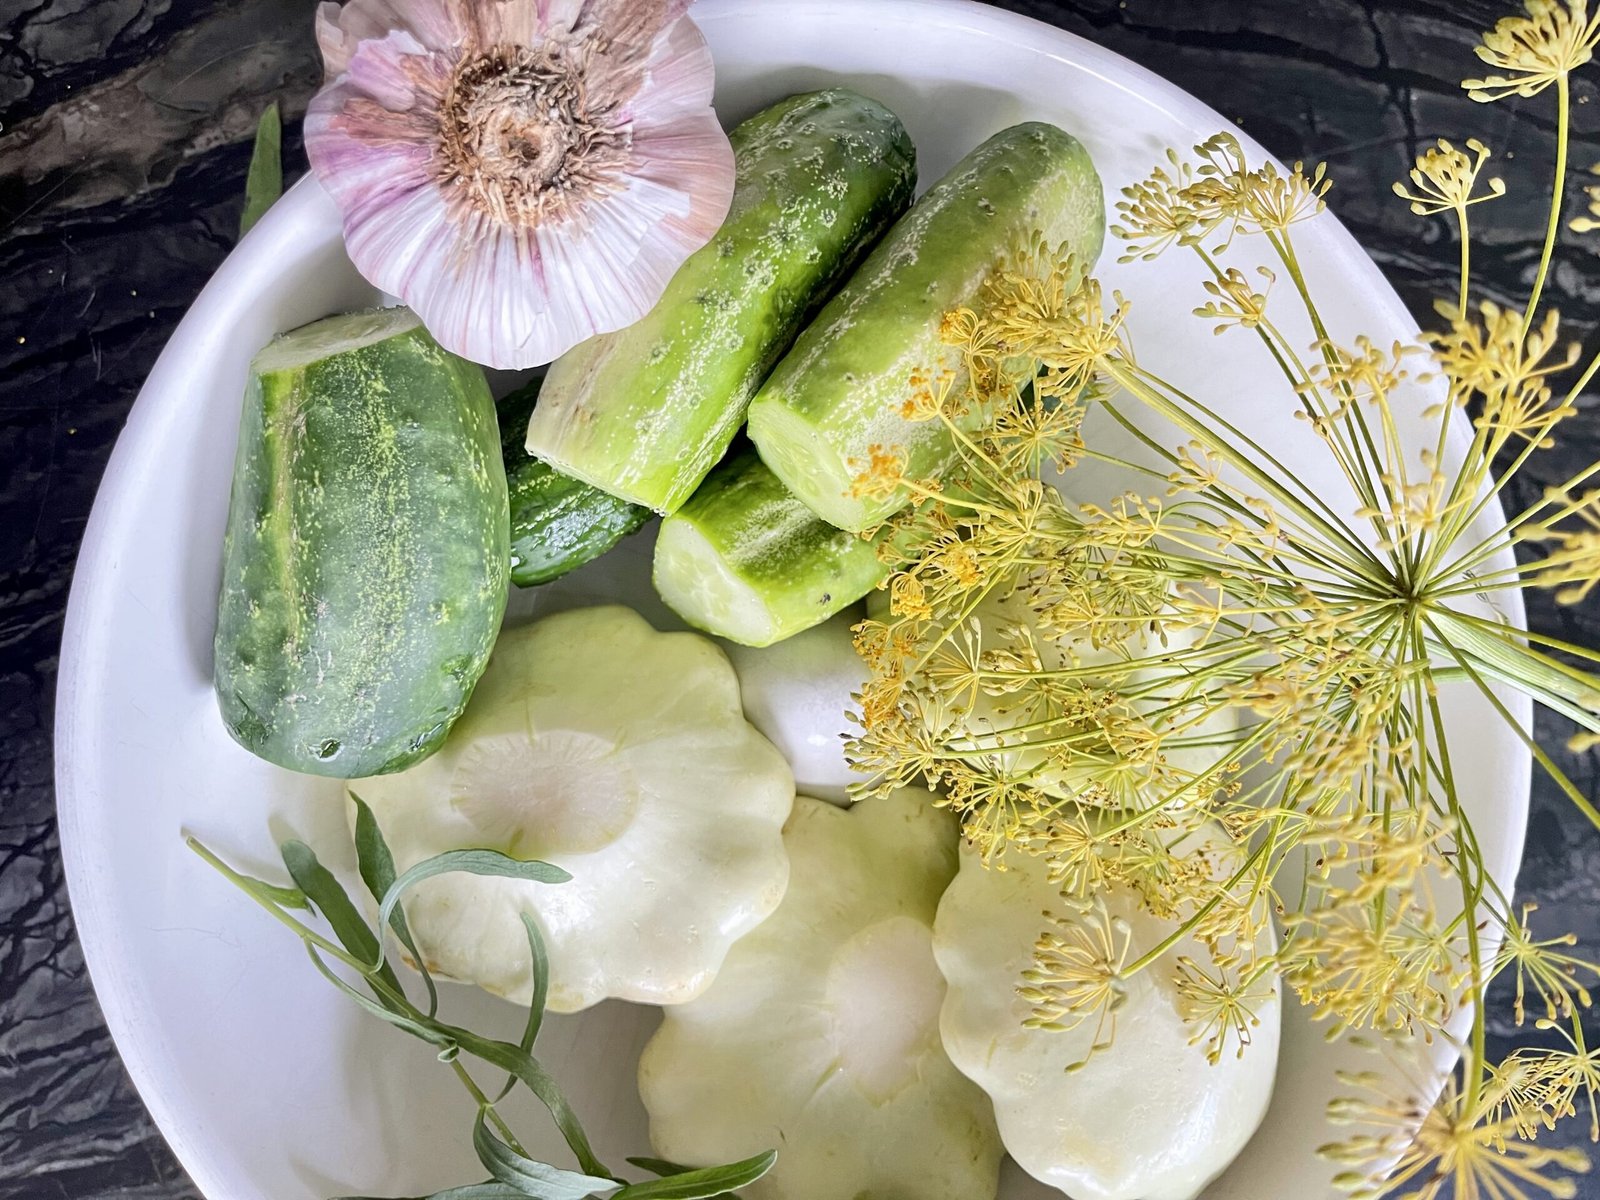
Duo Of Pickled Crunchy Cucumber Spears And Pattypan Squash
Why would anybody pickles pattypan and cucumbers spears together? How about bragging rights? Anyone can bring a jar of cucumber pickles to the table. But when you casually say, “Oh, these are my pickled pattypan squash and cucumber spears”, just watch people’s eyebrows shoot up. You’re instantly the most interesting person at the potluck.
-
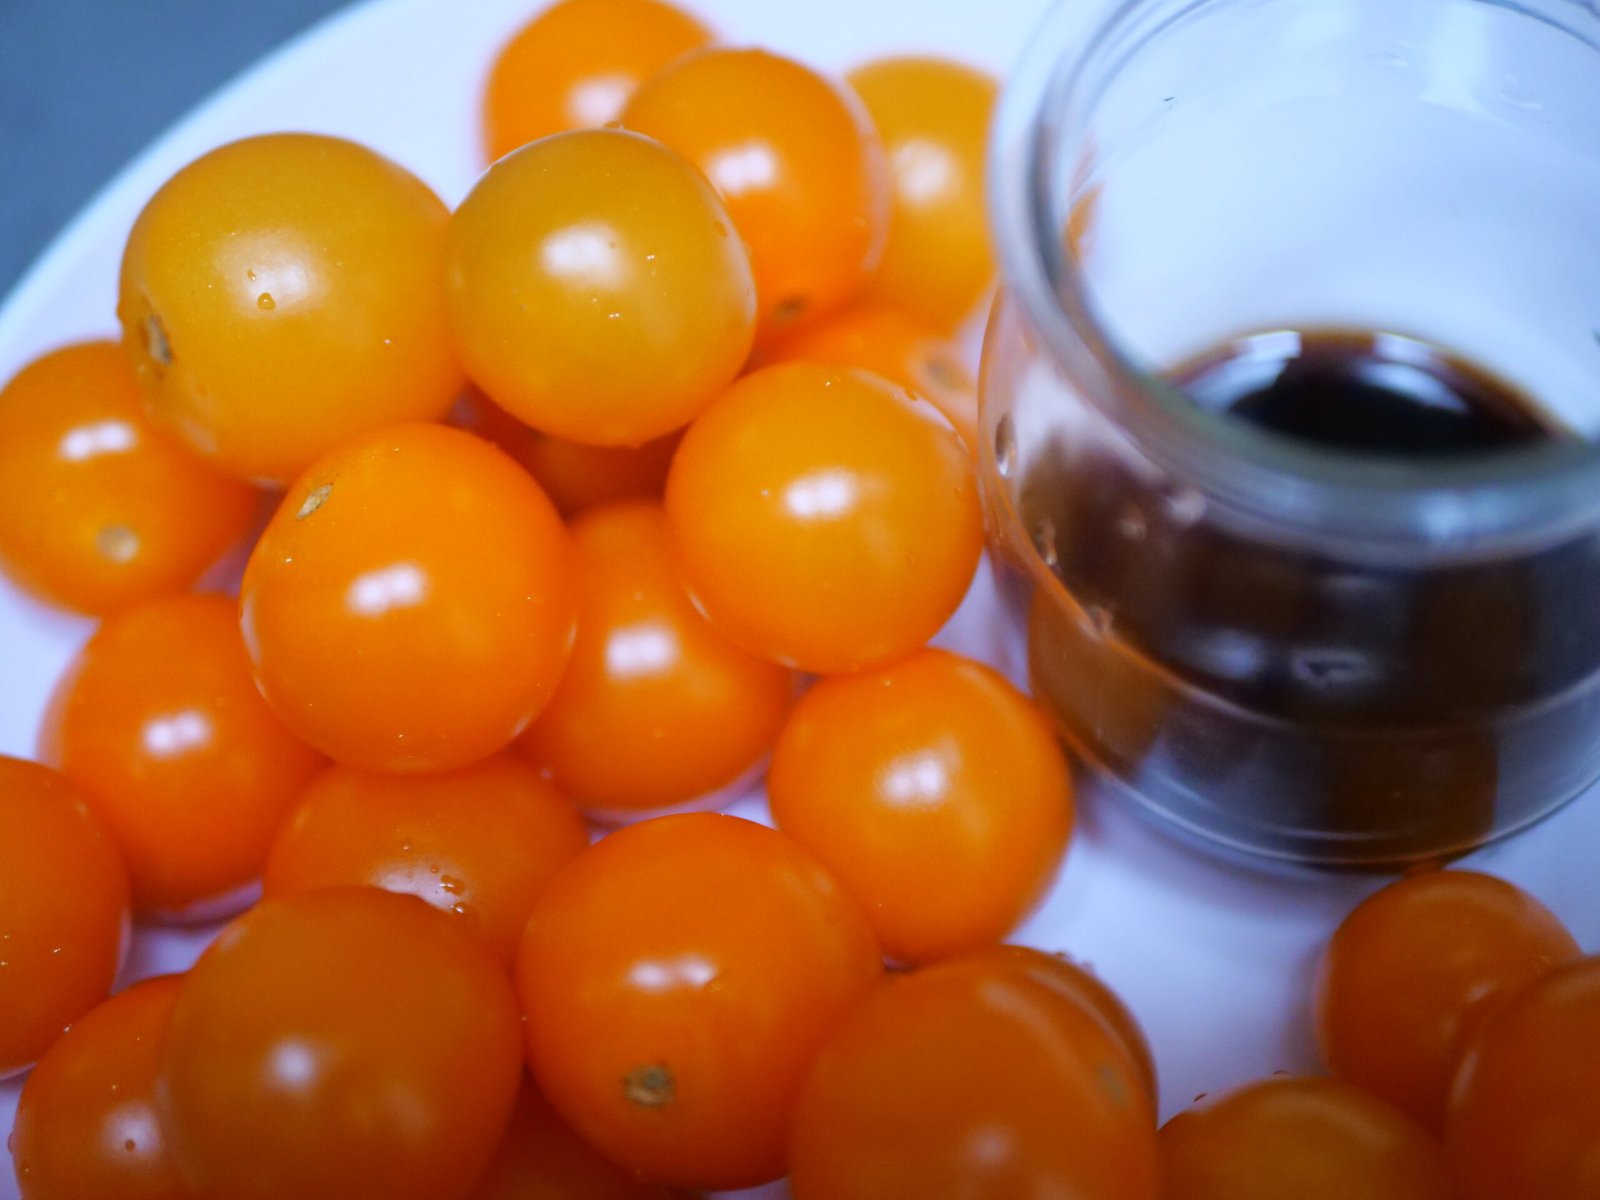
Soy Sauce Pickled Cherry Tomatoes: Try Bold, New Pickle Flavor
Yes, you can make soy sauce pickled cherry tomatoes! They are a bold twist on traditional pickles, delivering an unexpected burst of umami and sweetness. Forget ordinary vinegar-based brines—this recipe transforms your tomatoes into an unforgettable flavor bomb. Perfect for snacking or charcuterie boards, this unique pickle will wow your taste buds!
-
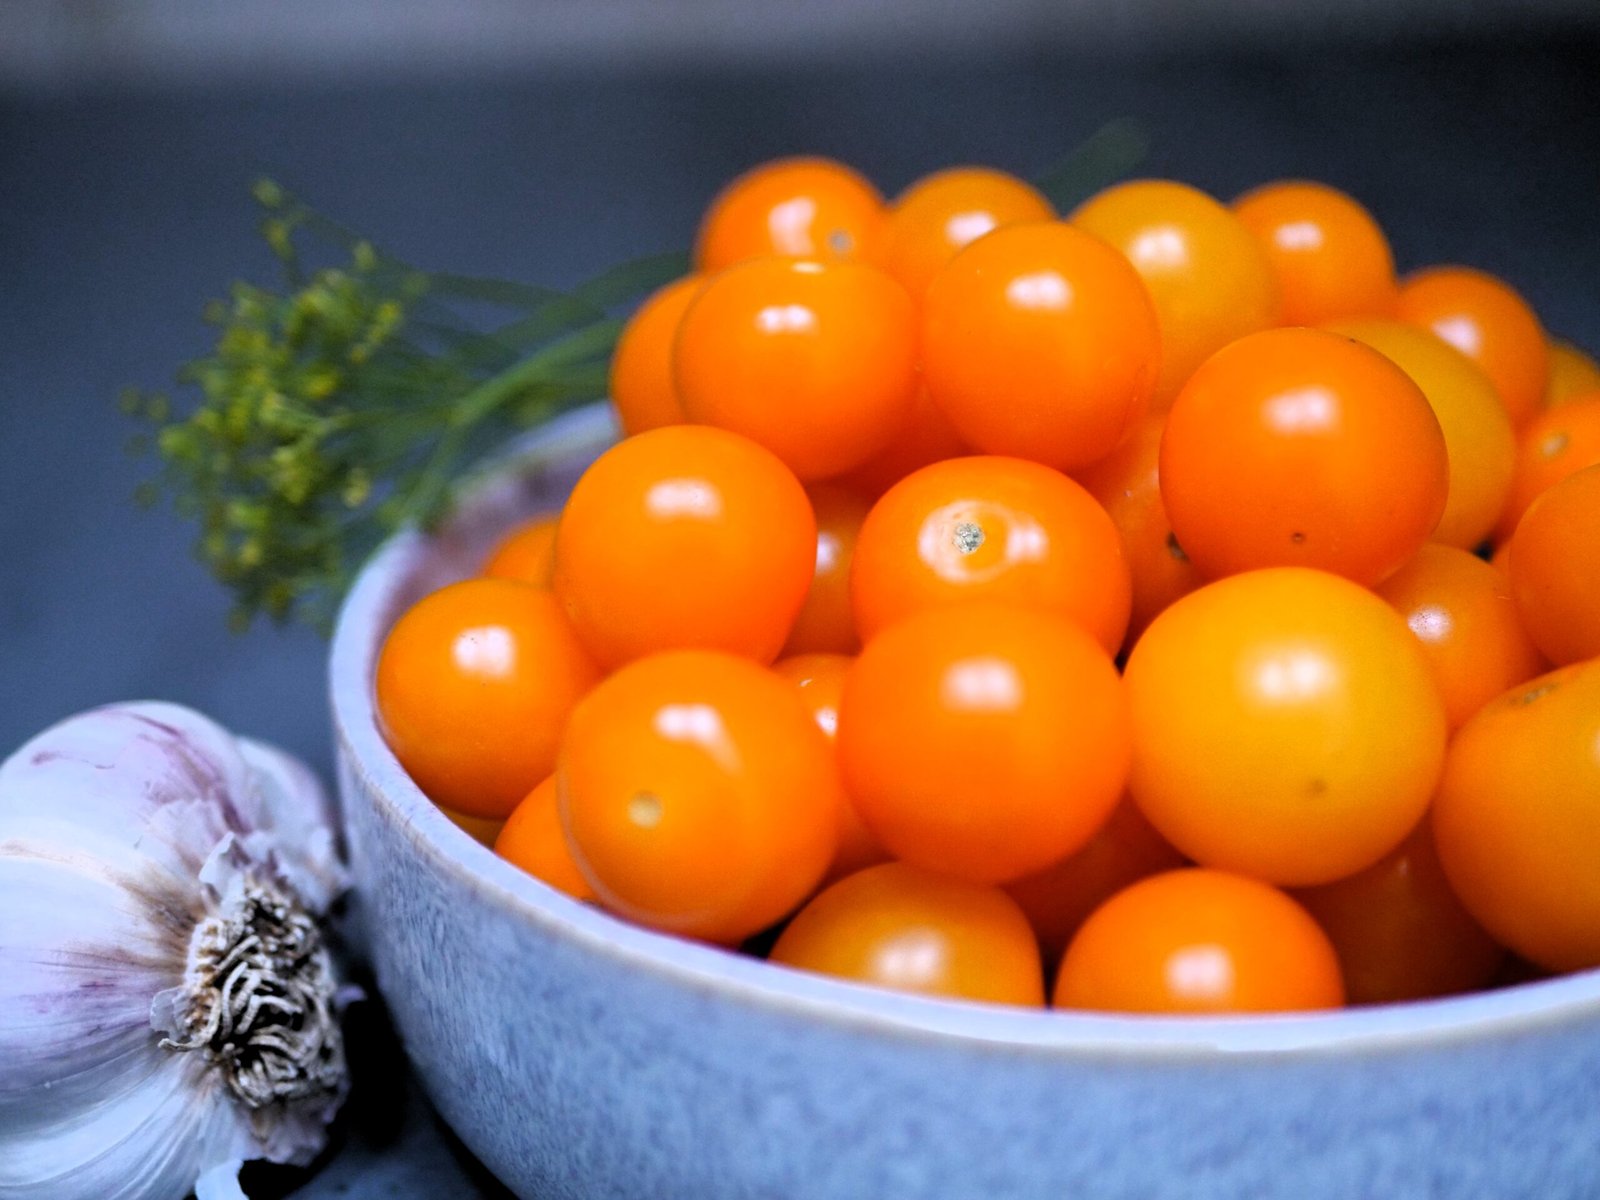
How To Pickle Cherry Tomatoes: Easy Recipe, Tips, And Troubleshooting
Cherry tomatoes are the candy of the vegetable world, but they don’t last forever—unless you pickle them! Try this easy, beginner-friendly recipe for the perfect homemade holiday gift. Pickled and canned cherry tomatoes make a great addition to your charcuterie board and add a pop of color, like little jewels, to your holiday table.
-

Fried And Pickled Sweet Banana Peppers: Recipe For Canning
Looking for a simple way to jazz up your charcuterie board? This fried and pickled sweet banana peppers recipe is your new go-to! These peppers are easy to can, so you’ll always have a jar ready to impress guests—or just treat yourself. Plus, these canned banana peppers make a great side for any meats!
-

How To Make Pickled Roasted Bell Pepper
Pickled roasted bell peppers are a pantry staple, and making them at home is easy and rewarding. With rising prices and growing interest in food quality, now is the perfect time to roast and pickle your own. It’s a simple way to save money, control ingredients, and enjoy healthier peppers in your meals!
-

Easy Hungarian Lesco: Hearty Tomato – Pepper Stew Canning Recipe
Just as ratatouille brings France to life, lecho (lecso) is Hungary in a bowl. This rich, sweet-and-sour stew of tomatoes and peppers uses simple ingredients with bold, unforgettable flavors. Want to enjoy it all year? Try the canning recipe and keep a taste of Hungary’s harvest season right in your pantry.
-

A Better Way To Use Green Tomatoes – Pickle Them!
Let’s be honest, fried green tomatoes aren’t that special. Without the movie, we wouldn’t even be talking about them. So, what should you do with your green tomatoes? Make pickles, of course! Go ahead—make some. Bet you can’t resist eating the whole jar in one go!
-
Spicy Dill Pickles Recipe For Open Kettle Canning Method
Craving heat? We’ve got it! We took our classic dill pickles recipe and turned up the heat to bring you the spicy pickles recipe for canning you’ve been asking for! But that’s not all! We’ll also show you how to make this recipe work with either the open kettle or boiling water bath canning methods.
-
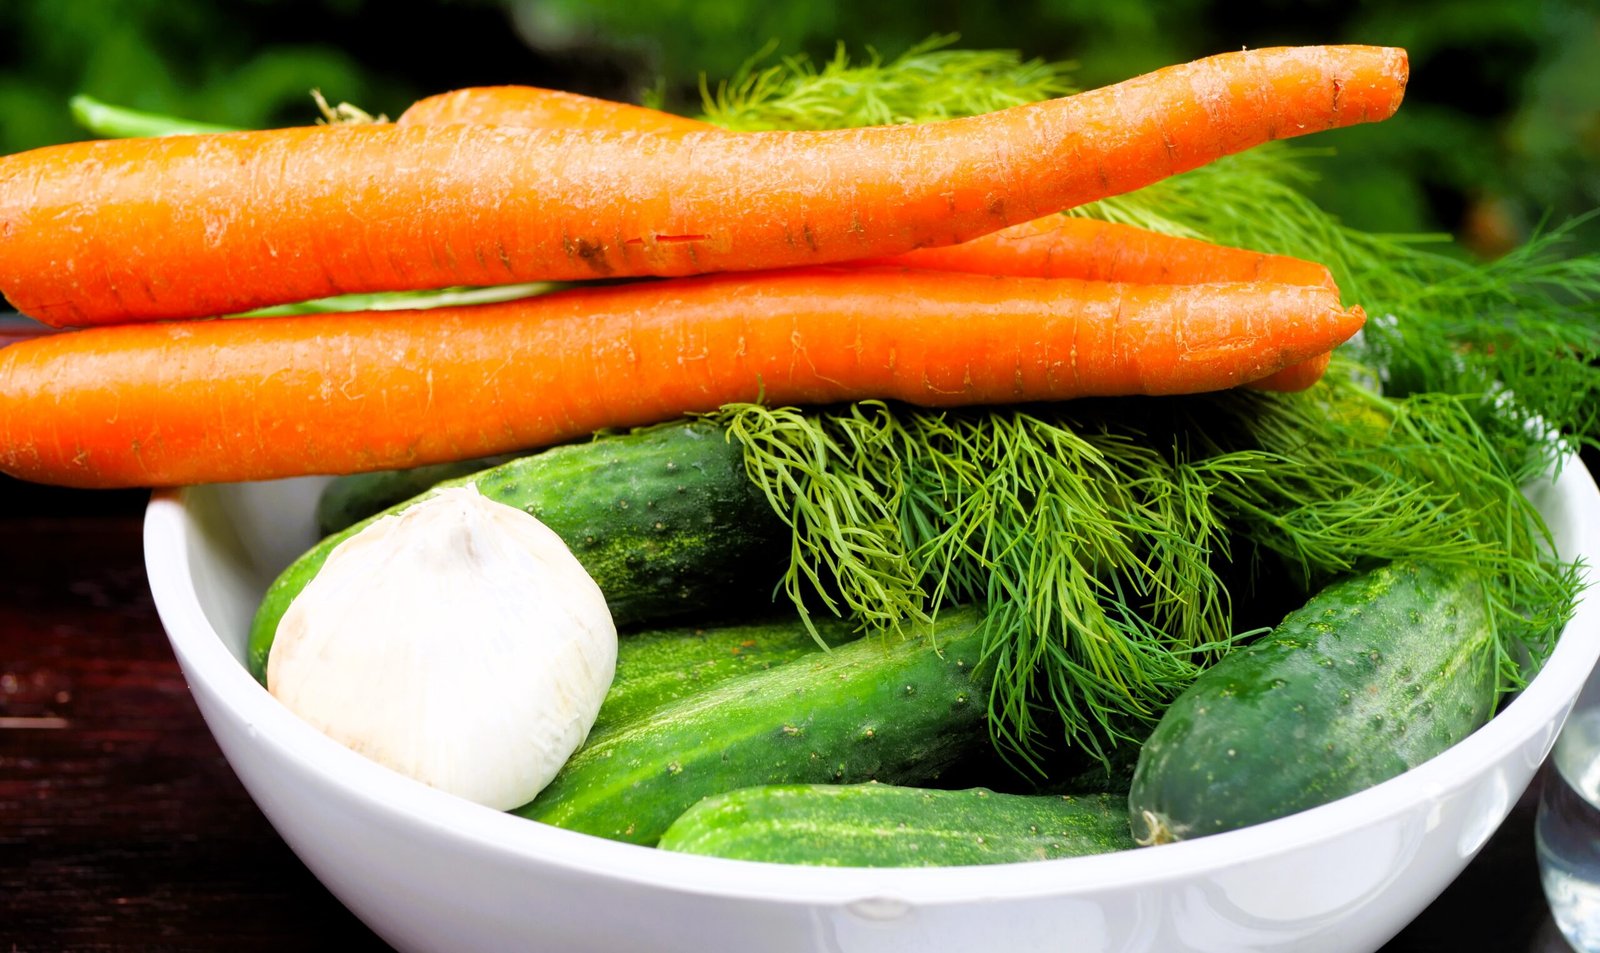
Pickled Cucumber Salad With Spanish Sweet And Smoky Paprika
Curious about what else you can do with your pickling cucumbers? Try our pickled cucumber salad with carrots and a simple marinade—it’s sure to impress. Plus, it’s the ultimate make-ahead meal in a jar. The secret ingredient? Spanish paprika, an unexpected spice that makes this recipe truly stand out.
-
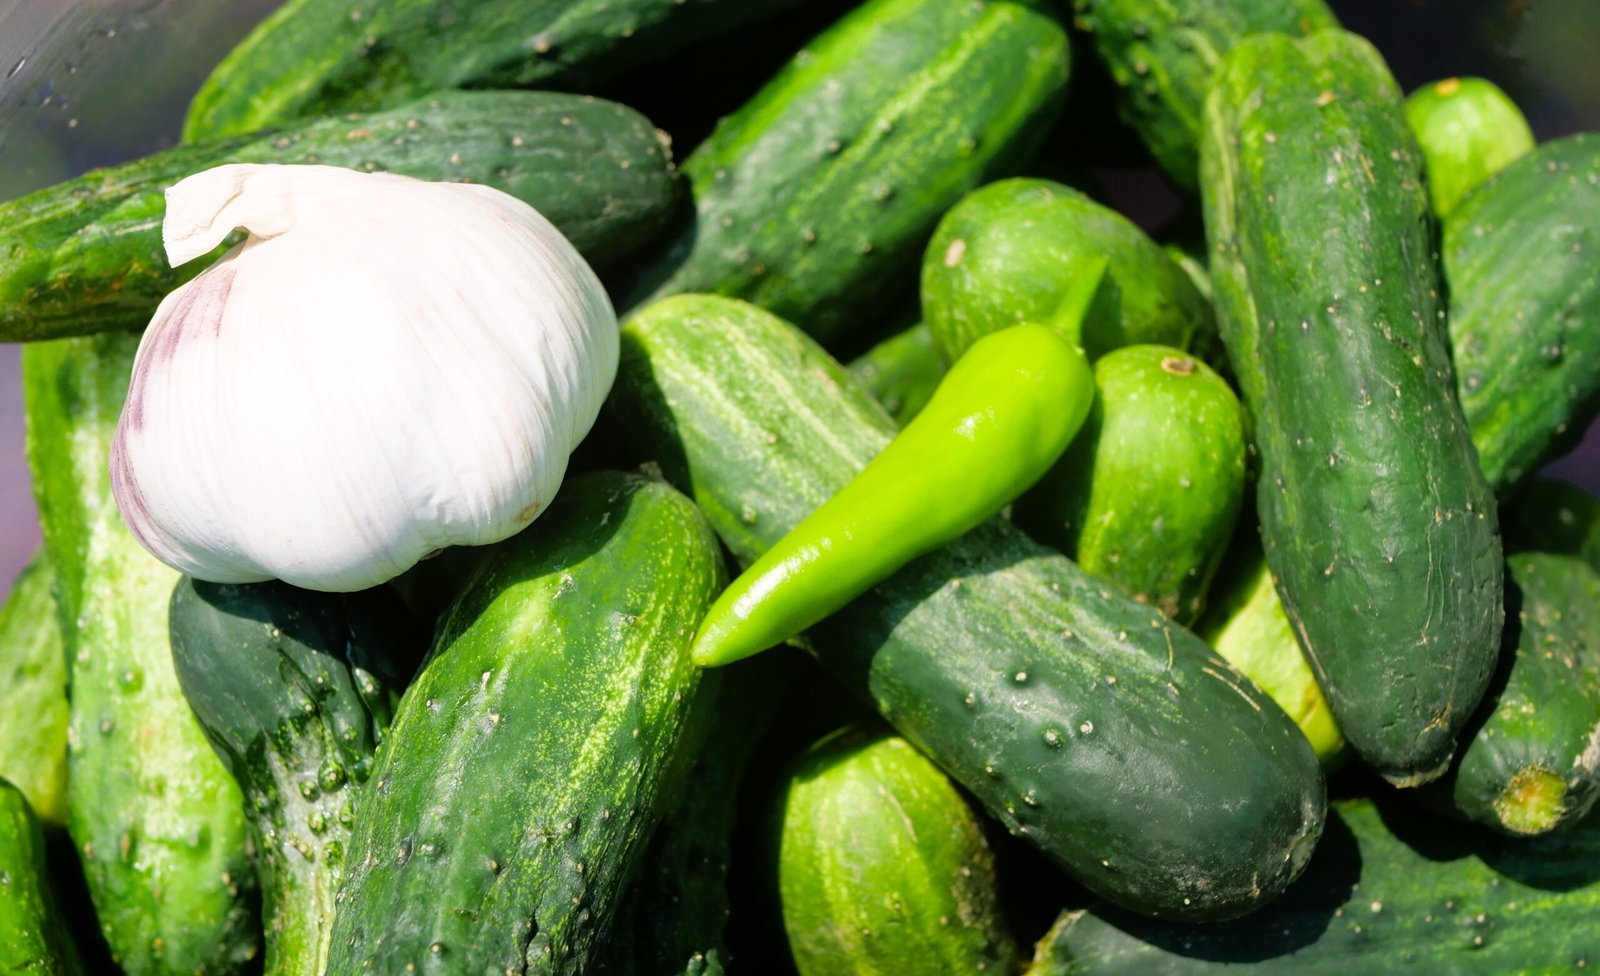
Pickled Cucumbers: Time-Tested Hungarian Recipe
Pickling cucumbers has been a European tradition for ages. But the Hungarian commercially-made Globus pickled cucumbers have always been the top of the line. Globus pickles set the gold standard, inspiring pickles fans everywhere to crack the Globus code. This recipe does just that! It captures that legendary Globus taste from the 80s.

Leave a Reply