Your Cheese Board’s New Best Friend: Spicy Pear Jelly
Views: 389
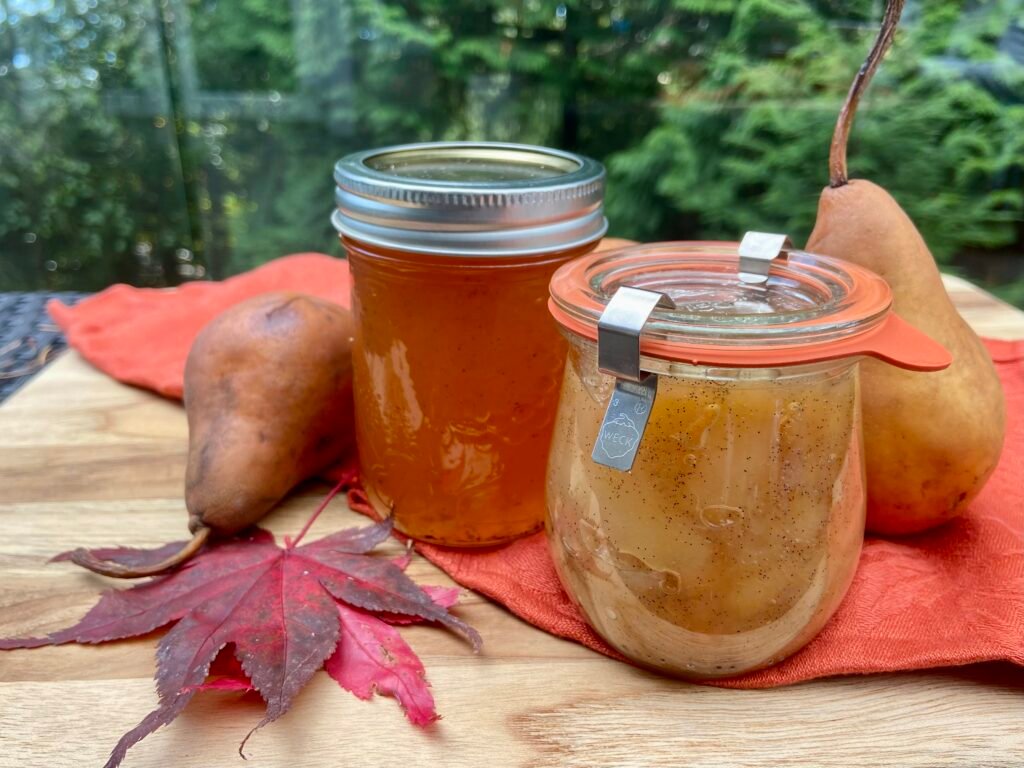
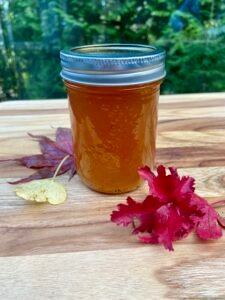
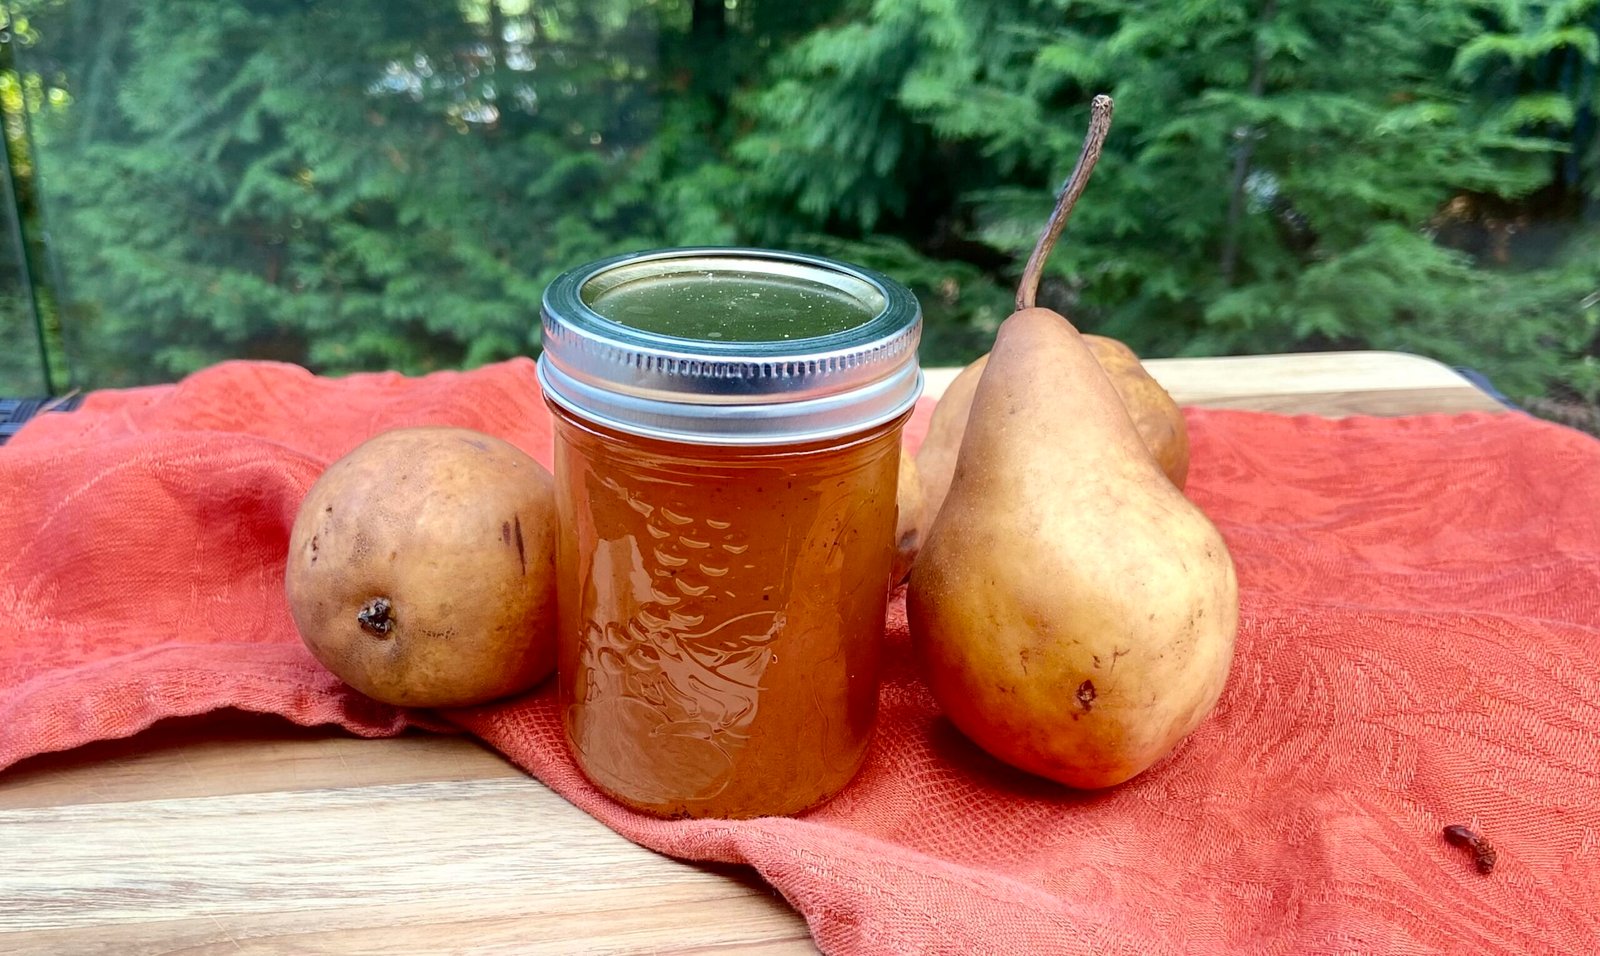
When building a memorable cheese board, you might reach for the usual suspects: brie, sharp cheddar, a few toasted nuts, maybe a handful of figs. These classics are timeless, but sometimes, a little twist is what takes a board from good to unforgettable. That’s where Spicy Pear Jelly—the ultimate jelly and cheese pairing—comes in.
Our spicy pear jelly has a rare ability to bring out the best in both soft, creamy cheeses and sharper, aged varieties. Spread a little on a cracker with gouda, and you’ll notice how the spice enhances the cheese’s nuttiness. Dab it on a slice of brie, and the jelly’s sweetness will make the cheese taste even creamier.
The amazing thing is that our spicy pear jelly is just a “byproduct” of another preserve we made – Pear Pie Filling![]() .
.
By making a spicy pear jelly you use up all the extra juices that accumulate during the pear maceration process, making sure that nothing goes to waste. We call it a win-win for your valet and your cheese board.
How Does a Two-in-One Preserve Work?
It’s actually pretty simple! When you make a preserve by letting the fruit sit in a sugar or sugar-water mix, it pulls out the natural juices. This leaves a lot of sweet, syrupy juice in the pot with the fruit. From here, you have a few options. You can boil down the juice for a thinner preserve. Or, you can create a fruit-in-syrup preserve. Alternatively, you can scoop out the extra juice to make jelly. That’s exactly what we did here!
Choosing the Right Pears for Your Spicy Pear Jelly
Just like with our pear pie filling recipe, choosing the right type of pears is key for this spicy pear jelly. If the pears are too firm, they won’t release enough juice. If they’re too soft, they’ll turn to mush after the first round of cooking, when what you really want is clear, flavorful pear juice and soft slices of pears.
For best results, look for pears that are ripe yet still firm, with just a slight give when you press them.
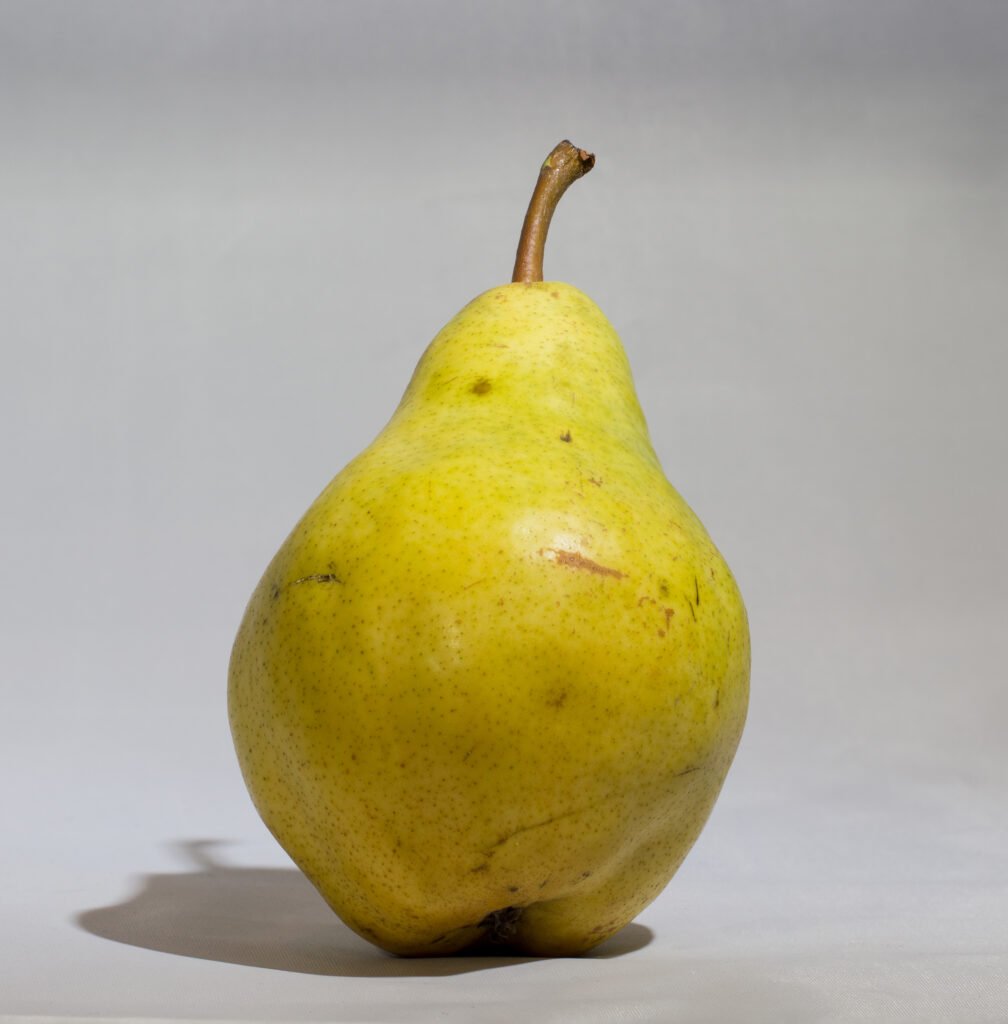
After working with different pear varieties, we found that Bartlett pears are the best choice for both, this spicy jelly and our pear pie filling. These pears have a natural sweetness and juicy texture, plus they soften beautifully during cooking. Not only do they caramelize well, but they also release a lot of sweet, flavorful juice—perfect for making this jelly.
So, whenever you’re picking pears for our spicy pear jelly recipe or planning to make a batch of caramelized pear pie filling, go with ripe but not overly ripe Bartlett pears. This choice of fruit will make all the difference!
Photo: Bartlett Pear aka Williams’ Bon Chrétien Pear. Credit: Rhododendrites, CC BY-SA 4.0, via Wikimedia Commons
Yield:
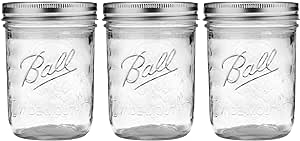
We filled four half-pint (250 ml) canning jars with this jelly. However, the number of jars you’ll need may vary depending on how quickly the juices evaporate during cooking and the heat level used when cooking this preserve.
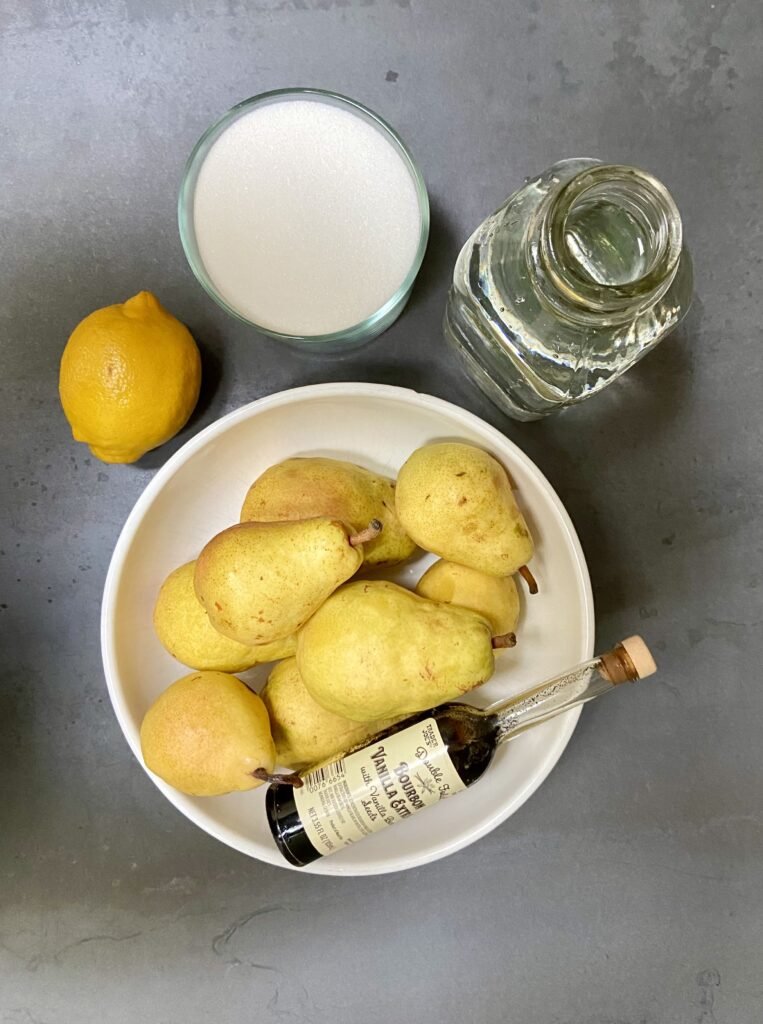
Pear Syrup Preparation Steps:
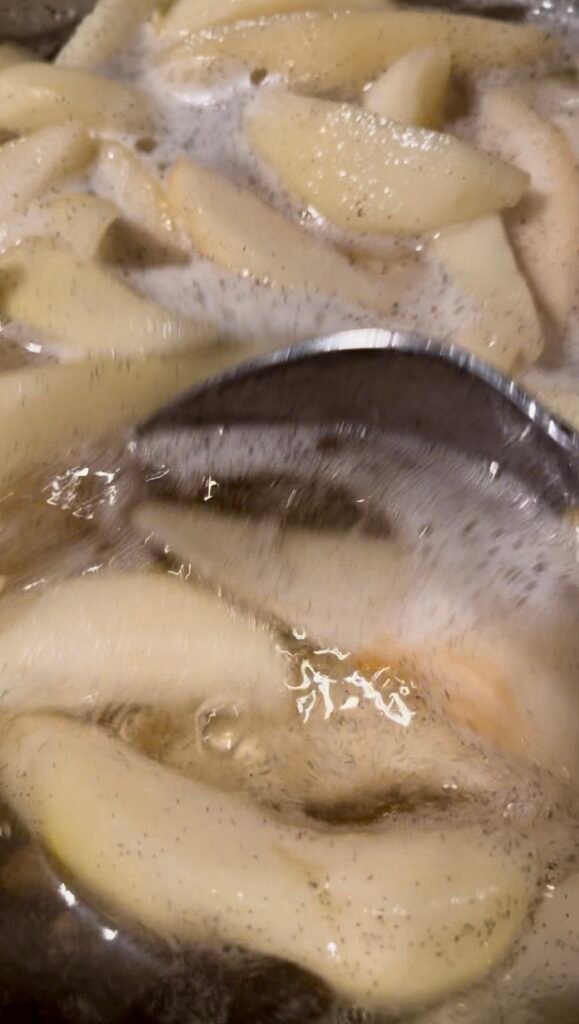
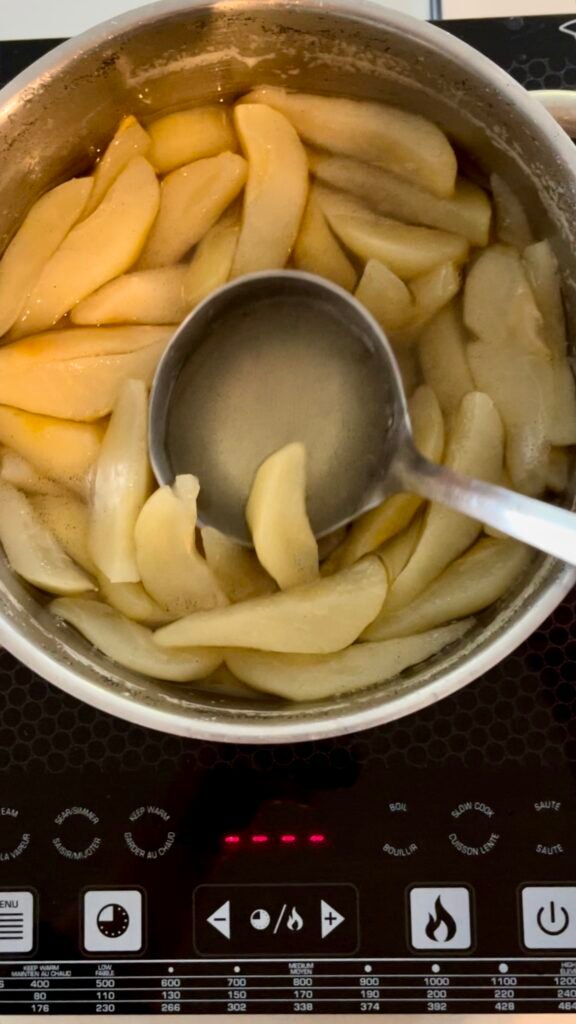
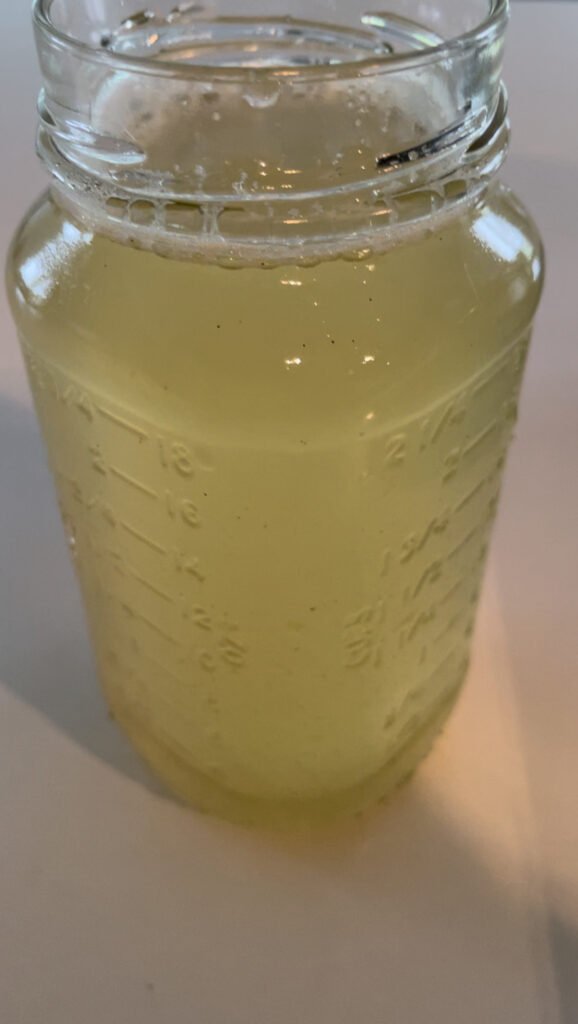
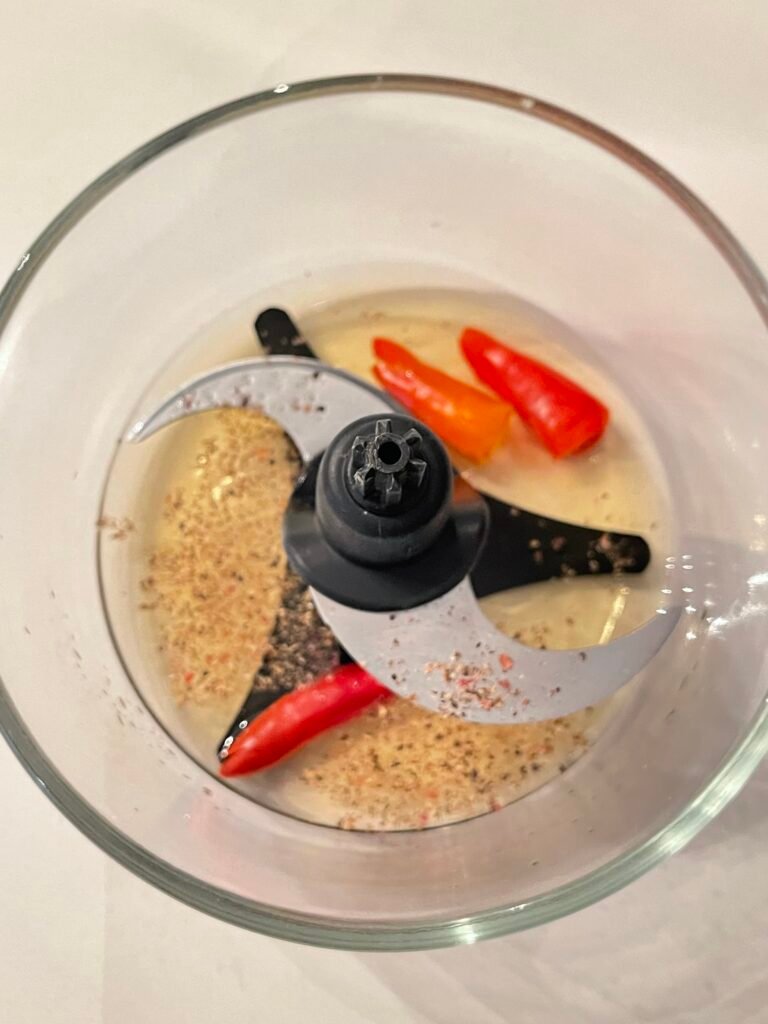
Spicy Pear Jelly Preparation Steps:
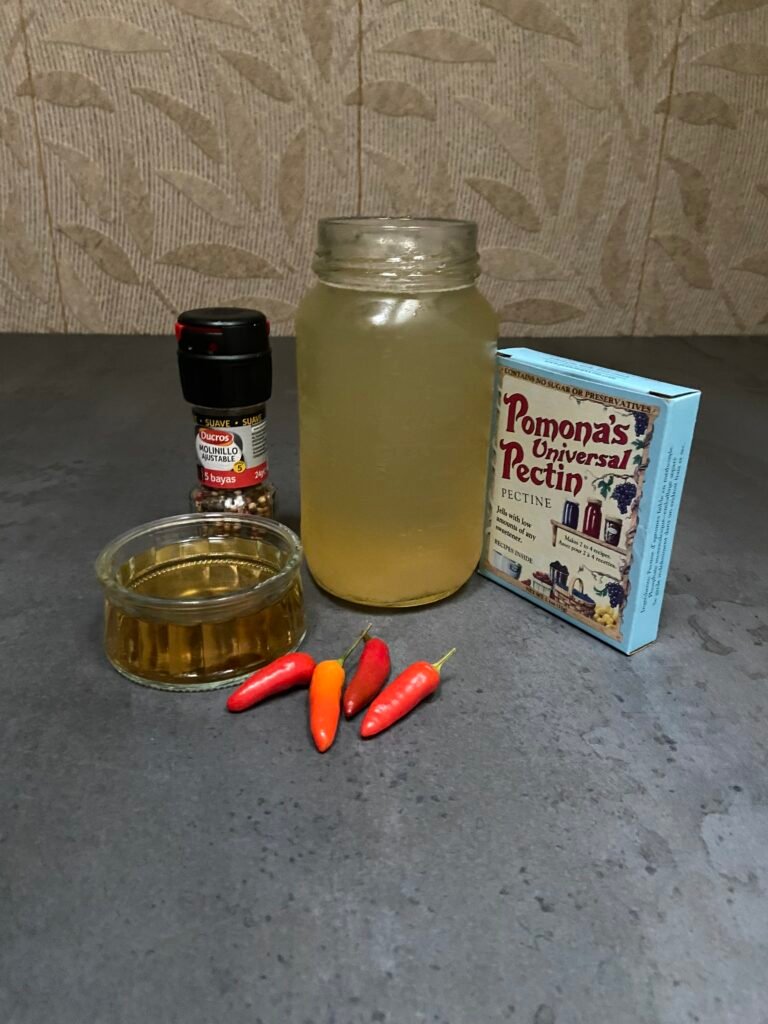
Spicy Pear Jelly
Ingredients
- 5 lbs pears peeled, cored, and sliced (2,250 g)
- 3 lbs + 1 tbsp sugar 1,400 g
- 4 cups water 1,000 ml
- 1 cup freshly squeezed lemon juice
- 1 tbsp vanilla extract
- ½ cup white wine or champagne vinegar
- 1 spicy pepper (up to 3) use more or less, depending on your preferences
- 1 tsp ground black and white pepper
- 2 tbsp Pomona’s pectin
Instructions
Prepare the pears:
- Wash the pears thoroughly.
- Peel, core, and quarter each pear, removing any bruises or blemishes.
- Slice each quarter into thick wedges.
- Weigh the pears and measure sugar based on the weight of the sliced pears.
- Place the sliced pears into a large, heavy-bottom pot.
Make the vanilla-sugar syrup:
- In a large saucepan, mix together the sugar, water, and lemon juice.
- Bring the mixture to a boil over medium heat, stirring until the sugar dissolves completely.
Cook the pears:
- Once the syrup is boiling, reduce the heat to low. Add the pear slices and vanilla extract.
- Turn off the heat immediately and gently stir to coat the pears in syrup, being careful not to break the slices.
- Let the pears sit in the syrup overnight.
- After resting, pour off the pear juice. If you’re also making pear pie filling, make sure to leave enough juice in the pot to cover the pears by about 1 inch.
Make the jelly base:
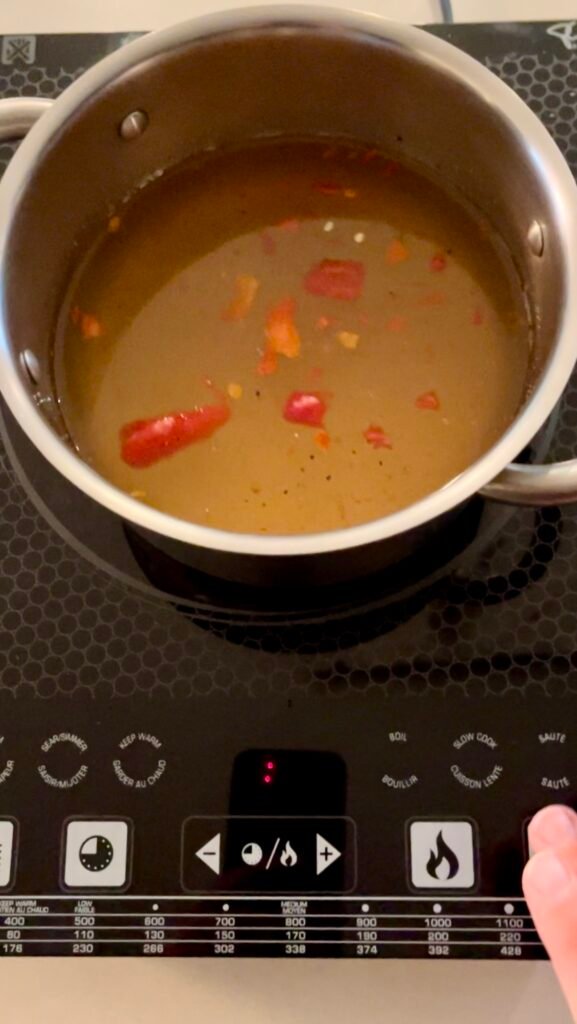
- In a blender or food processor, combine the pear juice, spicy peppers, ground pepper, and vinegar. Blend well.
- Pour this mixture into a heavy-bottomed pot and bring it to a boil.
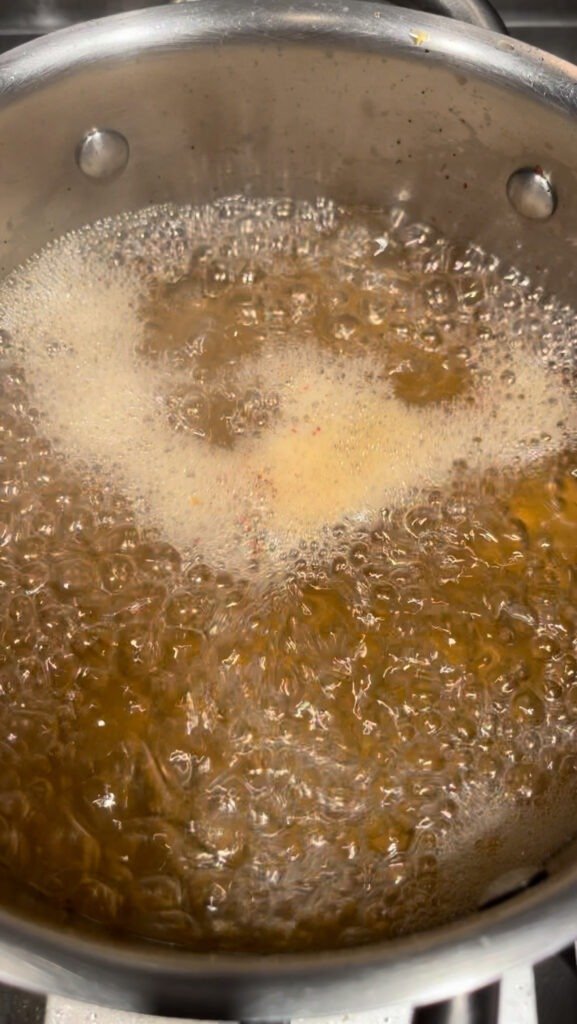
- Cook for about 20 minutes, or until the mixture starts looking syrupy.
- Let the syrup cool completely.
Add Pectin and Final Cooking:
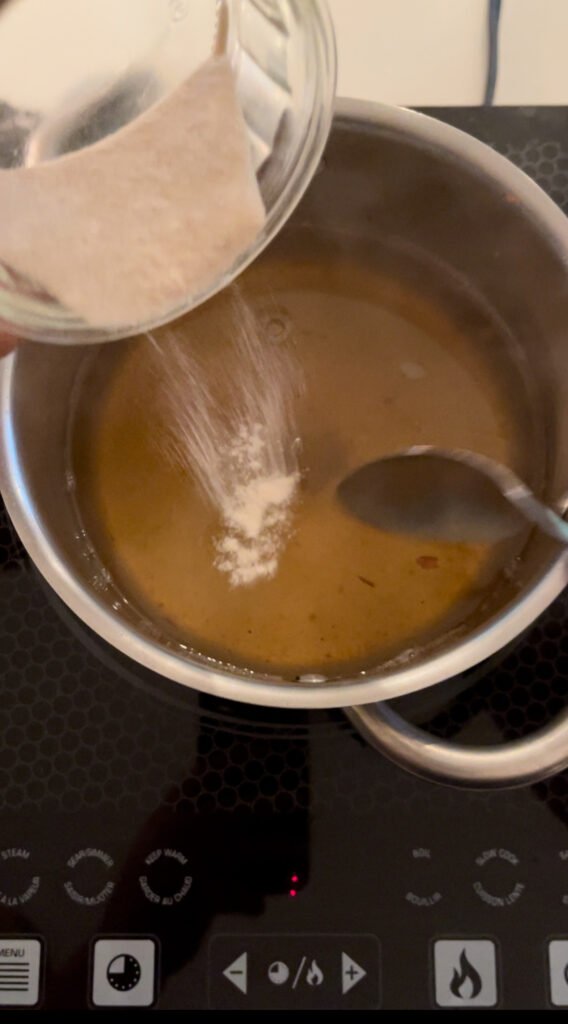
- Mix the pectin with a bit of sugar, then add it to the jelly mixture.
- Bring the mixture back to a boil and cook for 10 more minutes.
- Test the jelly’s consistency with a chilled plate and cook more or add more pectin if the texture and consistency is not to your liking.
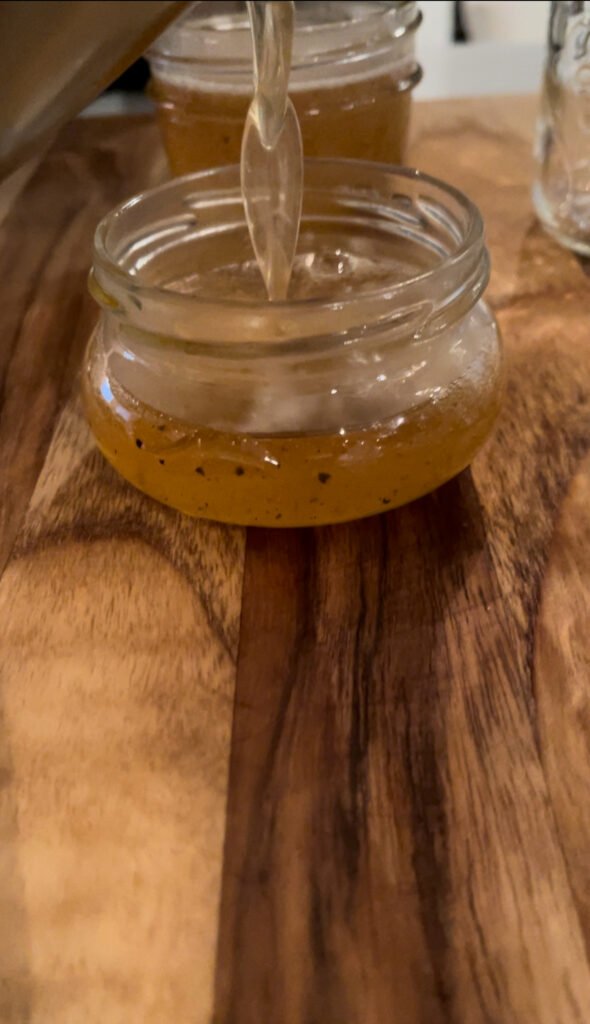
- Ladle jelly into sterilized canning jars and process using your favorite canning method.
Choose your preferred canning method to preserve your jelly
For those processing this preserve using water bath or steam canner, the processing time guidelines at various altitudes are as follows:
0 – 1,000 ft: 5 mins
1,001 – 6,000 ft: 10 mins
Altitudes Above 6,000 ft: 15 mins
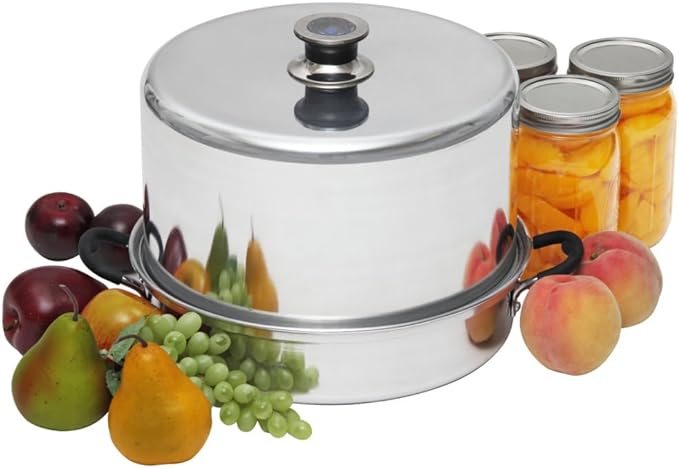
Canning tools we use: If you are in the market for a reliable atmospheric steam canner, consider VKP brands made canners.
Want to learn more? Read our steam canners review.
We can’t wait to learn how this preserve recipe worked out for you. Leave us a comment below, like us on X, Facebook, Pinterest and Instagram. And remember, sharing is caring!
Frequently Asked Questions
My jelly didn’t set properly, how can I fix it?
If your jelly didn’t set properly, it’s likely because your pears released more juice than ours did. This means the amount of pectin we used in the recipe might not be enough for your jelly mixture to set. If you ended up with two quarts of pear juice you need to add more pectin. Add an extra teaspoon of Pomona pectin for each additional quart of juice to help it set properly.
How to do chilled plate test?
To do the chilled plate test, place a small porcelain plate in the freezer for about 5 minutes to get it really cold. Then, scoop a small spoonful of jelly and place it on the plate. Let it sit for a few seconds, then tilt the plate to see if the jelly is runny and if it has the consistency you want.
Can I use other than Pomona pectin?
First off, we’re not paid to recommend Pomona. We suggest it because it worked best for us. We’ve never had any issues getting our jellies and jams to set just the way we want with this pectin brand. Plus, Pomona pectin is …just that – a pure citrus fruit pectin without additives.
Is there a way to make this recipe sugar -free?
Unfortunately, this recipe can’t be made sugar-free. Sugar is essential for both extracting the fruit juices and making the syrup.
This jelly is way too spicy, what can I do?
If you enjoy a little heat but find the jelly too spicy, there are simple steps to adjust the spice level to your taste. First, remove all the seeds from the spicy pepper. Most of the heat comes from the seeds. Second, instead of blending the peppers into the jelly mixture, you can add slices of pepper to the cooking jelly and then remove them after about 15 minutes of cooking. This way, you can control how much spice you want to add!
How to Create the Ultimate Jelly and Cheese Pairing
We created this spicy pear jelly for charcuterie board. Unsurprisingly, it excels whenever you are looking for the best jelly and cheese pairing. Below are the tips on serving this jelly with cheese:
- Creamy Cheeses: Soft cheeses like brie, Camembert, or Mascarpone are perfect for this jelly. Just add a small dollop on a cracker with the cheese, and the sweetness balances the creaminess, while the spice adds a surprising kick. For an extra treat, try Spicy Pear Jelly with blue cheese. It might sound bold, but the sweetness tames the tangy flavors in the best way.
- Aged Cheeses: For sharper cheeses like aged Cheddar, Gouda, or Manchego, the jelly provides an irresistible contrast. The jelly’s subtle sweetness highlights the nuttiness in these harder cheeses. It’s a perfect choice if you’re building a charcuterie board where jelly for charcuterie needs to stand up to intense flavors.
- Add Crunch with Crackers and Bread: To bring out the best in your jelly and cheese pairing, add a variety of crackers and baguette slices. The crunch provides a nice contrast to the soft texture of the cheese and the jelly. Lightly salted crackers work especially well with the spicy pear jelly as they balance the sweetness without adding any extra flavors.
- Fruit and Nut Companions: Fresh fruit like grapes, apple slices, and figs pair wonderfully with Spicy Pear Jelly. Add some roasted almonds or walnuts, too. They add a nutty element that pairs beautifully with the fruity, spicy notes of the jelly. Arrange the fruits and nuts around the cheeses and jelly for a visually inviting board.
- Wine Pairing Tips: To bring out the flavors in your jelly and cheese pairing, serve a crisp, dry white wine like Sauvignon Blanc or a Riesling. If you’re more into reds, a light Pinot Noir or a fruity Merlot will bring out the spicy-sweet notes of the jelly without overwhelming the cheese.
You may also like:
-
Boozy & Spiced Seedless Raspberry Jam for Grown-Ups
Our raspberry jam breaks out of the mold. Seedless, low sugar, spiked with port and pepper, this is the jam that went rogue. It’s like that guest at a polite garden party, that shows up wearing leather boots and carrying… read more
-
Sweet And Spicy Pineapple Pepper Jam Canning Recipe
Sweet. Spicy. Bold. Pretty. Adaptable. Our pineapple pepper jam walks the fine line between kitchen staple and edible show-off. It’s not our most requested jam for nothing. It earned that crown with every sticky, glorious spoonful. Make it. Can it.… read more
-
Fried And Pickled Sweet Banana Peppers: Recipe For Canning
Looking for a simple way to jazz up your charcuterie board? This fried and pickled sweet banana peppers recipe is your new go-to! These peppers are easy to can, so you’ll always have a jar ready to impress guests—or just… read more
-
Your Cheese Board’s New Best Friend: Spicy Pear Jelly
Introducing Spicy Pear Jelly. It’s sweet, spicy, and it’s the perfect match for a variety of cheeses, from mild to bold. And yes, it’s as delicious as it sounds! Unquestionably, a little jar of this golden goodness deserves a spot… read more
-
What Is And How To Make Georgian Adjika Sauce a.k.a Hot Spicy Dip?
Adjika is spicy, garlicky, deeply aromatic, and savory. But is it a sauce, a dip, a relish, or a pesto? Whatever you call it, adjika—the best-known vegetable condiment from Georgia (the country, not the state)—is guaranteed to become your new… read more
-
Spicy Dill Pickles Recipe For Open Kettle Canning Method
Craving heat? We’ve got it! We took our classic dill pickles recipe and turned up the heat to bring you the spicy pickles recipe for canning you’ve been asking for! But that’s not all! We’ll also show you how to… read more
-
How To Make Mango Jalapeno Jam: An Easy Canning Recipe
Looking for a sweet and spicy jam for your cheese board or grilled meats? Our mango jalapeno jam is just what you need! Packed with vibrant flavors, this jam combines the sweetness of ripe mangoes with the zesty kick of… read more
-
How To Make Red Pepper Jam At Home
Ready to spice up your pantry? Skip the store and can a batch of hot red pepper jam at home! With our easy-to-follow red pepper jam recipe and a few simple ingredients, even novice canners can easily make this jam… read more
-
Quick And Easy Chipotle Red Wine Jelly Recipe For Canning
Exercise your culinary creativity with this quick and easy red wine jelly recipe. Blending robust red wine with the smoky kick of chipotle, this versatile condiment adds a gourmet touch to cheese boards and cured meats. Perfect for thoughtful gifts… read more
-
Russian-Style Spicy Pickled Eggplants For Canning Or Eat Now
Pickled eggplants are ubiquitous all over Russia and Eastern Europe. They are typically enjoyed as a side dish or appetizer. Our time-tested pickled eggplant recipe is a spicy version of this tasty treat and can be made for immediate consumption… read more







Leave a Reply