To Die For Jam Recipe: Pectin-Free Strawberries In Syrup
Views: 100
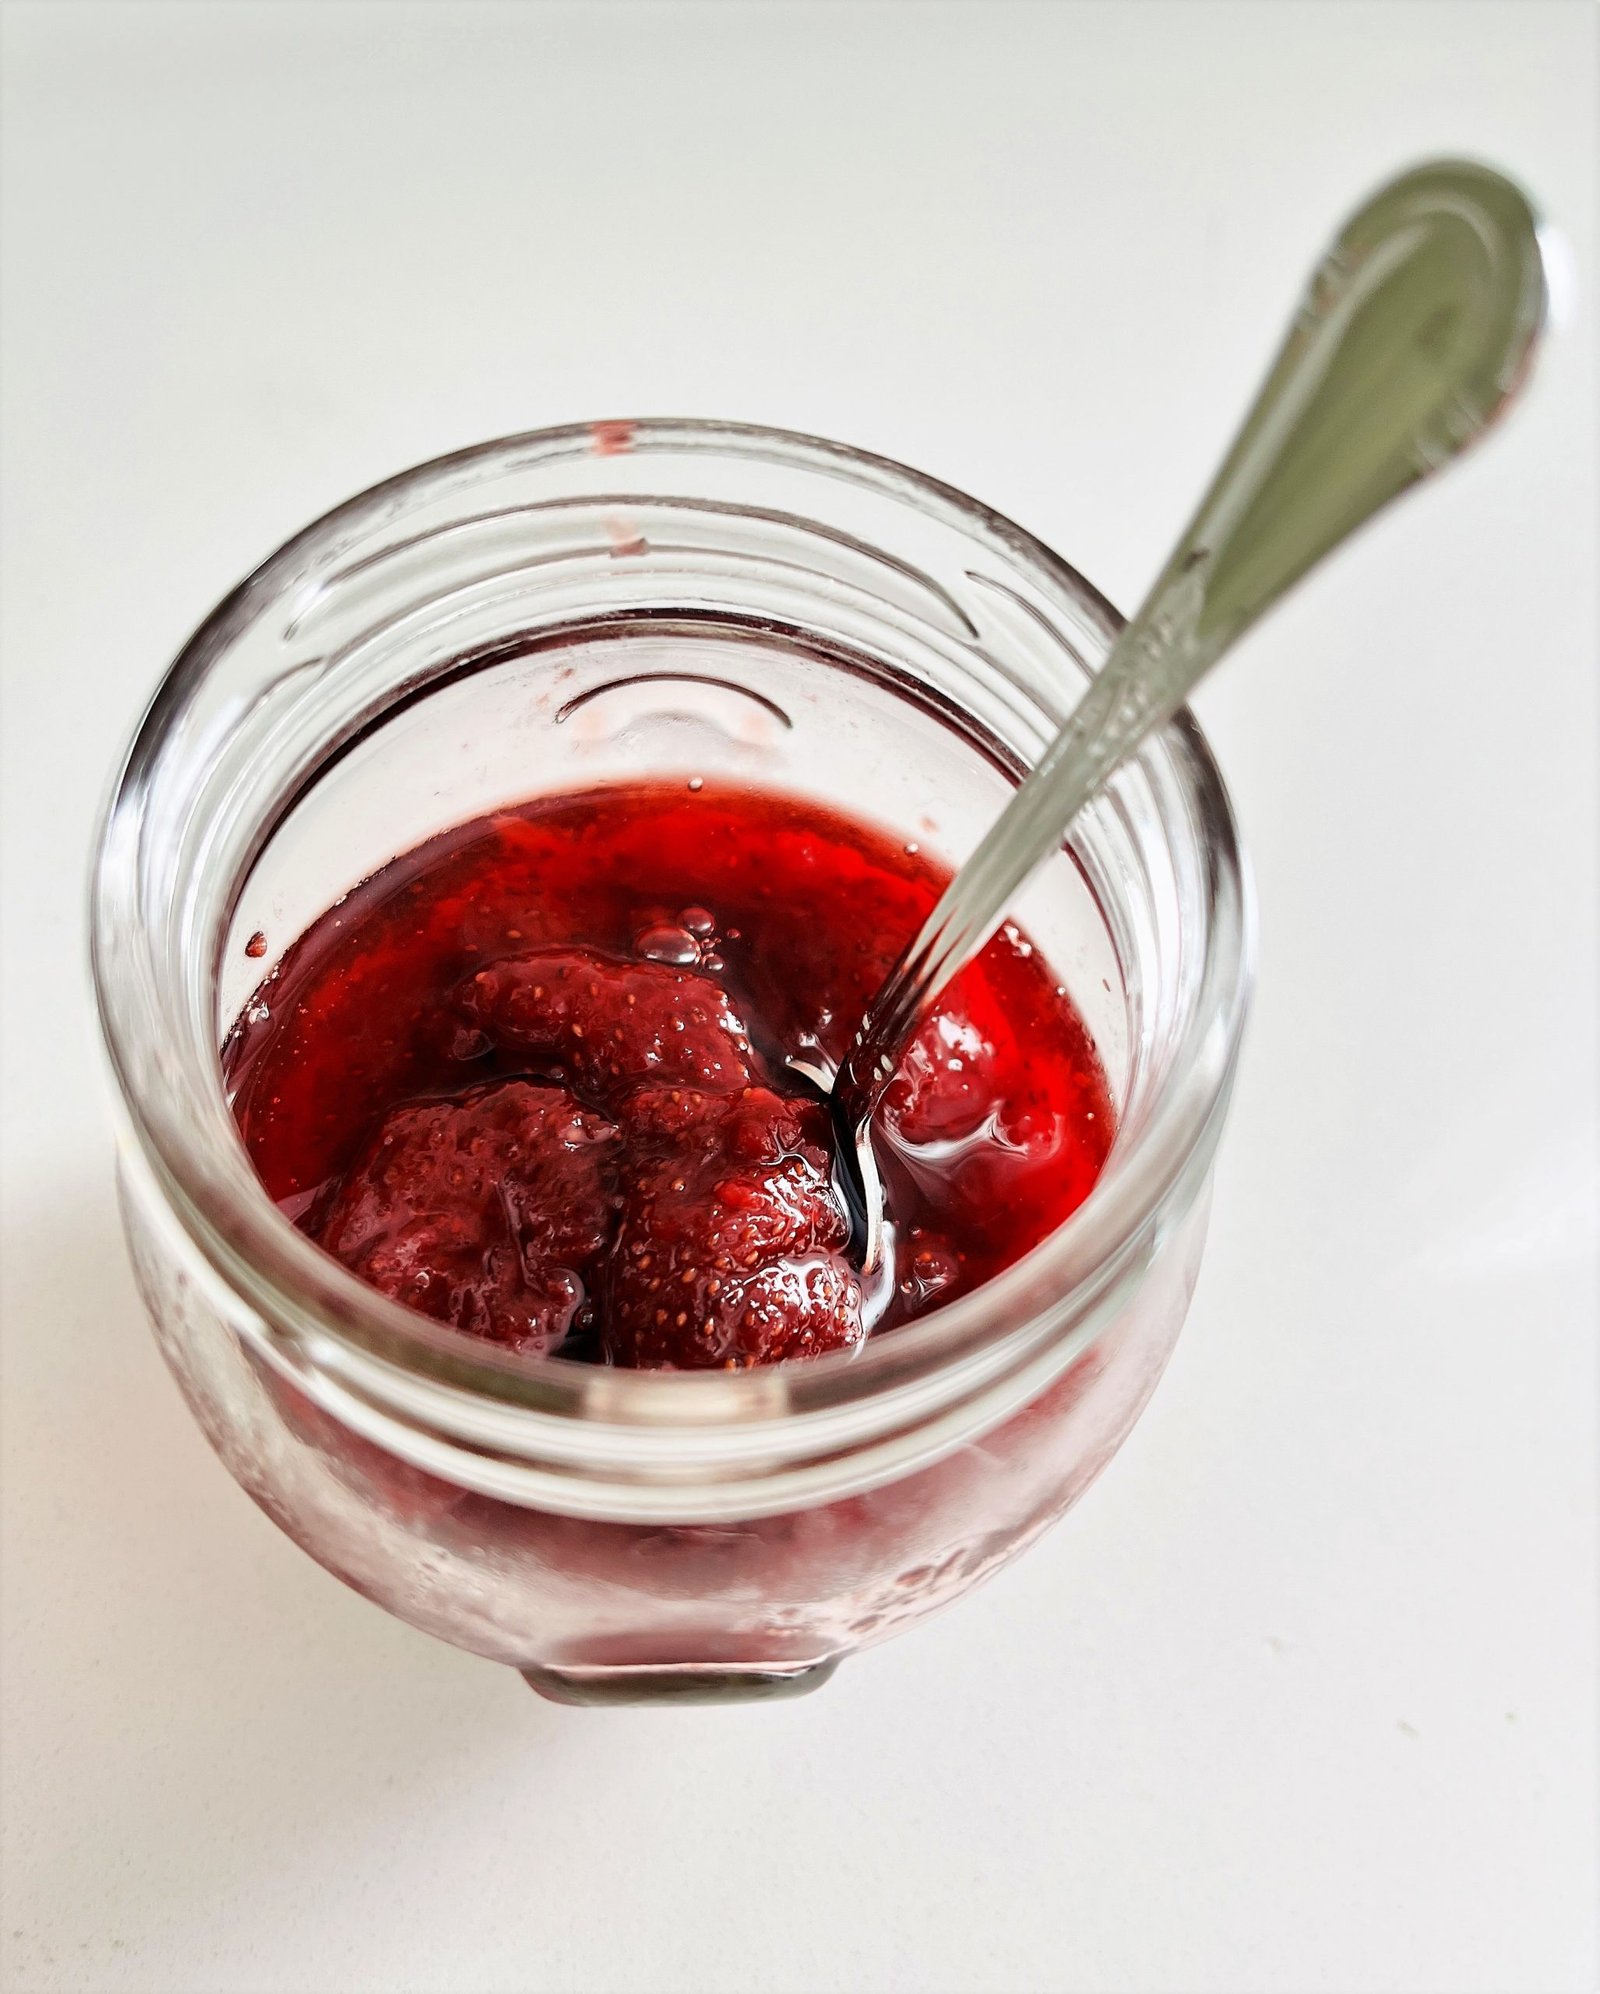
Back in our childhood, strawberry jam was the undisputed champion, but not your run-of-the-mill sweet, pink mystery goo. No, we had higher standards. We craved the kind of jam where whole strawberries swam in a sweet and runny syrup. It took us a whole year to unlock the secret to keeping those strawberries from getting mushy, but we did it! So, here it is – the jam that fueled our childhood dreams! A word of caution – slow and low is the name of the game. Patience is the key to making this jam right.
Jam and Jelly’s Deal
We’re tossing aside the rulebook for jams and jellies, and the culinary elites might be fainting in disbelief. You see, our creation doesn’t quite fit the jam mold because it’s not pureed. But calling it a jelly? Well, that’s just as cheeky, given those whole strawberries floating in syrup! Interestingly, when we gift a jar of this delicious confusion to friends, colleagues, and family, the only complaints we hear are, ‘Why’s the jar so small?’
Strawberries used in this jam recipe
In our area, strawberries come in two seasons: early June and mid-July to late August. August strawberries are sweeter but softer, perfect for jams.
Whether you’re working with strawberries from the first or second wave, it’s crucial to select fully ripened berries, but to avoid those that have begun to turn. Opt for berries that can maintain their form even after being subjected to a sugary boiling process.
Less Sugar
Our preserves usually have low sugar levels. We typically rely on pectin to set our jams. This time we skipped the pectin, which required us to increase the amount of sugar in our jam. Nevertheless, our strawberry jam remains one of the least sugary options available among other strawberry spreads out there.
Yield
The quantity of ingredients specified in this recipe should yield enough jam to fill two 8 oz. (250 ml) mason jars and one 4 oz. (125 ml) mason jar. The final yield may vary based on your preferred level of doneness.

Recommended Equipment
- Wide, heavy-bottomed stainless steel pot
- Large wooden spoon
- Stainless Steel mesh strainer
- Heavy-duty stainless steel kitchen tongs
- Stainless steel pairing knife
- Stainless steel canning ladle
- Stainless steel canning funnel
- Stainless steel steamer pot with basket or Stainless steel steamer rack. We do not recommend using a folding steamer basket insert for jar sterilization, as it may not be suitable and could lead to scalding.
- Mason Jar lids for canning
- Mason Jars for canning
- Non-slippery trivets and pot holders
- Thick cotton kitchen towel
Simply the Best Strawberry Jam
Equipment
- heavy-bottomed pot
- wooden spoon or silicone spatula
- potholders, oven mitts, trivets for hot dishes clean, non-slippery
Ingredients
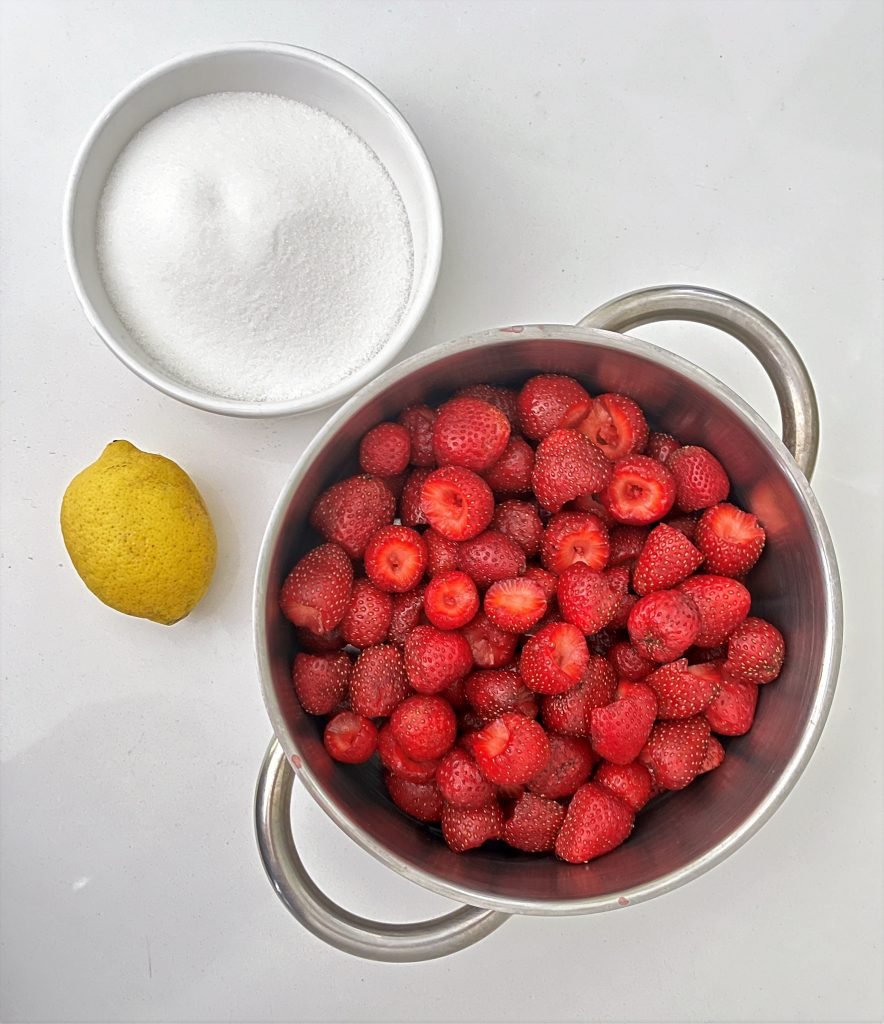
- 2 lb strawberries
- 1 ½ cup granulated sugar
- 1 small lemon or 1/2 medium lemon, juiced
Instructions
Wash and Hull the Strawberries:
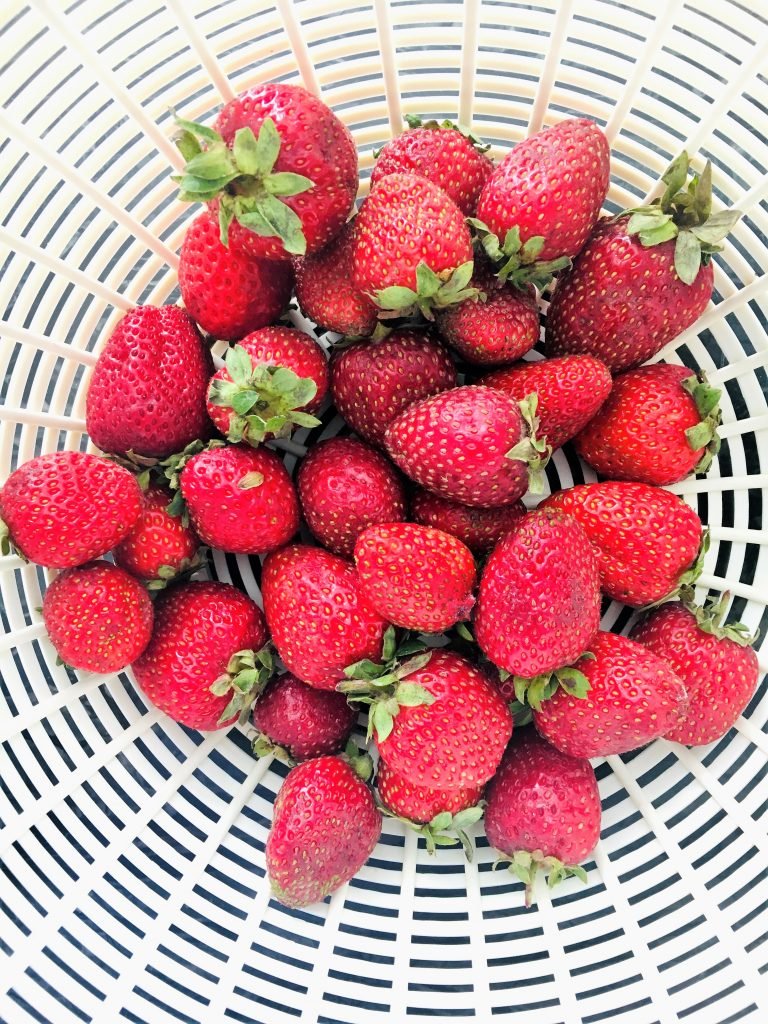
- Select very ripe but firm strawberries, preferably smaller ones, as this recipe requires keeping the strawberries whole.
- Begin by gently rinsing the strawberries under cold running water. Alternatively, fill a bowl of your salad spinner, with cold water. Place the strawberries in a spinning basket without covering it. Gently rotate the basket inside the bowl, remove the basket, and drain the water. Return the spinning basket with strawberries to the bowl to let the excess water drip off.
- After washing, use a paring knife or a strawberry huller to remove the green stems and the white cores (hulls) from each strawberry. To do so, insert the knife or huller at a slight angle and rotate it around the stem to remove it.
Mix and Steep the Strawberries:
- Measure the strawberries according to the recipe’s requirements, adjusting the ingredient quantities as needed based on your desired final yield.
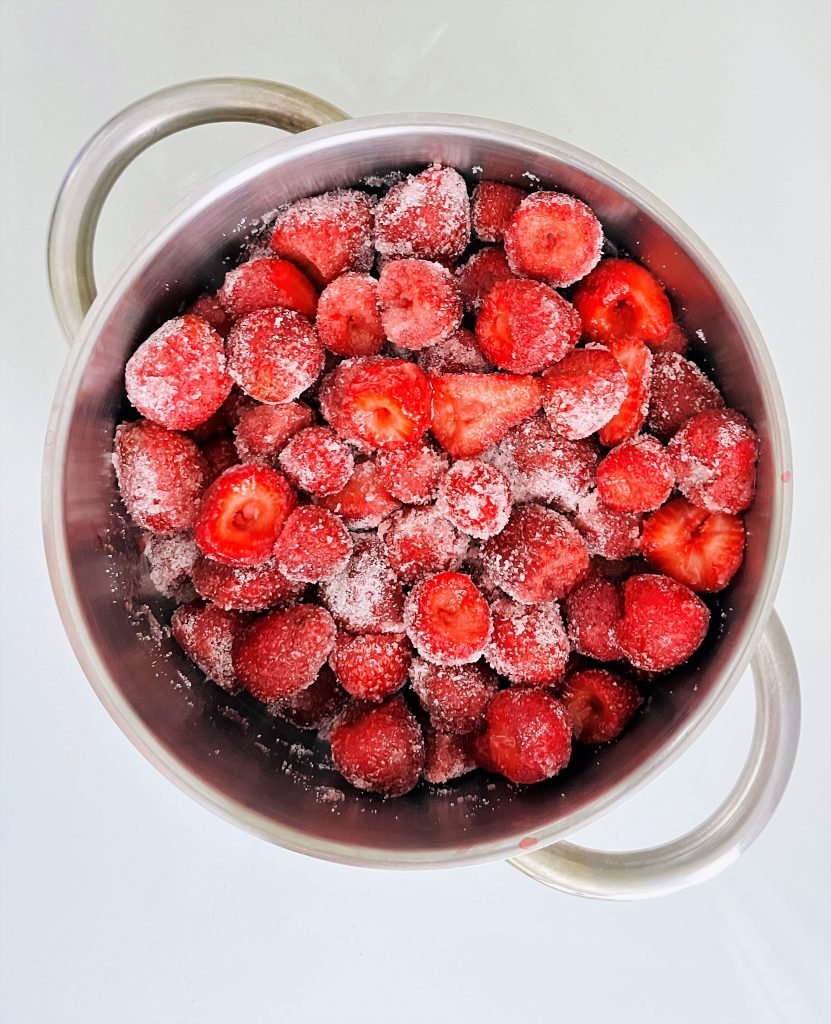
- Take a suitably sized, heavy-bottomed pot and combine the whole strawberries, sugar, and lemon juice. Gently stir the strawberries using a silicone spatula or wooden spoon to ensure the sugar and juice coat them evenly. Allow the strawberries to rest for about 2 hours. This resting period helps dissolve the sugar and release strawberry juices, ensuring there's enough liquid for the strawberries to boil gently in.
Cook the Strawberries:
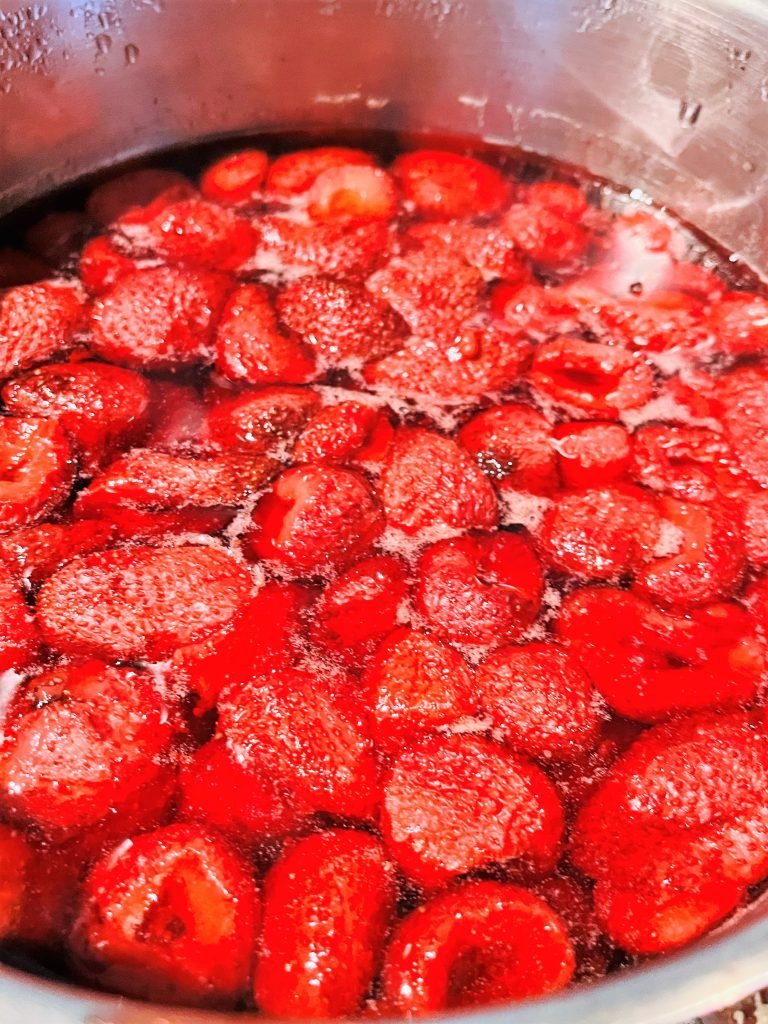
- Place the pot over low heat and using the lowest heat settings bring the strawberries to a gentle boil. (!) Maintaining low heat is crucial to preserve the strawberries' shape. It will take around 20-25 minutes for the strawberries to reach a gentle boil on low heat.
- Let the strawberries boil for 5 minutes, then immediately turn off the heat. Leave the strawberries uncovered until the pot cools to a room temperature. Ideally, cool it overnight or throughout the day. Repeat this step four times. The key to this jam is the slow processing time and extremely low cooking temperature.
- During the final repetition, perform a doneness test. Place an empty clean plate in the fridge to chill. Once chilled, spoon a portion of the jam onto the cold plate. The mixture should thicken to the consistency you will get once the jam is canned. If you are not happy with the consistency, add an extra 5 minutes to the total cooking time.
- (!) Have your Mason jars ready because the next step, filling them with your jam, must follow immediately.
Choose your preferred canning method to preserve your jam
If using boiling water canning method these are the processing time guidelines for various altitudes:
0 – 1,000 ft: 5 mins
1,001 – 6,000 ft: 10 mins
Altitudes Above 6,000 ft: 15 mins

Ways to Enjoy:
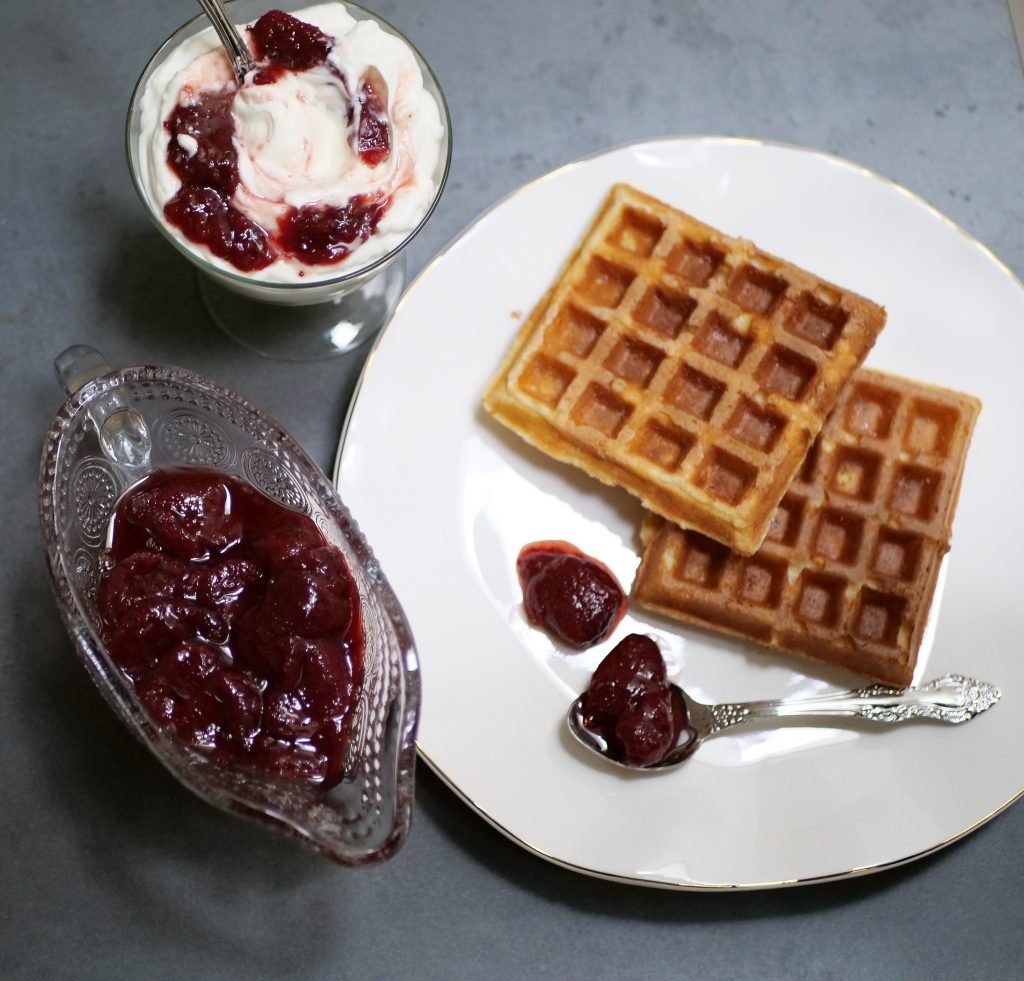
- Drizzle these strawberries on your French toast, bagel or pancakes – they’re so good that if someone suggests maple syrup, you might just respond with a snotty chuckle and proudly say ‘no thanks.’
- Pour it generously over vanilla ice cream for an epic treat.
- Swap out the coulis and drench your cheesecake or Italian ricotta cake with these luscious strawberries.
- Or simply savor it by the spoonful – no judgment here!



Leave a Reply