This Is Much More Than Just A Caramelized Pear Pie Filling
Views: 228
This caramelized pear preserve is so versatile that calling it a “pear pie filling” almost feels wrong. Honestly, we use it more often as a sauce and a topping for pancakes and cheesecake than a filling for our pies! But technically, yes, we created this recipe to be the ultimate pear pie filling to can. And once this canned pear pie filling is done, there’s no need to add any starch before using it in pies—it holds its shape beautifully all on its own!
Yes, this canning recipe takes about three days to prepare, but here’s the catch: your active time is only around 30 minutes! Most of the magic happens while the pears soak up vanilla bean syrup. You can bring the mixture to a boil in the morning and let it sit all day to absorb the syrup while you go about your routine. It’s truly hands-off—no need to stand by the stove watching it.
If you’re still debating whether you should make this caramelized pear pie filling, remember: the best things in life take time and patience—this preserve included!
Choosing the Right Pears for Your Caramelized Pear Pie Filling
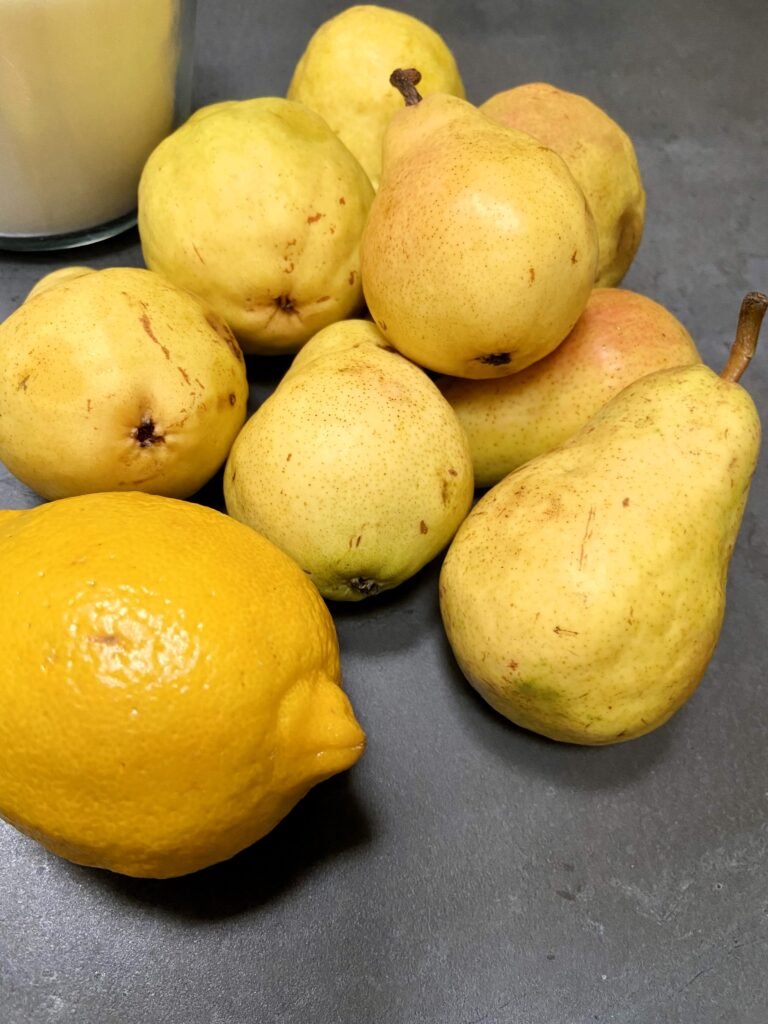
The pears you choose for this recipe will greatly affect the flavor and texture of your canned pear pie filling. It’s easy to select pears that are too tough. Conversely, overly ripe pears can turn to mush while cooking, which isn’t ideal either.
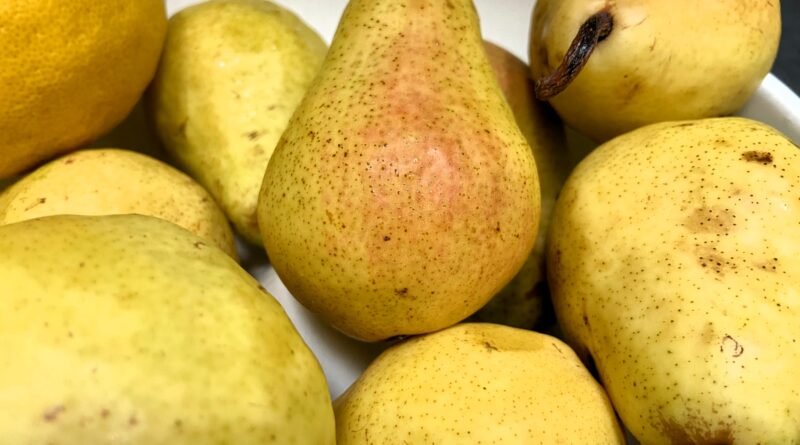
When choosing pears, look for the ones that are ripe yet firm, giving slightly to the touch.
Also, not all pear varieties do well when canned. After experimenting with different pear varieties, we concluded that simple Bartlett pears are the best choice for this recipe. We love the natural sweetness and juicy texture of these pairs. Additionally, they soften beautifully during cooking, making them perfect for caramelizing.
In our experience, Bosc pears have a firmer texture, which makes them less suitable for this canning recipe. While they hold their shape well during cooking, we struggled to caramelize them to the right softness. On the other hand, Comice pears stand out for their sweetness and juiciness, but they tend to be much softer than other varieties. No matter how we cooked them, they lost their shape and turned to mush after just two rounds of cooking.
So, there you have it! For a delicious pear pie filling to can, choose ripe but not overly ripe Bartlett pears.
Pear Pie Filling Preparation Steps
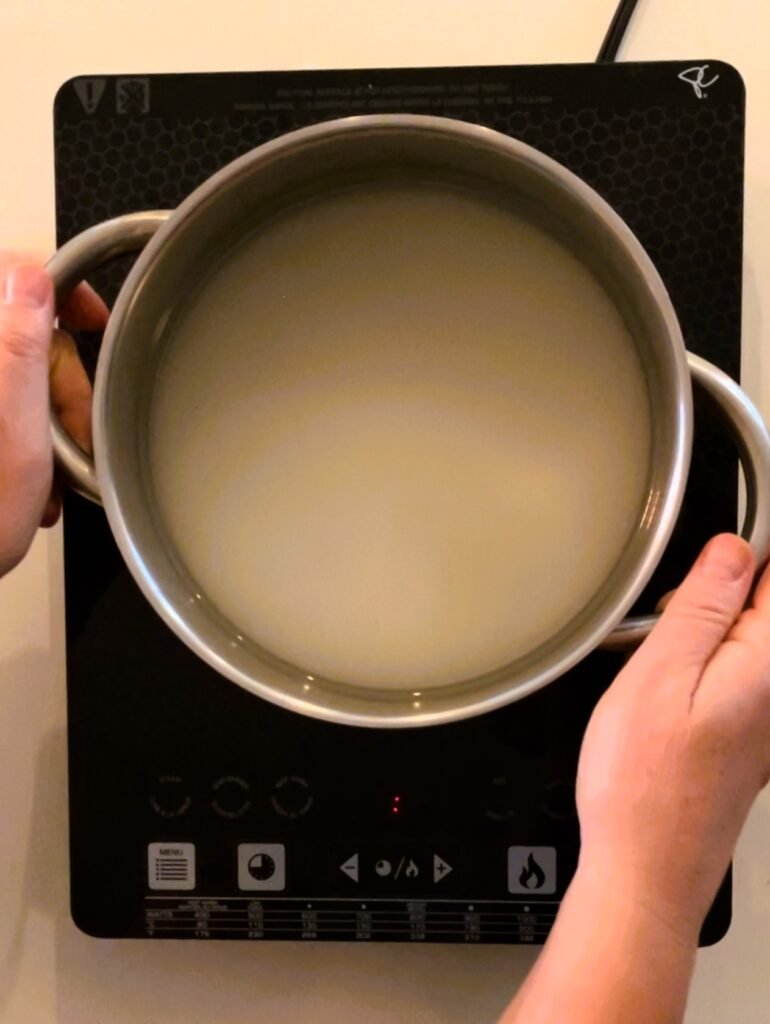
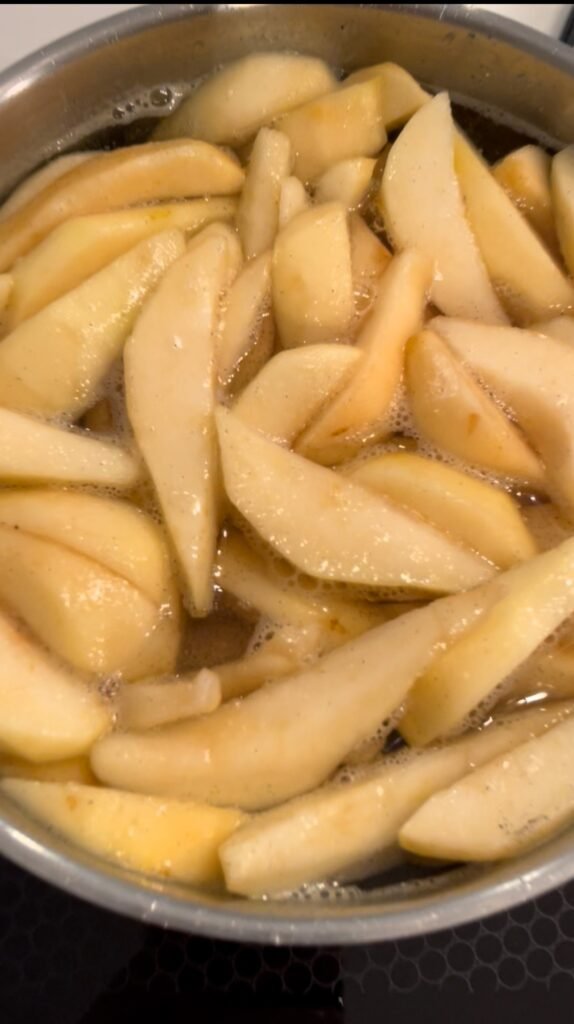
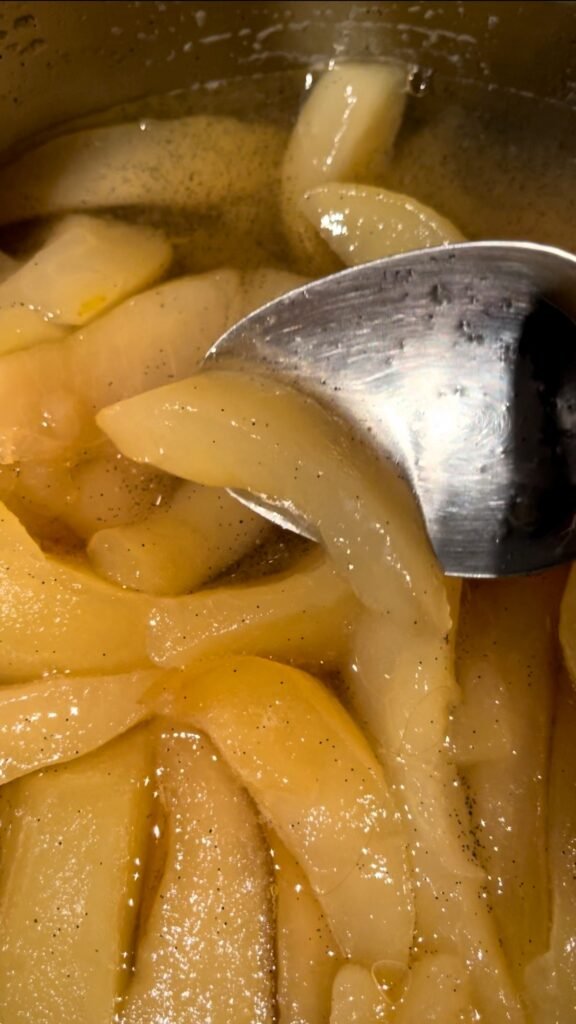
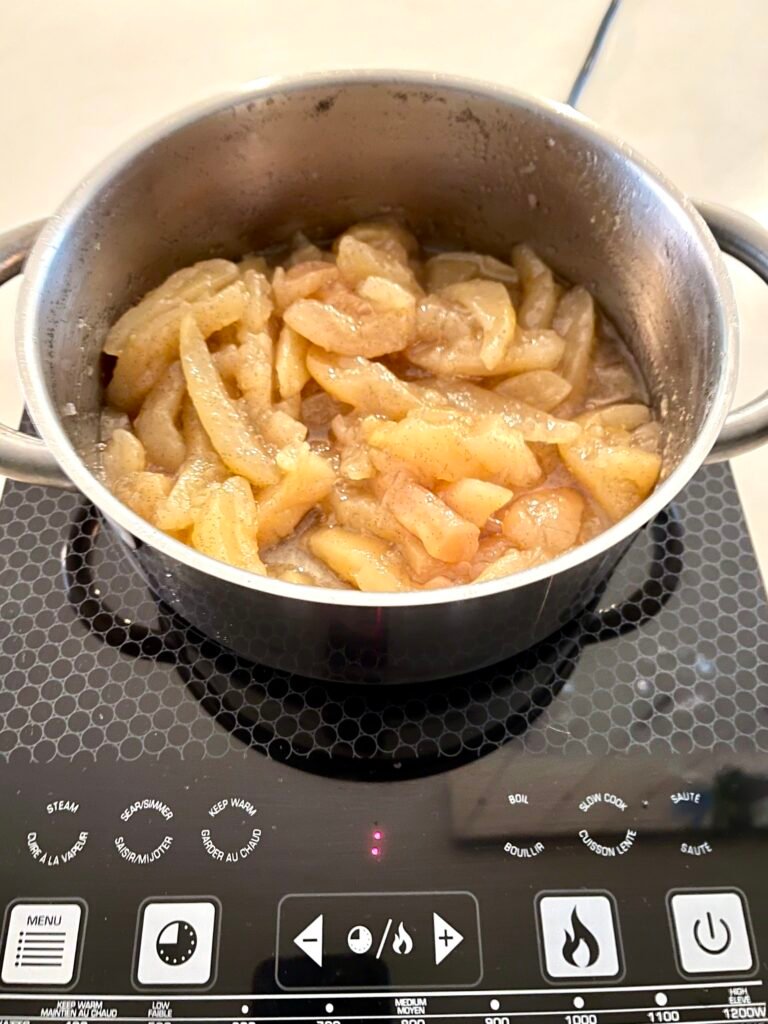
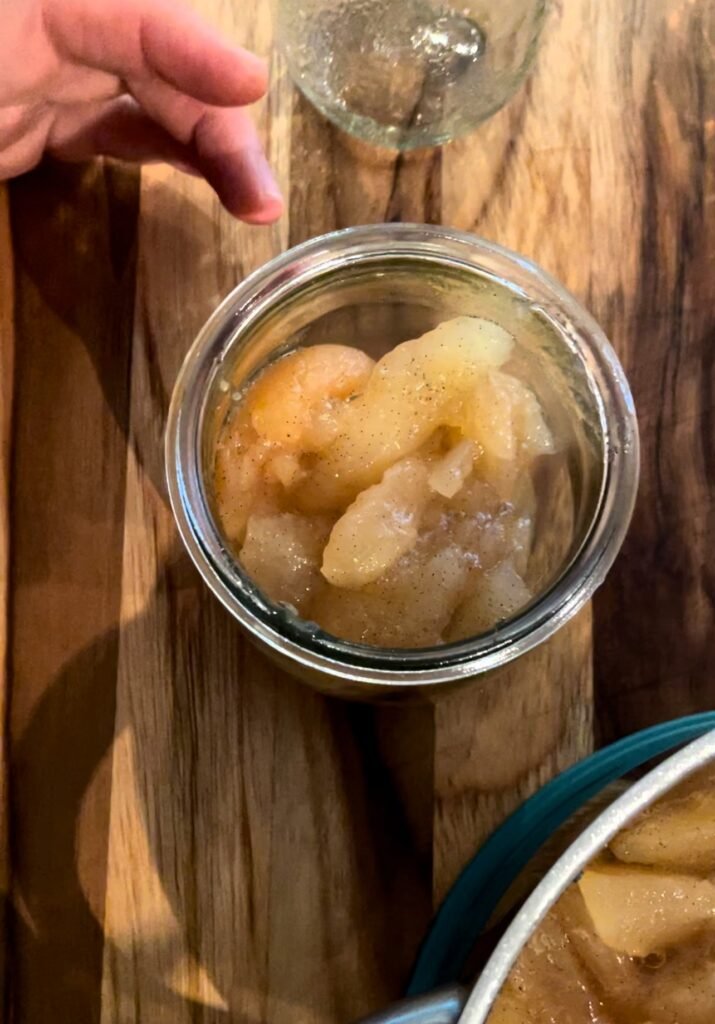
Caramelized Pear Pie Filling Preserve Recipe
Ingredients
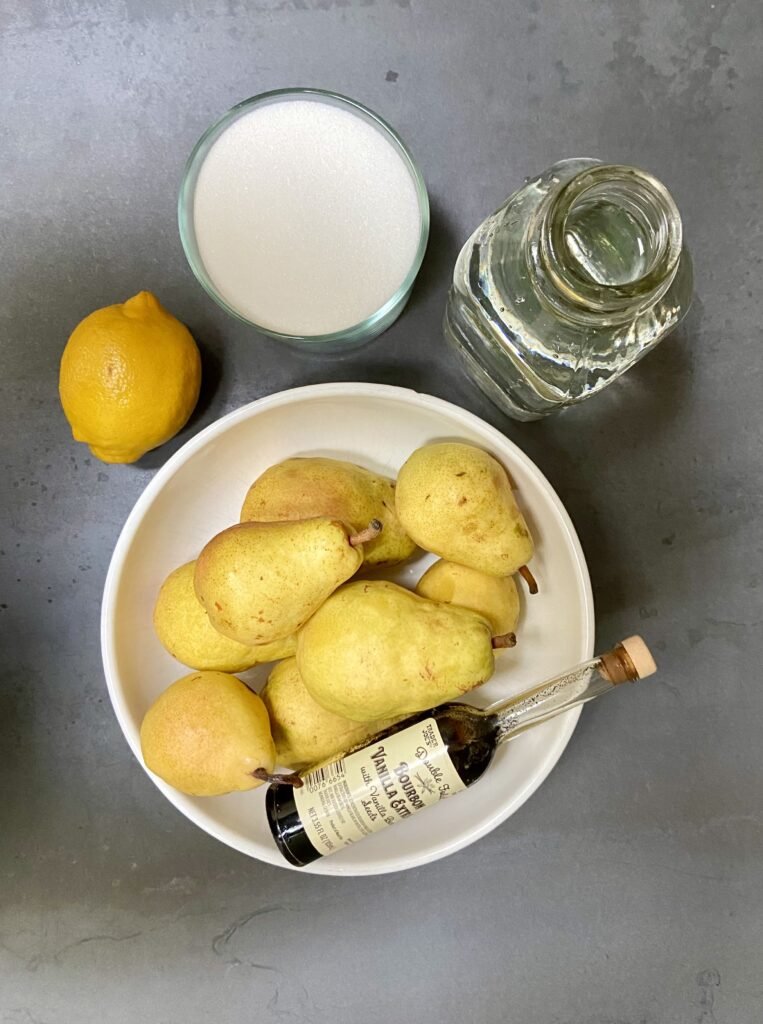
- 5 lb. pears, peeled and cored 2,250 g.
- 3 lb. sugar 1,400 g.
- 2 cups water 500 ml
- 3/4 cup lemon juice, freshly squeezed
- 1 tbsp vanilla extract
Instructions
Prepare the pears:
- Wash the pears thoroughly.
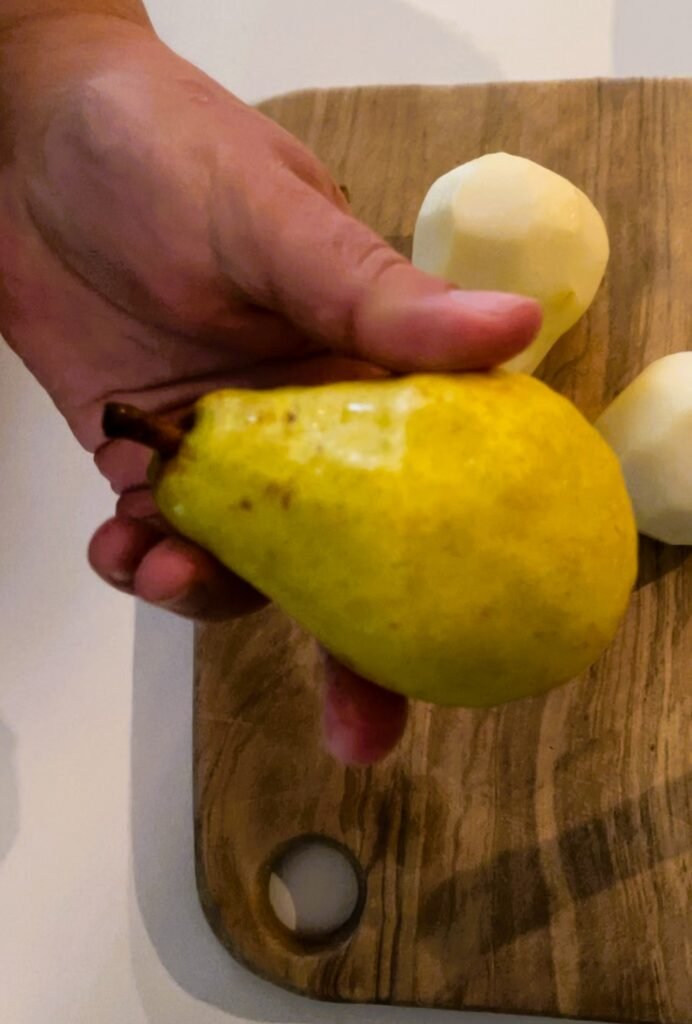
- Peel, core, and quarter each pear. Remove any blemishes.
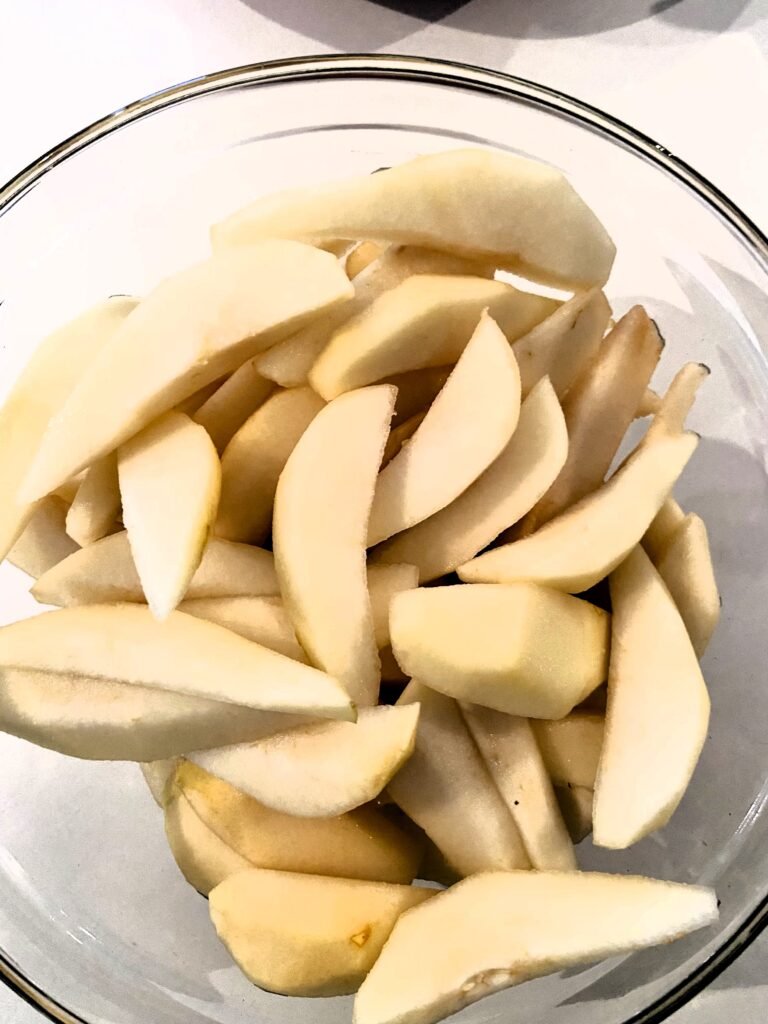
- Slice each quarter into thick wedges.
- Weigh the pears and measure sugar based on the weight of the sliced pears
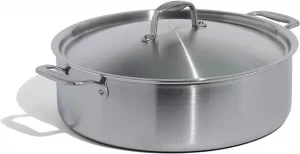
- Place the sliced pears into a large heavy-bottom pot.
Make the vanilla-sugar syrup:
- In a large saucepan, combine the sugar, water, and lemon juice.
- Bring this mixture to a boil over medium heat, stirring until the sugar dissolves.
Cook the pears:
- Once the syrup is boiling, reduce heat to low and add the pear slices and vanilla extract (or split vanilla bean). Turn off the heat immediately.
- Gently stir the pears to coat them with syrup, making sure slices don’t break. Set aside for 1.5–2 hours (or overnight).
- After resting, bring the pears to a boil over medium heat and cook for 10 minutes. Remove from heat and let the pot cool completely.
- Repeat this process (boil for 10 minutes, then cool and let rest) two more times to fully absorb the syrup, stirring gently each time to prevent sticking. You can let the pot rest overnight after each of the round. Make sure to leave it uncovered
- Remove the vanilla bean (if used).
Canning:
- Jar the Jam: Pack the hot fig jam into clean, sterilized canning jars.
- Process the Jars: Seal the jars and process them using your preferred canning method to preserve the jam.
Choose your preferred canning method to preserve your jam
For those processing this preserve using water bath or steam canner, the processing time guidelines at various altitudes are as follows:
0 – 1,000 ft: 5 mins
1,001 – 6,000 ft: 10 mins
Altitudes Above 6,000 ft: 15 mins
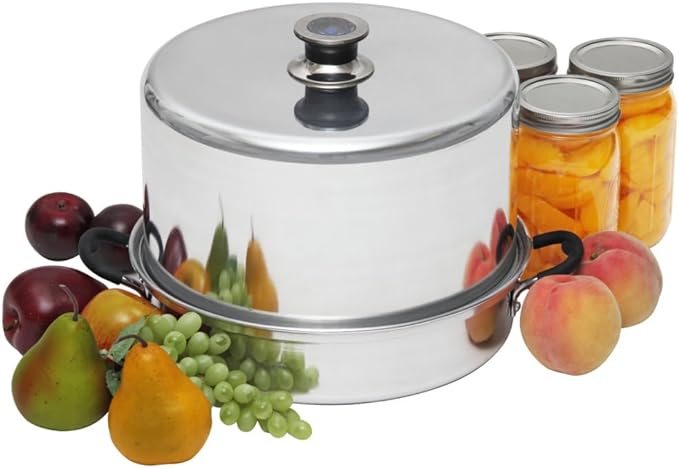
Canning tools we use: If you are in the market for a reliable atmospheric steam canner, consider VKP brands made canners.
Want to learn more? Read our steam canners review.
Frequently Asked Questions
How do you thicken pear pie filling?
With our pear pie filling, you don’t need to add any extra thickener. Here’s why: this pear pie filling canning recipe requires you to caramelize the pears in a sugary syrup through several rounds of heating and cooling. Each round helps the pears absorb the syrup fully, so the filling naturally thickens. This process, along with the sugar, creates a rich, syrupy texture that’s perfect for most pies.
However, if you want the filling to be even thicker—especially if you’d like it to hold its shape when sliced—you may want to add 1–2 tablespoons of cornstarch or tapioca starch. This is optional, though, as this recipe’s method typically makes the filling thick enough without any extras.
Can I add spices like cinnamon or nutmeg for extra flavor?
Absolutely! While our recipe ensures that you’ll have a delicious pear pie filling to can, we’re all for experimenting. Try adding a pinch of cinnamon or nutmeg for a warm, cozy twist. Don’t worry, adding spices will only change the flavor of your pear pie filling, leaving its texture just the same!
Is there a way to make this recipe sugar -free?
Unfortunately, you cannot make this recipe sugar-free. The reason for the categorical “No” is that sugar plays a crucial role in achieving the right consistency, preventing the pie filling from becoming runny. Therefore, if you remove the sugar and substitute it with another sweetener the texture will not hold up that well
How do I know when the pears are done cooking?
So, you followed all the recipe steps, but the pears still look a little tough. This likely happened because the pears weren’t fully ripe when you started. Don’t worry—it’s an easy fix! Simply do one more round of cooking and cooling, and then extend the last cooking round from 10 to 20 minutes. The pears are ready when they’re tender and translucent but still hold their shape. To check, pierce them with a knife; they should feel soft, like a stick of softened butter.
How to use caramelized pear pie filling?
This canned pear pie filling is so much more than just pie filling! While it’s amazing in pies, we actually love it even more as a topping or ingredient in our favorite desserts. Here are some ways to use it:
- Classic Pie Filling: Of course, you can spoon it right into a pie crust for a perfect, sweet pear pie. Just bake and enjoy the rich, caramelized flavor.
- Ice Cream or Yogurt Topping: Another favorite! Simply warm up a spoonful and drizzle it over vanilla ice cream or yogurt for a cozy, comforting treat.
- On Cheesecake: Try a few spoonful over New York cheesecake. The caramelized pears add a sweet, tangy flavor that’s amazing with the creamy cheesecake.
- Waffles and Pancakes: Here’s our top pick! Warm the filling and pour it over pancakes or waffles. After tasting this, you may never go back to store-bought syrups.
- Danishes: The thick, caramelized texture is perfect for danishes when you want a delicious, fruity topping.
Each of these ideas shows off the amazing flavor and texture of this filling in a new way—try them all and come up with your own ideas. Make sure you share with us your creative ideas!
You may also like:
-
Cardamom Chardonnay Apple Butter Made In Classic French Style
This apple butter recipe blends the rustic charm of classic North American preserves with French artisanal finesse. Crisp apples are slow-cooked with cardamom, lemon, and a splash of chardonnay to… read more
-
Sweet Tart Yellow Mirabelle Plum Jam Recipe: French Confiture Style
This sweet tart Mirabelle plum jam proves you don’t need a Parisian zip code or deep pockets to enjoy something classy and extraordinary. Got yellow plums in your backyard? One… read more
-
Strawberry and Rose Petal Jam: French Confiture Made Easy
Remember those jams sold at fancy patisseries that make you stop in your tracks? That’s this one! Full of ripe strawberries, perfumed with rose petals, and surprisingly low in sugar,… read more
-
Unique Raspberry Wild Rose Petal Jam – Made Just For Cheese
This raspberry wild rose petal jam with Timut pepper is bright, floral, lightly tingly and also perfectly smooth. It’s designed as a jam for cheese, adding a lush, elegant layer… read more
-
How to Make Red Huckleberry Jam (Bilberry Jam Canning Recipe)
This red huckleberry jam is a love letter to mossy trails, summer mornings, and berry bounty. If you’ve never tried to make huckleberry jam, this is your sign. Get out… read more
-
Boozy & Spiced Seedless Raspberry Jam for Grown-Ups
Our raspberry jam breaks out of the mold. Seedless, low sugar, spiked with port and pepper, this is the jam that went rogue. It’s like that guest at a polite… read more
-
Sweet And Spicy Pineapple Pepper Jam Canning Recipe
Sweet. Spicy. Bold. Pretty. Adaptable. Our pineapple pepper jam walks the fine line between kitchen staple and edible show-off. It’s not our most requested jam for nothing. It earned that… read more
-
Make-Ahead Christmas Jam Recipe (Cranberry-Strawberry Jam)
You could wait until December to make your Christmas Jam. You could. But let’s be honest: December is full of burnt cookies, delayed packages, and half-wrapped gifts. You’ll be frazzled.… read more
-
Cantaloupe Jam With Lime And Mint – Unusual Jams & Jellies
Cantaloupe jam might not be the first thing that comes to mind when you think of preserves, but it’s a hidden gem. Whether you need to use up extra cantaloupes… read more
-
Blood Orange Marmalade: Your New Favorite Citrus Jam Recipe
To all the citrus marmalade haters out there—we see you. And we promise: this blood orange marmalade is different. It’s bright, bold, and anything but boring. It even has a… read more




Leave a Reply