
How To Salt-Cure Salmon Roe And Make Ikura Caviar
Views: 553
Salt -cured salmon roe known as Caviar or Ikura is highly valued for its rich flavor and distinctive texture, making it a sought-after delicacy in many cuisines around the world. Cured salmon rode is commonly used as a topping for sushi and sashimi, as well as in appetizers, salads, and other dishes where its vibrant color and unique taste can shine. But where does salmon roe come from?
Updated:
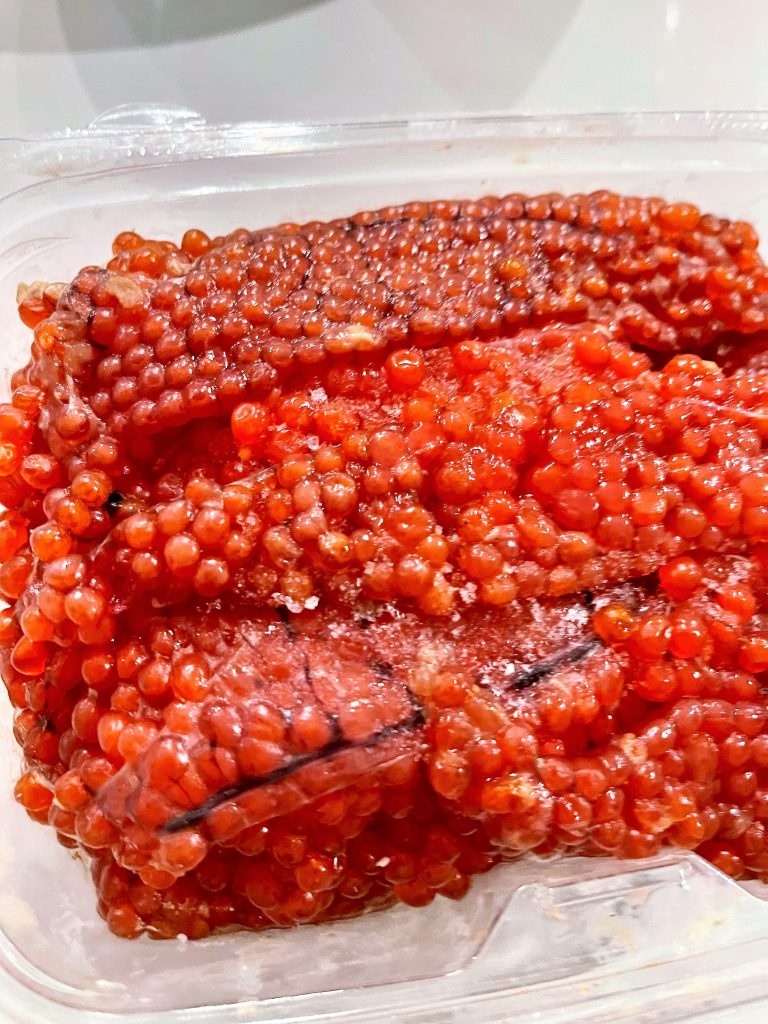
Salmon eggs, also known as roe, come from mature female salmon. These eggs develop inside a special sack called a skein, which is like a small purse made of thin skin. Each skein can have thousands of eggs tightly packed together. A female salmon has two of these skeins that need to be removed by means of cutting open the salmon and pulling the skeins out.
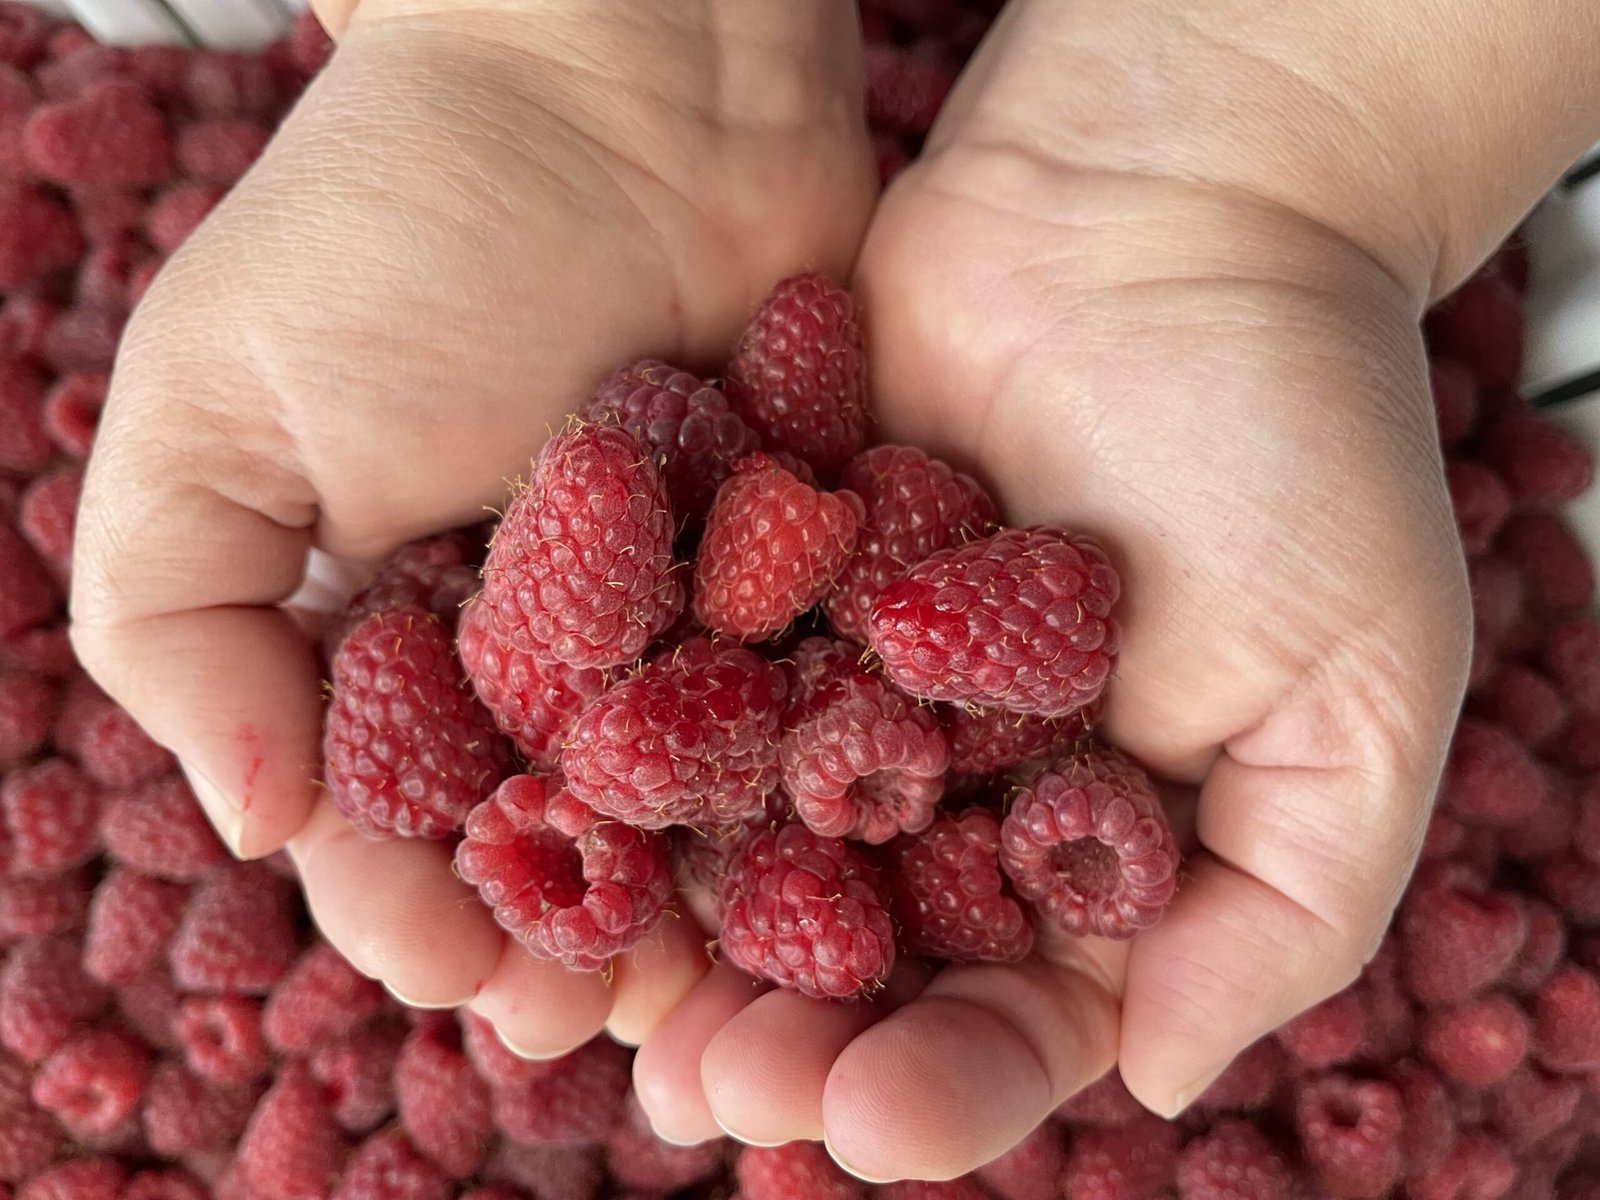
Roe (fish eggs) to use in this homemade salmon caviar recipe
We cured Chum and Coho salmon roe using this recipe simply because they were available, not because we specifically chose those types. You can use this recipe for any homemade salmon caviar, regardless of the salmon species. The main variation among different salmon species is the size and color of the eggs. Additionally, you can use either fresh or frozen salmon roe in this cured caviar recipe.
Yield:
The specified in this salt-cured salmon caviar recipe quantity of ingredients should yield about 16 oz. (500 ml) of homemade salmon caviar

Caviar
Ingredients
- 1 lb. .453 kg of salmon roe
- 1 ¾ cups or more pickling salt
- 6 ½ cups 1.5 liter water
- 4 tsp. grapeseed oil
Instructions
Defrosting salmon roe:
- If you are using fresh salmon roe, skip this step and proceed to the next step of the recipe to make salmon roe cure brine.
- If you are using frozen salmon roe, you need to make sure it is properly defrosted first.
- Place the salmon roe in a plastic bag and defrost it in the fridge, not on the countertop. It’s crucial to keep the salmon roe covered with plastic to prevent drying out and toughening of the fish eggs.
Preparing salt cure brine:
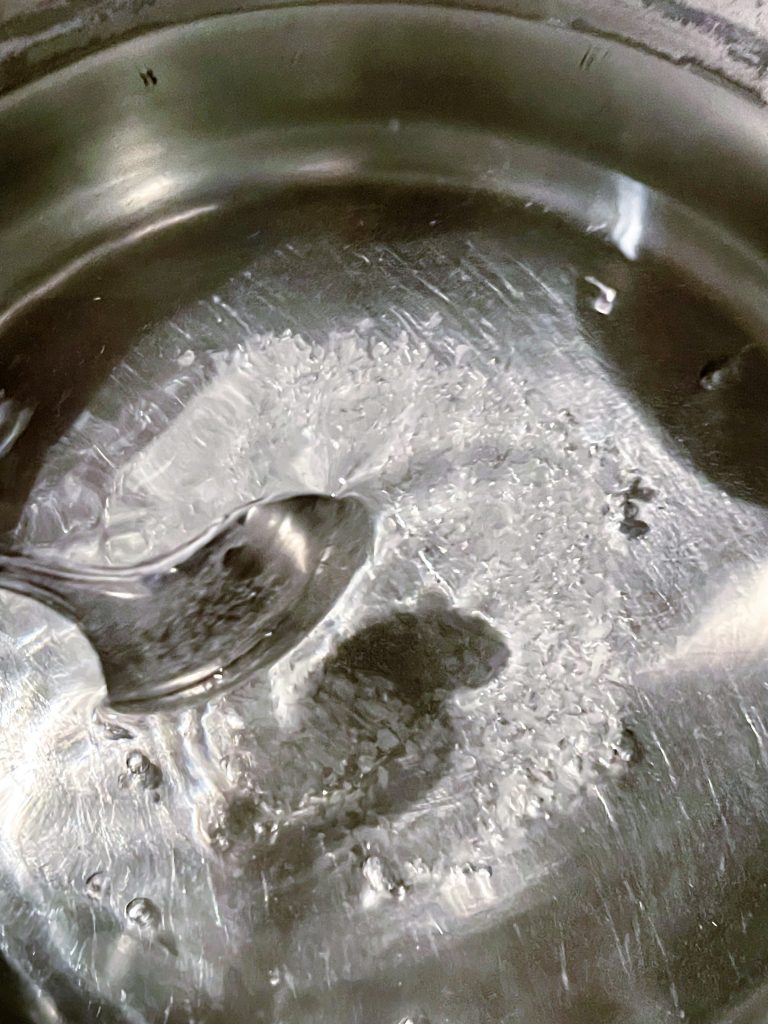
- Bring 6 ½ cups of clean filtered water to a rapid boil in a suitably sized pot.
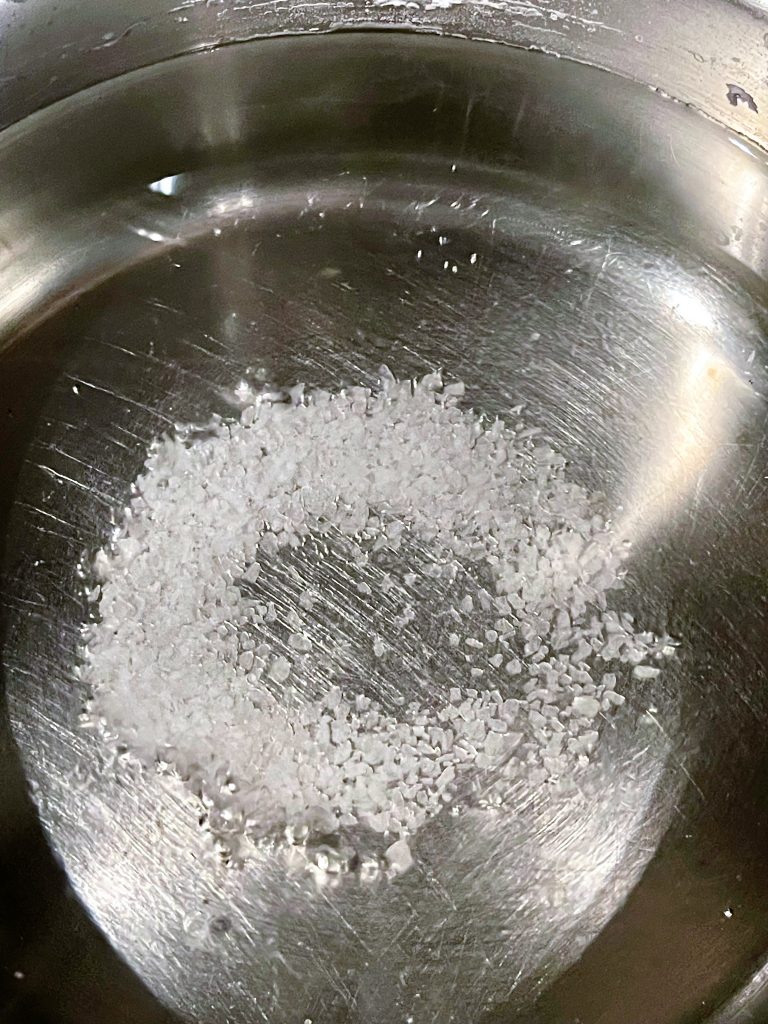
- Start adding salt to the boiling water little by little. Mix it carefully to make sure it gets fully dissolves. Stop adding salt when it stops getting dissolved in the boiling water and starts forming a salt deposit at the bottom of the pot. You may not need to use the entire measured out salt or may need to add more if all the measured out salt gets dissolved.
- Turn the heat off and let it cool down to room temperature. This should take about 1 hour.
Cleaning salmon roe and removing it from skeins:
- For this step, you’ll need three separate bowls. Start by mixing 1 cup of brine with 2 cups of fresh filtered water at room temperature and pour it into each bowl.
- Carefully remove any impurities such as blood vessels, tissue, or debris from the salmon skeins and place them into the first bowl of water-brine mixture.
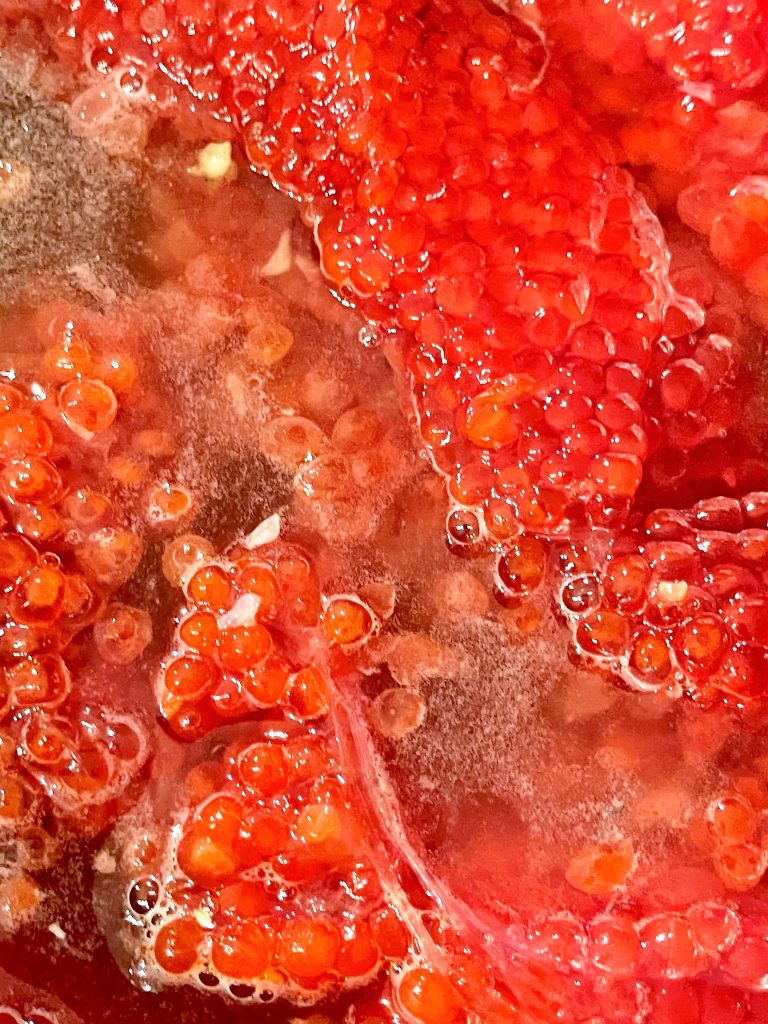
- Working one skein at a time, separate the salmon roe from the skeins. One method is to place a wire mesh grill over a bowl and gently rub the split side of the salmon skein against the wires to release the eggs. Be cautious not to apply too much pressure to avoid bursting the eggs. Alternatively, use chopsticks or a fork to gently coax the eggs from the skein, rotating and applying gentle pressure until they release.
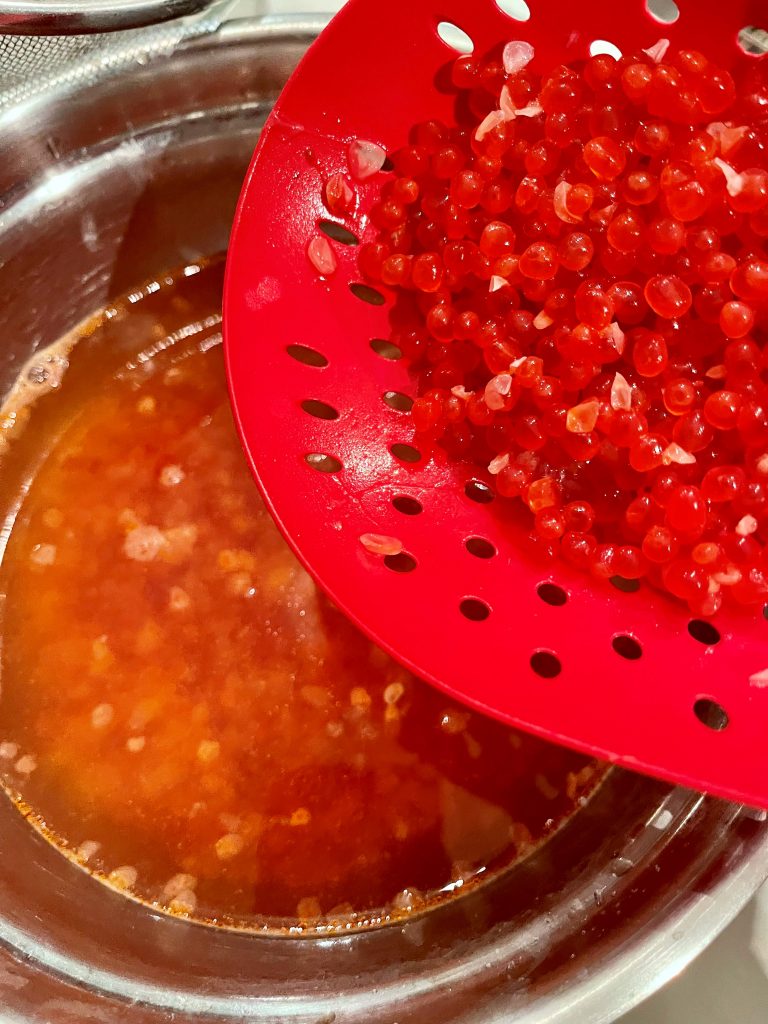
- Once the majority of the eggs are removed from the skein, drop them into the bowl of clean brine and water mixture and proceed to the next skein. As you work, you may notice impurities and burst salmon eggs floating on the surface of the water, especially if using frozen salmon roe. Remove any floating eggs before straining the loose salmon roe over a colander.
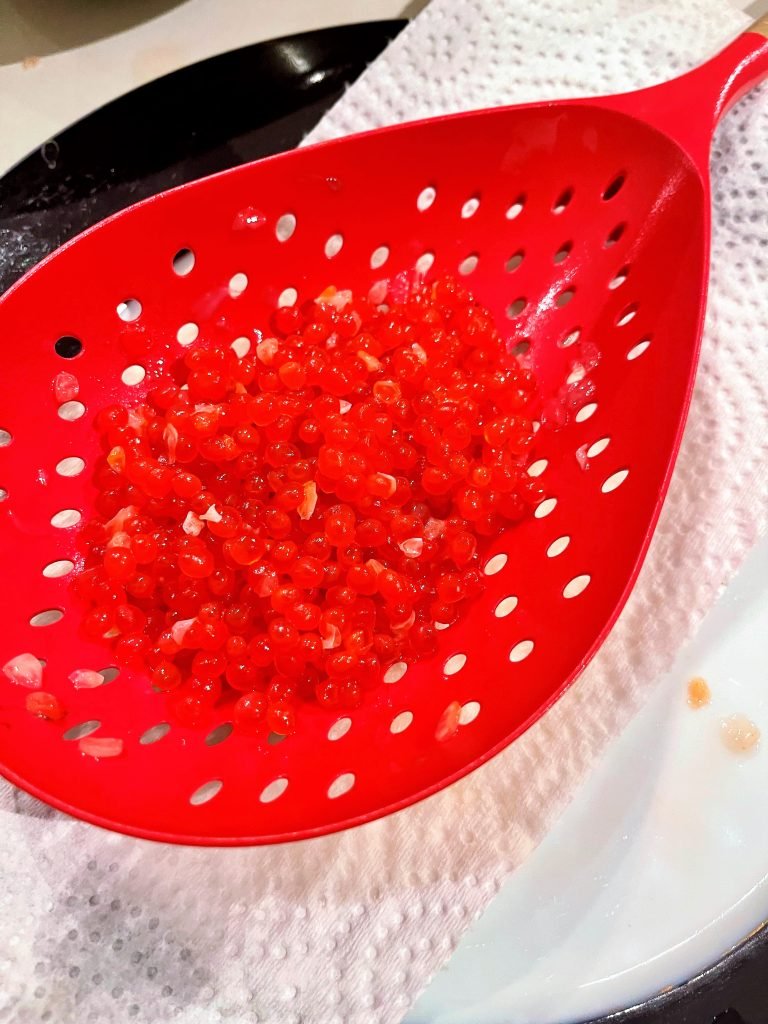
- Check the salmon eggs for any that are stuck together or have pieces of membrane attached. Separate them gently and remove any remaining membrane fragments.
- Transfer the salmon eggs to the third bowl and let them soak in the water for about 10 minutes. This allows any remaining pieces of membrane and burst salmon eggs to float to the surface. Strain the salmon roe over the colander again to remove any remaining impurities.
- This process ensures that your salmon roe is clean and free from impurities before proceeding with the salt-curing process.
Salt-curing salmon roe:
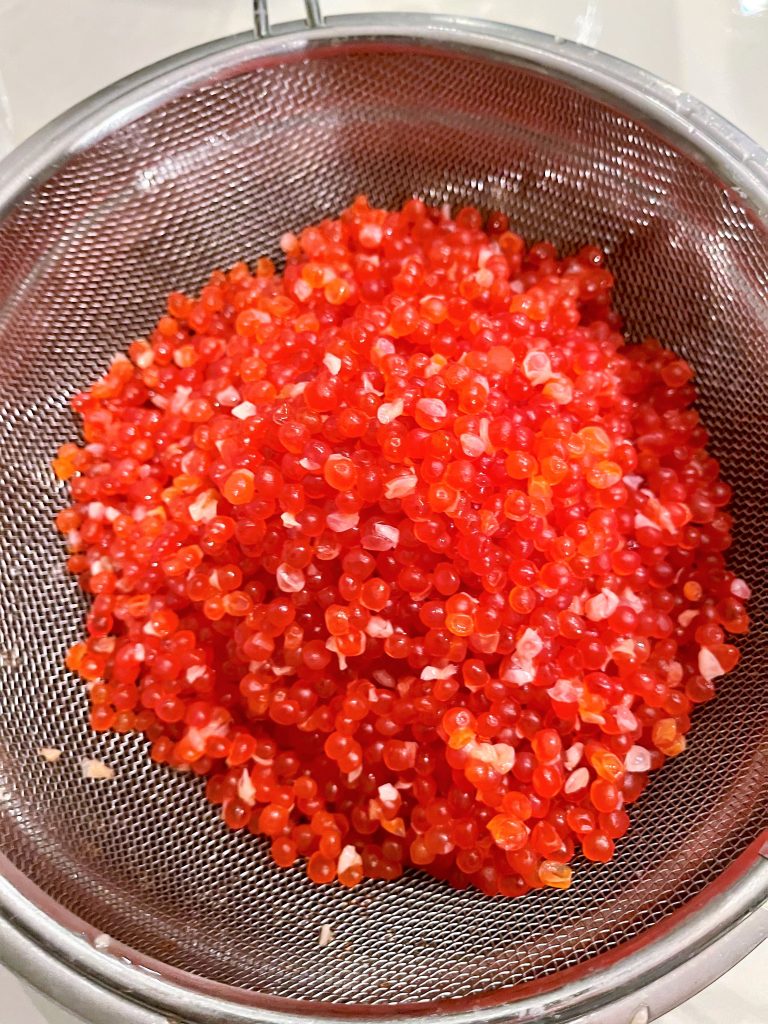
- Once you finished the previous step, submerge the salmon roe into the remaining undiluted salt brine right away. Let it soak for 5 minutes.
- Then, strain out the brine using a colander.
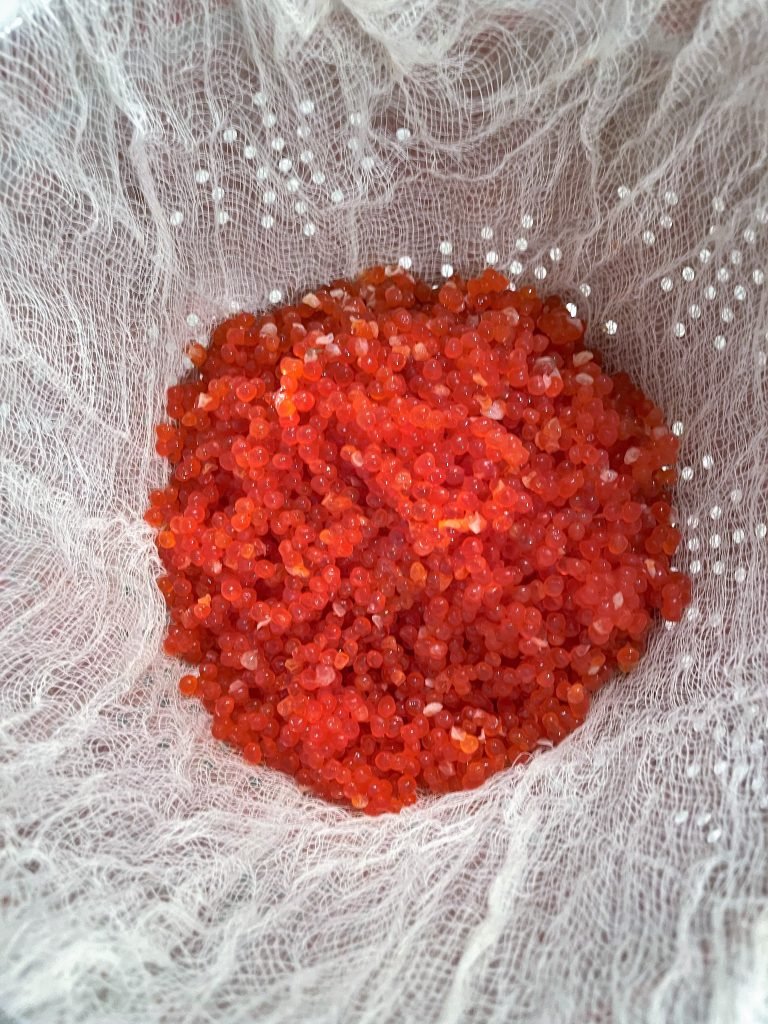
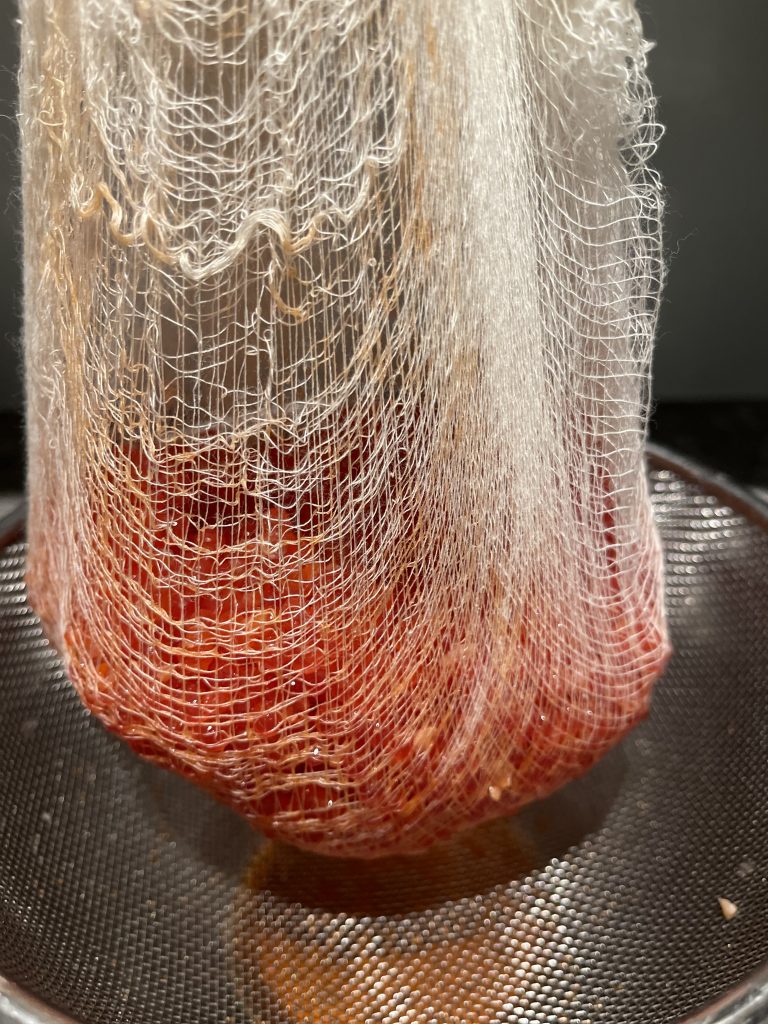
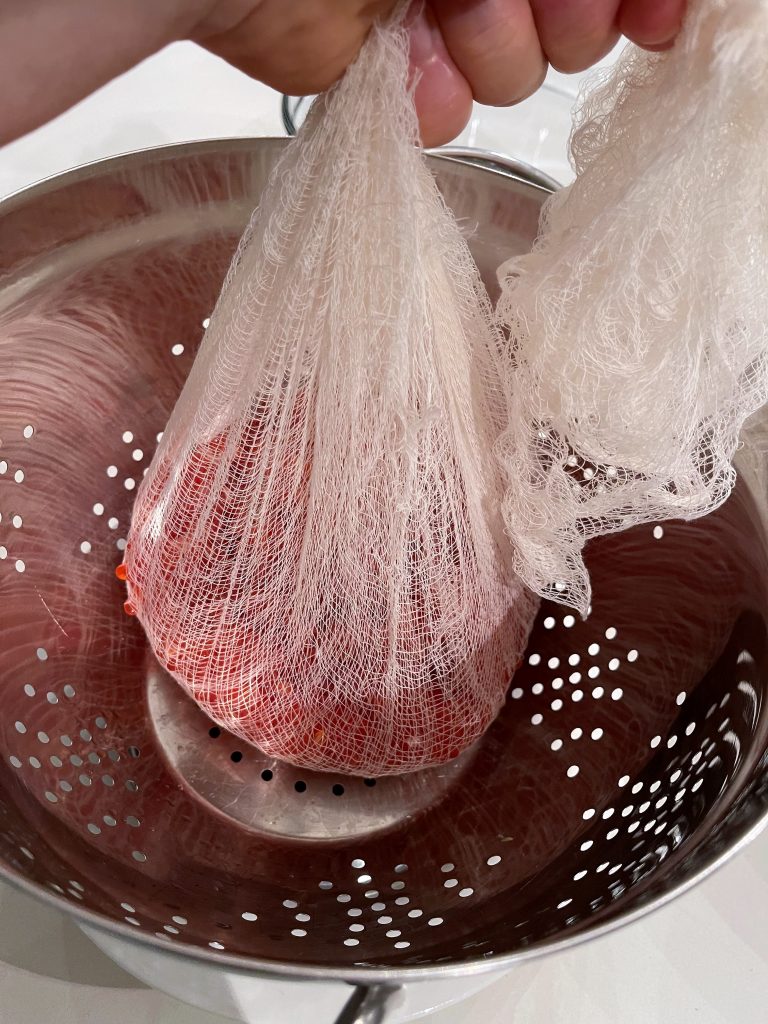
- Next, line a fine mesh strainer with several sheets of untreated cheesecloth. Place the strainer over another bowl to catch any drips from the draining salmon roe. Spoon the salmon roe onto the cheesecloth-lined strainer and gently fold the cloth over to contain the roe. Allow it to drain in the refrigerator for up to 2 hours.
- Once the draining time is up, remove the strainer from the fridge. Gently tap and shake the strainer to encourage the drainage of any remaining brine. You can also use a wooden spoon to gently stir the salmon roe.
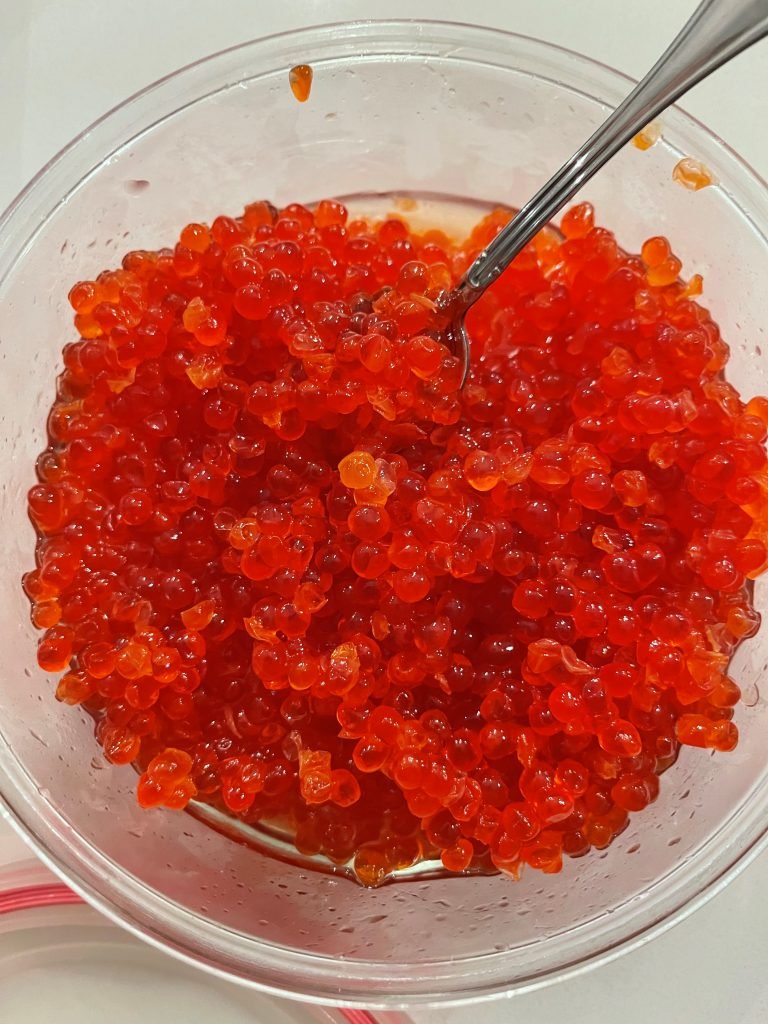
- After completing the draining process, transfer the cured salmon roe into glass storage containers with tight-fitting lids. Before sealing, evenly divide 4 teaspoons of oil among the containers and add it to your freshly prepared homemade salt-cured caviar to enhance its flavor and texture. Store the containers in the refrigerator and always use a clean spoon when serving to prevent contamination and prolong its freshness.
Frequently asked questions
Is salt-cured salmon roe healthy?
Salt-cured ikura, which is salmon roe, is indeed a healthy food choice. Salmon roe is rich in proteins, amino acids, healthful minerals such as magnesium and selenium, and vitamins like vitamin B-12. Additionally, it contains omega-3 fatty acids, particularly eicosapentaenoic acid (EPA) and docosahexaenoic acid (DHA), which have anti-inflammatory properties and support brain health. The pigment compound in ikura, astaxanthin, acts as a potent antioxidant, helping to fight free radicals and protect against signs of aging. However, it’s essential to consume ikura in moderation due to its relatively high cholesterol content. Overall, incorporating salt-cured ikura into your diet as part of a balanced eating plan can provide various health benefits.
Is salmon roe naturally salty?
Salmon roe or salmon eggs are not naturally salty. Salt acts as a preservative and is critical for curing salmon roe. Do not consume salmon roe without salt-curing it first.
Can I freeze salt-cured salmon roe?
Yes, you can freeze salt-cured salmon roe to extend its shelf life. Here’s how to do it:
- Ensure that the salt-cured salmon roe is fully cured and ready for storage.
- Transfer the cured roe into an airtight container, such as a freezer-safe plastic bag or container.
- If you did not fill the container completely, press out any excess air to minimize freezer burn.
- Seal the container tightly to prevent air from entering.
- Label the container with the date of freezing to keep track of its shelf life.
- Place the sealed container in the coldest part of your freezer.
- When you’re ready to use the frozen salmon roe, remove it from the freezer and thaw it in the refrigerator overnight.
- Once thawed, use the salmon roe within a few days for the best quality.
Why does my salmon roe burst during salt-curing?
If your salmon roe is bursting during the salt-curing process, it’s likely because the skeins you’re using were previously frozen and damaged as a result of freezing. Eggs that have experienced freeze burn are more prone to bursting during curing, regardless of how carefully you defrost them.
Why are those little black dots in my salmon roe?
If you notice black dots in your salmon roe, it’s likely because the skeins were removed from a fish that was nearly ready to spawn. While it’s still possible to salt-cure this salmon roe, be prepared for a higher likelihood of burst salmon eggs during the process, resulting in a less visually appealing and appetizing final product.
How long does homemade salmon caviar last?
As a general guideline, salt-cured salmon roe, also known as homemade ikura, will last for up to one week when stored in an airtight container in the fridge. If you have more salt-cured ikura than you can consume in one week, we recommend storing it in the freezer. Ensure you use an airtight container and coat your homemade salt-cured ikura with neutral oil before freezing.

How to use homemade salmon caviar (salt cured ikura)
Homemade ikura, or salt-cured salmon roe, can be used in various ways to add a burst of flavor and texture to dishes. Here are some common ways to use homemade ikura:
- Sushi and Sashimi: One of the most popular uses for ikura is as a topping for sushi and sashimi. Simply place a spoonful of ikura over a piece of sushi rice or a slice of sashimi to enhance its flavor.
- Rice Bowls and Poke: Sprinkle ikura over rice bowls, such as chirashi bowls or poke bowls, to add color, flavor, and a pop of texture.
- Canapés and Appetizers: Use ikura as a garnish for canapés and appetizers. Top blinis, crackers, or cucumber slices with a dollop of cream cheese or crème fraîche and a spoonful of ikura for an elegant and flavorful hors d’oeuvre.
- Salads: Add ikura to salads to elevate their flavor and presentation. It pairs particularly well with salads featuring seafood, avocado, or citrus flavors.
- Egg Dishes: Use ikura as a topping for scrambled eggs, omelettes, or deviled eggs to add a luxurious touch.
- Toast and Bagels: Spread cream cheese or avocado on toast or bagels and top with ikura for a delicious and sophisticated breakfast or brunch option.
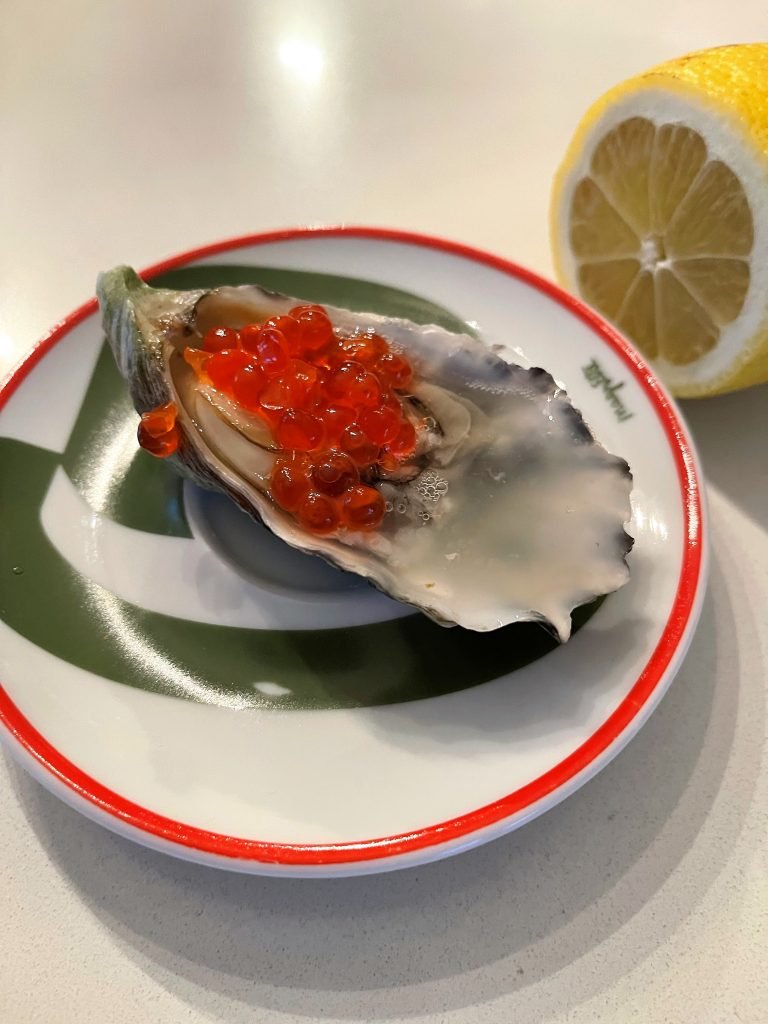
- Oysters: Instead of the traditional mignonette sauce, try using ikura as a topping for oysters. Just add a splash of lemon juice and a teaspoon of ikura to each oyster for a delightful twist.
Leave a Reply