How To Open Kettle Can Pickles And Pickled Vegetables
In the canning community, discussion about the open kettle canning, also called inversion canning, sparks heated debates. To clarify misconceptions related to this old-fashioned canning method, we’ve addressed open kettle myths and safety concern in our previous post. Additionally, we put together a guide that focuses on canning juices using the open kettle method. In this final installment of our open kettle canning series, we focus on how to open kettle can pickles and other pickled vegetables. We additionally offer practical steps to enhance safety for traditionalists or newcomers interested in trying out this old fashioned way of canning.
Disclaimer and Caution
Without reservation, we state that the open kettle canning method is not an approved USDA canning method to preserve food. The information shared here is for general awareness and personal use only. Equally important, we acknowledge that the provided information may contain inaccuracies or errors, and we explicitly disclaim liability for any such inaccuracies or errors to the maximum extent permitted by law.
Our Approach to Open Kettle Canning for pickles and pickled vegetables
Preparing vegetables for pickling
- Throw away any damaged produce. Unlike in juicing, pickling requires you to use unbruised, undamaged produce.
- Wash veggies under running water to get rid of dirt and debris.
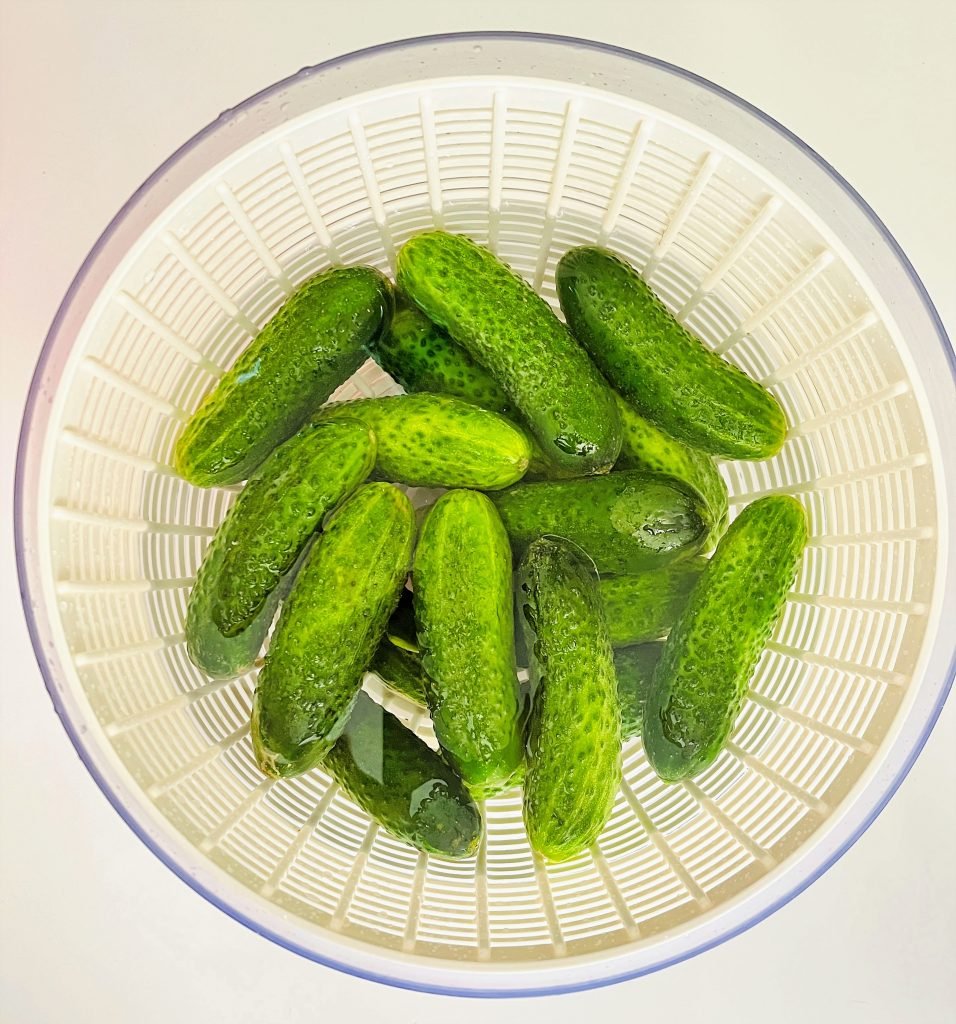
- If you are pickling whole cucumbers, you will need to soak them in cold water for about 5 hours. Next, you will need to trim the ends of the cucumbers. Do not skip these two steps if you want your crisp pickles.
Jar cleaning and sterilization
- Wash jars in a dishwasher and sterilize using one of the two methods described in this article.
- You must have the jars sterilized before you start filling them with the vegetables
Filling sterilized Jars and hot water treatment
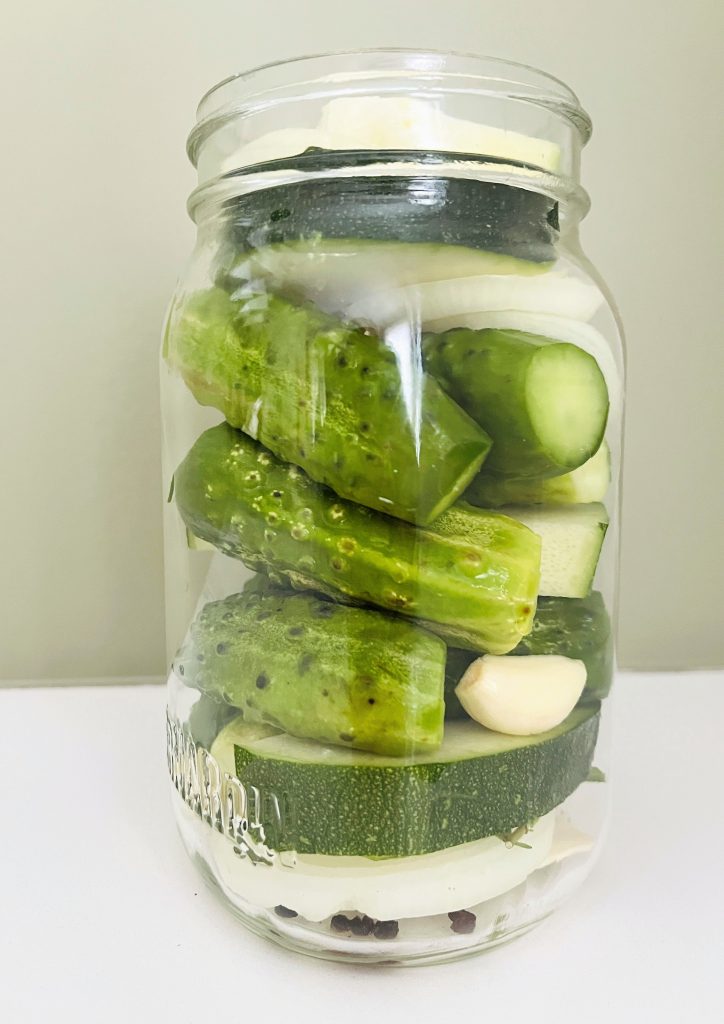
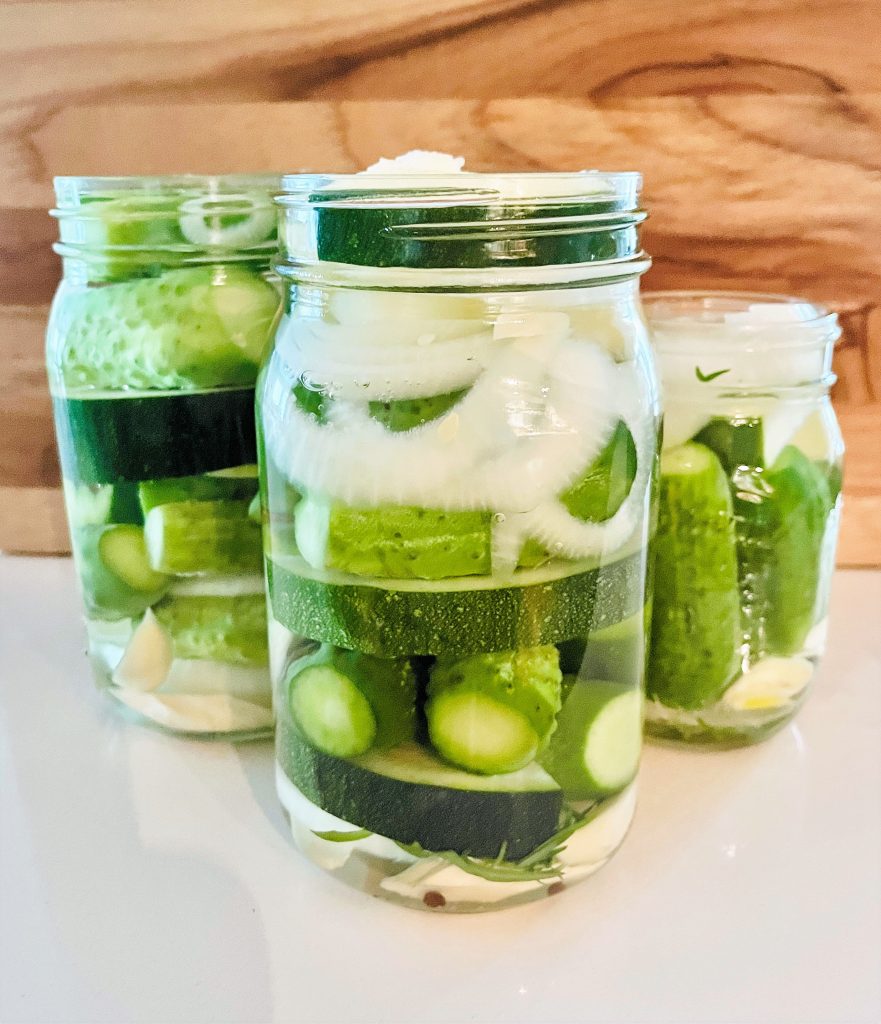
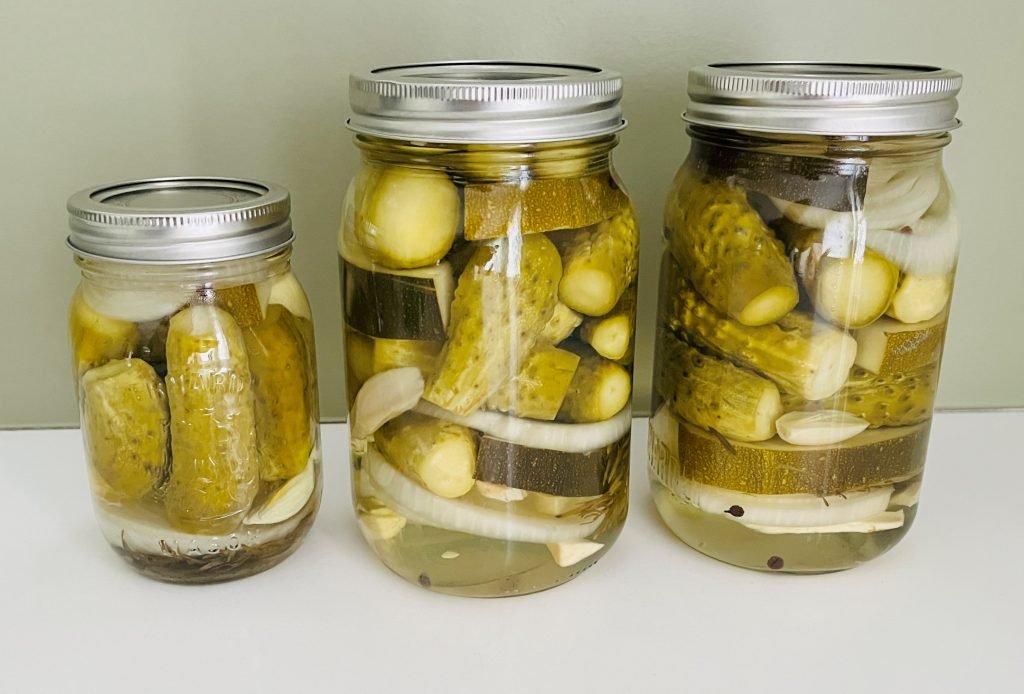
- Pack the vegetables you are want to can into the jars. The goal is to pack vegetables in a way to minimize empty space. If necessary, cut the vegetables into halves or quarters. Add spices and aromatics as required by your chosen recipe. Do not add sugar, salt or vinegar at this time.
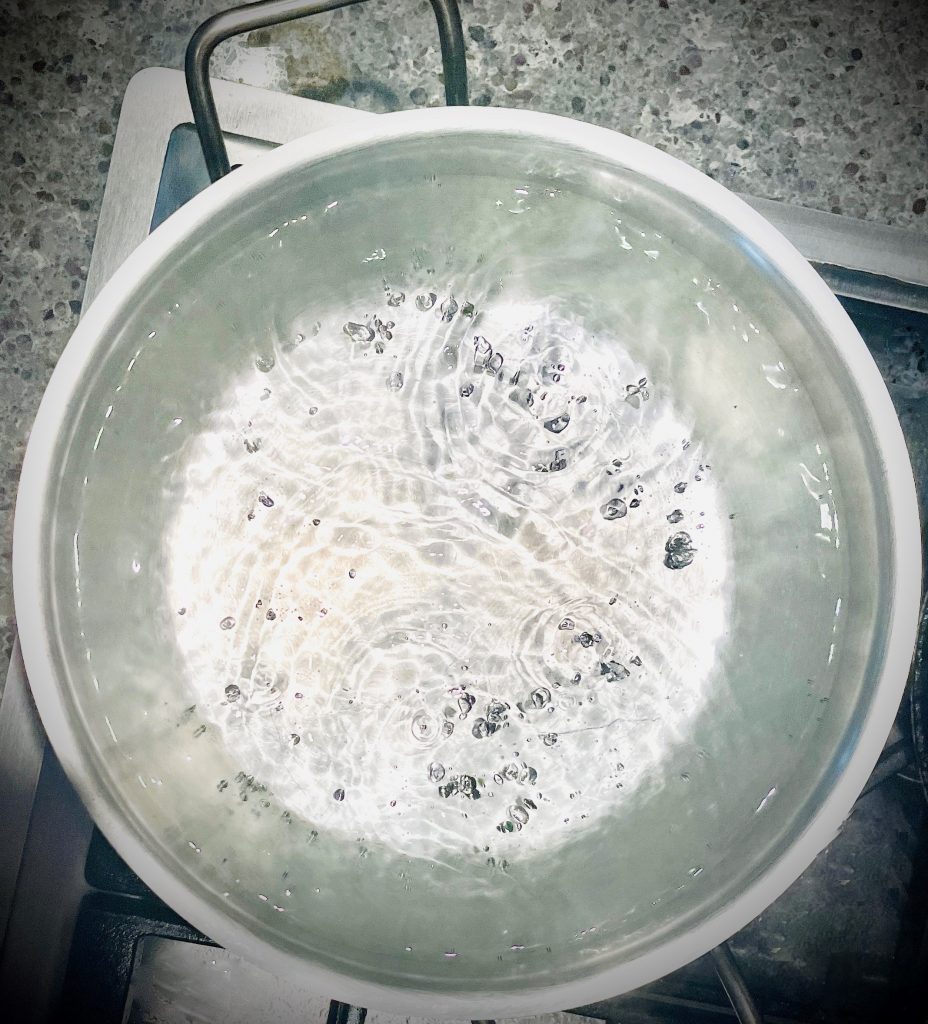
- Measure out enough water to fill all the packed jars. Pout the measured out water into the pot large enough to hold it. In a pot large enough for the measured water, bring it to a rolling boil for 2-5 minutes.
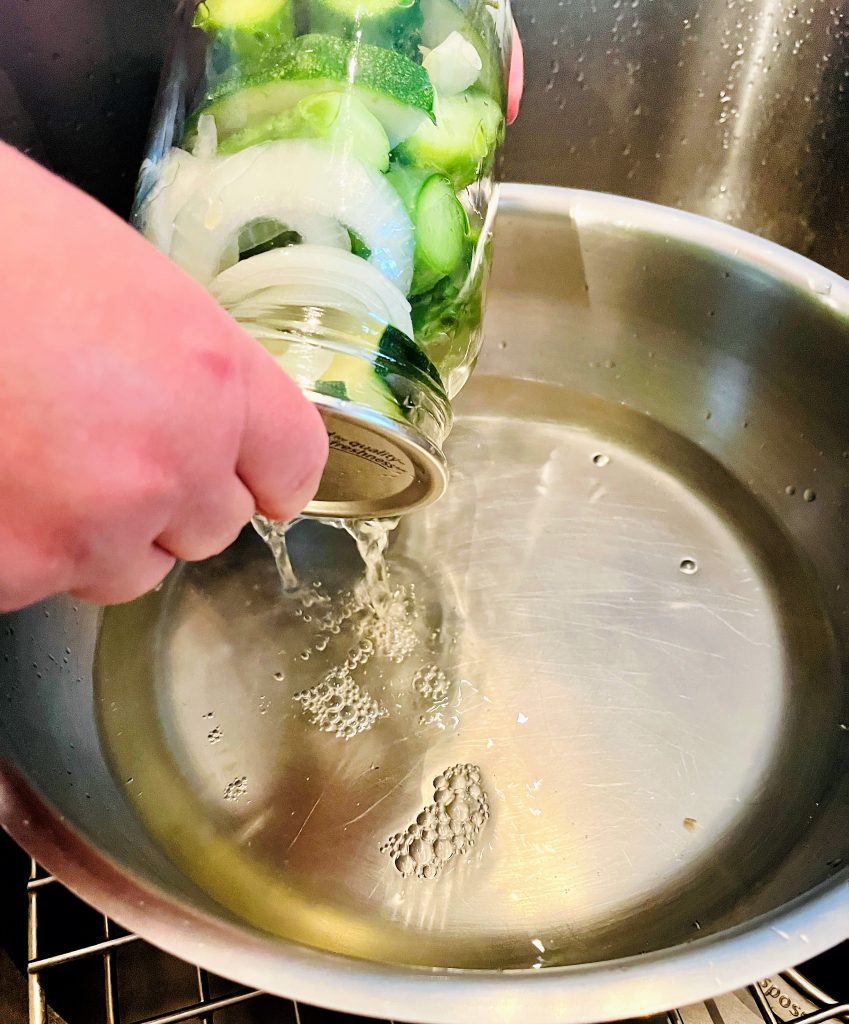
- Remove from heat and pour the boiling hot water into the jars containing the vegetables. It’s best to do this while keeping the jars in a kitchen sink.
- Let the vegetables sit in hot water for 10 minutes. Do not discard any hot water you may have left in the pot.
- Depending on the recipe you may have to repeat this step twice.
Preparing the brine
- Pour the water from the jars back into the pot, and add salt and sugar as specified in the recipe
- Bring the mixture to a boil, continuing to boil until the sugar and salt are fully dissolved (approximately 5 minutes).
- Just before turning off the heat, add the pickling vinegar to create your pickling marinade or brine.
Sterilizing the lid
- As you’re preparing the brine, bring a smaller pot of water to a boil to sterilize the lids.
- Put the lids into freshly boiled water (but not actively boiling!) for at least 1 minute, up to 5 minutes.
Final Steps:
- Carefully pour the hot brine into the jars containing the vegetables.
- Use clean tongs to put the lids on the jars and screw them on tightly with the bands. Make sure to tighten the band as much as possible. To hold the hot jar safely, wrap a thick kitchen towel around it before tightening the band.
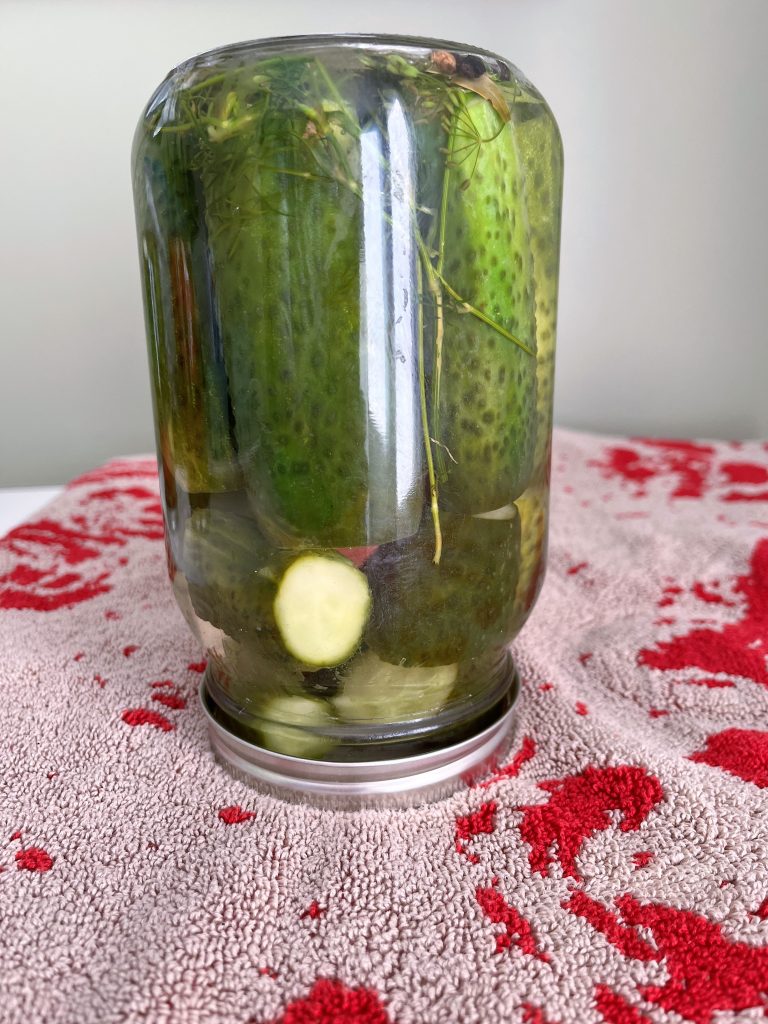
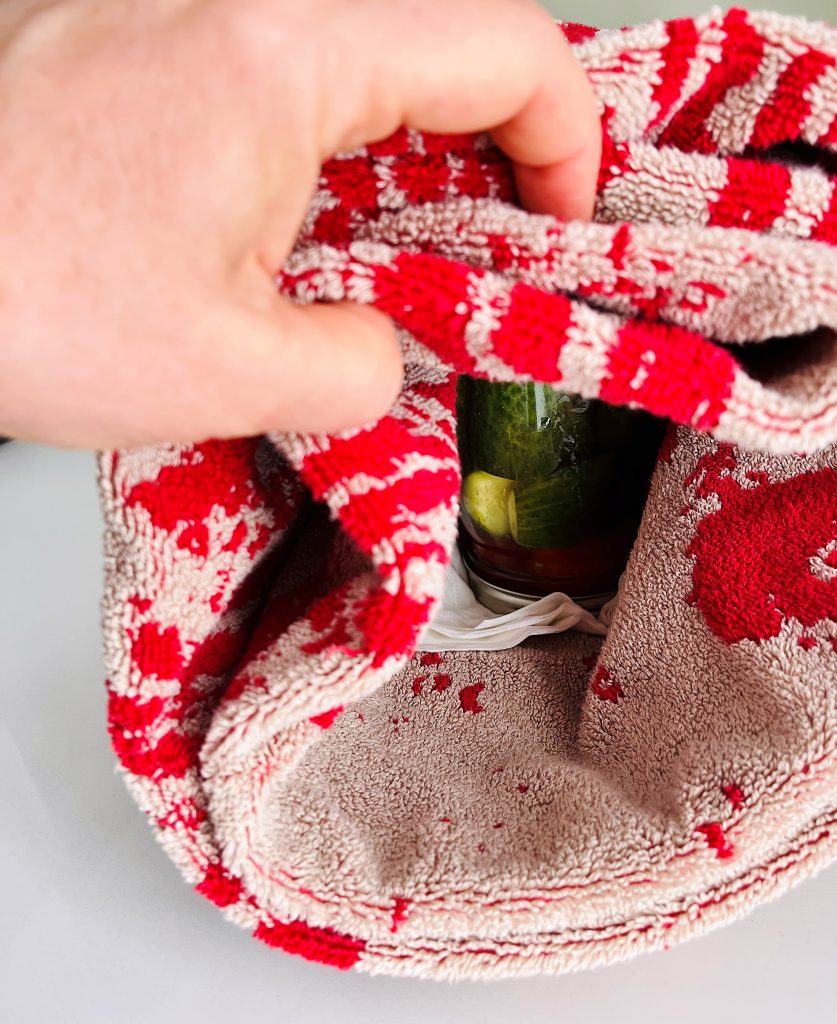
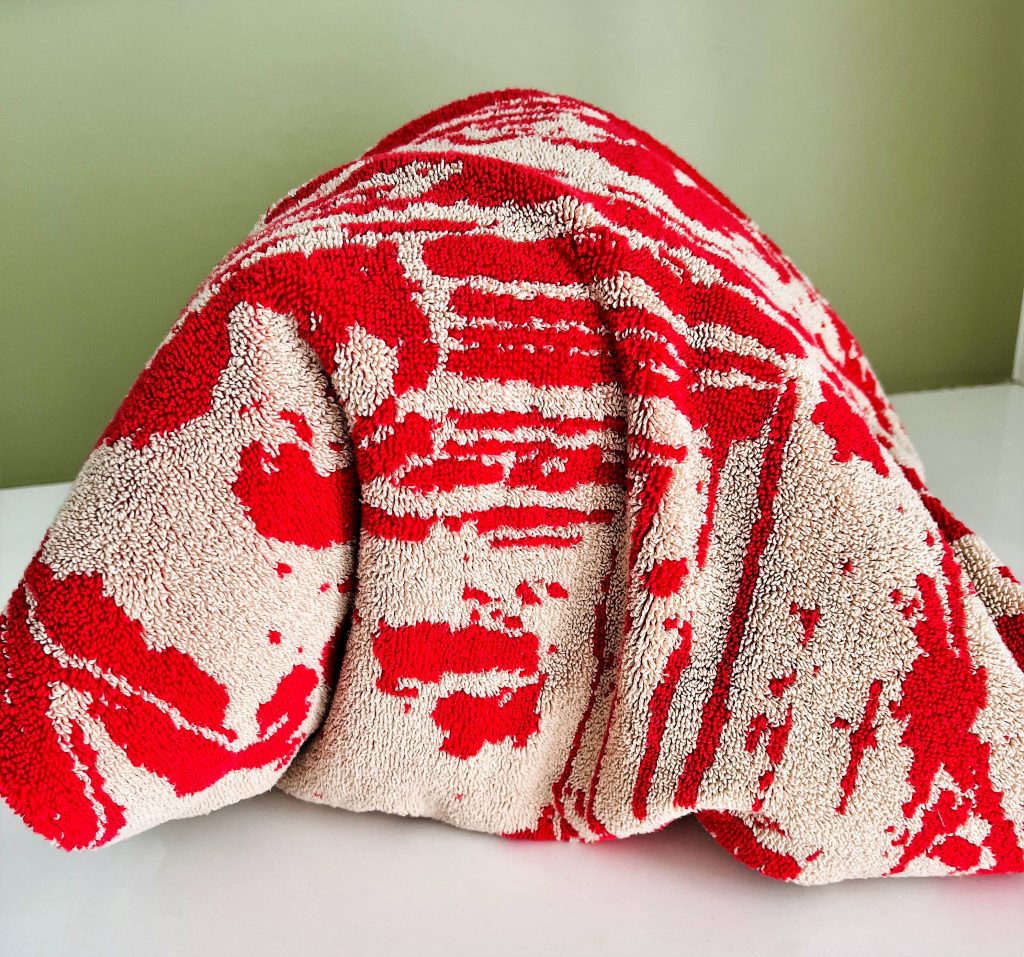
- Turn the jars upside down and tightly wrap them in warm towels (use 2-3 beach towels for three large jars). This step is mandatory because, with an open kettle canning method, the seal gets created when jars packed with hot preserves are cooled upside down.
- Leave the jars upside down, snugly wrapped in towels, for 2 days or until they’re completely cool to the touch. Just like with water bath canning, using heat to process your preserves lowers the risk of spoilage. However, in open kettle canning, the way to keep the preserve temperature high inside the jar for a longer time is by means of wrapping jars in something warm, like a beach towel.
- The jar is ready to be stored only when it is completely cool to touch. For larger batches, the jars may need to stay wrapped for an extra day.
Frequently asked questions
What should I watch for if I want to try the open kettle method?
The critical open kettle method steps are cleanliness and sterilization. You want to ensure that bacteria don’t get into your preserve. When canning your preserves, thoroughly sterilize all equipment, even the tongs used for lid handling.
Additionally, don’t cut corners on the inversion step; a mere 5 minutes won’t do the trick.
Why would anyone want to do open kettle vs. USDA approved water bath canning?

Heating food in a kettle this way is quicker and more even than heating food in a jar. But the disadvantages of open-kettle canning seem to outweigh the one advantage. The chief difficulty is that food can so easily be contaminated while pouring it into the jars or sealing them.

USDA National Agriculture Library: Breazeale, J. F. & Benson, O. H. (1936). Home canning methods. United States Department of Agriculture, Office of Information. https://archive.org/details/homecanningmetho1936unit
Once you address the sterilization and hygiene of the open kettle canning method the drawbacks of the water bath canning method become apparent and can be summarized as follows:
- Water bath canning equipment is expensive, unlike open kettle canning which uses regular cooking tools.
- Open kettle canning is nimbler, simpler and safer to do. Unlike water bath canning, open kettle canning doesn’t involve lugging around large pots of water or risking scalding oneself.
- Another issue with water bath canning is the risk of improperly tightening jar lids, which can cause preserves leakage into the canner during processing.
- Lastly, and to paraphrase the quote of the USDA we provide up above, water bath canning may result in uneven heating, negatively affecting the taste of preserves. Open kettle canning often produces better-tasting preserves as the food heats more evenly and for a shorter period of time.
Where can I find open kettle canning recipe for pickles and other vegetables?
We thought you’d never ask! We have a number of recipes on our website.
Would the open kettle method work for pickling low-acid vegetables?
We do not recommend using either an open kettle or hot water bath method to pickle low-acid preserves without acidifying them. Some vegetables, e.g. green beans, potatoes, corn are not practical to acidify and for that reason should only be canned with a pressure canner.
How do I measure food acidity levels?
Determining the acidity level of preserves requires using pH measuring tools, either pH strips or pH meter. While pH strips offer a cost-effective and simple-to-use option, they lack accuracy and precision. On the other hand, pH meters, though more expensive and significantly more complicated to use, provide accurate readings.
Isn’t there a risk of botulism from using open kettle canning?
The risk of botulism is there when you can low-acidity produce with either water bath or open kettle. To avoid the risk of botulism it is wise to instead pressure-can all low-acid preserves. You will find a lot of additional information on the subject of canning related botulism in this article.
How do I know if my preserve is unsafe to eat?
Watch for any of these signs of a failed canning process and discard the contents of the jar immediately:
- The safety button on the jar remains popped out after you finish processing your jars.
- There are signs of leakage on the walls of the jar. Also, watch for the bulging lid.
- The contents of the jar exhibit spoilage signs, such as an unusual smell, mould, bubbles, or cloudiness.
All of these tell-tail signs apply to any canning method you use and not just to the old fashioned way of canning we’ve described in this article.
Keep in mind that botulism is not visually detectable.
You may also like:
-
Mark Bittman’s Tomato Jam Recipe, Adapted for Canning
Mark Bittman’s famous tomato jam started life in the NY Times as a refrigerator jam, meant to be eaten within a week. We loved it so much that we worked out a version that could be canned instead. Same sweet-savory flavor, but made to keep in your pantry, no fridge required until opened
-
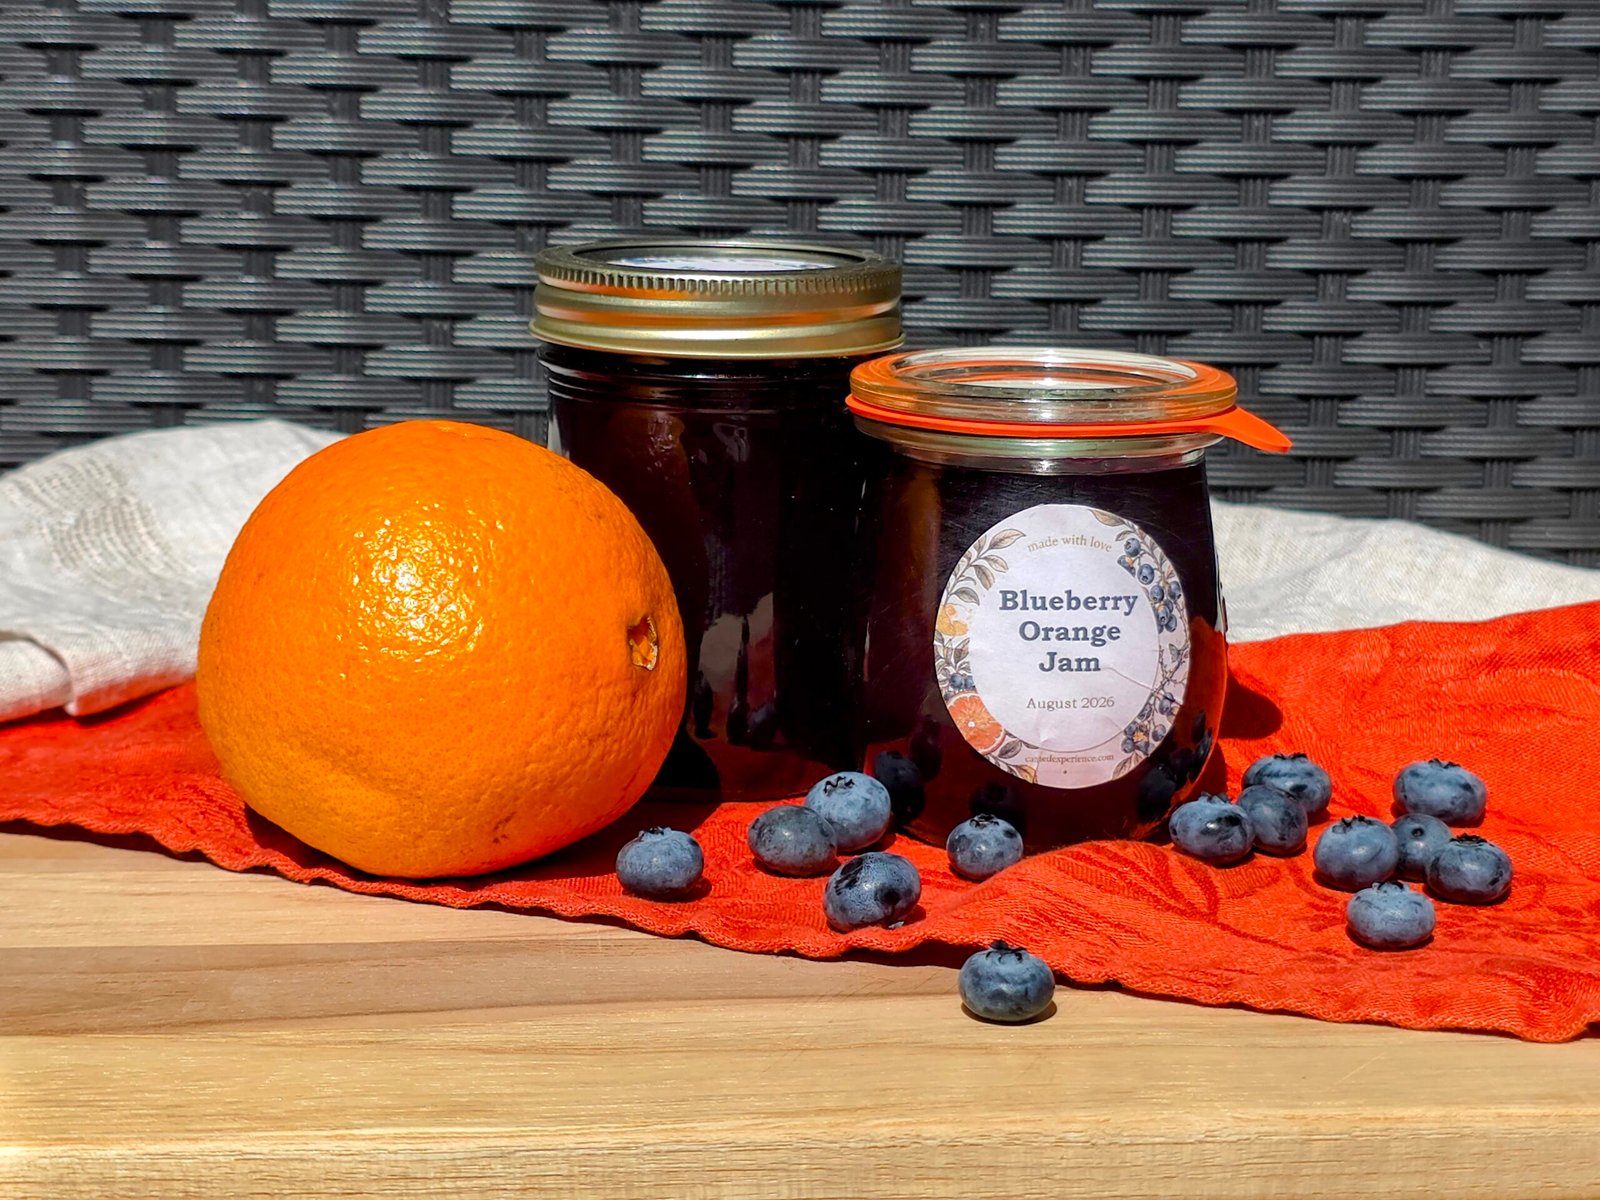
Blueberry Orange Jam Canning Recipe
This blueberry orange jam makes blueberries taste like blueberries at their absolute best. Deeply fruity, intensely blueberry, and nothing like orange marmalade. Inspired by the kind of fruit preserves you’d find in a fancy bakeshop
-
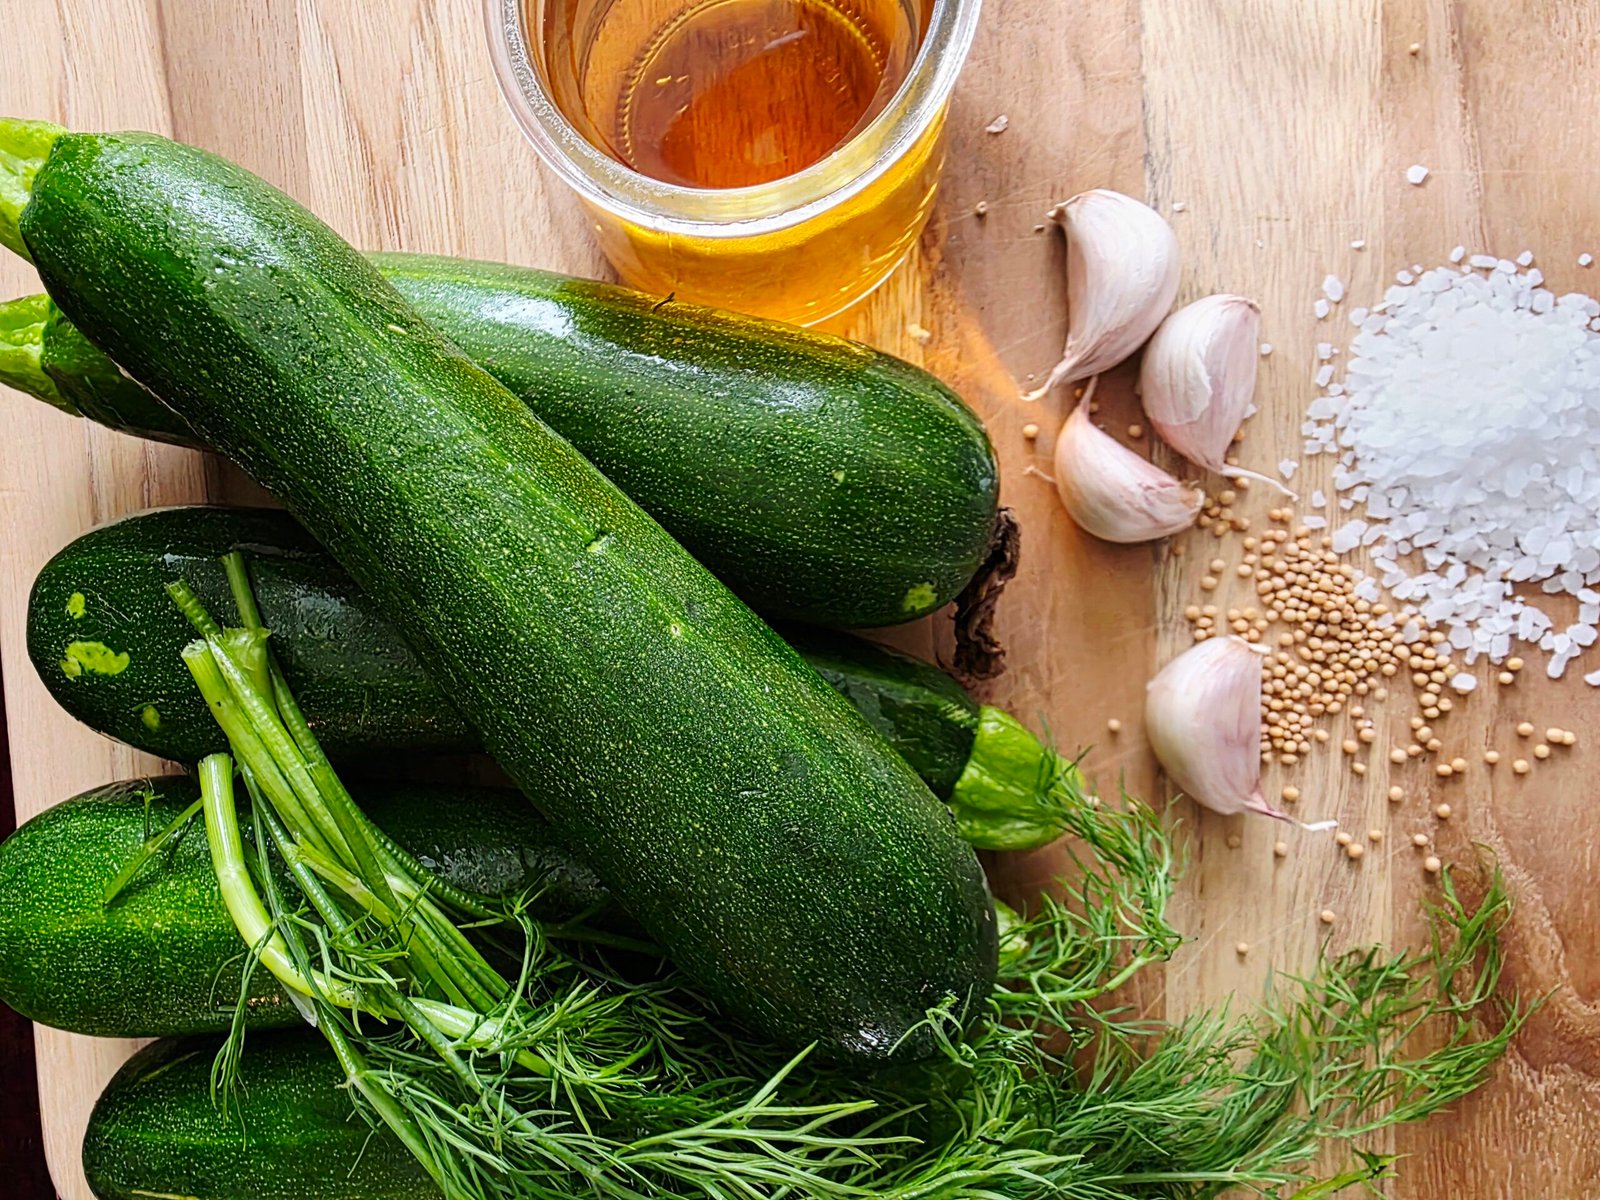
Zucchini Pickles Recipe for Canning
Got zucchini taking up residence in your fridge? Turn it into zucchini pickles with garlic, fresh dill, mustard seed and apple cider vinegar. This simple canning recipe is perfect when you have more zucchini than you know what to do with and don’t want to spend a hot summer day making anything complicated
-
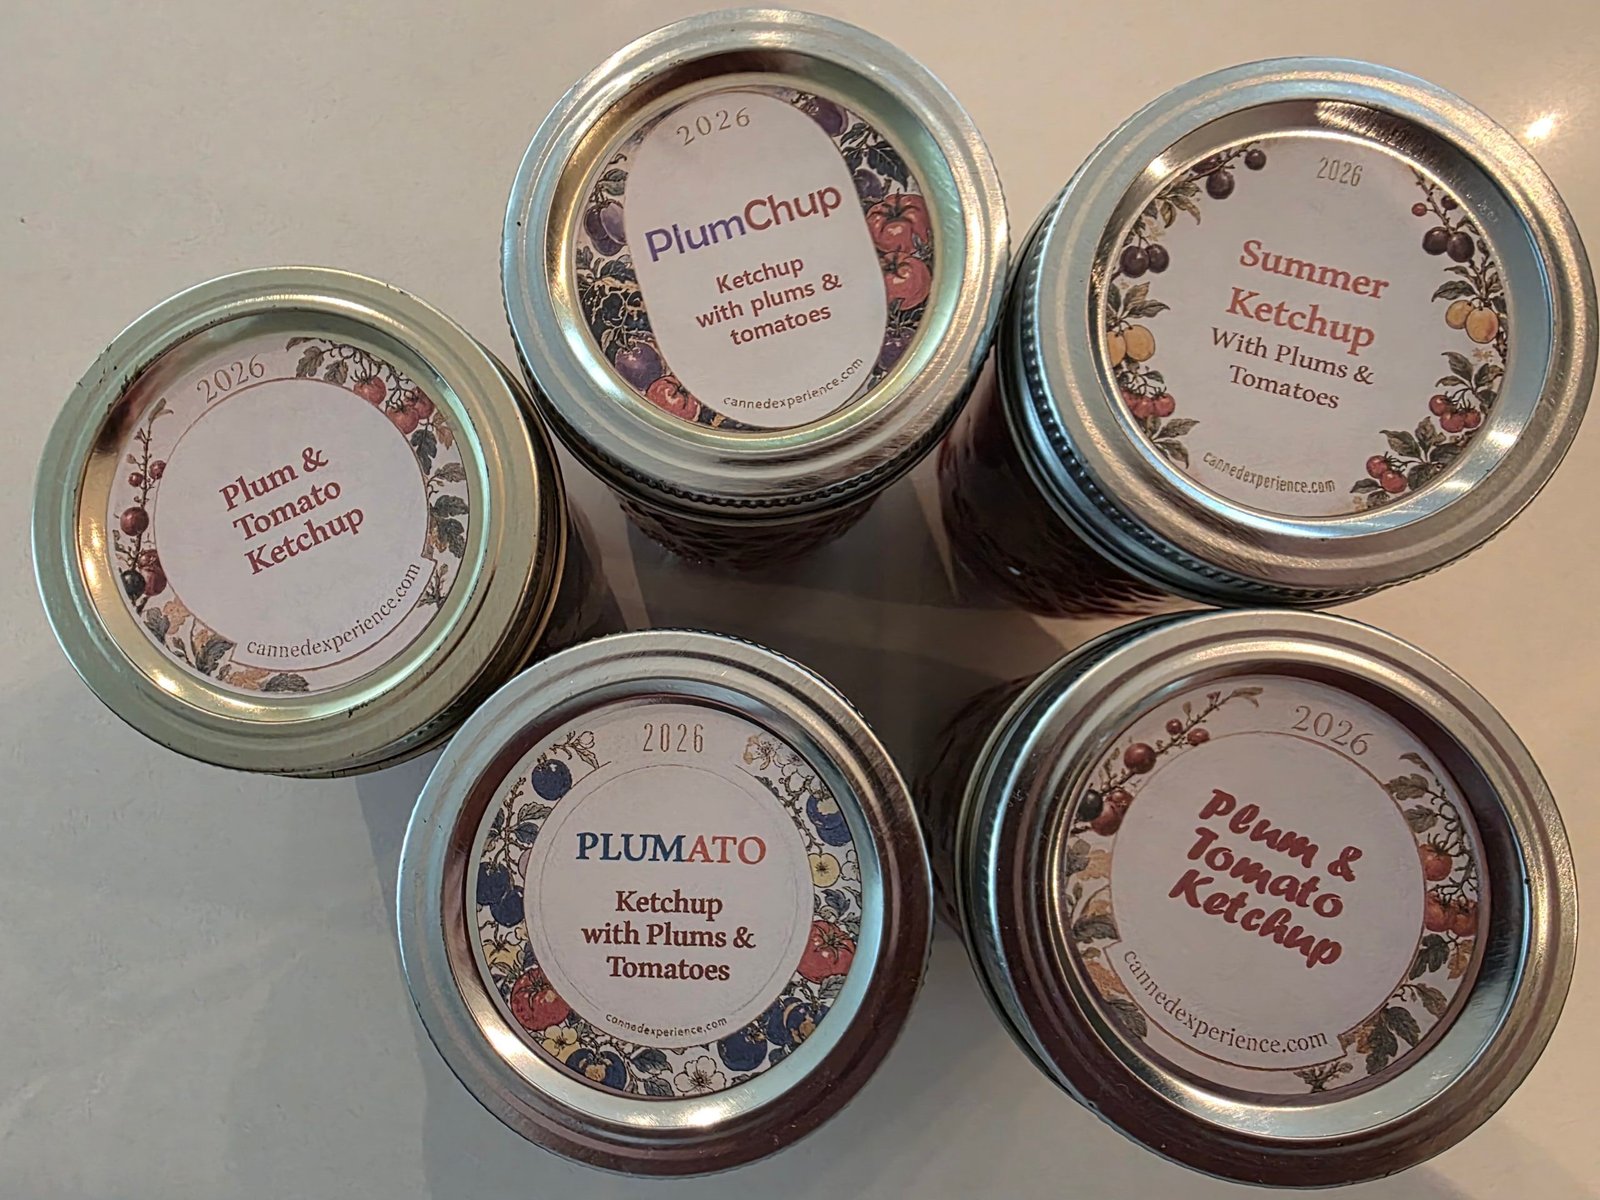
Old-Fashioned Plum and Tomato Ketchup
Ketchup made with plums? Absolutely. This old-fashioned plum and tomato ketchup is smooth, savory and lightly spiced -not sweet like jam and nothing like Asian plum sauce. It’s the kind of homemade condiment that makes you wonder why ketchup became tomato-only in the first place
-
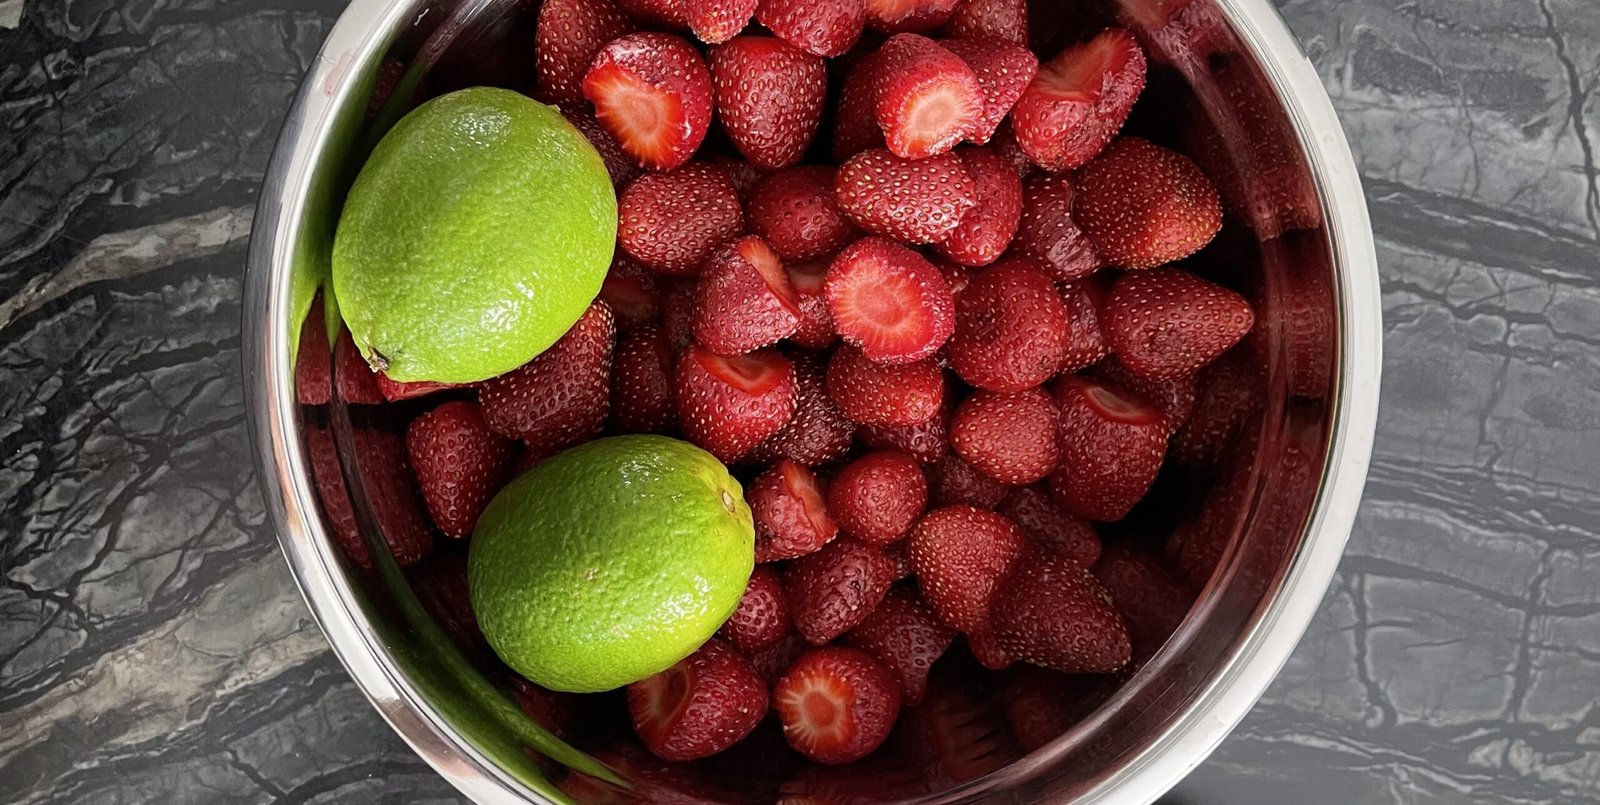
Strawberry Lime Jam with Vanilla
This strawberry lime jam tastes like strawberries at their absolute best. We first tried the combination in a jam made by a professionally trained pastry chef and immediately understood why lime and vanilla belong with strawberries. Soft, spoonable, intensely fruity, and anything but grocery-store ordinary
-
Peach Apricot Jam with Lavender (French-Style Recipe)
Our peach apricot jam with lavender brings a taste of France home – no plane ticket required! Inspired by a luxury French preserve, it’s soft, spoonable, and finished with just a whisper of culinary lavender. One taste, and you’ll understand why French confitures have such a devoted following
-
Concentrated Berry Juice Recipe for Canning (Raspberry or Blackberry)
Why choose between homemade berry juice and jam when you can have both? This simple canning recipe turns raspberries or blackberries into rich, concentrated shelf-stable juice without adding water, while the leftover pulp becomes the perfect base for homemade jam. Two pantry staples from one harvest, with almost nothing going to waste
-
Red Huckleberry Jelly Recipe
Turn a modest haul of wild red huckleberries into crystal-clear jelly without reaching for a jelly bag. An overnight steep draws out the flavor and color while you sleep. Follow with an easy strain, boil, and set to turn that liquid into real jelly the next day. Tart, tangy and worth every hard-earned berry
-

Sour Cherry Jam Canning Recipe
Learn how to make a traditional European sour cherry jam that works around your schedule instead of taking over your day. Short cook-and-cool cycles slowly concentrate the fruit into a rich, burgundy-hued preserve where every spoonful delivers pleasant bite, deep cherry flavor, and none of the uniform texture of the ordinary tart cherry jam
-

Seedless Raspberry Jam Recipe
This is the base seedless raspberry jam recipe every other raspberry jam on our site builds from. Strain out the seeds, then choose your path: a low-sugar version set with Pomona’s pectin, or a classic full-sugar version. Next, learn to customize it with vanilla, spices, or spirits to make it your own
Tried this preserve? We’d love to hear how it turned out!