How To Can Juices Using Open Kettle Method
Views: 235
In the canning community, mentioning the open kettle method of canning, also known as inversion canning, triggers intense debates with opposing sides fiercely defending their stance. To dispel misconceptions about this old fashioned canning method, we’ve explored open kettle canning-related safety concerns and myths in our earlier post. In this post we explore the subject of open kettle canning further. This time we are focusing on the step-by-step of how to can juices with the open kettle method. Additionally, we offer practical steps of how to improve the safety of the open kettle method for enthusiasts committed to practicing this traditional canning method or for those curious to try it.
Disclaimer and Caution
Without reservation, we state that the open kettle canning method is not an approved USDA canning method to preserve food. The information shared here is for general awareness and personal use only. Equally important, we acknowledge that the provided information may contain inaccuracies or errors, and we explicitly disclaim liability for any such inaccuracies or errors to the maximum extent permitted by law.
Our Approach to Making and Canning Fresh Juices
Preparing the produce for juicing:
- Throw away any damaged produce. Additionally, cut out any bruised parts of the fruits and vegetables you plant to juice.
- Wash fruits and veggies under running water to get rid of dirt.
- Use clean utensils and sanitize surfaces to peel, core, and cut them.
Juicing and sterilizing the juice:
- Juice fruits or vegetables required for your recipe using the juicer of your choice. Use a clean bowl to catch it.
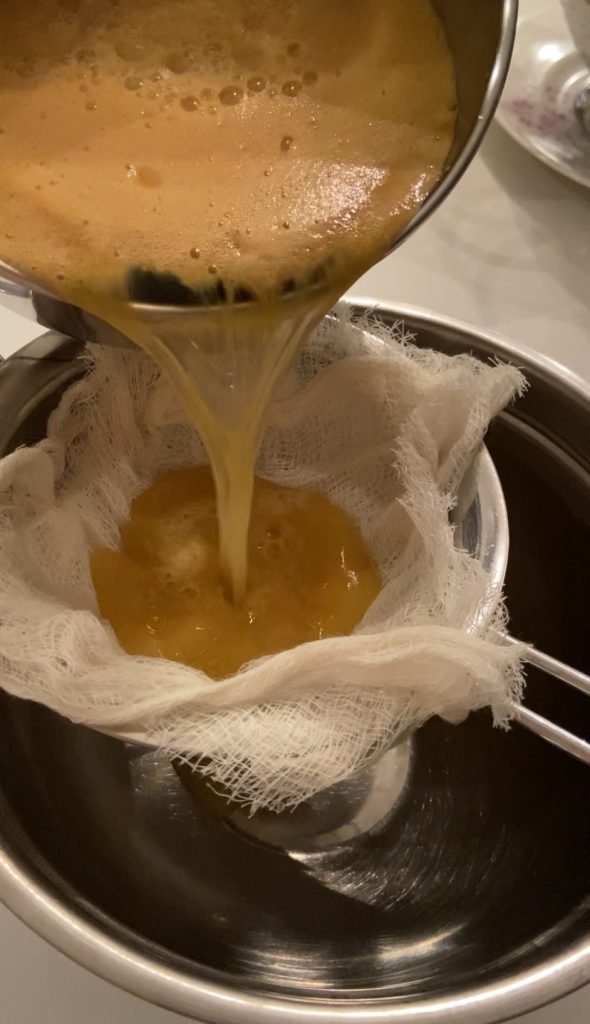
- If you don’t want any bits in your juice, strain it through a strainer or cheese cloth.
- Additionally, depending on the produce you are juicing and the recipe you are using, you may have to add sugar, salt or lemon juice at this step.
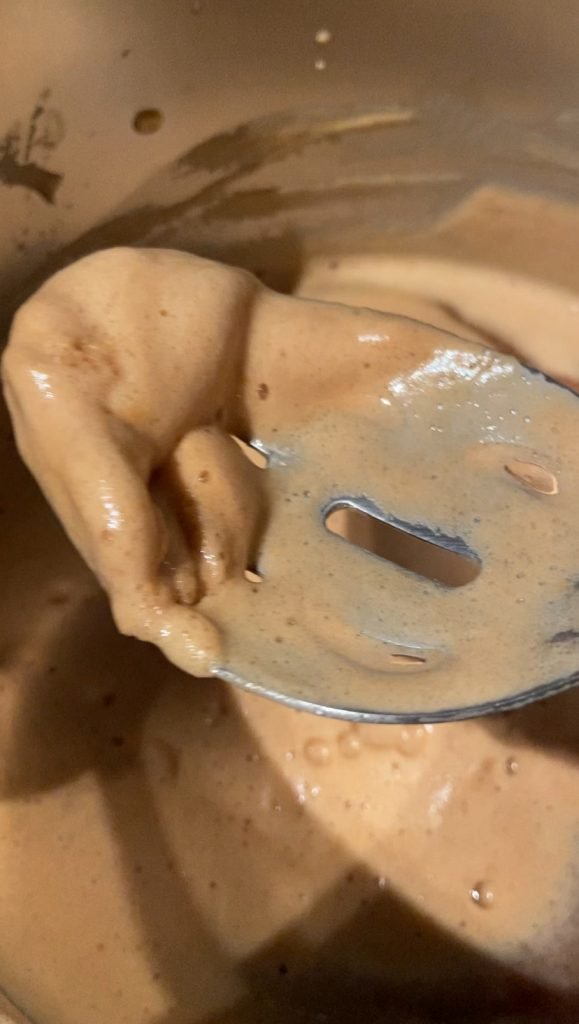
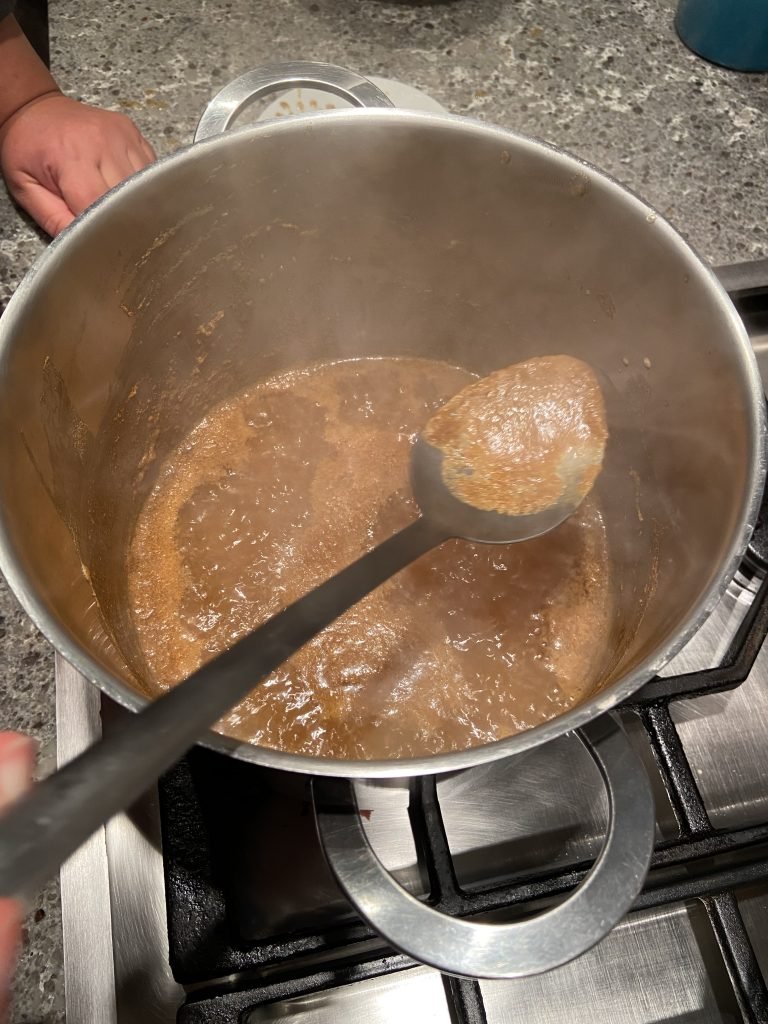
- Pour your juice into a big pot and heat it gently until it starts to bubble a little. Make sure the pot is big enough so the juice doesn’t overflow. Remove any foam and impurities that you can see on the surface.
- Next, bring the pot to a low boil. Cover the pot with a lid and let the juice boil gently for 15 minutes. Do not remove the lid this entire time. This step ensures the juice reaches the necessary 212°F (100°C) for sterilization, making it suitable for canning. Keep the lid on to keep the juice temperature at or above the boiling point. The temperature must stay at 212°F (100°C) the entire time for it to work.
Jar cleaning and sterilization:
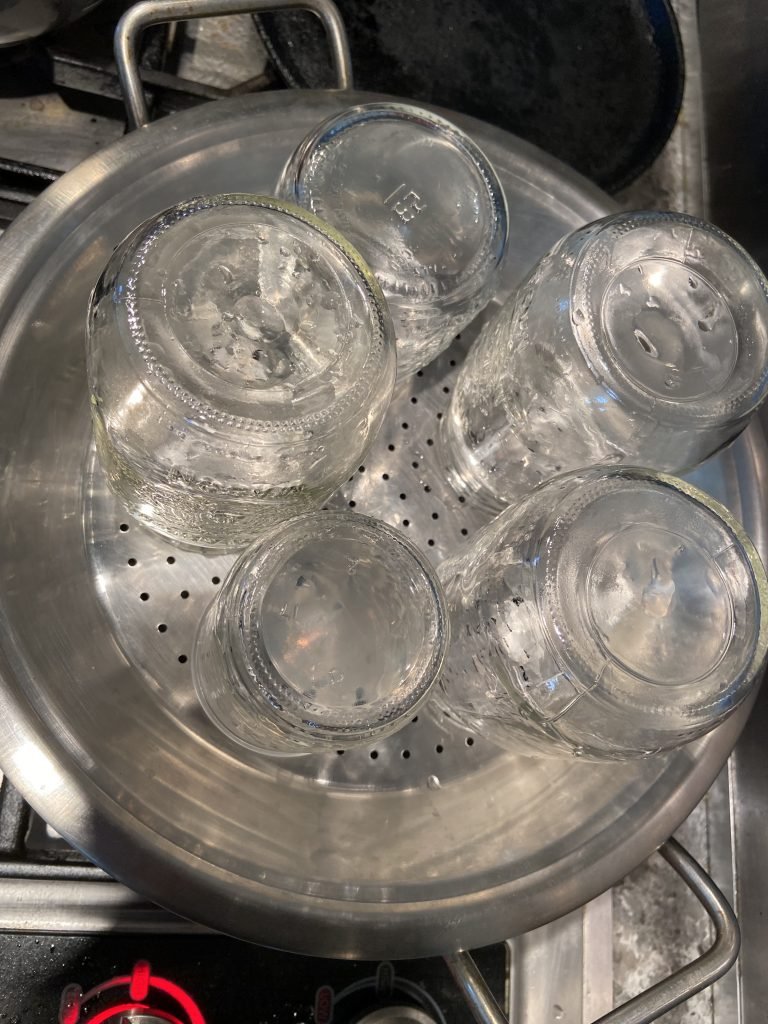
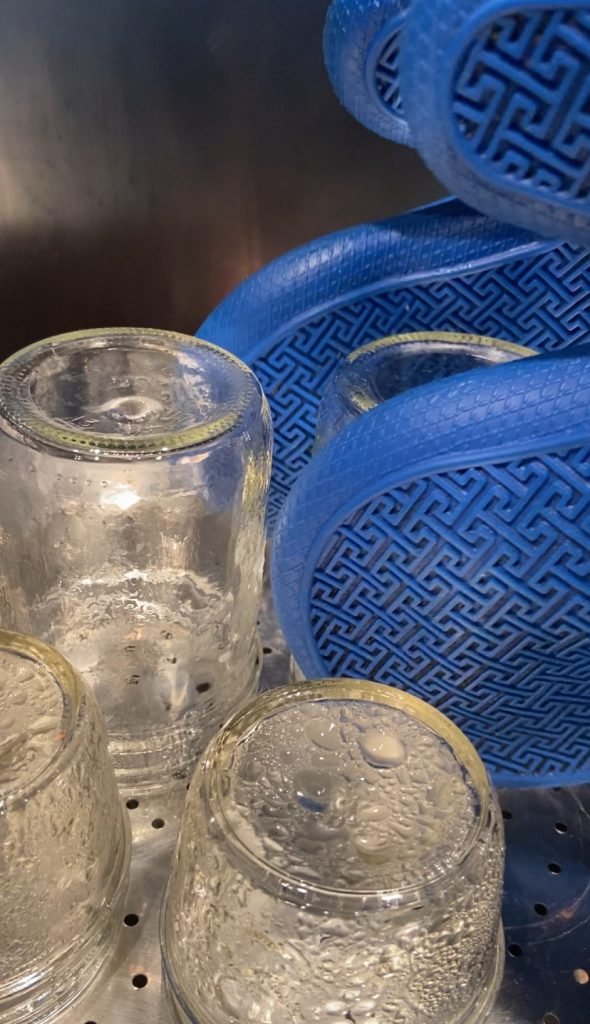
- Wash jars in a dishwasher and sterilize using one of the two methods described in this article.
- You must have the jars sterilized and still hot as you start filling them with the freshly boiled juice.
Filling sterilized Jars:
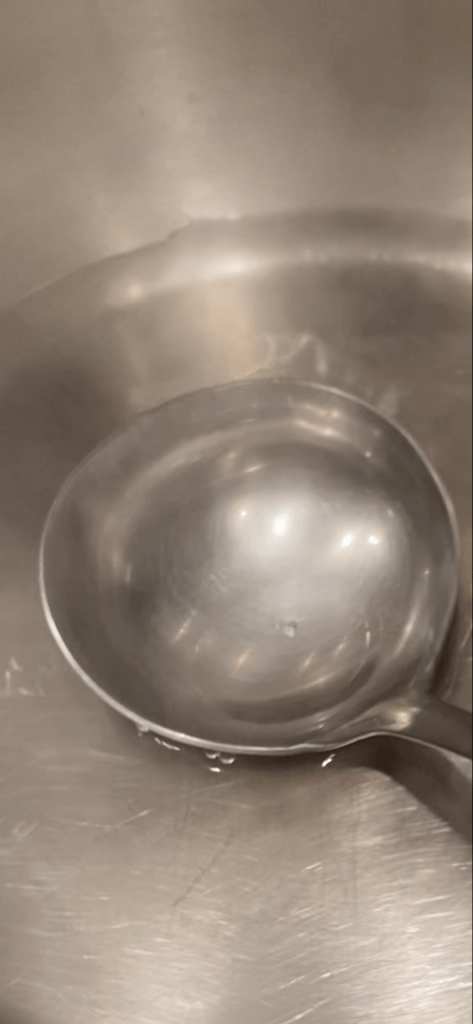
- Before filling the jars, sterilize all calling tools like funnels, ladles, and tongs by submerging the parts that will touch the juice in boiling water for at least 5 minutes. Once done, do not touch the parts of the utensils that will come in contact with the preserve to avoid the risk of transferring bacteria onto them.
- Pour boiling juice into the sterilized jars.
- Ensure the jar rim and threads are wiped clean. To do this, use tongs to dip a clean paper towel into the boiling water and wipe the rim and threads clean.
Sterilizing the lid:
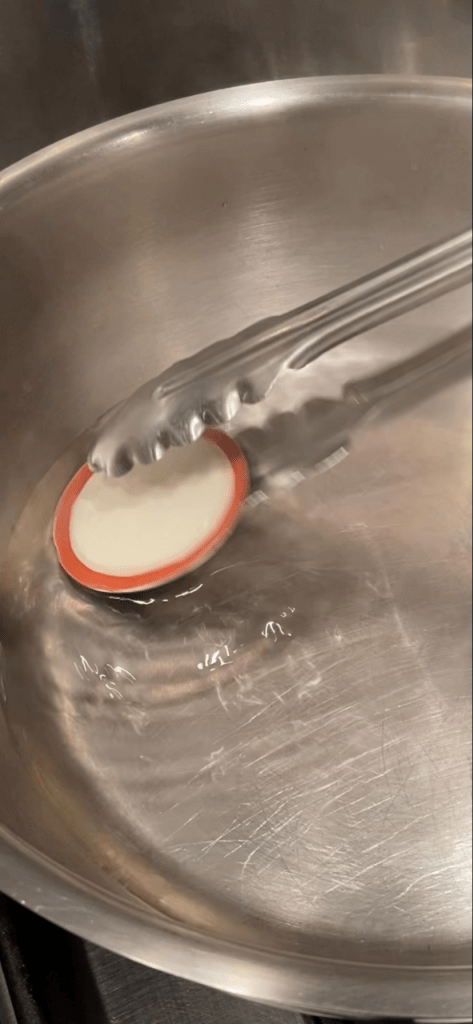
- Put the lids into freshly boiled water (but not actively boiling!) for at least 1 minute, up to 5 minutes.
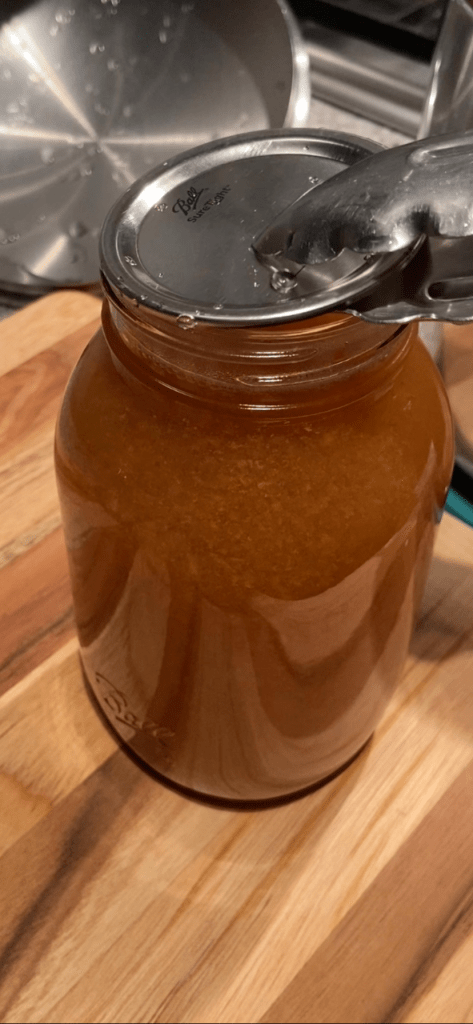
- Use clean tongs to put the lids on the jars and screw them on tightly with the bands. Make sure to tighten the band as much as possible. To hold the hot jar safely, wrap it in a kitchen towel before tightening the band.
Inverting and wrapping the jars:
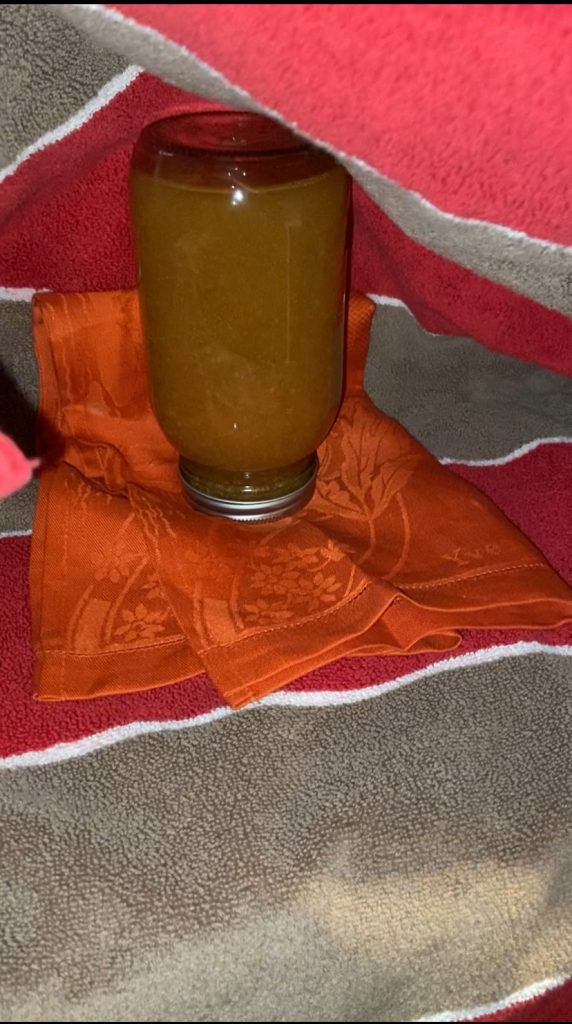
- Once the lid is secured, invert the jars upside down. This step is mandatory because, with an open kettle canning method, the seal gets created when jars packed with hot preserves are cooled upside down.
- Wrap inverted jars snugly in two layers of thick towels. Just like with water bath canning, using heat to process your preserves lowers the risk of spoilage. However, in open kettle canning, the way to keep the preserve temperature high inside the jar for a longer time is achieved by means of wrapping jars in something warm, like a beach towel.
- The jars are ready to be stored only when they are completely cool to touch. For larger batches, the jars may need to stay wrapped for an extra day.
Frequently asked questions
What should I watch for if I want to try the open kettle method?
The critical steps when practicing open kettle canning are cleanliness and sterilization. You want to ensure that bacteria don’t get into your preserve. When canning your preserves, thoroughly sterilize all equipment, even the tongs used for lid handling. Do remember, your clean hands are not sterile. The less your hands come into contact with the insides of the jar or the preserve contents, the higher the probability that your preserve will be a success.
Additionally, don’t cut corners on the inversion step; a mere 5 minutes is not nearly enough time.
How do I know if the juice temperature is 212°F (100°C)?
Similar to water, juice also boils at 212°F (100°C) at standard atmospheric pressure. If the juice is not boiling during the cooking process, it indicates that the temperature is below the required 212°F (100°C). In simple terms, if it doesn’t boil, it’s not at the right temperature.
Would the open kettle method work for low-acid juices?
We do not recommend using either an open kettle or hot water bath method for low-acid preserves. If the produce you plan to juice is low-acid, adding lemon juice, or vinegar may be effective ways to adjust the preserve’s acidity. Adding the right amount of salt or sugar also helps prevent microbial growth.
How do I measure food acidity levels?
Determining the acidity level of preserves requires using pH measuring tools, either pH strips or pH meter. While pH strips offer a cost-effective and simple-to-use option, they lack accuracy and precision. On the other hand, pH meters, though more expensive and significantly more complicated to use, provide accurate readings.
Isn’t there a risk of botulism from using open kettle canning?
This article contains all the information you may possibly need to understand botulism in canning.
How do I know if my preserve is unsafe to eat?
Watch for any of these signs of a failed canning process and discard the contents of the jar immediately:
- The safety button on the jar remains popped out after you finish processing your jars.
- There are signs of leakage on the walls of the jar. Also, watch for the bulging lid.
- The contents of the jar exhibit spoilage signs, such as an unusual smell, mould, bubbles, or cloudiness.
All of these tell-tail signs apply to any canning method you use and not just to the old fashioned way of canning we’ve described in this article.
Keep in mind that botulism is not visually detectable.
You may also like:
-
Sweet Tart Yellow Mirabelle Plum Jam Recipe: French Confiture Style
This sweet tart Mirabelle plum jam proves you don’t need a Parisian zip code or deep pockets to enjoy something classy and extraordinary. Got yellow plums in your backyard? One recipe, two simmers, and you’ve got a jar fit for a glass shelf in a French confectionery.
-
Boozy & Spiced Seedless Raspberry Jam for Grown-Ups
Our raspberry jam breaks out of the mold. Seedless, low sugar, spiked with port and pepper, this is the jam that went rogue. It’s like that guest at a polite garden party, that shows up wearing leather boots and carrying a bottle of booze. Bold, smooth and unforgettable. Make it! Go rogue!
-
Make-Ahead Christmas Jam Recipe (Cranberry-Strawberry Jam)
You could wait until December to make your Christmas Jam. You could. But let’s be honest: December is full of burnt cookies, delayed packages, and half-wrapped gifts. You’ll be frazzled. But if you make it now—when strawberries are sweet and plentiful, you’ll feel like a wizard in December A smug, cinnamon-scented wizard.
-
Authentic Ukrainian Cabbage Rolls (Holubtsi) Recipe & More
You may know Ukrainian cabbage rolls as comfort food, but did you know they’re the ultimate make-ahead freezer meal? Holubtsi start out delicious but turn next-level amazing after a night in the fridge or freezer. This guide will teach you to roll, cook, and most importantly reheat them like a pro. Spoiler: make extra!
-
Blood Orange Marmalade: Your New Favorite Citrus Jam Recipe
To all the citrus marmalade haters out there—we see you. And we promise: this blood orange marmalade is different. It’s bright, bold, and anything but boring. It even has a dash of booze! Give it a try this winter, and you just might find yourself joining the citrus marmalade fan club.
-
Soy Sauce Pickled Cherry Tomatoes: Try Bold, New Pickle Flavor
Yes, you can make soy sauce pickled cherry tomatoes! They are a bold twist on traditional pickles, delivering an unexpected burst of umami and sweetness. Forget ordinary vinegar-based brines—this recipe transforms your tomatoes into an unforgettable flavor bomb. Perfect for snacking or charcuterie boards, this unique pickle will wow your taste buds!
-
How To Pickle Cherry Tomatoes: Easy Recipe, Tips, And Troubleshooting
Cherry tomatoes are the candy of the vegetable world, but they don’t last forever—unless you pickle them! Try this easy, beginner-friendly recipe for the perfect homemade holiday gift. Pickled and canned cherry tomatoes make a great addition to your charcuterie board and add a pop of color, like little jewels, to your holiday table.
-
Fried And Pickled Sweet Banana Peppers: Recipe For Canning
Looking for a simple way to jazz up your charcuterie board? This fried and pickled sweet banana peppers recipe is your new go-to! These peppers are easy to can, so you’ll always have a jar ready to impress guests—or just treat yourself. Plus, these canned banana peppers make a great side for any meats!
-
How To Make Pickled Roasted Bell Pepper
Pickled roasted bell peppers are a pantry staple, and making them at home is easy and rewarding. With rising prices and growing interest in food quality, now is the perfect time to roast and pickle your own. It’s a simple way to save money, control ingredients, and enjoy healthier peppers in your meals!
-
Your Cheese Board’s New Best Friend: Spicy Pear Jelly
Introducing Spicy Pear Jelly. It’s sweet, spicy, and it’s the perfect match for a variety of cheeses, from mild to bold. And yes, it’s as delicious as it sounds! Unquestionably, a little jar of this golden goodness deserves a spot on your next charcuterie board spread. Here’s a quick recipe to get you started!







Leave a Reply