Authentic Old Fashioned Dill Pickles Recipe For Open Kettle Canning
Views: 454
This is a cherished Ukrainian dill pickles recipe, an old-fashioned canning recipe straight from the heart of grandma’s kitchen. It’s all about keeping things simple with natural ingredients – no crazy amounts of vinegar or salt and no fancy equipment! Above all, these dill pickles are a window into a time when our ancestors canned without a canner. We crafted these dill pickles with techniques passed down through generations, giving them an authentic, mouthwatering crunch that modern methods just can’t quite replicate.
And guess what? These pickles, true to their old-school roots, can proudly stand on your shelf for a remarkable three years.
So, there you have it – dill pickles recipe just like how our ancestors used to make them. In a word, it’s a taste of history, all packed in a jar.
Disclaimer
Despite being widely endorsed and utilized in the 80th, inversion canning is no longer considered safe. To emphasize, both USDA and National Center for Home Food Preservation do not recognize open kettle (inversion) canning as an approved canning method. Learn about the USDA approved canning methods USDA National Institute of Food and Agriculture website. If you are interested in making traditional old-world style dill pickles, but are not comfortable with the inversion canning method, we came up with a solution for you. We adapted this recipe in a way that you can use it with the currently approved canning methods:

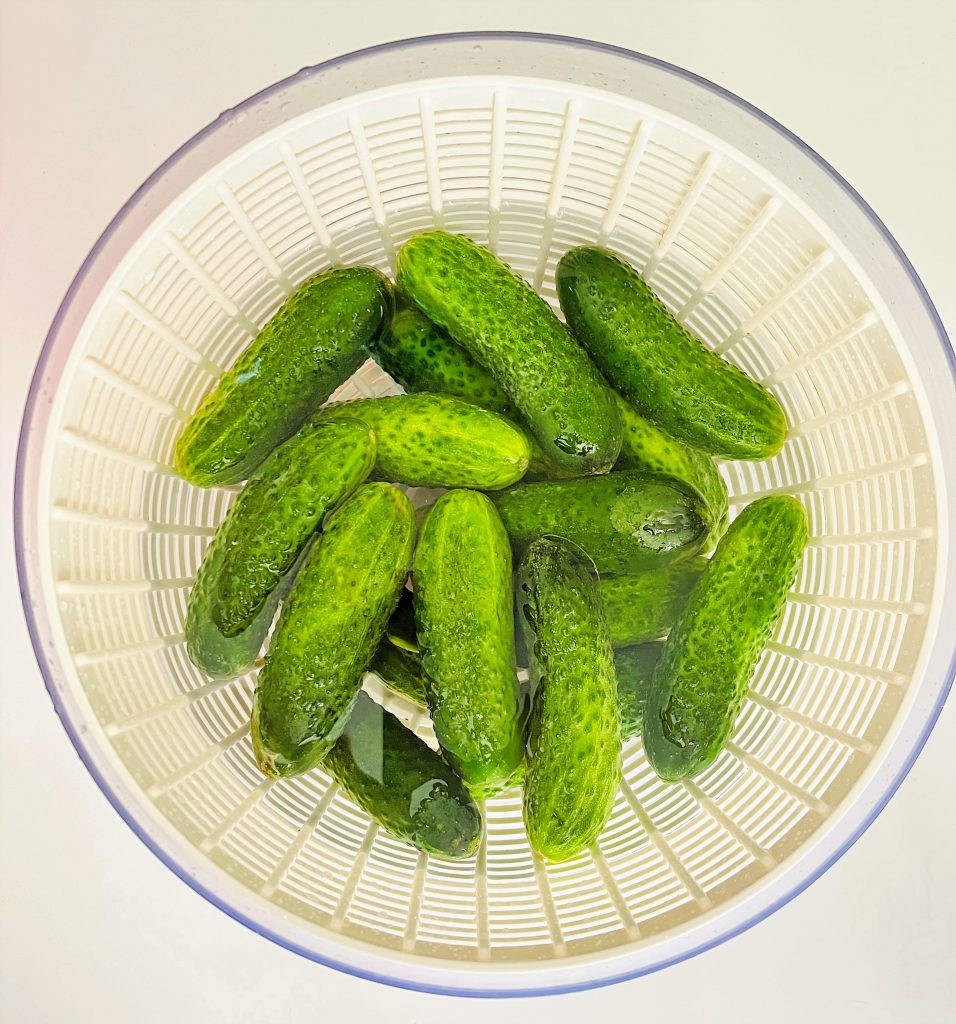
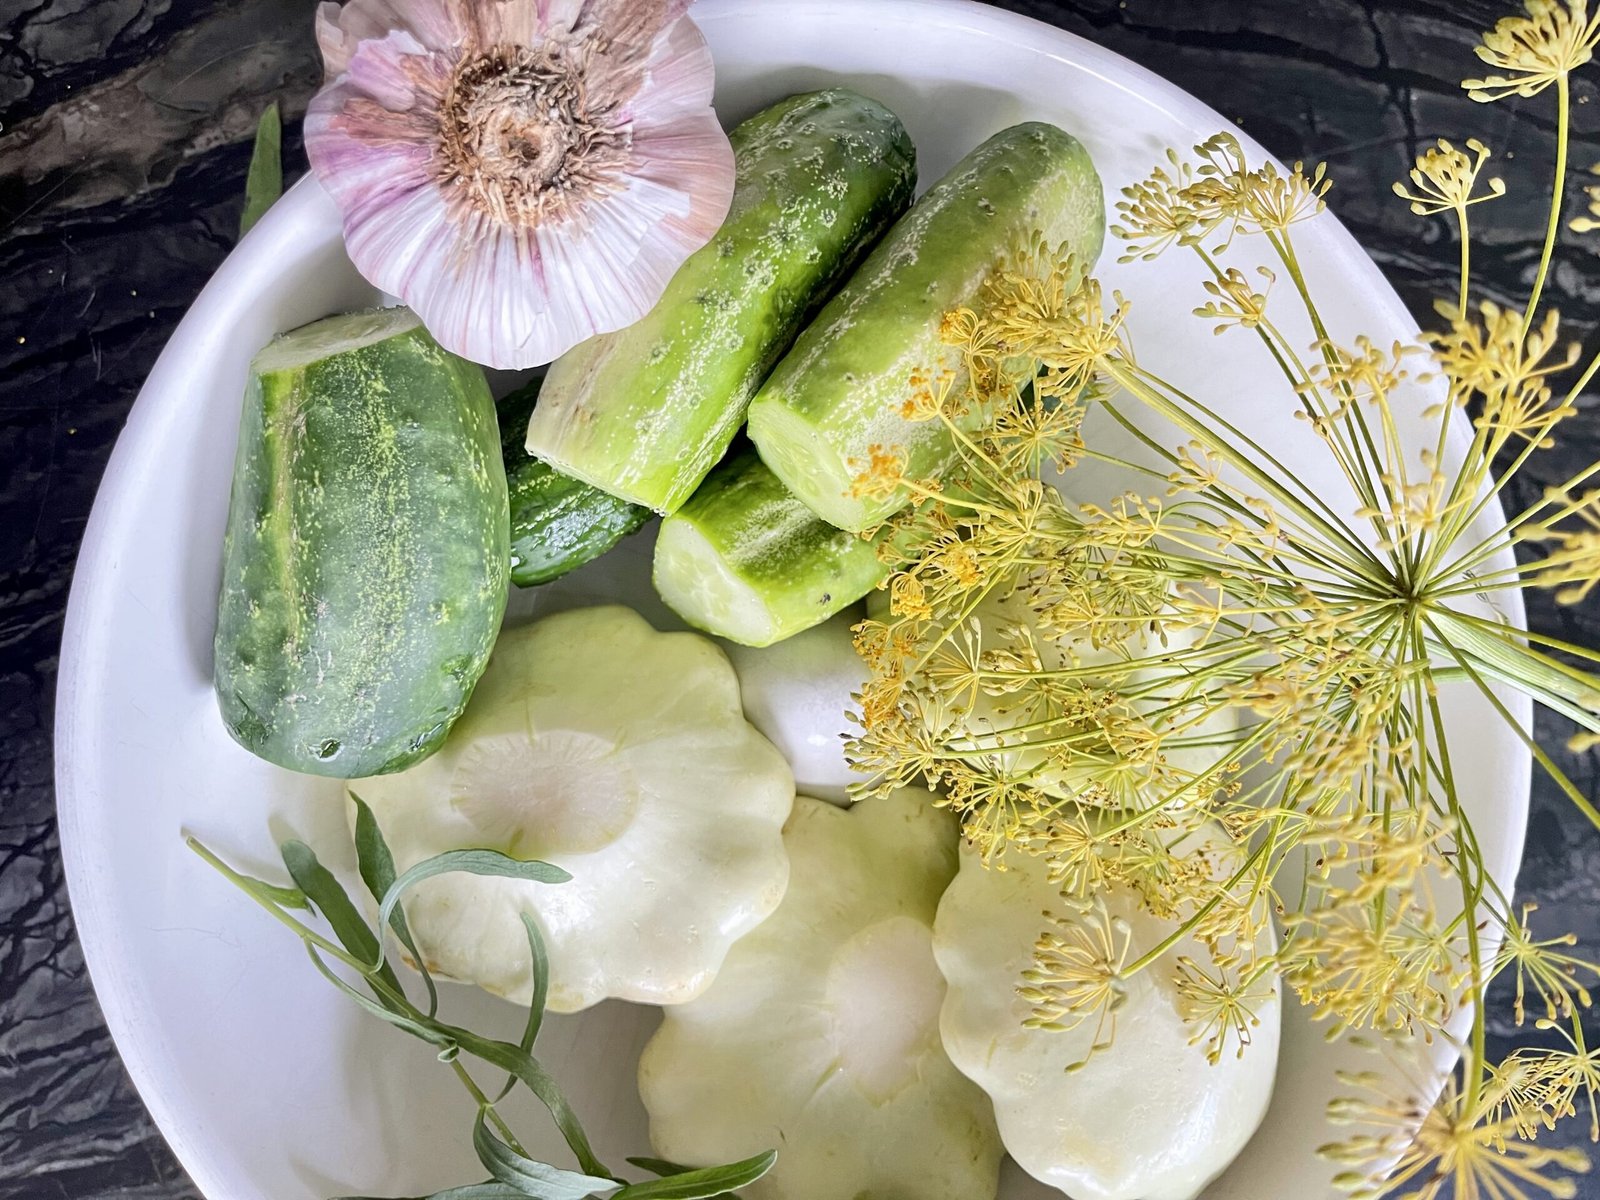
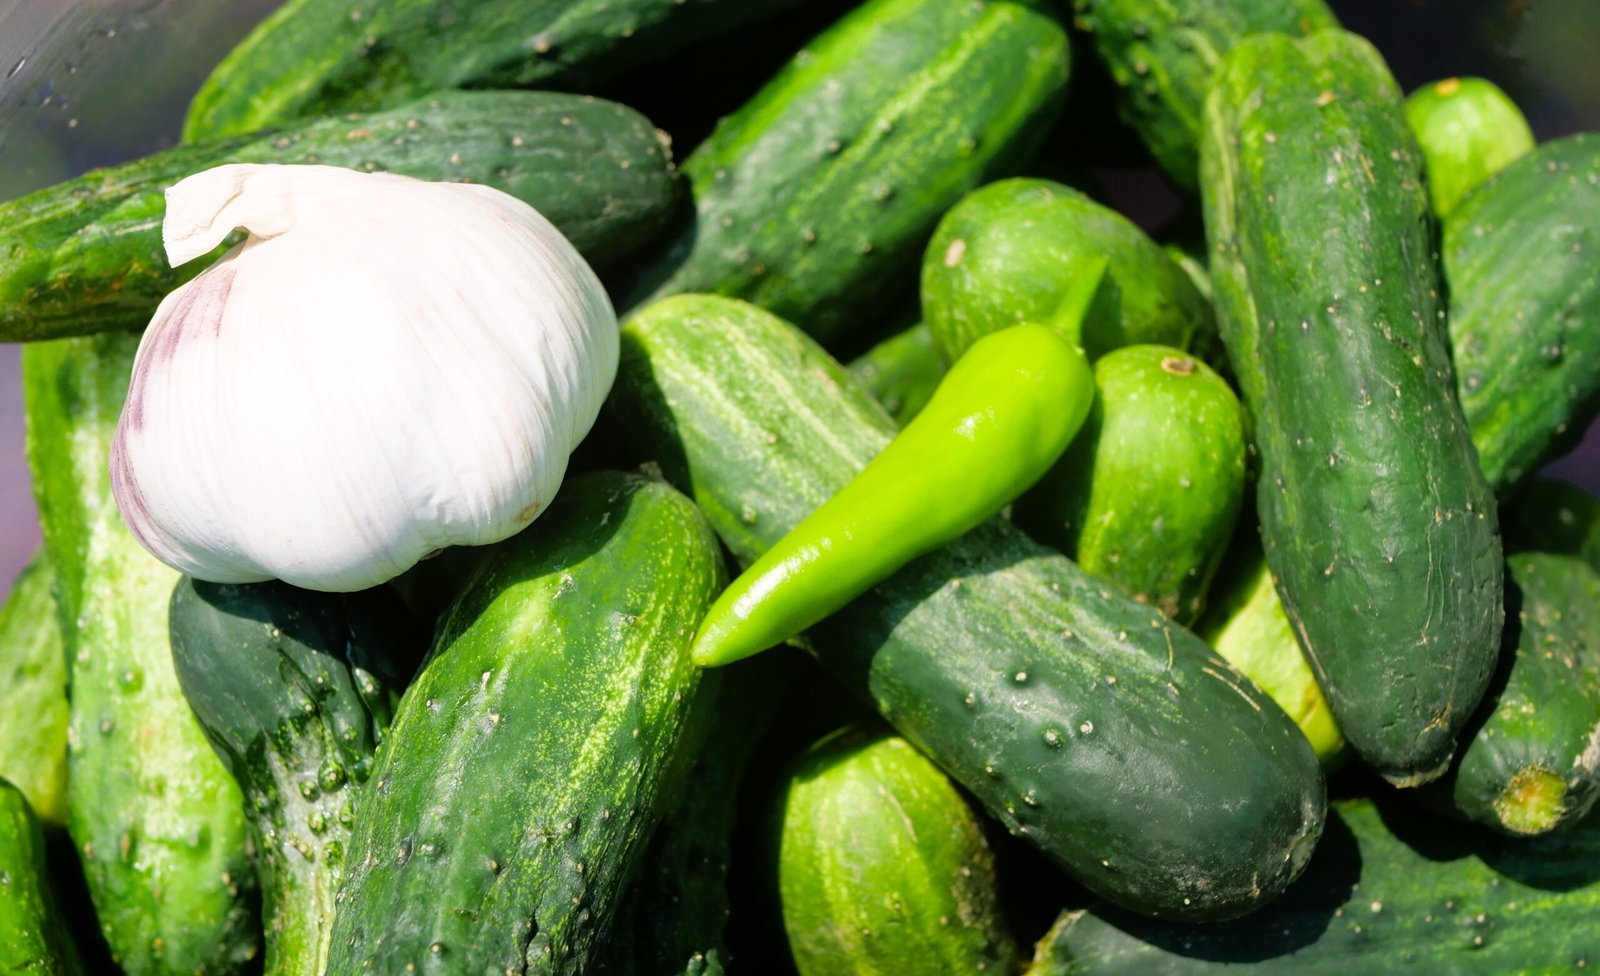
Cucumbers to use for this dill pickles recipe
Important to realize, when it comes to pickling, not all cucumbers are created equal. The long English cucumbers or any other cucumbers that you buy as slicing cucumbers won’t do well when pickled. So, if you like pickles with a nice crunch when you bite into them, you need a certain kind of cucumber. Generally, you can find these cucumbers labeled “dill cucumbers” or “bread and butter cucumbers” at your local farmers’ markets.
Salt to use
First thing to remember, whenever you pickle, use pickling salt only. For Kosher Pickles, use Kosher Salt.
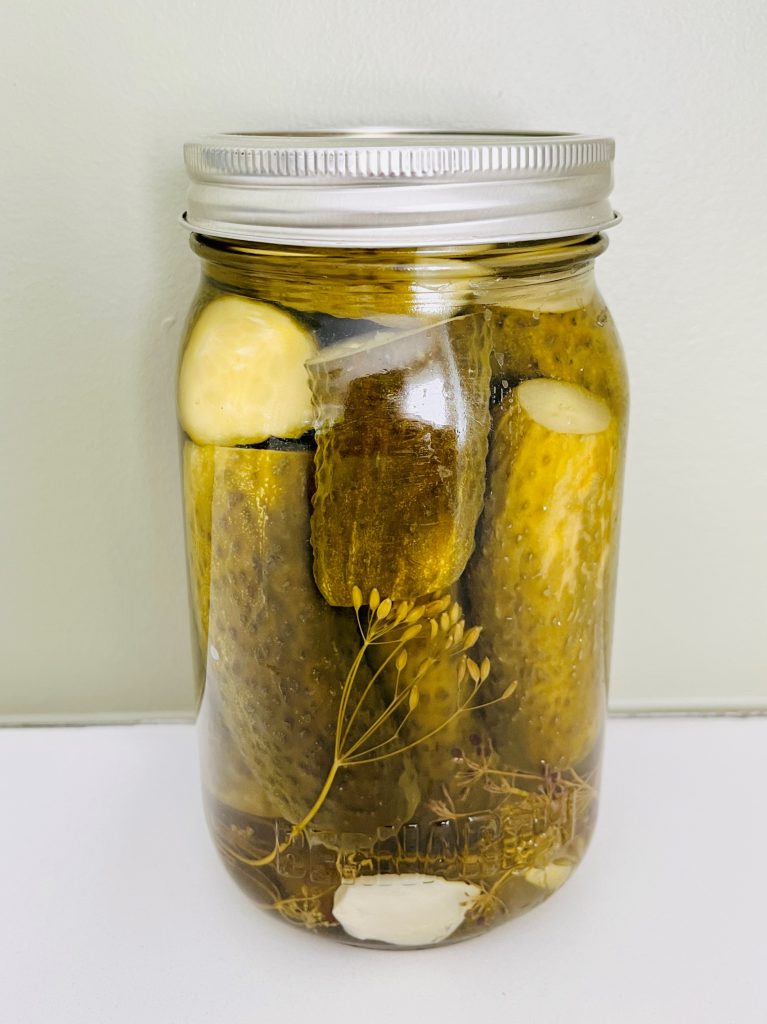
Jars to use
We use 1-liter (32 oz.) Mason jars with a wide mouth. They’re super handy for pickling cucumbers or pretty much anything else. And don’t worry if your cucumbers don’t quite fill up the whole 1-liter jar. You can use a half-liter jar (16 oz.) to pickle the remaining cucumbers.
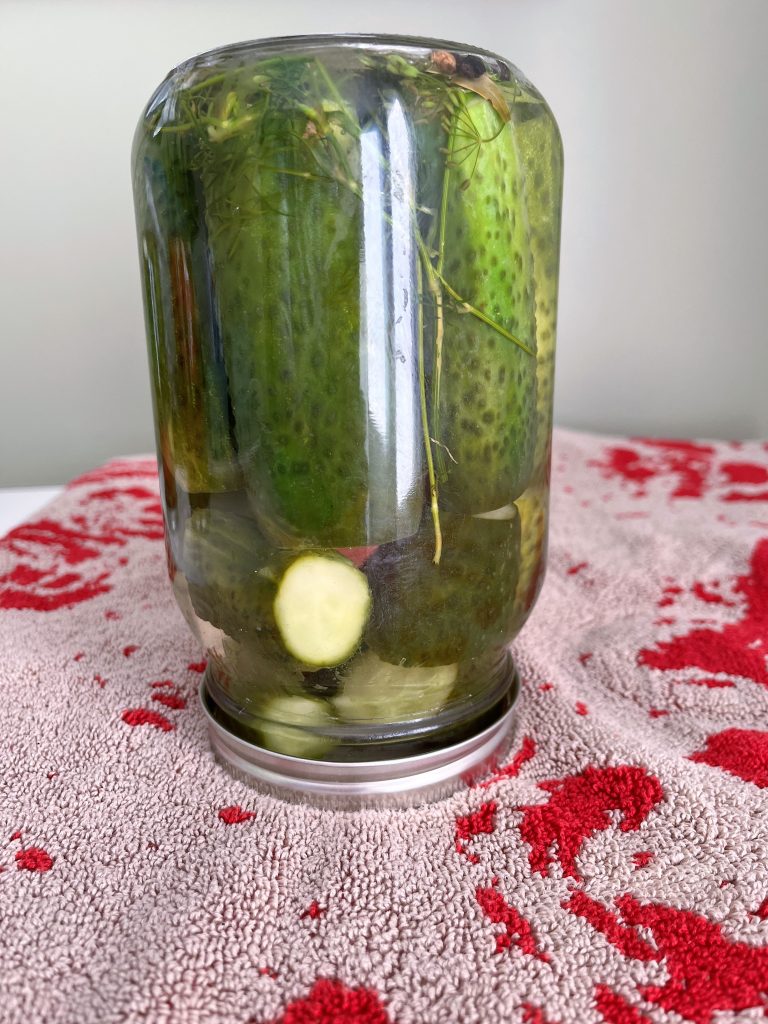
pour brine over pickles, tighten lid, and flip the filled jar over bath towel
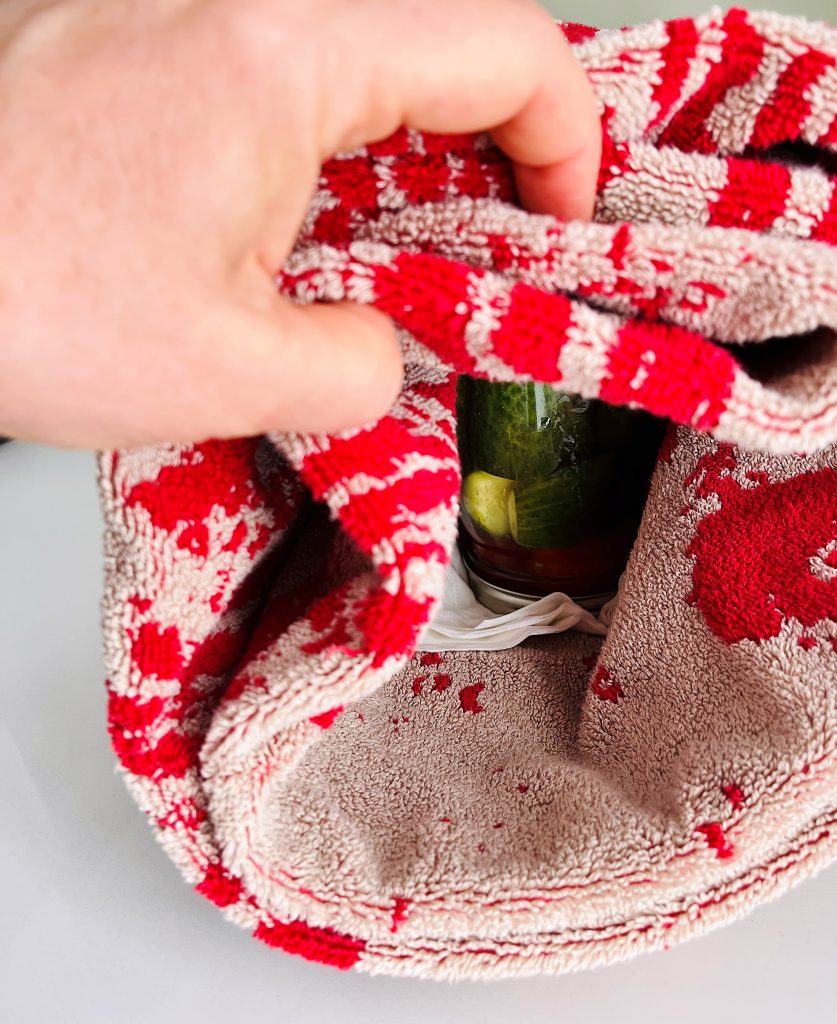
wrap the inverted jars in thick bath towel, let sit for 2 days
Recommended Equipment
- Wide, heavy-bottomed stainless steel pot
- Large wooden spoon
- Stainless Steel mesh strainer
- Heavy-duty stainless steel kitchen tongs
- Stainless steel pairing knife
- Stainless steel canning ladle
- Stainless steel canning funnel
- Mason Jar lids for canning
- Mason Jars for canning
- Non-slippery trivets and pot holders
- Thick cotton kitchen towel
Authentic Old Fashioned Dill Pickles – Traditional Canning Recipe
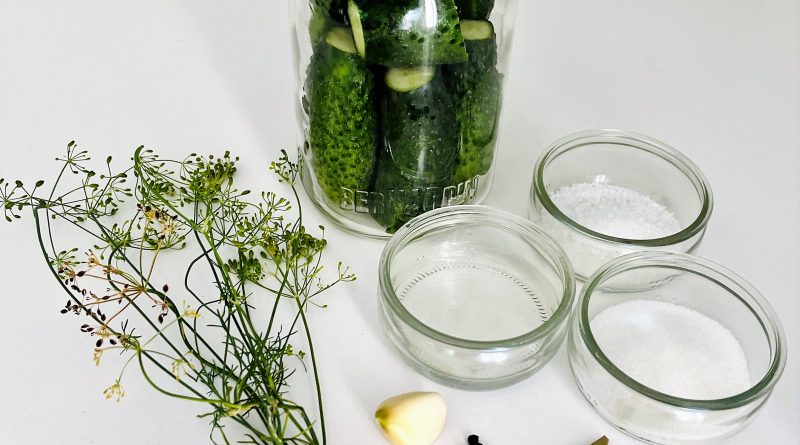
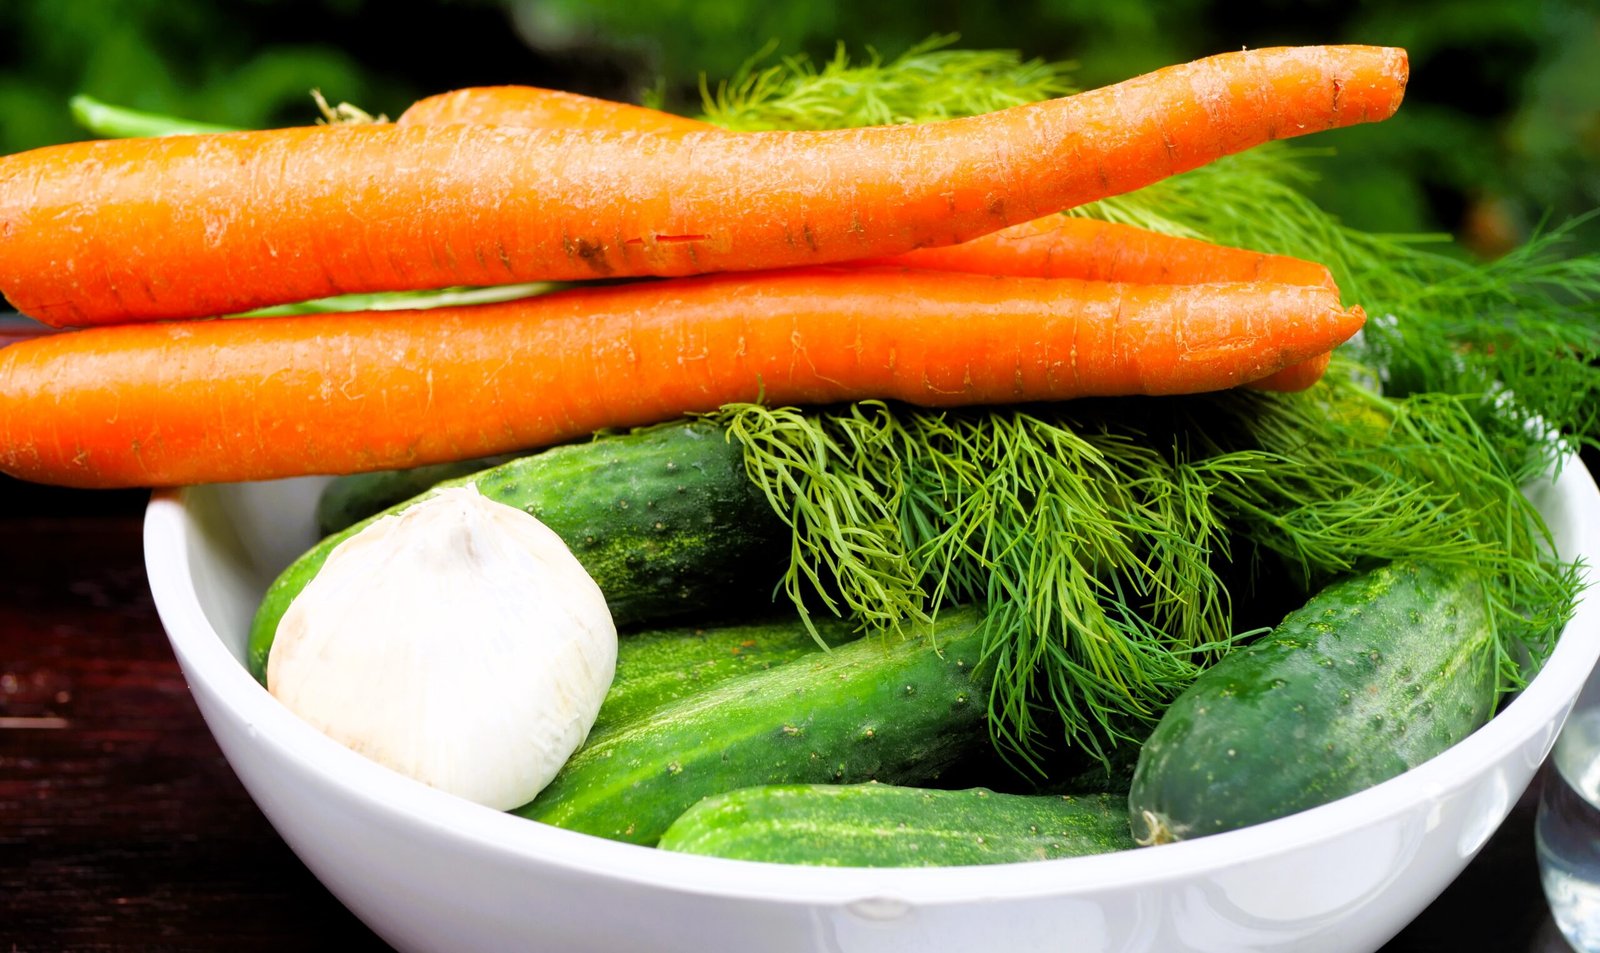
Ingredients
- 3 pounds pickling cucumbers, small (2.5 kg ) approximate quantity
Pickling Brine (marinade) for dill pickles (per liter)
- The amount of marinade (brine) you need depends on how many 32 oz. (1-liter) Mason jars you’re using, not the weight of the cucumbers. Larger cucumbers take up more space in the jars than smaller ones.For this amount of ingredients, we made 2 liters of brine.
- 1 ½ cup Water per 1-liter (32 oz.) jar
- 1 ½ tbsp pickling salt per 1-liter (32 oz.) jar
- 1 ½ tbsp sugar per 1-liter (32 oz.) jar
- 1 ½ tbsp 7% Pickling vinegar per 1-liter (32 oz.) jar
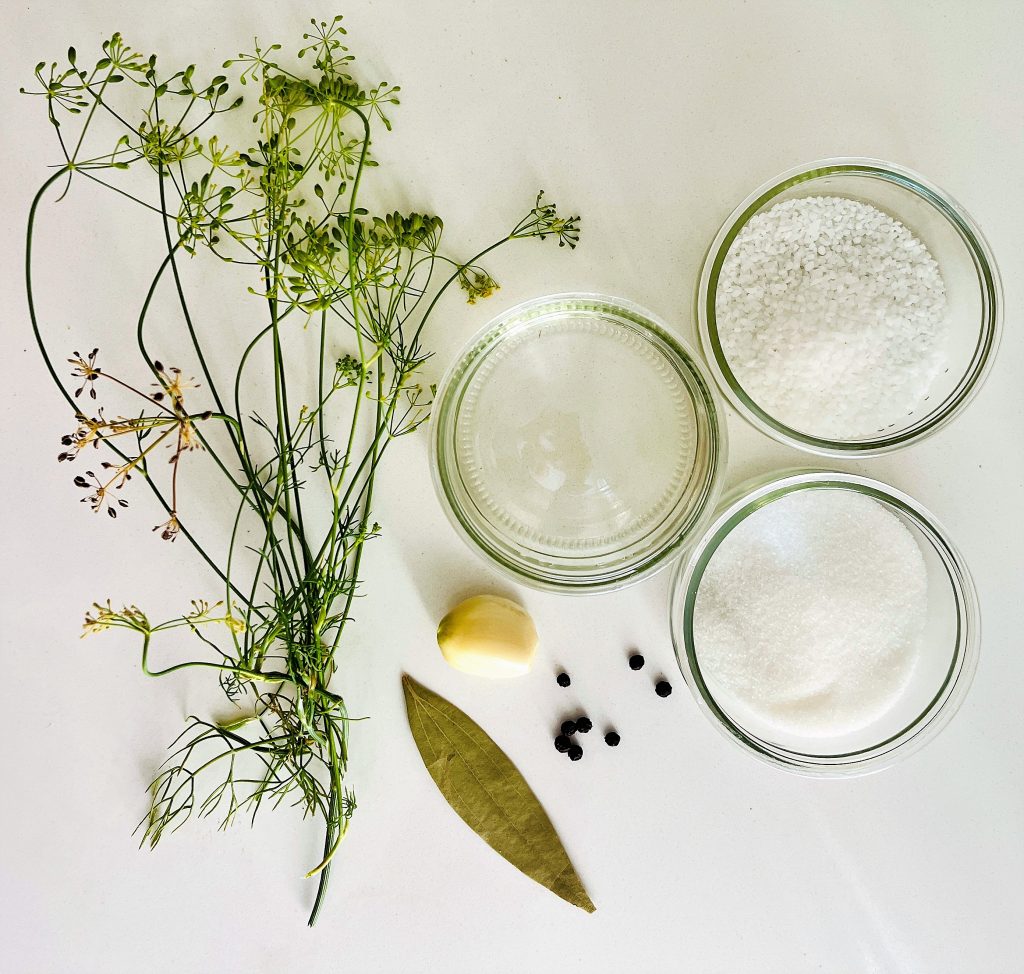
- 2 garlic cloves per 1-liter (32 oz.) jar
- 2 dill flow heads with stems per 1-liter (32 oz.) jar
- 1 bay leaf per 1-liter (32 oz.) jar
- 6 whole black peppercorns per 1-liter (32 oz.) jar
- 3 slices of horseradish root per 1-liter (32 oz.) jar
Instructions
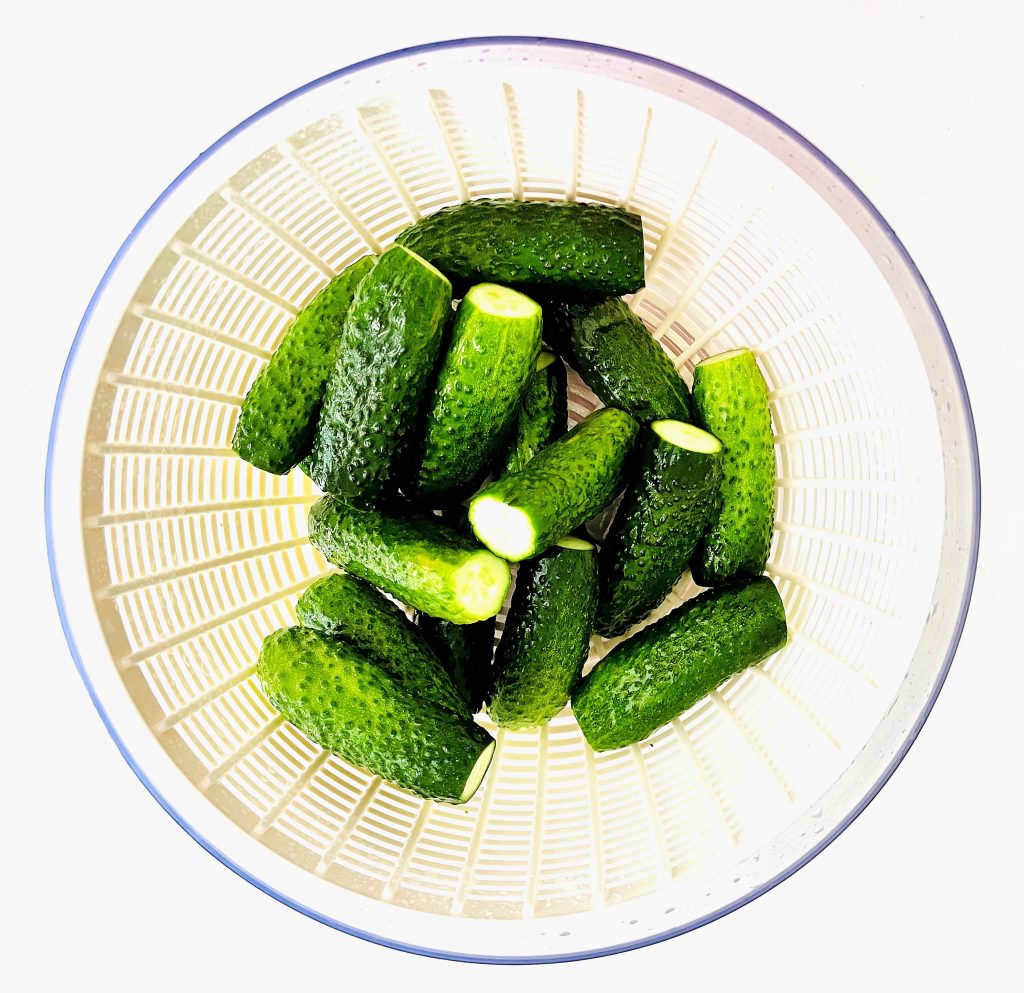
- Start by washing the cucumbers, then let them soak in cold water for 2 to 5 hours. After draining, trim the tail ends of the cucumbers.
- (!) Before you begin canning the cucumbers, ensure that the jars are cleaned with soapy water and properly sterilized.
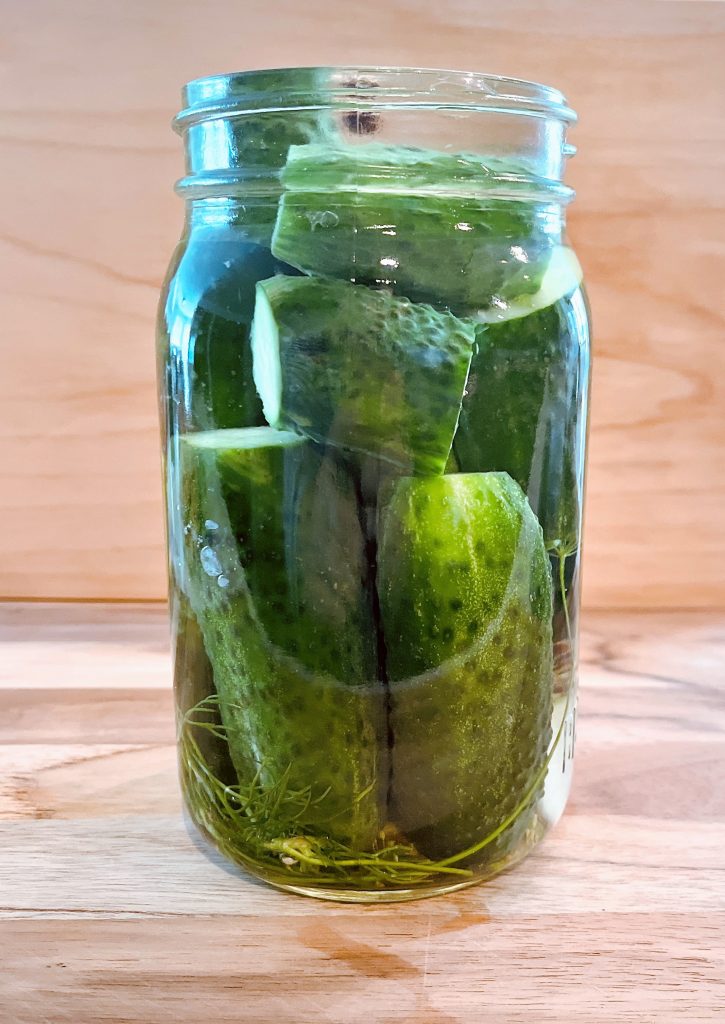
- Once the jars are sterilized and cooled, pack the cucumbers tightly into them. The goal is to leave as little space as possible. If needed, you can cut the cucumbers into halves or quarters. Leave some space at the top to add dill heads, or you can place them at the bottom or between the cucumbers. Cut garlic cloves into halves or quarters and add 2 cloves to a 32 oz. jar or 1 clove to a 16 oz. jar. Include peppercorns, bay leaves, and optional sliced horseradish root.
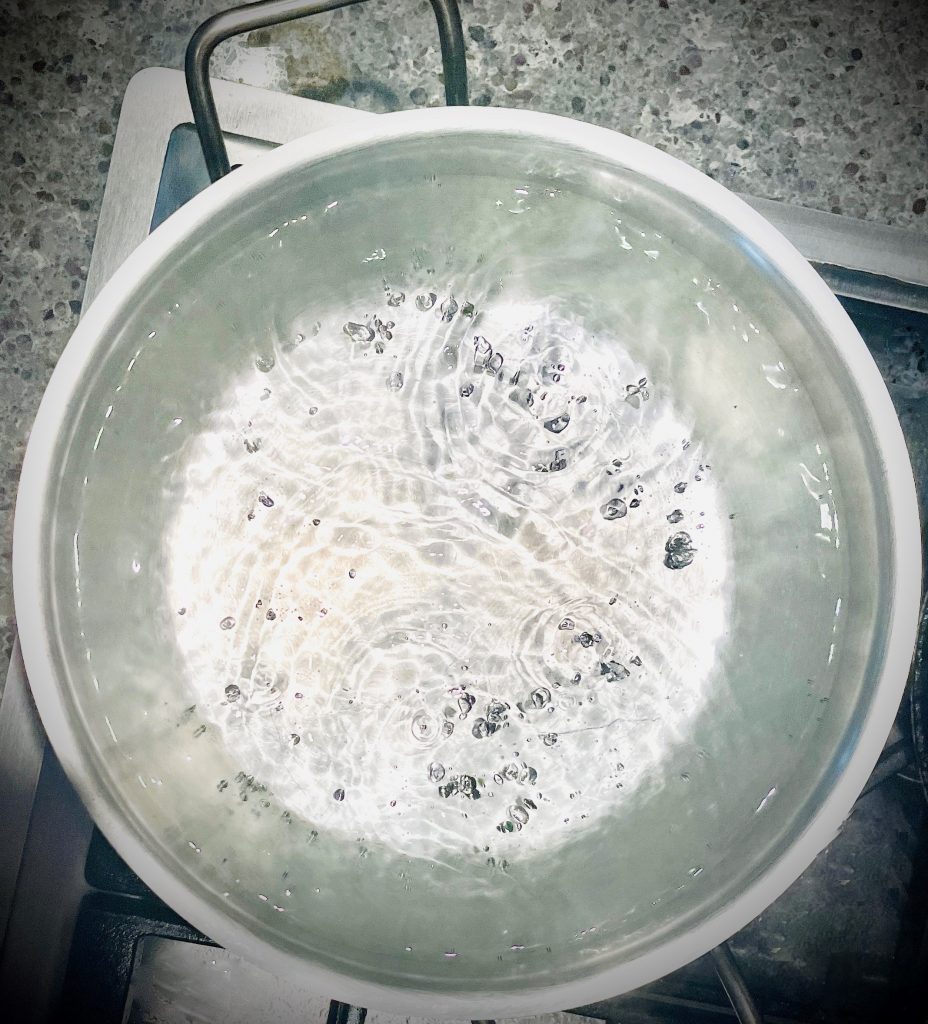
- Measure out 1 ½ parts of cold, clean water for each 1-liter (32 oz.) jar filled with cucumbers to kickstart the pickling process. In a pot large enough to hold the measured water, bring it to a rolling boil and let it boil for 5 minutes.
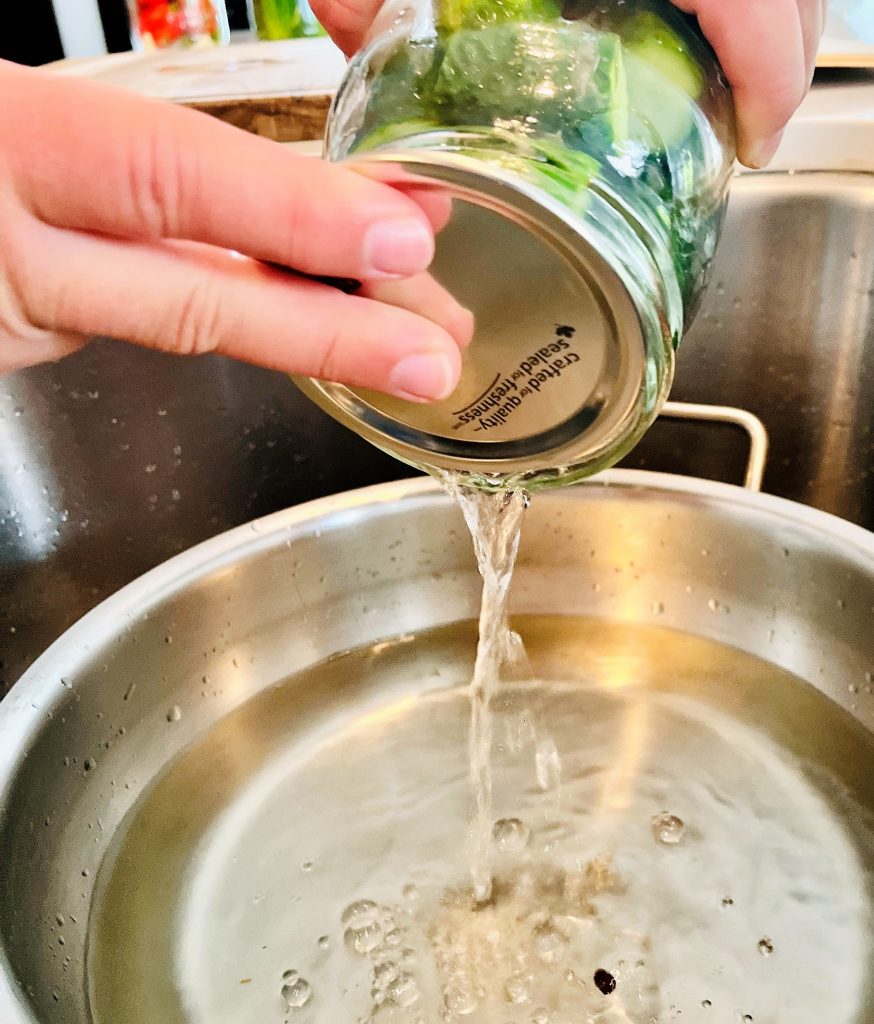
- Remove from the heat and immediately pour the piping hot water into the jars containing the cucumbers. It is best to do this while keeping your jars in a kitchen sink. Let the cucumbers sit in hot water for 15 minutes.
- Pour the water back into the pot and bring it to a boil again. If a few peppercorns or horseradish pieces end up in the boiling water, it's alright. Pour the hot water into the cucumber jars again and let them sit for another 10 minutes.
- Before proceeding, bring a smaller pot of water to a boil. This will be used to sterilize the lids and soften the seal that ensures the jars stay shelf-stable for years. Note: Do not boil the lids. Turn off the heat just before dropping them into the water.
- Pour the water back into the pot and add the measured salt and sugar. Bring it to a boil and continue boiling until the sugar and salt are fully dissolved. As you're about to turn off the heat, add the pickling vinegar. Turn off the heat immediately – this is your pickling brine.
- Once you added the pickling vinegar to the marinade, place the jar lids into the freshly boiled water.
- Carefully pour the marinade into the jars with the pickles. Cover with lids right away and securely tighten the lid bands.
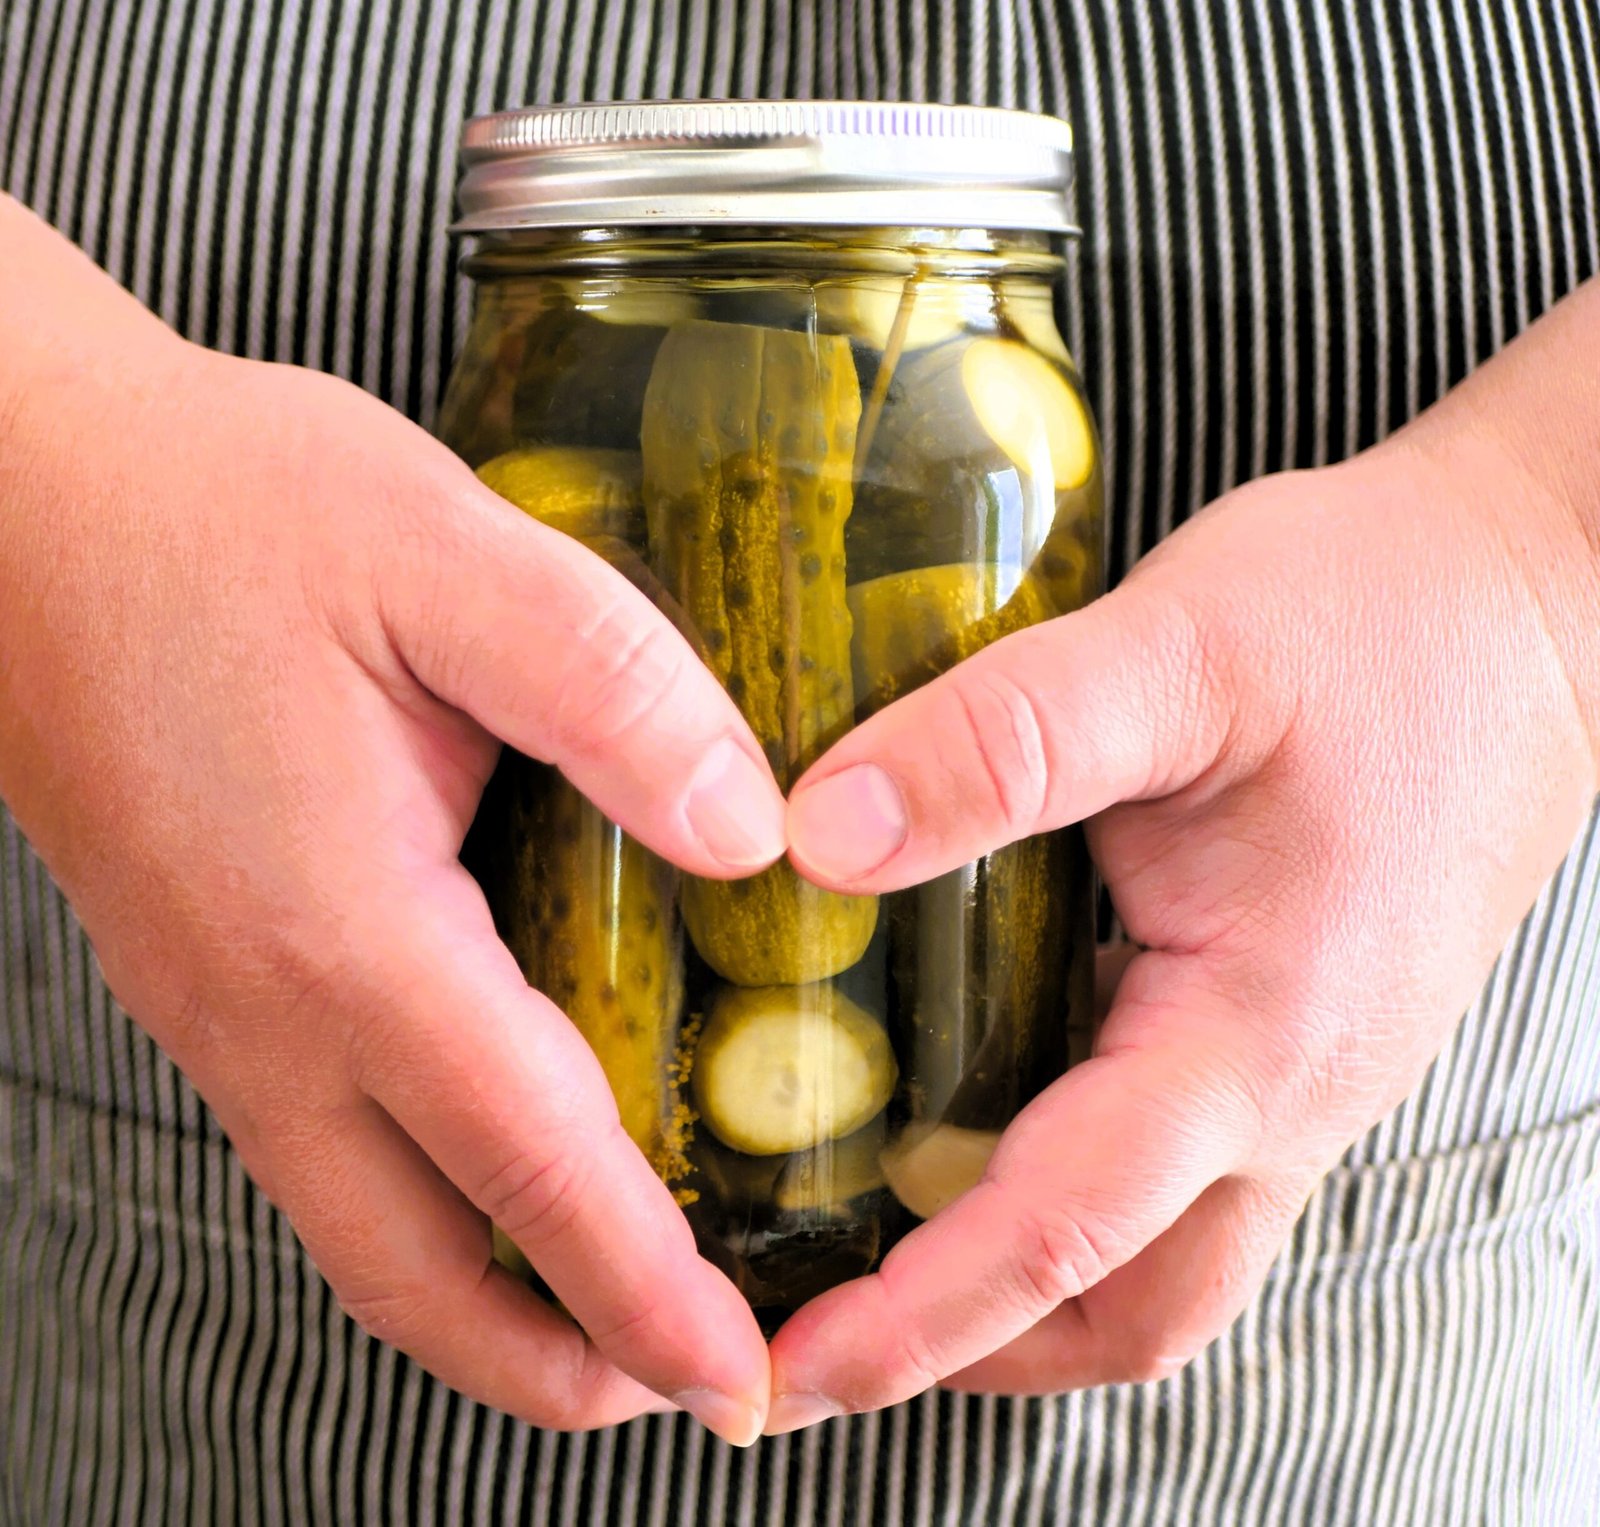
- Turn the jars upside down and wrap them tightly in warm towels. We recommend using two or three beach towels for three large jars. Leave the jars like this for 2 days or until they're completely cool to the touch.
- Congratulations, your jars are now ready for your pantry! Whether you're grilling, tossing salads, or saucing things up, these pickled cucumbers are your go-to for adding that special something to your food.
We can’t wait to learn how this preserve recipe worked out for you. Leave us a comment below, like us on X, Facebook, Pinterest and Instagram. And remember, sharing is caring!
Frequently Asked Questions
Can these dill pickles go bad?
In general, factors like improper sealing, contamination, or extended storage can contribute to the spoilage of pickled cucumbers, despite the preserving effects of pickling. Signs of spoilage include changes in color, unpleasant odors, or the presence of mold. If you detect these signs, we advise you to discard the pickles to prevent consuming spoiled food.
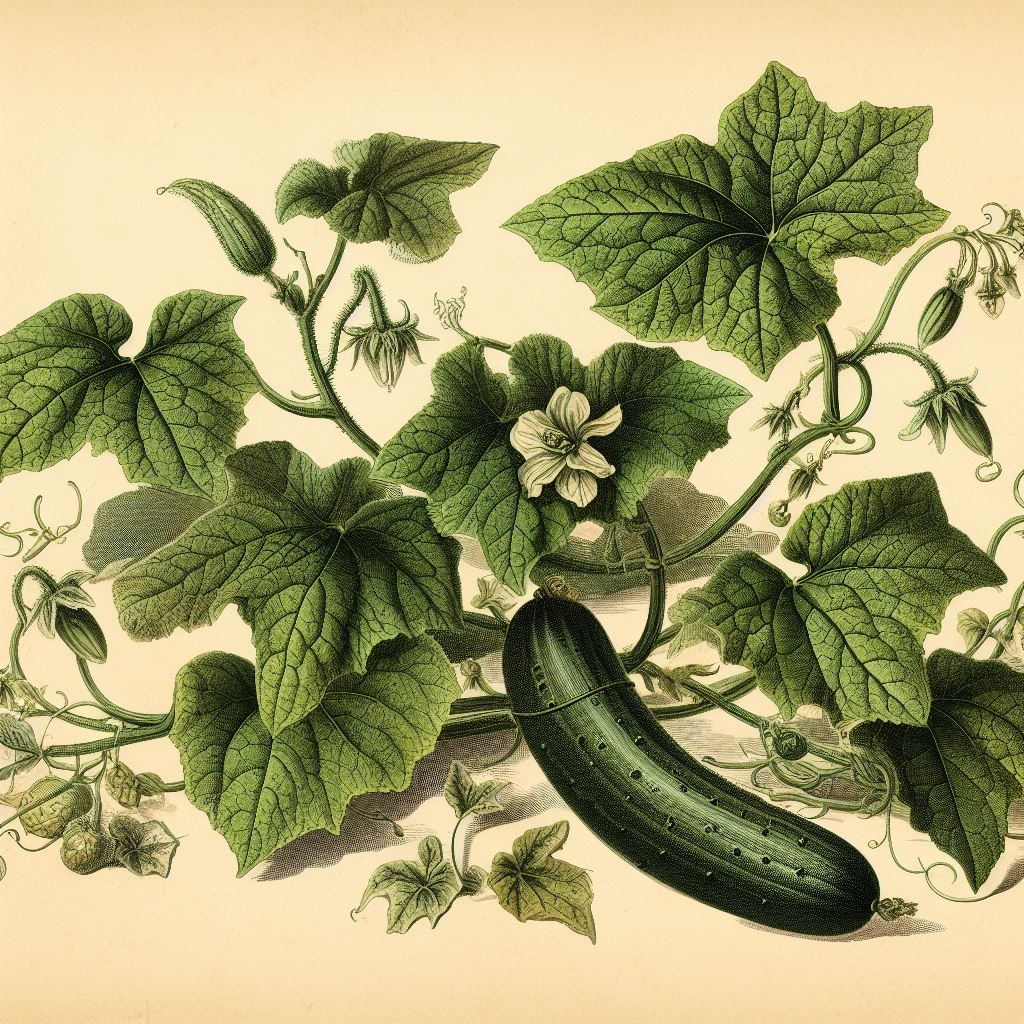
What plant do pickles come from?
Did you know, when it comes to dill pickles, the top questions people ask on Google are “What plant is a pickle?” and “What plant do pickles come from?” Let’s clear that up. Pickles aren’t from a special plant; they’re cucumbers! Indeed, a pickle is a cucumber soaked in a mix of water, vinegar, salt, and spices, giving it that tangy and salty taste.
When are dill pickles ready?
We advise you to wait at least a week before indulging in your fresh dill pickles batch. For optimum flavor, allow these dill pickles to sit for an entire month.
Can pickled cucumbers go bad after opening?
Once you open pickled cucumbers, such factors as exposure to air and contaminants will influence their shelf life. If stored properly in the refrigerator and kept in an airtight container, opened pickles can last for several weeks, depending on the specific circumstances and ingredients used in the pickling process. However, always check for signs of spoilage, such as an off smell, unusual color, or the presence of mold. If you observe any of these signs, it’s safer to discard the opened pickles to avoid consuming spoiled food.
Can pickled cucumbers be frozen?
We recommend against freezing pickled cucumbers. If frozen, the texture of pickled cucumber will change after thawing, and they will become mushy. This is because the freezing process will affect the crispness of the cucumbers due to the formation of ice crystals.
Do these dill pickles need to be refrigerated?
You can keep unopened pickles in a cool, dark pantry until opened, after which you should refrigerate them. Always check for signs of spoilage, such as an off smell, unusual color, or the presence of mold, and discard pickles if any of these signs are present.
How to use dill pickles?
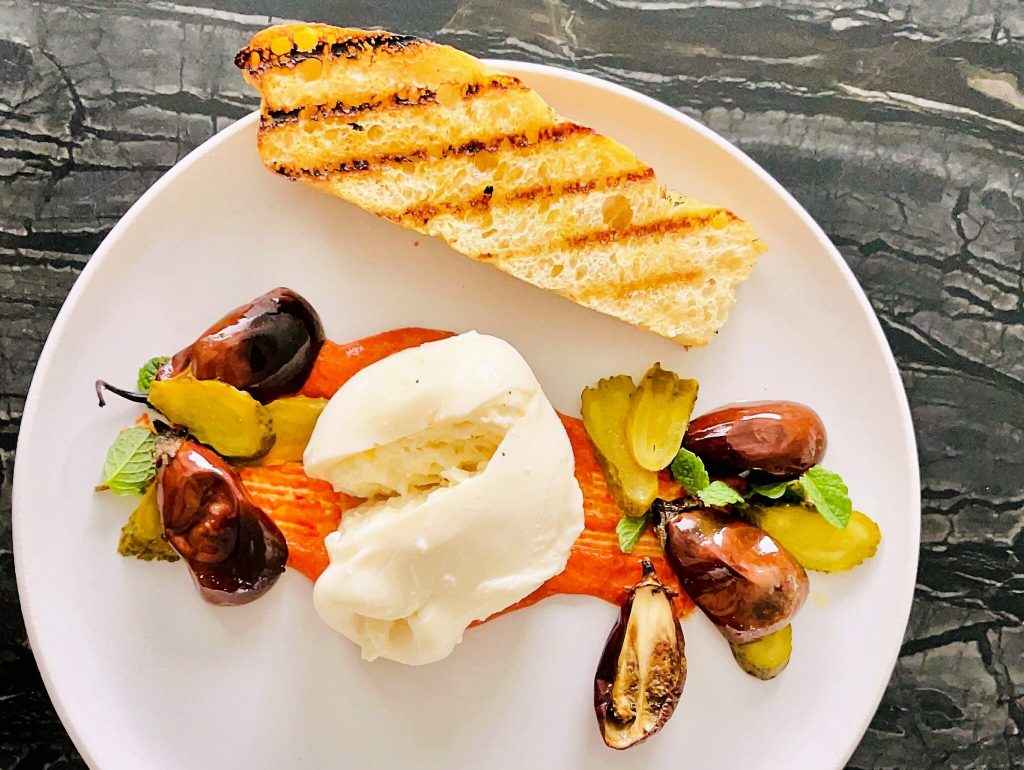
These pickled cucumbers are more than just pickles – they’re flavor-packed wonders waiting to be explored. Here are cool ways to enjoy them:
- With Grilled Meats: Serve them as a tangy side to grilled meats for a delicious combo of flavors.
- In Awesome Salads: Jazz up your salads, like beet salad or tapas, like Bruschetta by tossing in these pickles for an extra kick.
- Must-Have for Sauces: They’re a secret weapon for sauces like Sauce Gribiche, remoulade, and homemade tartar sauce.
You may also like:
-
Duo Of Pickled Crunchy Cucumber Spears And Pattypan Squash
Why would anybody pickles pattypan and cucumbers spears together? How about bragging rights? Anyone can bring a jar of cucumber pickles to the table. But when you casually say, “Oh, these are my pickled pattypan squash and cucumber spears”, just watch people’s eyebrows shoot up. You’re instantly the most interesting person at the potluck.
-
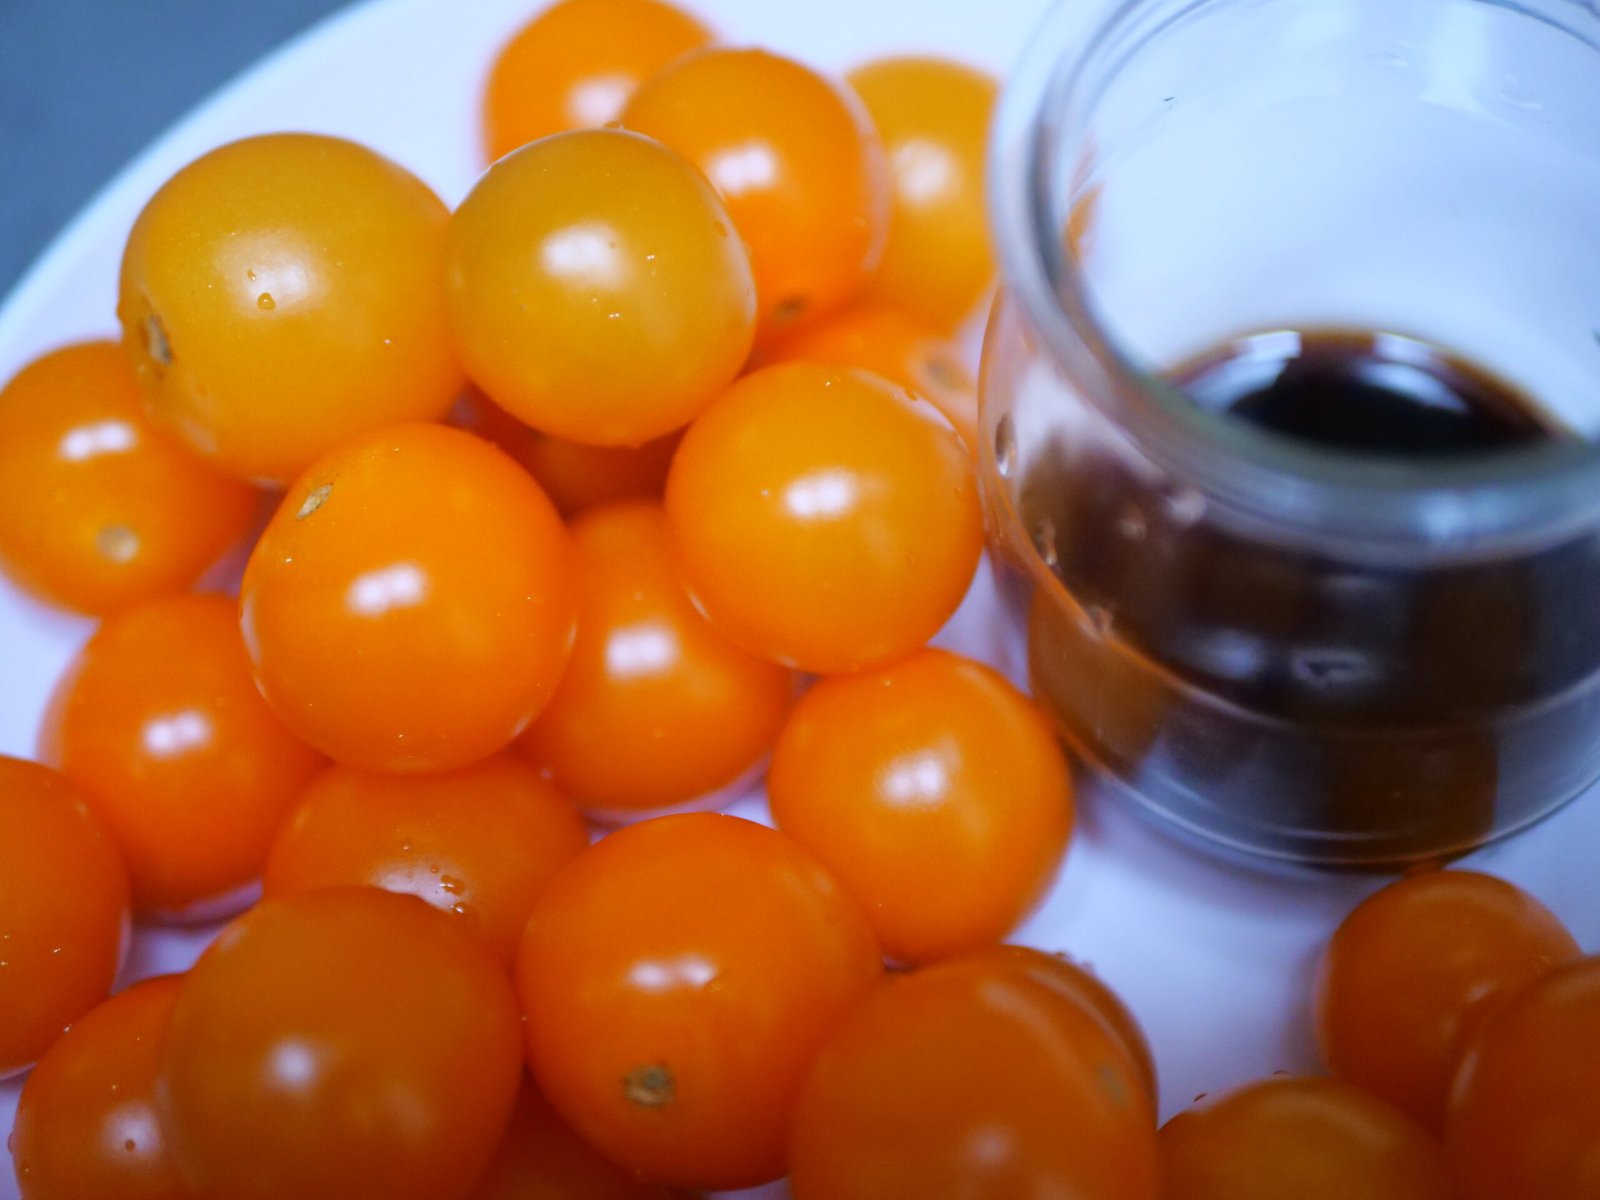
Soy Sauce Pickled Cherry Tomatoes: Try Bold, New Pickle Flavor
Yes, you can make soy sauce pickled cherry tomatoes! They are a bold twist on traditional pickles, delivering an unexpected burst of umami and sweetness. Forget ordinary vinegar-based brines—this recipe transforms your tomatoes into an unforgettable flavor bomb. Perfect for snacking or charcuterie boards, this unique pickle will wow your taste buds!
-
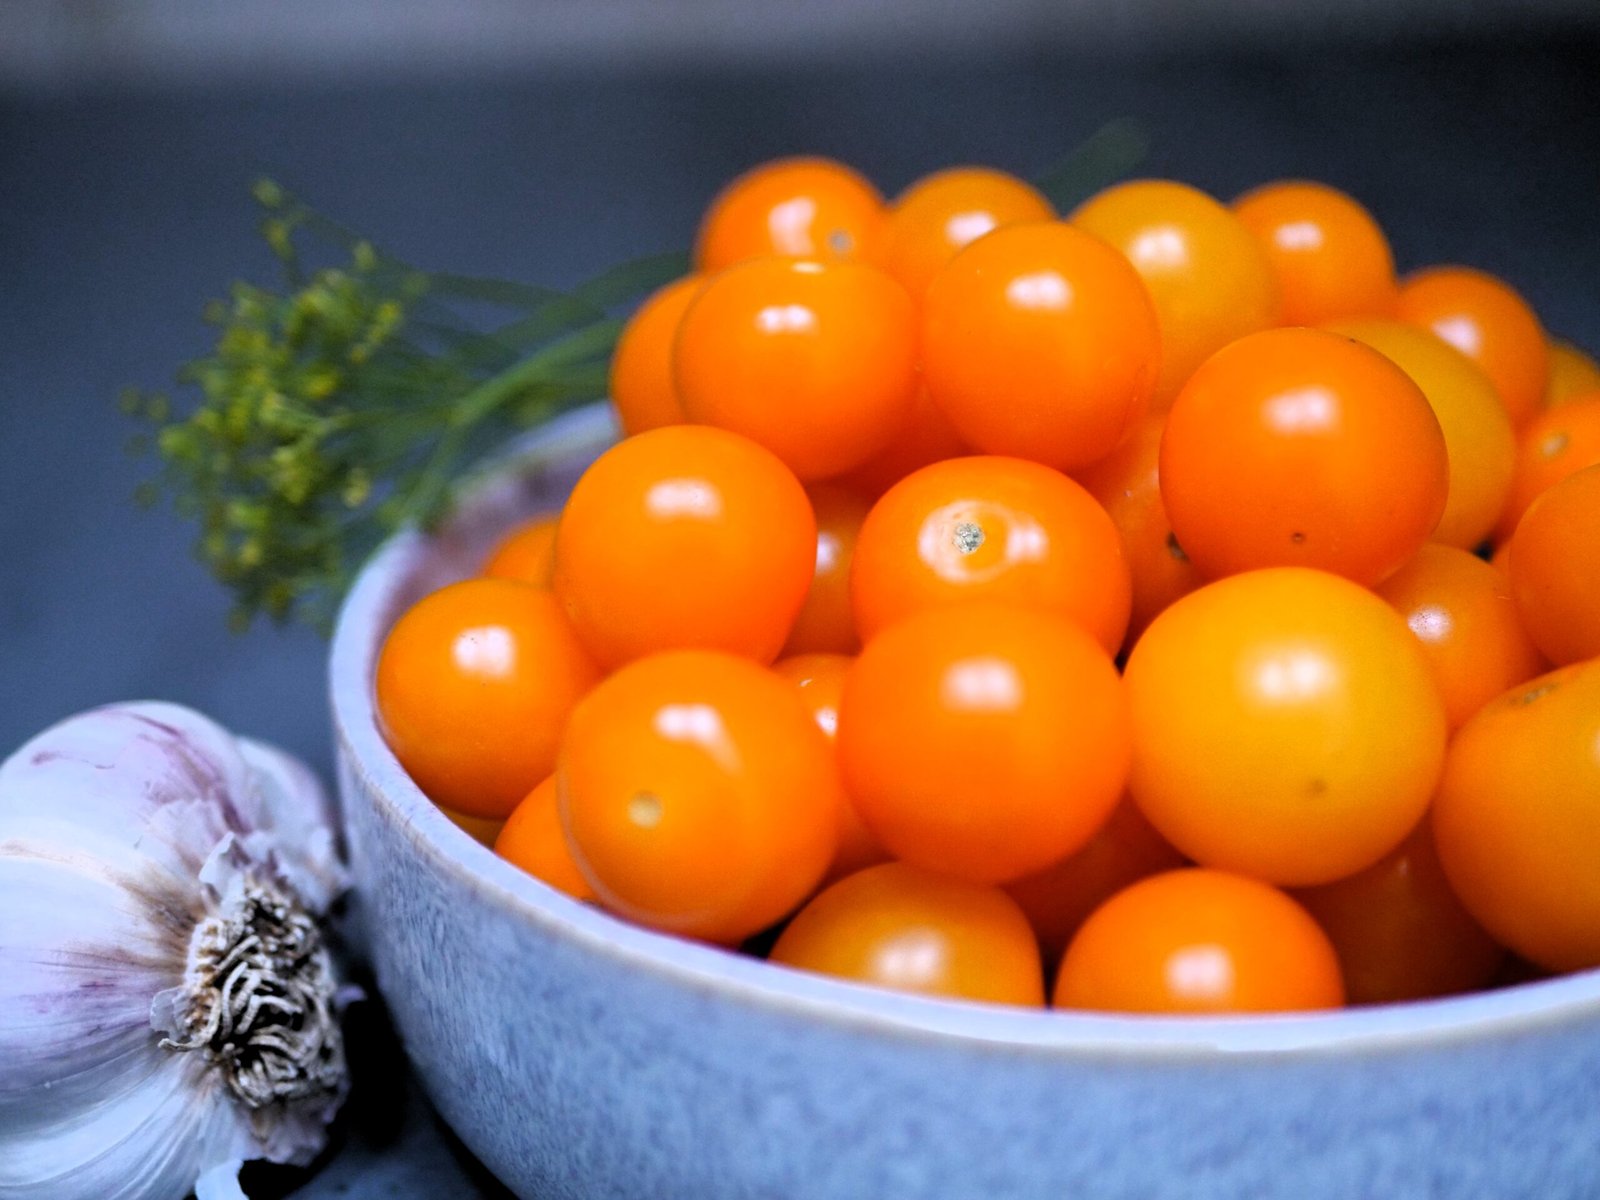
How To Pickle Cherry Tomatoes: Easy Recipe, Tips, And Troubleshooting
Cherry tomatoes are the candy of the vegetable world, but they don’t last forever—unless you pickle them! Try this easy, beginner-friendly recipe for the perfect homemade holiday gift. Pickled and canned cherry tomatoes make a great addition to your charcuterie board and add a pop of color, like little jewels, to your holiday table.
-

Fried And Pickled Sweet Banana Peppers: Recipe For Canning
Looking for a simple way to jazz up your charcuterie board? This fried and pickled sweet banana peppers recipe is your new go-to! These peppers are easy to can, so you’ll always have a jar ready to impress guests—or just treat yourself. Plus, these canned banana peppers make a great side for any meats!
-

How To Make Pickled Roasted Bell Pepper
Pickled roasted bell peppers are a pantry staple, and making them at home is easy and rewarding. With rising prices and growing interest in food quality, now is the perfect time to roast and pickle your own. It’s a simple way to save money, control ingredients, and enjoy healthier peppers in your meals!
-

Easy Hungarian Lesco: Hearty Tomato – Pepper Stew Canning Recipe
Just as ratatouille brings France to life, lecho (lecso) is Hungary in a bowl. This rich, sweet-and-sour stew of tomatoes and peppers uses simple ingredients with bold, unforgettable flavors. Want to enjoy it all year? Try the canning recipe and keep a taste of Hungary’s harvest season right in your pantry.
-

A Better Way To Use Green Tomatoes – Pickle Them!
Let’s be honest, fried green tomatoes aren’t that special. Without the movie, we wouldn’t even be talking about them. So, what should you do with your green tomatoes? Make pickles, of course! Go ahead—make some. Bet you can’t resist eating the whole jar in one go!
-
Spicy Dill Pickles Recipe For Open Kettle Canning Method
Craving heat? We’ve got it! We took our classic dill pickles recipe and turned up the heat to bring you the spicy pickles recipe for canning you’ve been asking for! But that’s not all! We’ll also show you how to make this recipe work with either the open kettle or boiling water bath canning methods.
-
Pickled Cucumber Salad With Spanish Sweet And Smoky Paprika
Curious about what else you can do with your pickling cucumbers? Try our pickled cucumber salad with carrots and a simple marinade—it’s sure to impress. Plus, it’s the ultimate make-ahead meal in a jar. The secret ingredient? Spanish paprika, an unexpected spice that makes this recipe truly stand out.
-
Pickled Cucumbers: Time-Tested Hungarian Recipe
Pickling cucumbers has been a European tradition for ages. But the Hungarian commercially-made Globus pickled cucumbers have always been the top of the line. Globus pickles set the gold standard, inspiring pickles fans everywhere to crack the Globus code. This recipe does just that! It captures that legendary Globus taste from the 80s.

Leave a Reply