How To Make Roasted Garlic Aioli At Home
Views: 352
This is your roasted garlic aioli 101. Not only do we share with you our tried-and-true recipe for garlic aioli, but we also equip you with a host of tips and tricks for fixing aioli mishaps and preparing and storing your freshly made condiment in a way that will make it last longer. And let us tell you, our roasted garlic aioli has won over even the pickiest of eaters among our friends, so trust us, you don’t want to miss out on this recipe!
While technically, this garlic aioli can and should be prepared by hand, unless you’re a purist or training to pass an exam at one of those Michelin restaurants, get that trusty blender of yours out!
While traditional aioli does not contain either white wine vinegar or mustard, we added it to our recipe, as both of these act as preservatives and extend the shelf life of our roasted garlic aioli.
Yield:
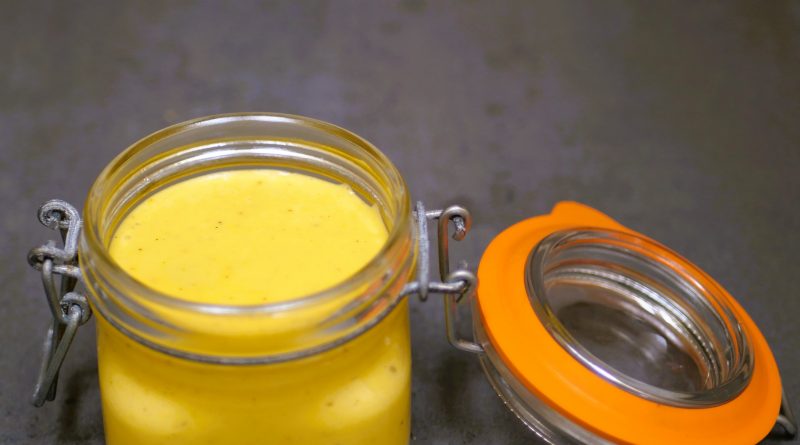
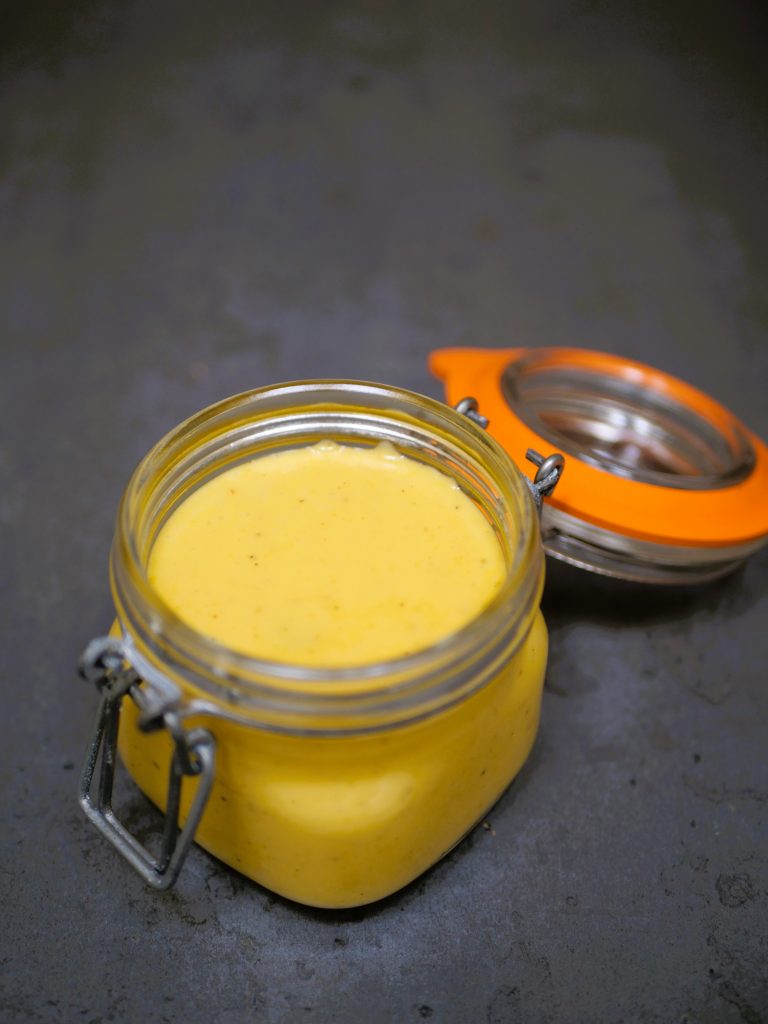
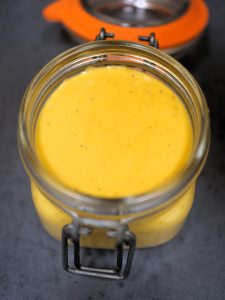
The specified in this recipe quantity of ingredients yields one 250 ml jar of roasted garlic aioli
Quick and Easy Recipe: Roasted Garlic Aioli Sauce
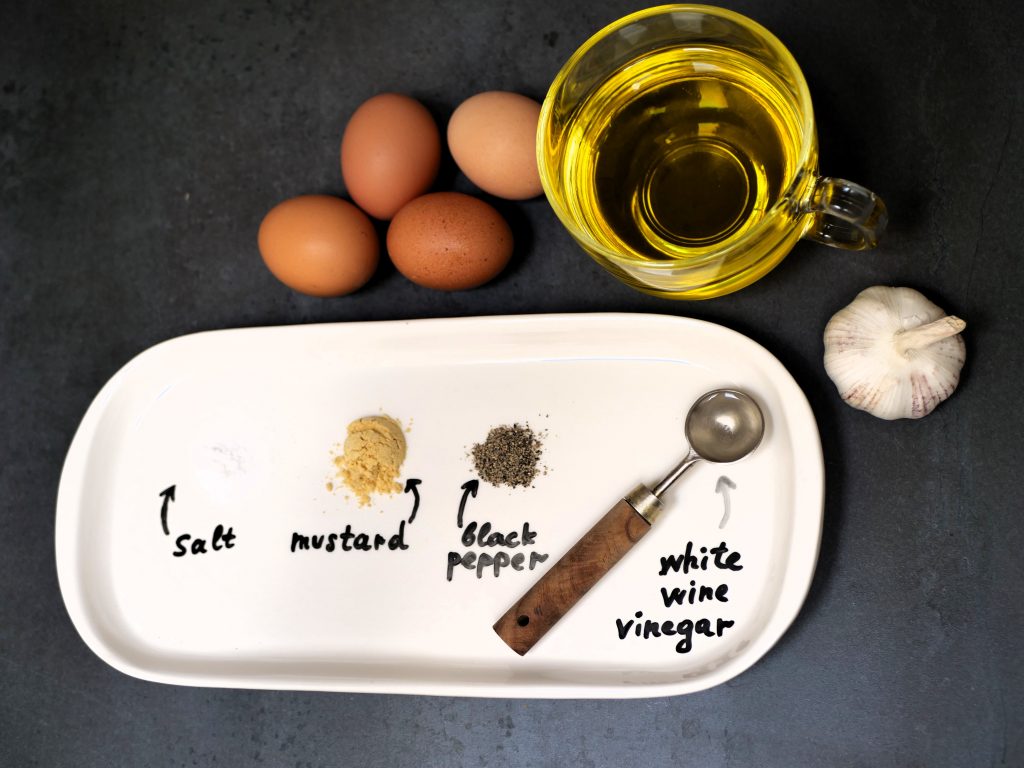
Ingredients
- 1 head garlic roasted
- ½ tsp. sea salt or to taste
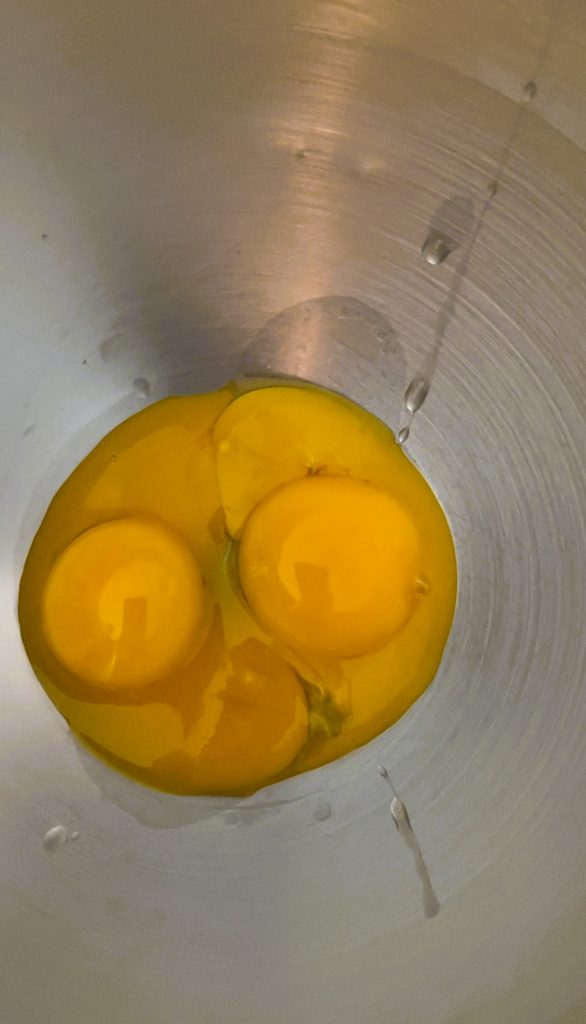
- 4 large egg yolks at room temperature
- ¾ cup olive oil
- ¼ tsp. pepper preferably white pepper
- ½ tsp. dry mustard
- 1 tbsp. white wine vinegar
Instructions
Roast the garlic:
- Preheat your oven to 375°F (190°C)
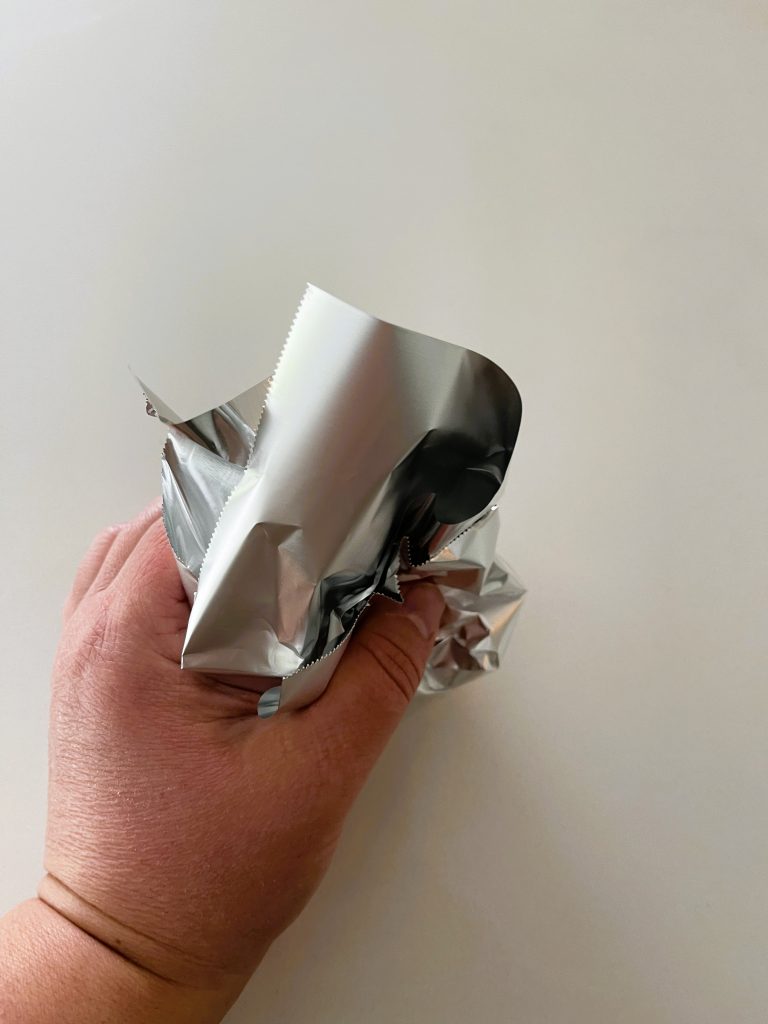
- Take a whole head of unpeeled garlic and wrap it in three layers of aluminum foil.
- Place the wrapped garlic in the preheated oven. Using the roast function, roast the garlic for 15 minutes.
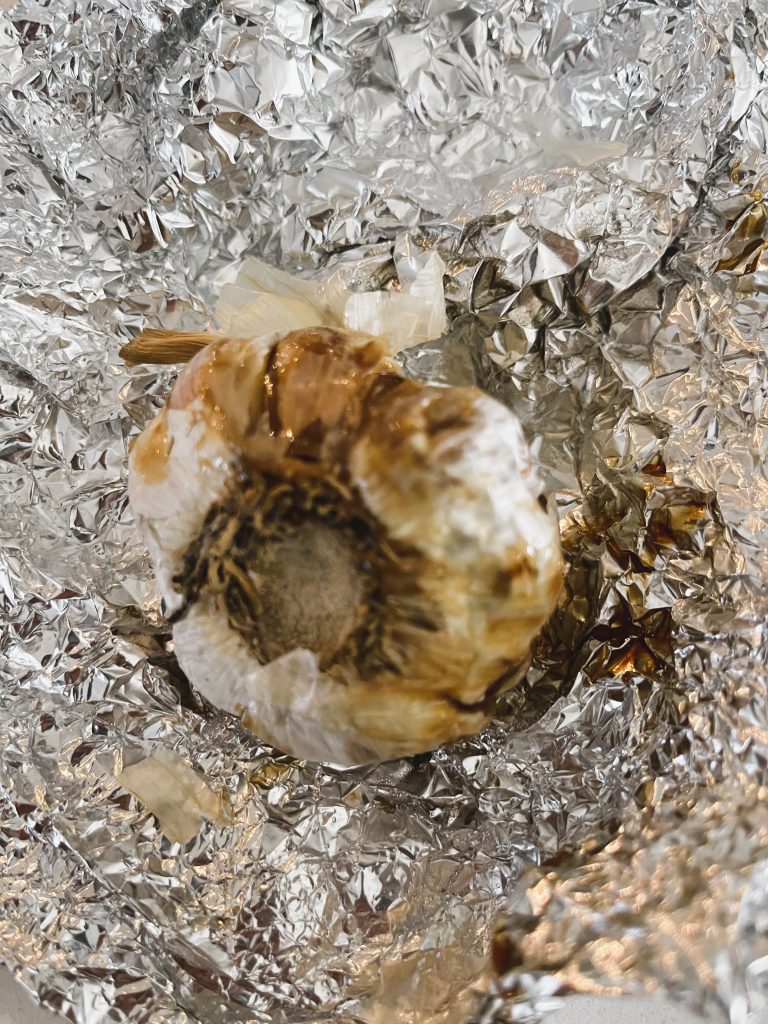
- Turn off the oven and let the garlic sit in the hot but cooling oven for an additional 20-30 minutes. Start checking after about 20 minutes. The garlic is ready when it can be easily squeezed without resistance.
- Let the garlic cool in the foil before using it in the aioli.
Make the aioli sauce:
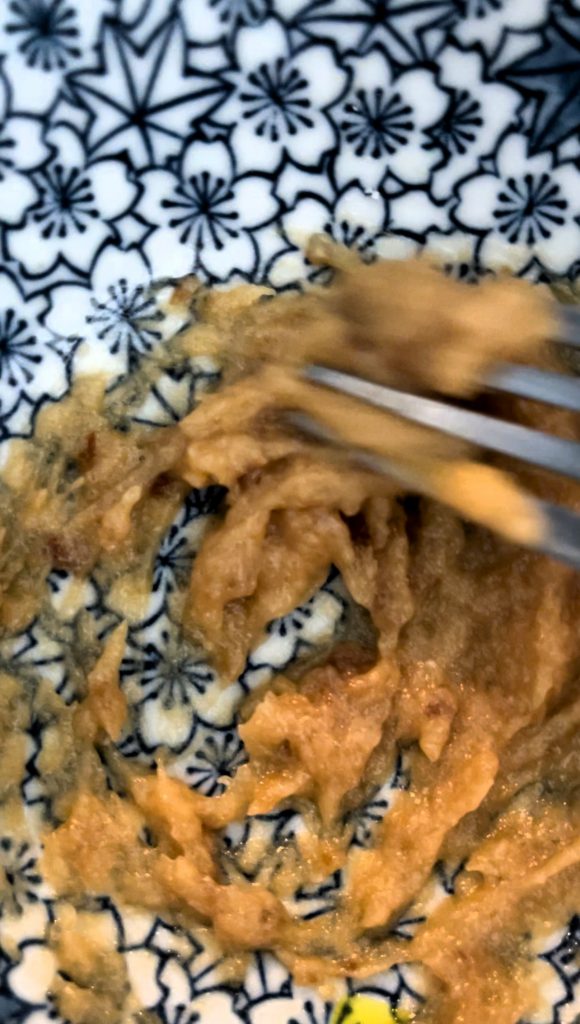
- Unwrap the roasted garlic and squeeze and scrape the garlic cloves into a small bowl.
- Add a pinch of salt and mash the roasted garlic with a fork until it forms a smooth paste. Set aside.
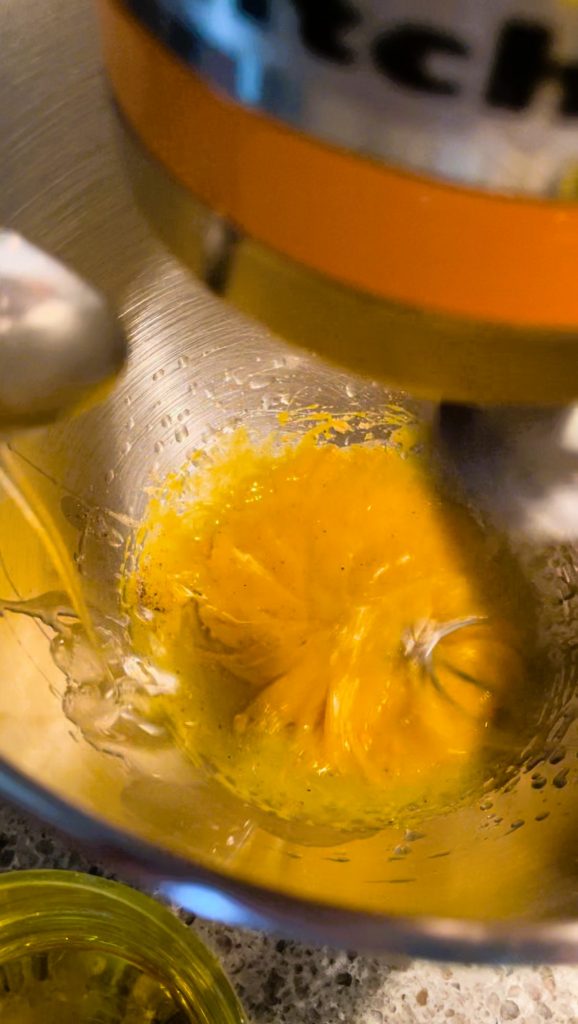
- In a mixer bowl, whisk the egg yolks until they lighten in color and become slightly fluffy.
- Add all the mustard to the yolks and whisk until fully incorporated.
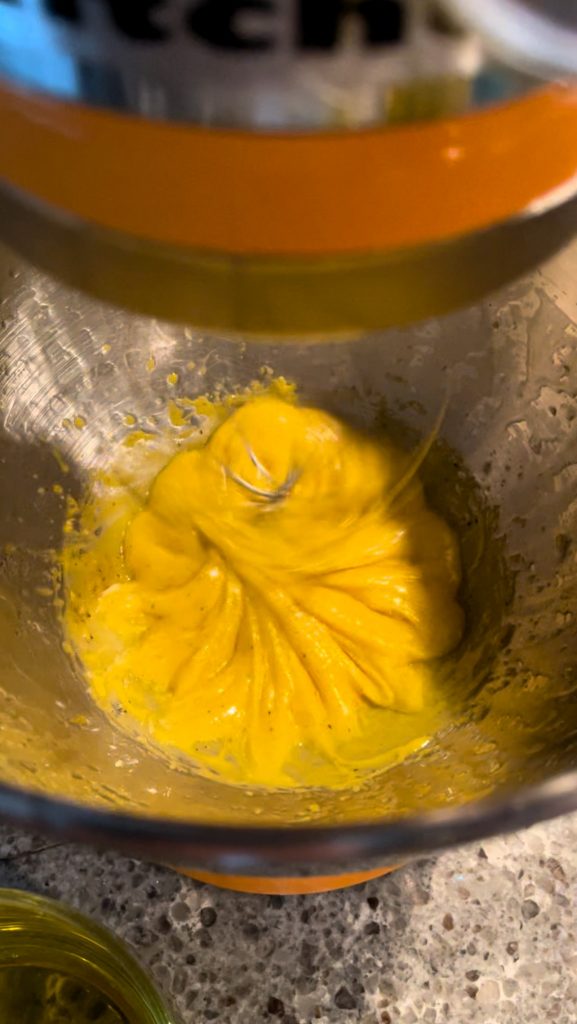
- Very slowly drizzle in the olive oil ½ teaspoon at a time and gently whisk until a thick emulsion forms. This should happen after about 2 tablespoons of oil have been added.
- Once a stable emulsion has formed, continue to add the remaining oil, 1 teaspoon at a time, whisking thoroughly after each addition until half of the oil has been used.
- Add white wine vinegar and whisk till all of the vinegar is incorporated. Start adding oil again, until all the oil is used.
- Gently stir in the garlic paste. Season with pepper and add more salt if required
Frequently asked questions
Why aioli won’t thicken?
One reason why your aioli won’t thicken could be that you didn’t use enough egg yolks, so aioli lacks that binding power. Or maybe you added too much thinning ingredients like lemon juice or vinegar, making it too liquidy. To fix it up, add a bit more egg yolk or slowly drizzle in some more oil while whisking until it thickens up nicely.
Can aioli be frozen?
Categorically no! If you try, it will turn into a separated, grainy mess once it thaws. The freezing process affects the delicate balance of ingredients, especially the oil and egg yolk. For the best taste and texture, it’s best to make fresh aioli and keep it in the fridge for up to two weeks.
Can aioli be heated?
Heating aioli isn’t the best idea! If you decide to go for it, you might end up with something that looks more like scrambled eggs than a delicious sauce. Aioli doesn’t play well with heat because it’s made with raw eggs, which can get all weird and clumpy when heated. Aioli is best enjoyed cold or at room temperature.
Why did my aioli split?
When making aioli, it’s important to slowly add the oil and blend it well with the egg yolk. If you add too much oil at once, the egg yolk can’t absorb it properly, and your aioli will split. Similarly, if you rush the mixing process, you’ll get the same problem with split aioli sauce.
To fix it, try starting fresh with a new egg yolk and slowly drizzling in the split aioli while whisking vigorously. It might take a bit of elbow grease, but your aioli should come back together into a smooth, creamy sauce.
How to use garlic aioli?
Garlic aioli is a true culinary superhero that can make almost anything taste amazing. Seriously, if we listed all the ways you can use it, you’d be scrolling forever! Here are some of our favorite ideas to get you started:
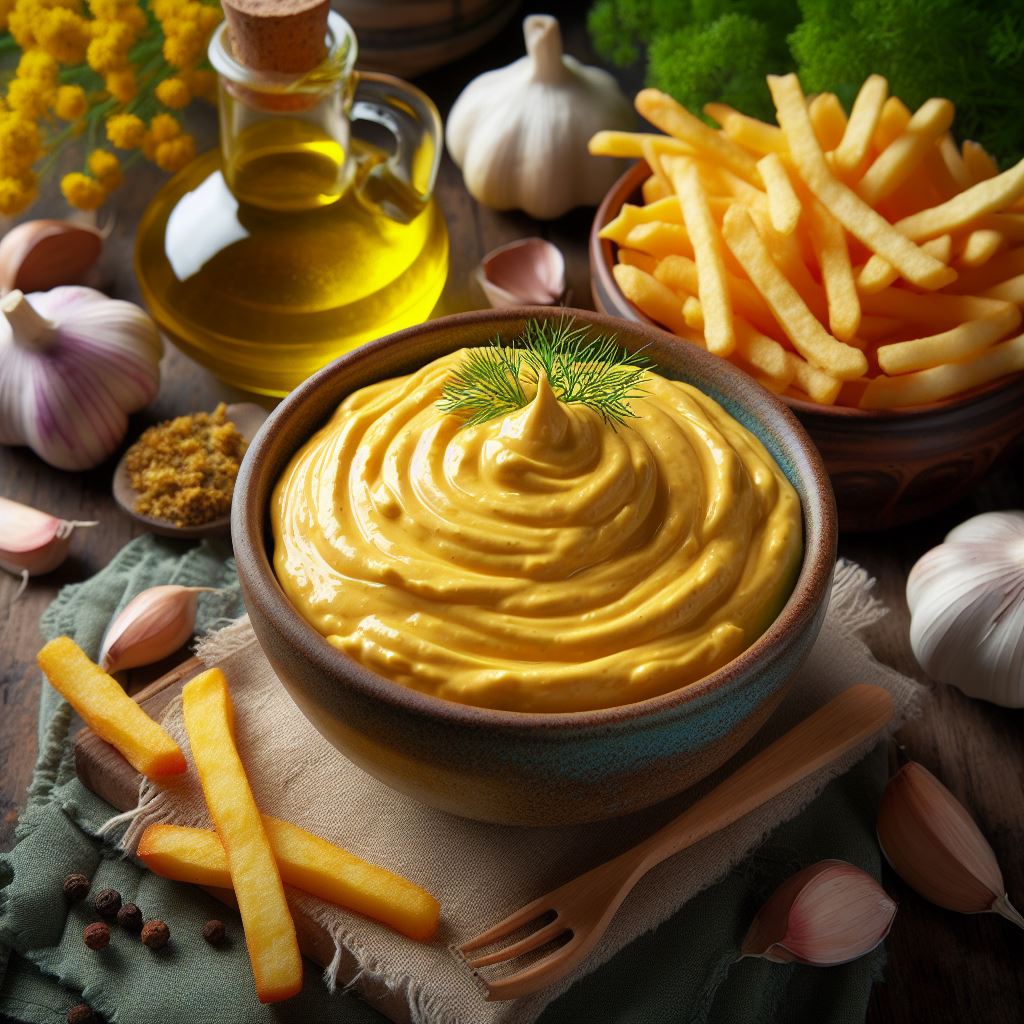
- Baked Fries with Garlic Aioli: Have you heard of baked fries with garlic aioli? If you haven’t tried this yet, you’re in for a treat! This combo is absolutely the best.
- Crab Cakes: Swap the mayo for garlic aioli in your crab cake recipe for an extra flavor boost.
- Sandwiches: Ditch the mayo and spread a layer of garlic aioli on your sandwich. Thick or thin, it’s up to you!
- Salad Dressing: Mix garlic aioli with a bit of extra vinegar or lemon juice to create a tasty salad dressing.
- Remoulade Base: Use aioli as the base for a remoulade sauce to serve with crab cakes or shrimp cakes, or just serve it “as is” with crab cakes for guaranteed deliciousness.
- Fish and Chips: Try it with fish and chips, or for something different, try it with the classic Dutch kibbeling.
- Deviled Eggs: Mayo in devilled eggs is so last century! Serve it with garlic aioli instead!
- Fish Tacos: What can we say? Fish tacos and garlic aioli… It’s a match made in heaven!
- Roasted Meats and Fish: Serve aioli alongside roasted steak or salmon for a flavor boost.
- Burgers: Swap mayo for aioli in your burger. Trust us, it makes the best burger ever.
How long will aioli last?
How long aioli lasts depends on what’s in it. Generally, if you keep it in the fridge, it should stay good for about two weeks. Just make sure to store it properly in an airtight sealed container to keep it fresh. To make your aioli last longer, we recommend using a clean and previously sterilized terrine jar or a WECK mold jar. Use either of the methods recommended to sterilize your jars.
Next, use clean utensils to pack your freshly made aioli into the jar. Always use a clean spoon to serve your aioli, and be careful not to contaminate it with other foods. For example, don’t dunk your fries into the jar if you plan to keep storing the aioli.
Can aioli be left out?
Leaving aioli out at room temperature isn’t a great idea, especially if it contains fresh eggs, like our roasted garlic aioli. While it’s fine to leave aioli out while you’re serving it, it’s not safe to leave aioli out for an extended period. To keep your homemade aioli safe and great tasting, always keep this sauce in the fridge.
Can aioli make you sick?
Yes, aioli can potentially make you sick. Since you’ll be using fresh eggs in the aioli recipe, there’s a risk of bacterial contamination if you do not store it in the fridge. To reduce the risk, always use the freshest eggs possible. Additionally, always store aioli in the refrigerator and use it within a week or two.

Leave a Reply