Food Mill Review: When It Works, When It Fails, and When a Strainer Is Better
Views: 42
Food Mill: Quick Tool Specs
| Type: | Manual hand-crank food mill |
| Origin: | Made in Italy |
| Brand: | OMAC S.R.L. – Officina Meccanica Articoli Casalinghi |
| Price range: | $30-60 USD/ $40-60 CAD |
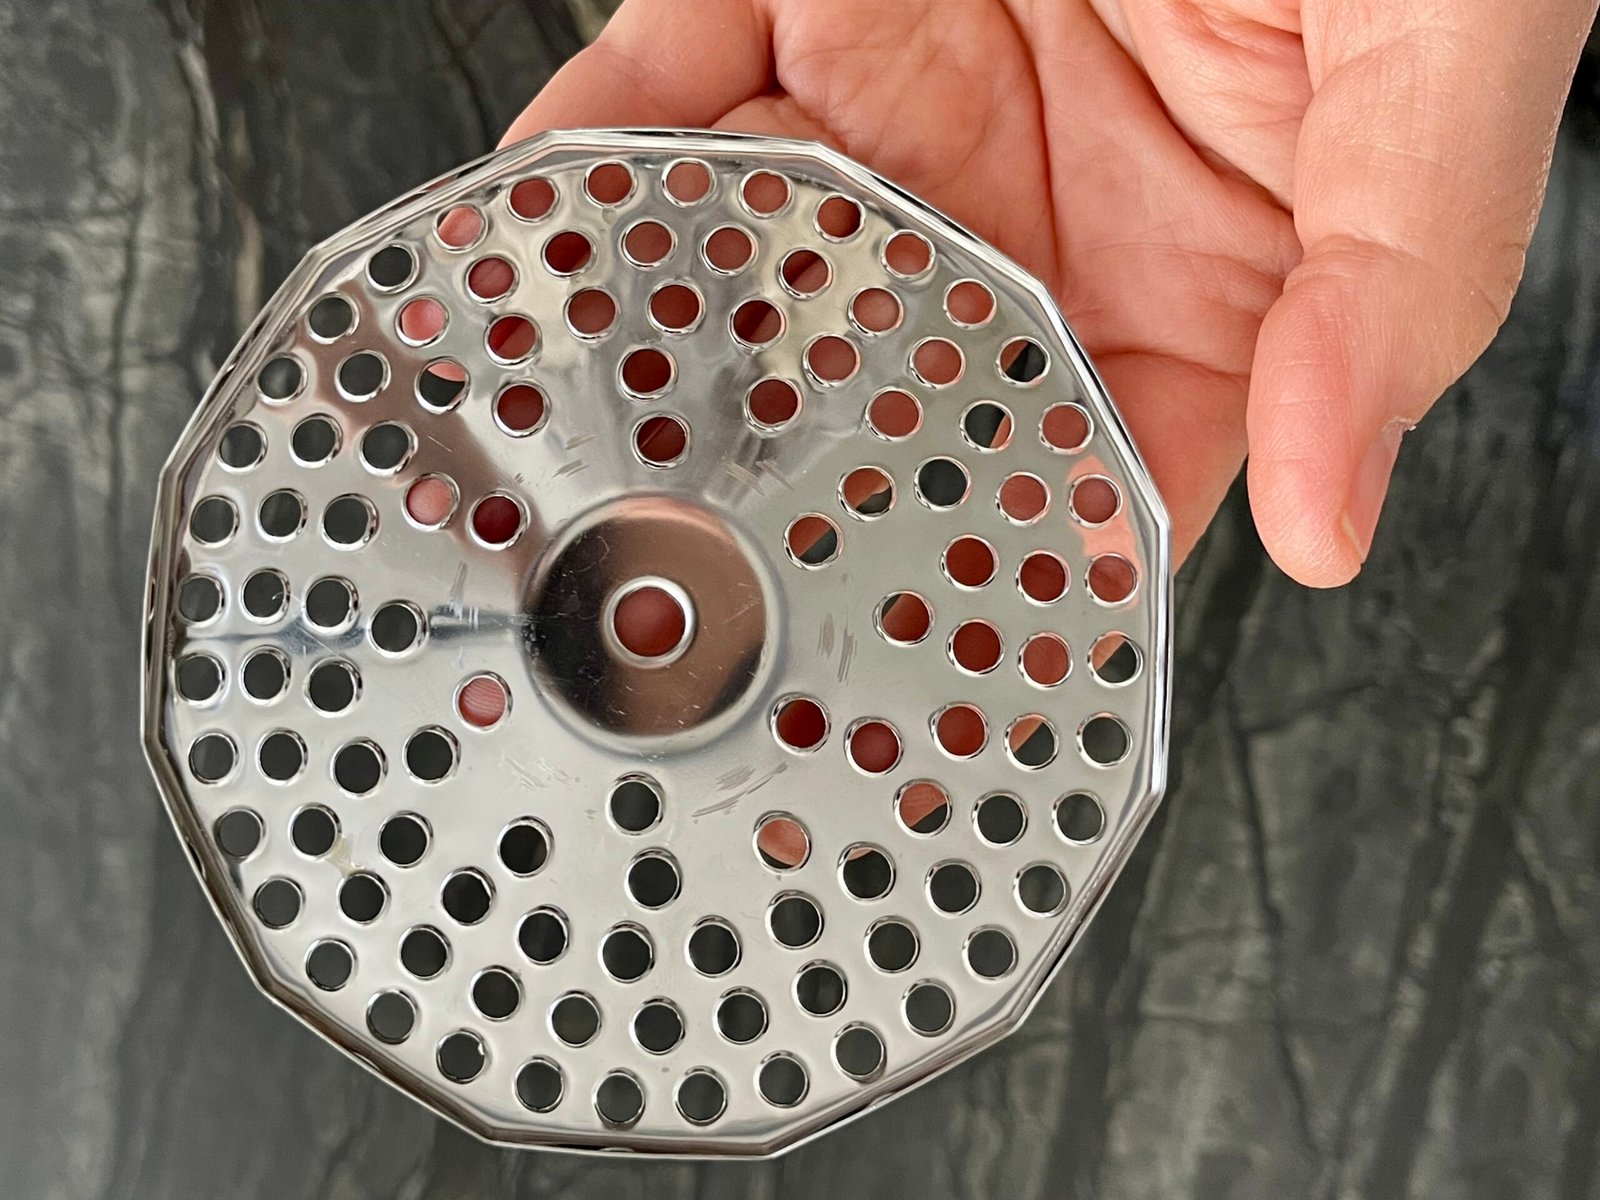
| Discs Included: | Fine, Medium, Coarse |
| Use For: | Tomato passata, tomato-based sauces |
| Not For: | Fruit preserves (berries, apples, pears) |
| Our Rating: | 3 out of 5 |
*This page contains affiliate links; as an Amazon Associate, we earn from qualifying purchases at no extra cost to you.
Many food bloggers say you need a food mill. We bought one, tested it properly, and found out when it works, when it fails, and how it can actually ruin your jam. Here’s the honest tool teardown before you spend your money.
At an average price of $30–$60 USD, foodmill didn’t feel outrageous, but it also didn’t feel necessary. In fact, it felt like one of those “nice in theory” tools that ends up living in the back of a cabinet creating the much-dreaded clutter.
Then we found one in our neighbourhood discount store. Made in Italy. Cheap enough to remove the risk. So instead of debating it, we tested it. Not in theory. Not in a controlled demo. But in real, messy, everyday canning scenarios. Then we compared it to the tools we already use.
Payback Estimate – It Depends.
✅ For passata and tomato-based sauce makers: Pays for itself in 2–3 batches (saves ~20 min of skin/seed removal per batch + 1 hour of grating tomatoes to get smooth pulp puree)
❌ For jam makers: May never pay for itself. A $10 fine mesh strainer gives better results for berries, apples, and pears
At some point, if you preserve food long enough, someone will tell you: “You need a food mill.” Not maybe. Not optional. Need. And the reasoning always sounds solid: it separates seeds from pulp, removes skins, creates smooth textures, simplifies jam and sauce making. Better yet, we were told, food mill is not just for cooked food. You can use it on cooked fruits and vegetables, raw tomatoes, soft berries.
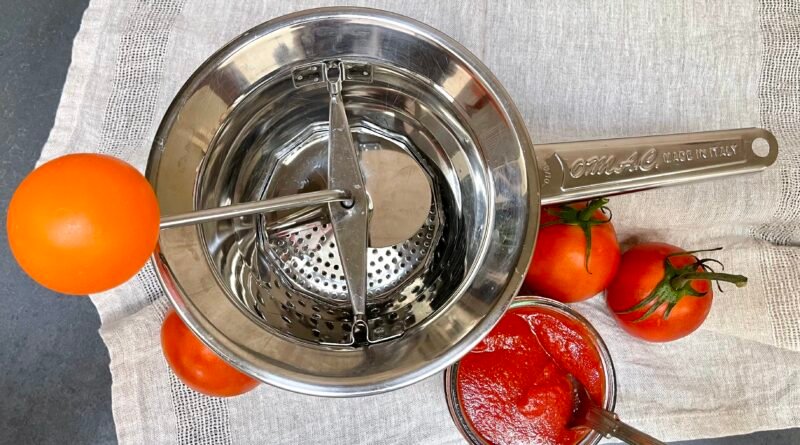
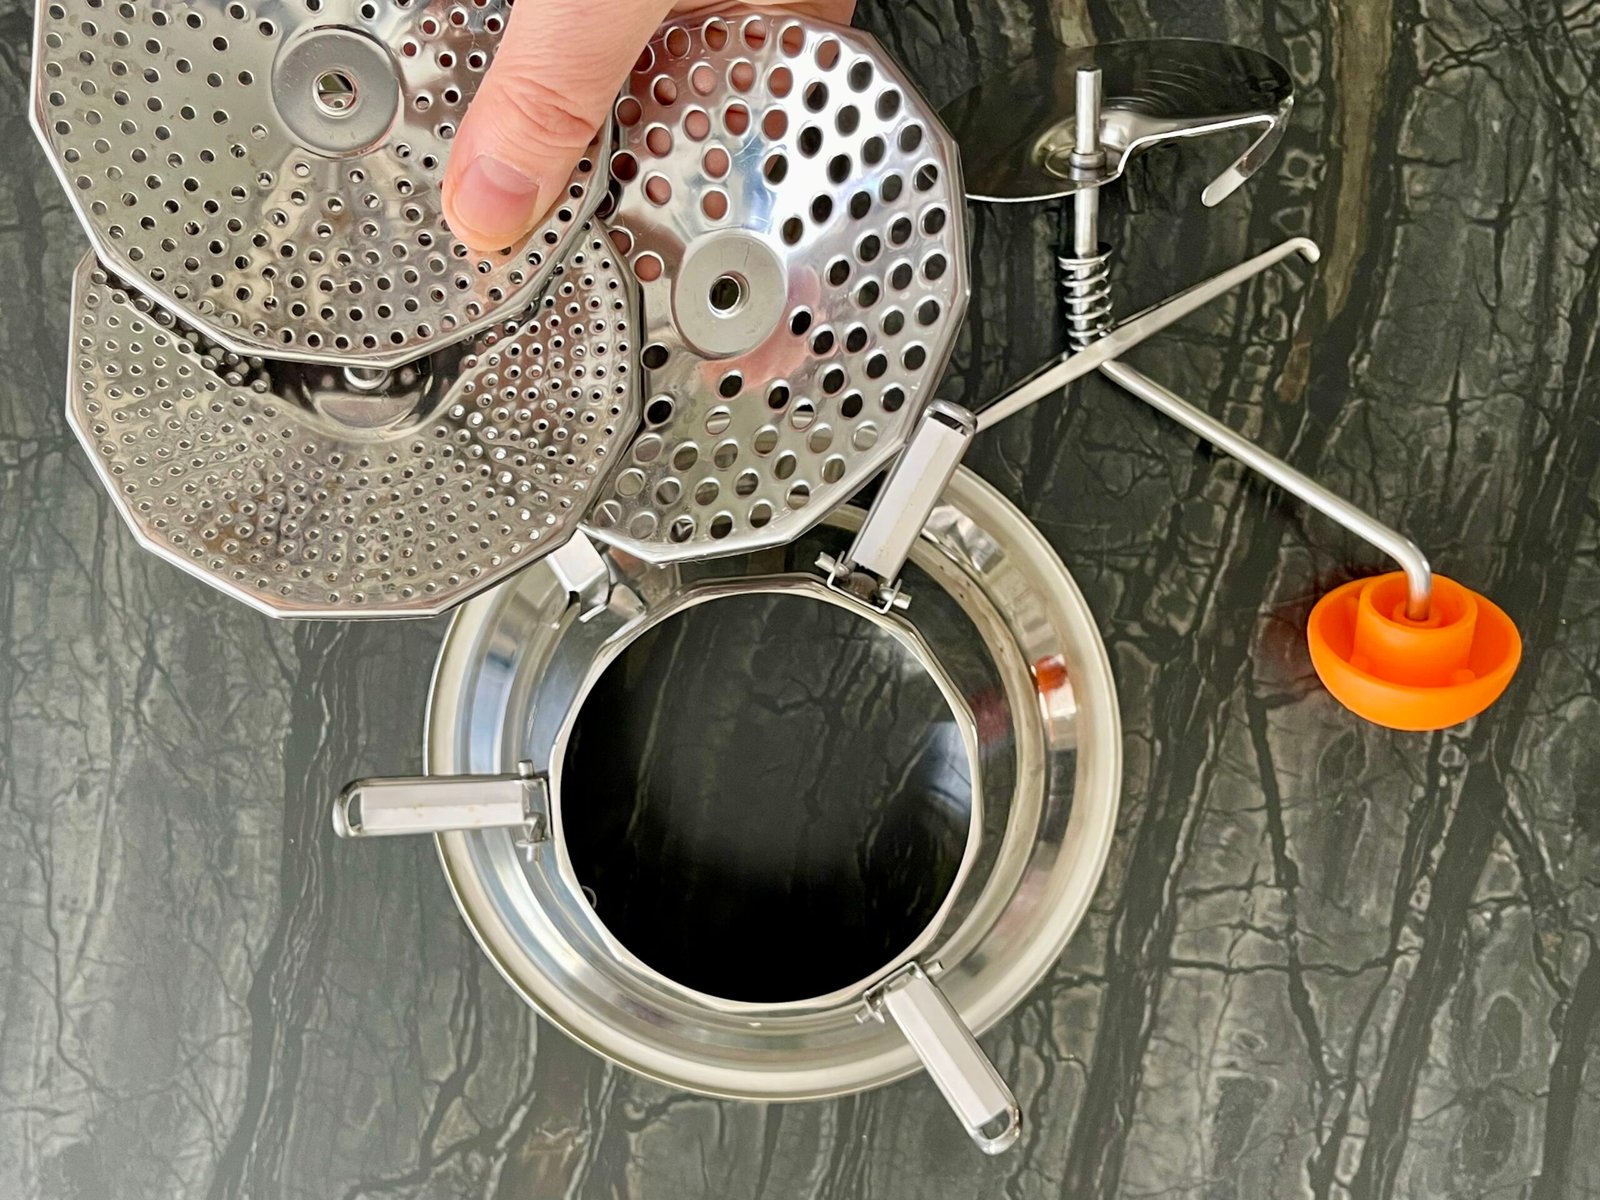
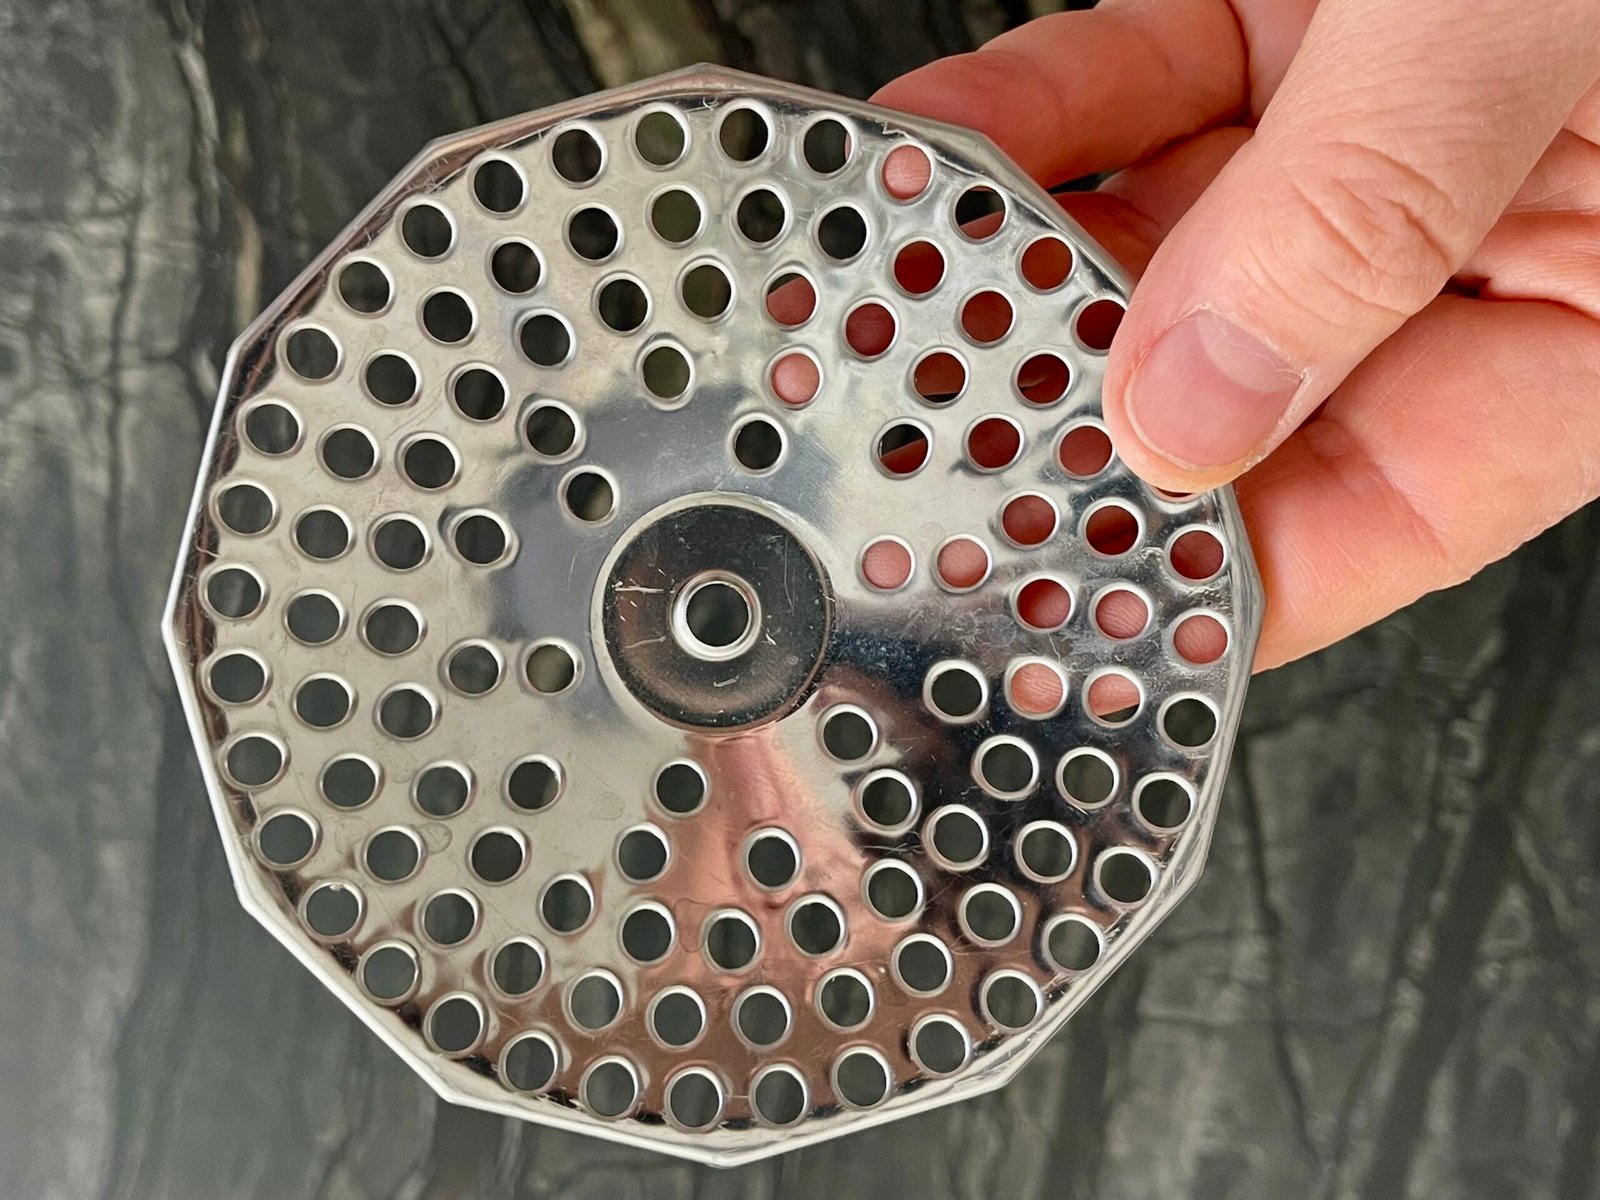
Structurally, it’s simple. You get a bottomless bowl, interchangeable perforated milling discs and a hand crank with a blade. As you turn the handle, pulp is pushed through the holes and the seeds, skins, and tougher material are meant to stay behind.
In other words, food mill promises simplicity, efficiency and flexibility. Precisely the reason why we looked into buying the tool and then just as quickly we hesitated.
You see, we believe that the modern pantry is not built on gadgets. Every tool you bring into your kitchen has to justify itself – not just in dollars, but in saved time, reduced effort, and improved results. Because otherwise it’s just clutter with a handle.
So, instead of relying on all those listicle food mill reviews, we tested it. Four real recipes. Here’s the cheat sheet before you read the full teardown:
🩺Master Canner’s Verdict – A One-Trick Pony, But a Very Good one
Tomatoes / Passata :
✅ RECOMMENDED.
This is where a food mill earns its place. Skins gone, seeds caught, beautiful smooth texture in one pass.
Raspberries:
❌ USE A STRAINER.
When processing macerated or precooked raspberries into a jam, a fine mesh strainer does the job better. The food mill’s pressure risks crushing seeds and letting particles through.
Apples:
❌ USE A STRAINER
Crushed seeds, bitterness, tough seed chambers crushed and forced through. Needs too much pre-prep to justify the tool.
Pears:
❌ DO NOT USE
Hard no. Crushes seeds and lets grainy texture through. Ruined the final jam for us.
Bottom line: if you make tomato passata even a few times a year, buy one. It does one thing really well. For everything else – berries, apples, pears – save your money and get a good fine mesh strainer instead.
The Food Mills Tests
Food Mill Test #1: Tomatoes: Where It Earns Its Place
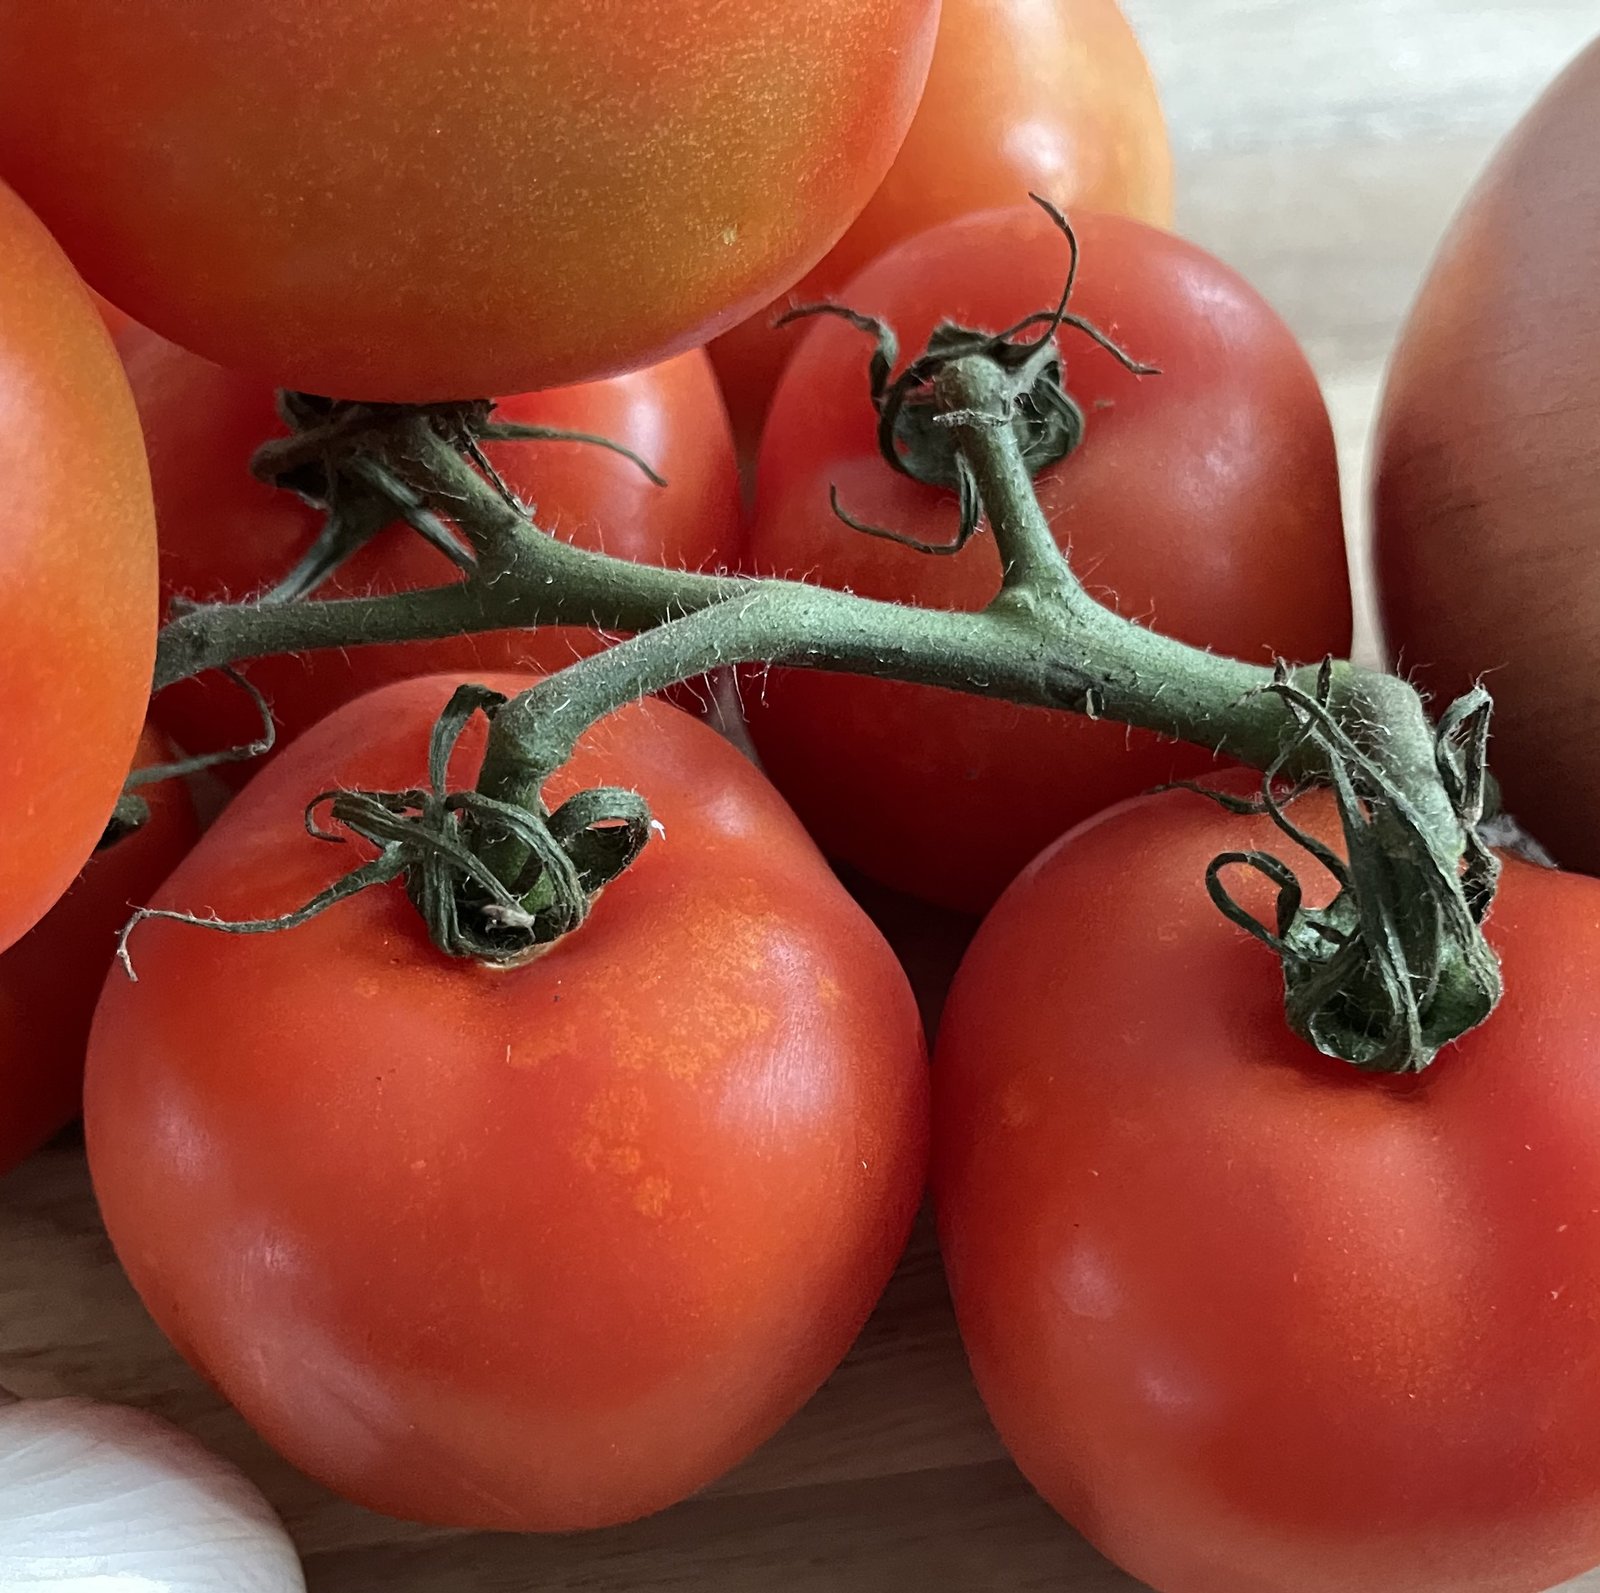
✅ RECOMMENDED
We tested this on our Sofrito → Get that recipe
Let’s start with tomatoes – because this is where this kitchen tool lives up to the hype of all those food mill reviews.
Now, to be clear, we still blanched the tomatoes and removed most of the seeds manually. So the food mill didn’t replace our prep entirely.
But, this is where it made a real difference. Once the tomatoes were softened and partially prepped, the food mill cleanly separated skins from pulp, caught remaining seeds we missed, and smoothed out the final texture.
And this is where the efficiency shows up. Instead of chasing skins, picking out stray seeds and, much more importantly, spending hours grating tomatoes, you just run everything through your food mill and you’re done.
Why it works: tomatoes break down easily, but their skins don’t fully disappear. Soft pulp goes through. Tougher skins stay behind. Leftover seeds get trapped. It’s not doing everything, but it’s doing the most annoying part of the job.
Food Mill Test #2: Raspberries: Where It Should Shine (But Doesn’t)

❌ USE A STRAINER
Raspberry Wild Rose Petals Jam – made with strainer, not a mill → Get the recipe
This is where the food mill is supposed to dominate. Arguably, separating raspberry seeds from pulp is one of its most advertised uses. Naturally, we tested it with ½ of our raspberry jam batch. Once done, we made another ½ of the batch using our usual method: a fine mesh metal strainer, pressing cooked raspberries through.
Lo and behold, the difference was clear.
First, with the strainer: no seeds passed through, no seeds were crushed, texture was clean and smooth.
Second, with the food mill, using a very fine milling disc: pressure risks breaking seeds, small particles can pass through, less control over the final texture. Basically, not better than a strainer. Acceptable, yes. But superior? Definitely not.
Food Mill Test #3: Apples — Where It Failed
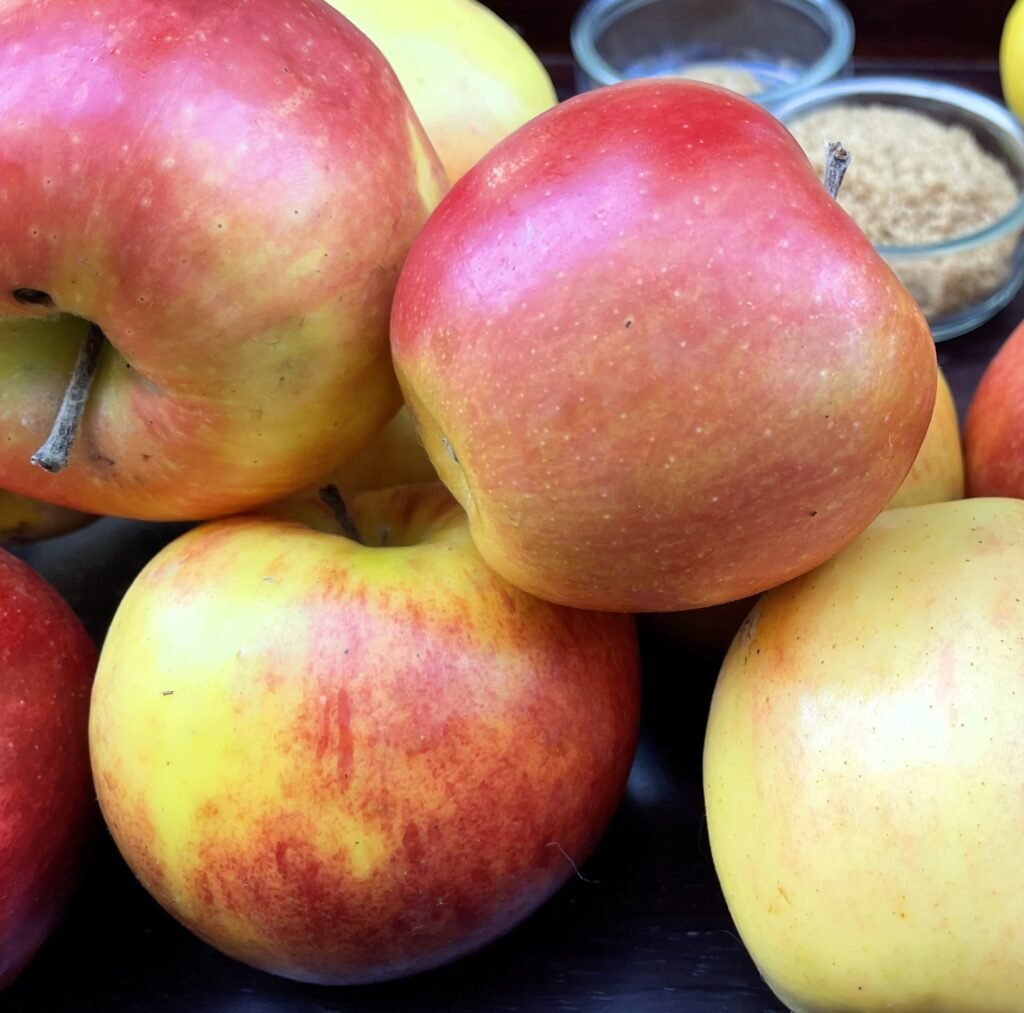
❌ USE A STRAINER
Our Cardamom Chardonnay Apple Butter doesn’t need a mill → Get the recipe
Apples should be straightforward. However, this is what happened when we ran cooked apples through the food mill: seeds were crushed, seed particles passed through, tougher internal bits (core, pith) were forced through. Instead of a smooth purée, we got unwanted texture and bitterness from crushed seeds.
Could this be avoided? Yes, if you remove seeds beforehand and cut around the core. But, at that point, you’ve already done the work. Plus, if you have a recipe that calls for cooking apples with seeds before pureeing, this won’t even be an option for you. So, the question becomes: why use the food mill at all?
A fine mesh strainer gives better control, avoids crushing, and produces cleaner results.
Food Mill Test #4: Pears – The Worst Case
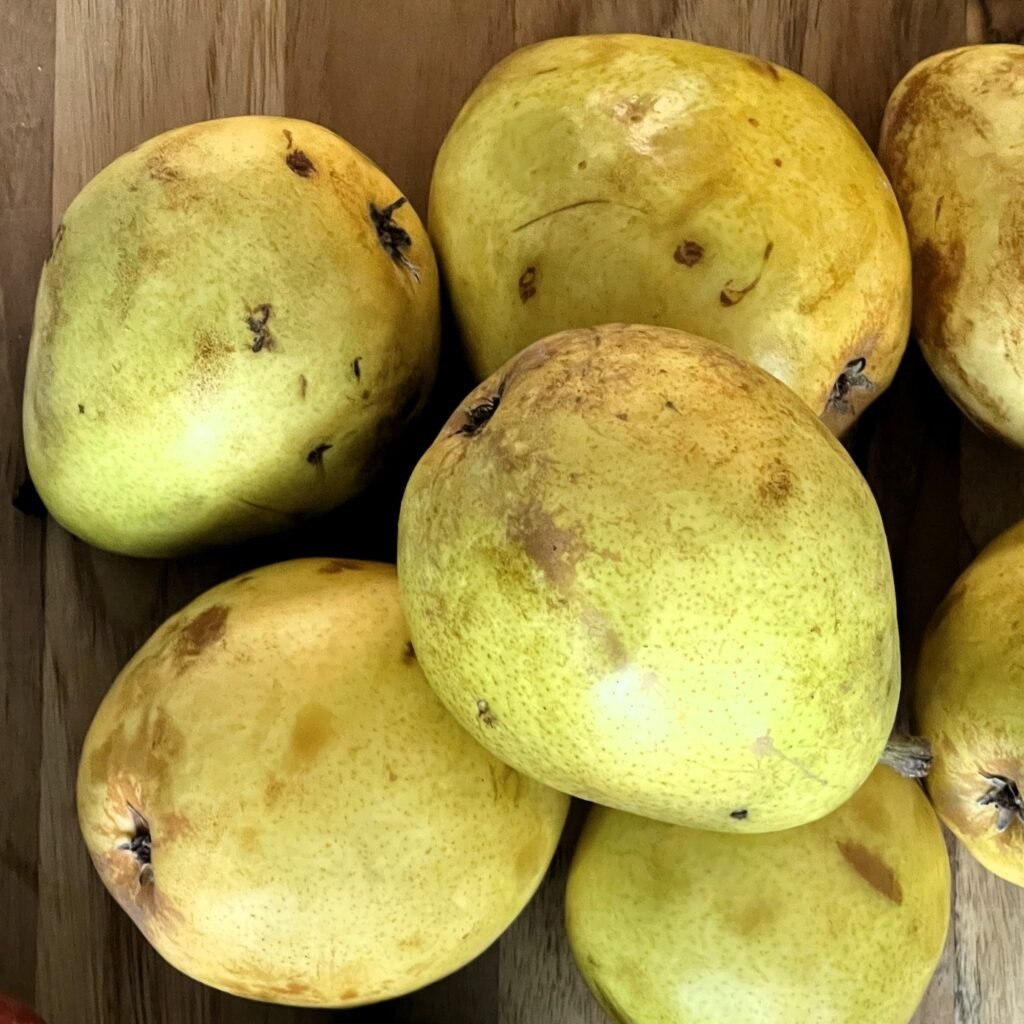
❌ DO NOT USE
Our Belgian Pear Syrup – no mill needed → Get the recipe
Pears confirmed and amplified the issue with a food mill! Unlike apples, pears have this grainy texture inside. It is caused by stone cells – durable clusters of cells with extremely thick, rigid (lignified) walls. These are similar in composition to nut shells or peach stone. The food mill crushed seeds and let gritty texture through. Frankly, it ruined the batch we tested it on…
The Honest Food Mill Assessment (Pros & Cons)
✅ What we love
- At $30–60, it’s a low-risk purchase for anyone who makes tomato sauce regularly
- Tomato passata in one pass – skins gone, seeds caught, beautiful texture
- No electricity needed – works anywhere, lasts forever with basic care
- Interchangeable discs give you control over coarseness
- Simple to clean once you know how – remember to disassemble immediately after use
⚠️ What to know
- It’s a one-trick pony. If you don’t make passata, you probably don’t need this.
- Failed on apples – crushed seeds, added bitterness, needed too much pre-prep to justify
- Failed on pears – gritty texture passed through, ruined the final jam
- Raspberries were acceptable but a $10 strainer gave cleaner results with no seed breakage
- Disc orientation is not always marked – install wrong and you’ll score the bowl permanently
Food Mill vs. Fine Mesh Strainer: The Real Comparison
The food mill has European roots, particularly in French and Italian kitchens. It became popular because it solved a very specific problem:
- processing large volumes of produce
- without electricity
- while controlling texture
Before blenders and food processors, this mattered. However, most modern kitchens already have food processors and immersion blenders. So, you would think that tools that are faster, easier to clean and, in theory, produce smoother results would be food mill competition. Yet, after all four tests, one thing became clear: the real competitor isn’t a blender. It’s a $10 strainer.
| Food Mill | Fine Mesh Strainer | |
| Speed | Faster for large volumes | Slower, manual pressing |
| Precision | Lower – applies pressure | Higher — gentle control |
| Seed safety | Can crush seeds | No breakage |
| Skin removal | Excellent | Good (pre-cook needed) |
| Cleanup | Multiple parts | Single piece |
| Price | $30–60 | $8–15 |
| Best for | Tomato passata & tomato based sauces | Everything else |
| Our pick | For tomato sauces | For fruit preserves |
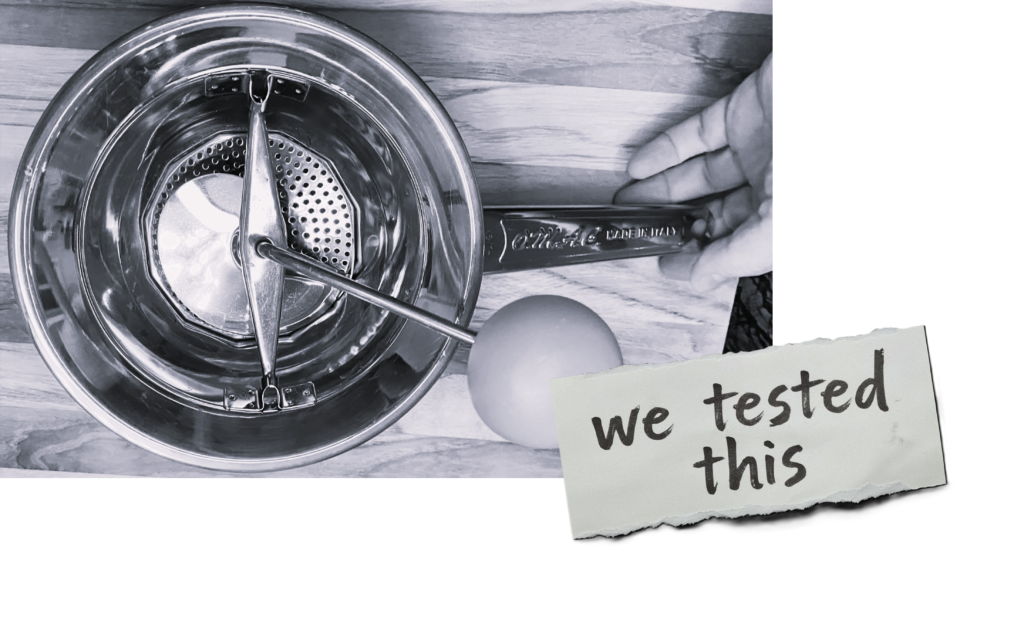
How to Assemble a Food Mill (And the Mistake That Damages It)
At first glance, a food mill looks simple. A bowl, a crank, a disc. Done. That’s what we thought too.
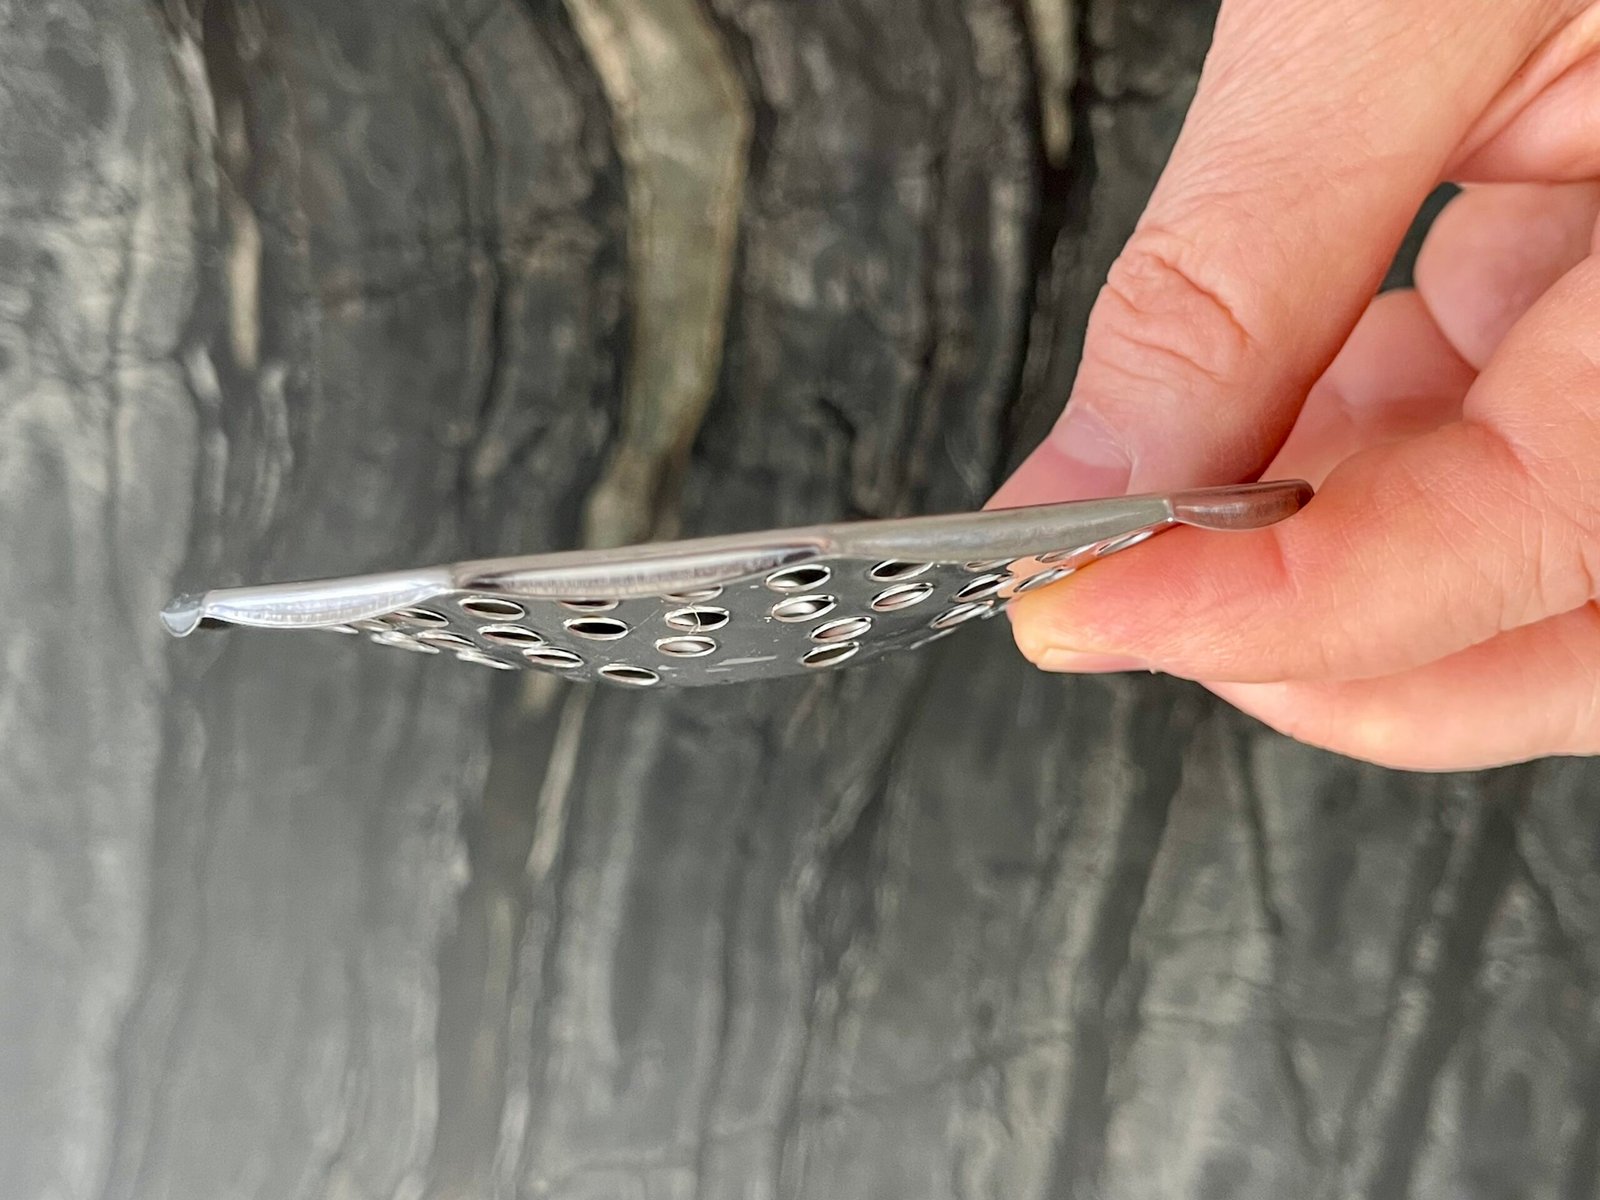
⚠️ The Mistake That Damages the Food Mill
We installed the disc the wrong way. It fit. And yes, it locked. Frankly, it looked absolutely fine. But, the moment we turned the handle, it felt stiff. The blade was grinding against the metal. Obviously, something was wrong. Yet, we persisted, thinking that the tool just needed an extra muscle power. At the end, we scored the sides of the bowl. Permanent damage. Lessons learned: Rule of the thumb, always test rotation before adding food.
✅ Step-by-step food mill assembly
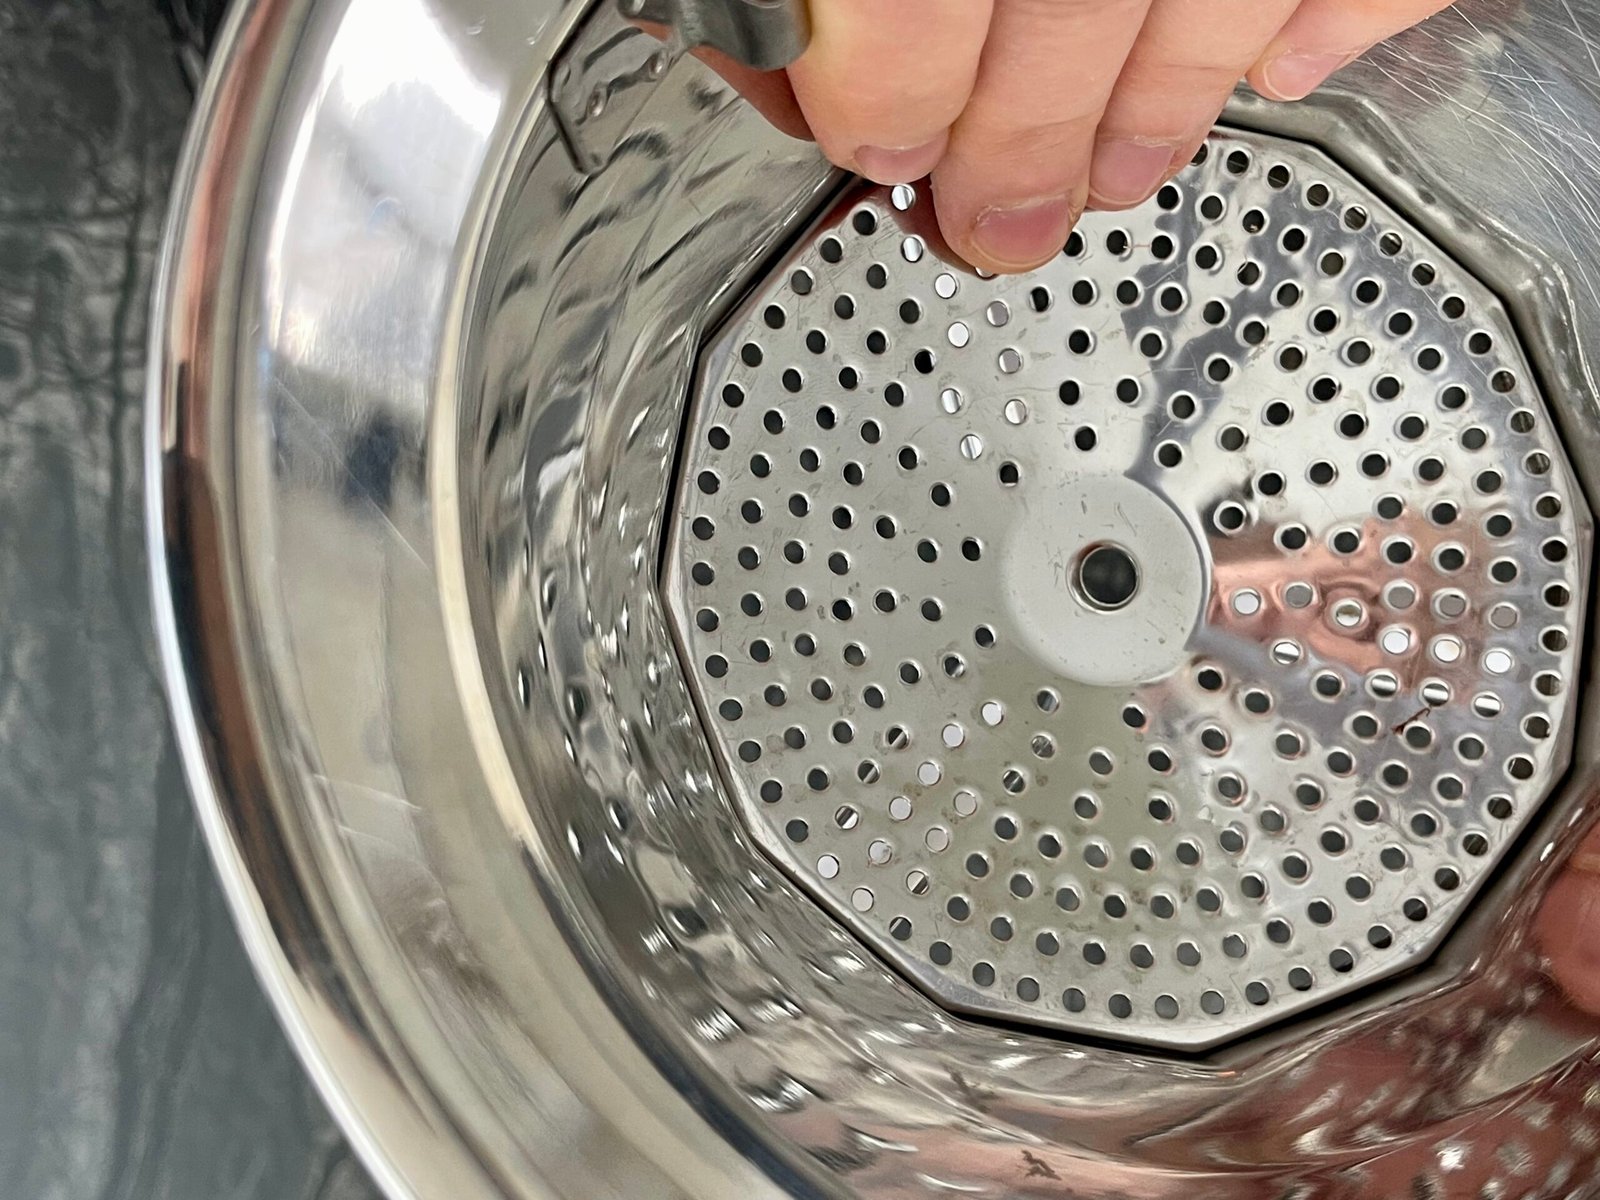
- Start on a flat surface! Never assemble the food mill over a pot. Reason being, you need to see the disc, center hole, and rod alignment clearly.
- Insert the milling disc. As a rule, concave side up is correct, but this isn’t universal. Remember, different manufacturers design differently. So, if your disc isn’t marked, try one way and test rotation.
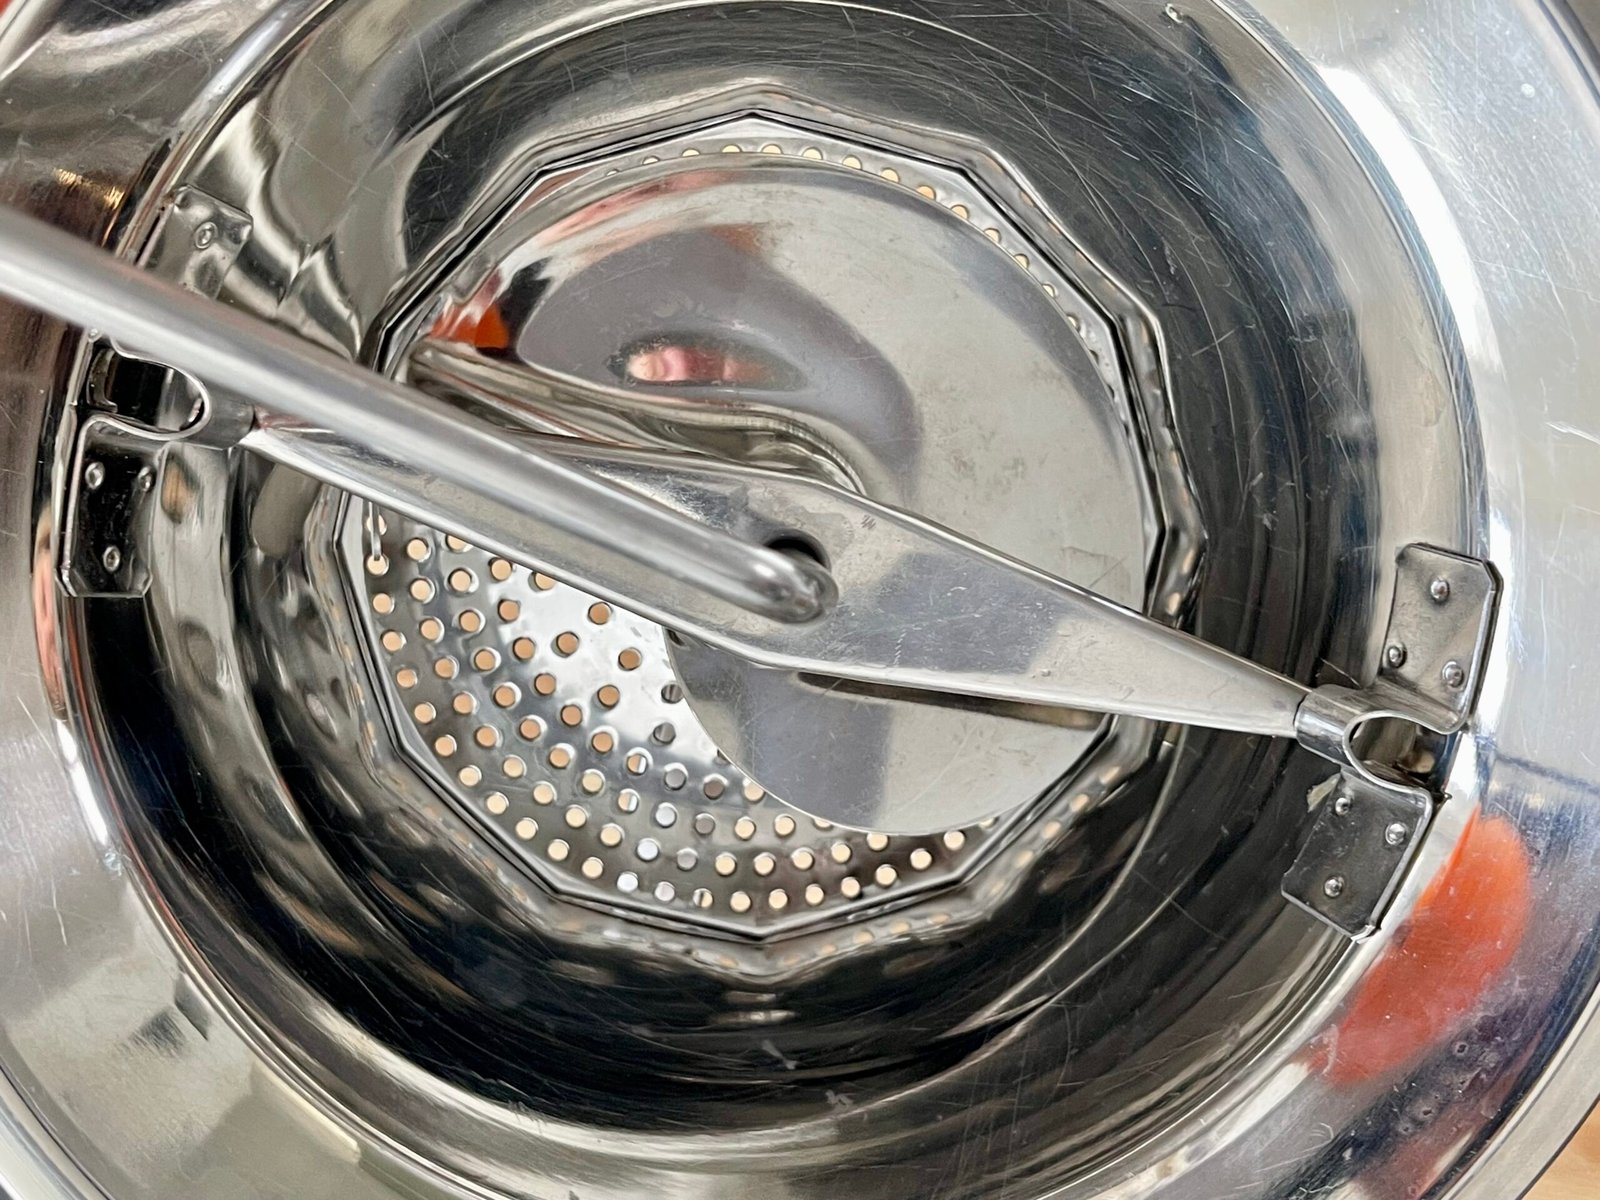
- Install the handle assembly. First, lower the full assembly into the bowl. Next, guide the central rod through the disc hole. This is why you assemble on the counter, so you can actually see the alignment.
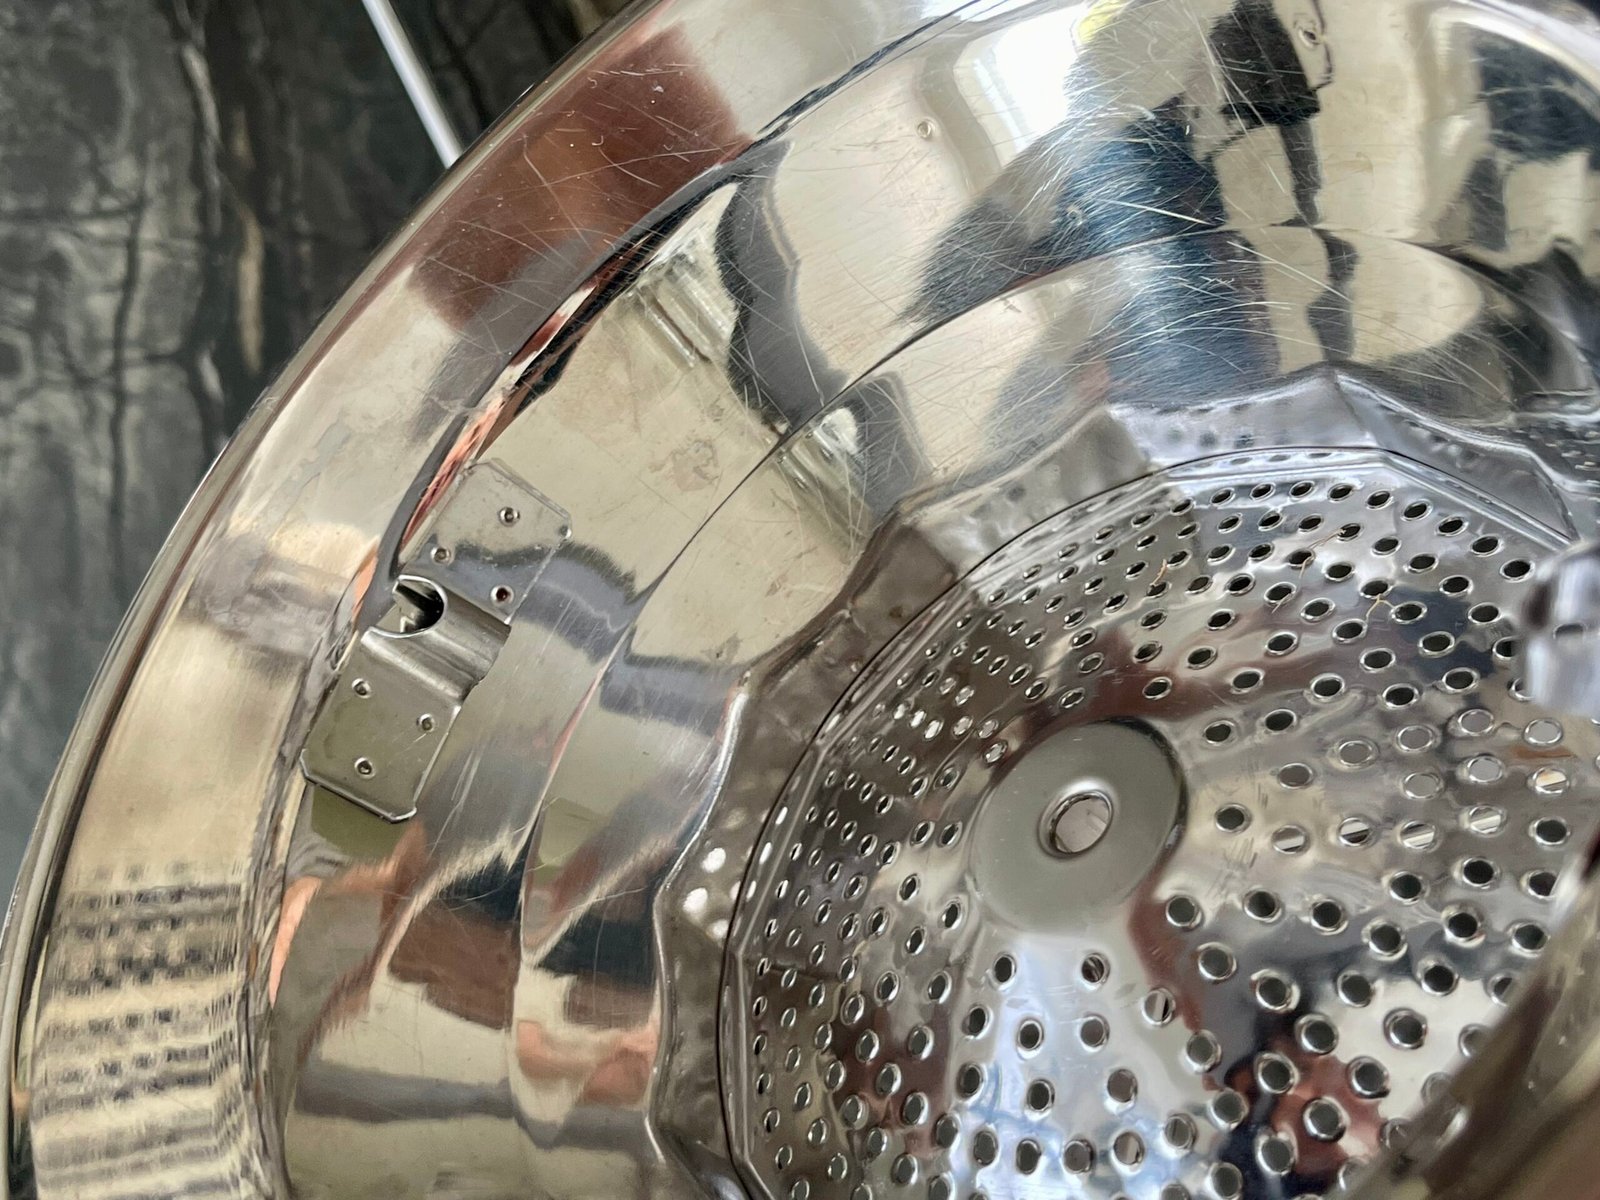
- Lock the assembly. Finally, align the locking pins with the tabs on the bowl. Twist or press until locked. The spring pushes the blade down onto the disc.
- TEST before adding food. Once done, turn the handle. Smooth rotation? No grinding? No excessive force? Good. If not, stop, flip the disc, and test again.
The only rule that actually works: the correct disc orientation is the one that allows smooth, easy rotation. Do not force the handle. If you feel resistance, stop immediately.

Frequently Asked Questions
1. The disc is installed the wrong way: Handle is stiff immediately, grinding or scraping sound, uneven movement.
→ Fix: remove the disc, flip it, reassemble, and test before adding food.
2. The rod isn’t properly aligned: Jerky or uneven rotation, blade not sitting evenly.
→ Fix: make sure the central rod passes cleanly through the disc hole. Re-seat the assembly.
3. The handle assembly isn’t locked properly: Wobbling, inconsistent pressure.
→ Fix: check that locking pins are fully engaged in the bowl tabs.
4. You’re overloading the mill Heavy resistance during use, slow processing.
→ Fix: reduce the amount of food. Work in smaller batches.
You’ll Also Need
A food mill without a strainer backup is like owning one shoe. Here’s what completes the setup – whether you buy the mill or take our advice on the strainer.
| Product | Why | Payback | Link |
| Fine Mesh Strainer | Our actual recommendation for fruit preserves | Under $15 – immediate value | See our pick on Amazon → |
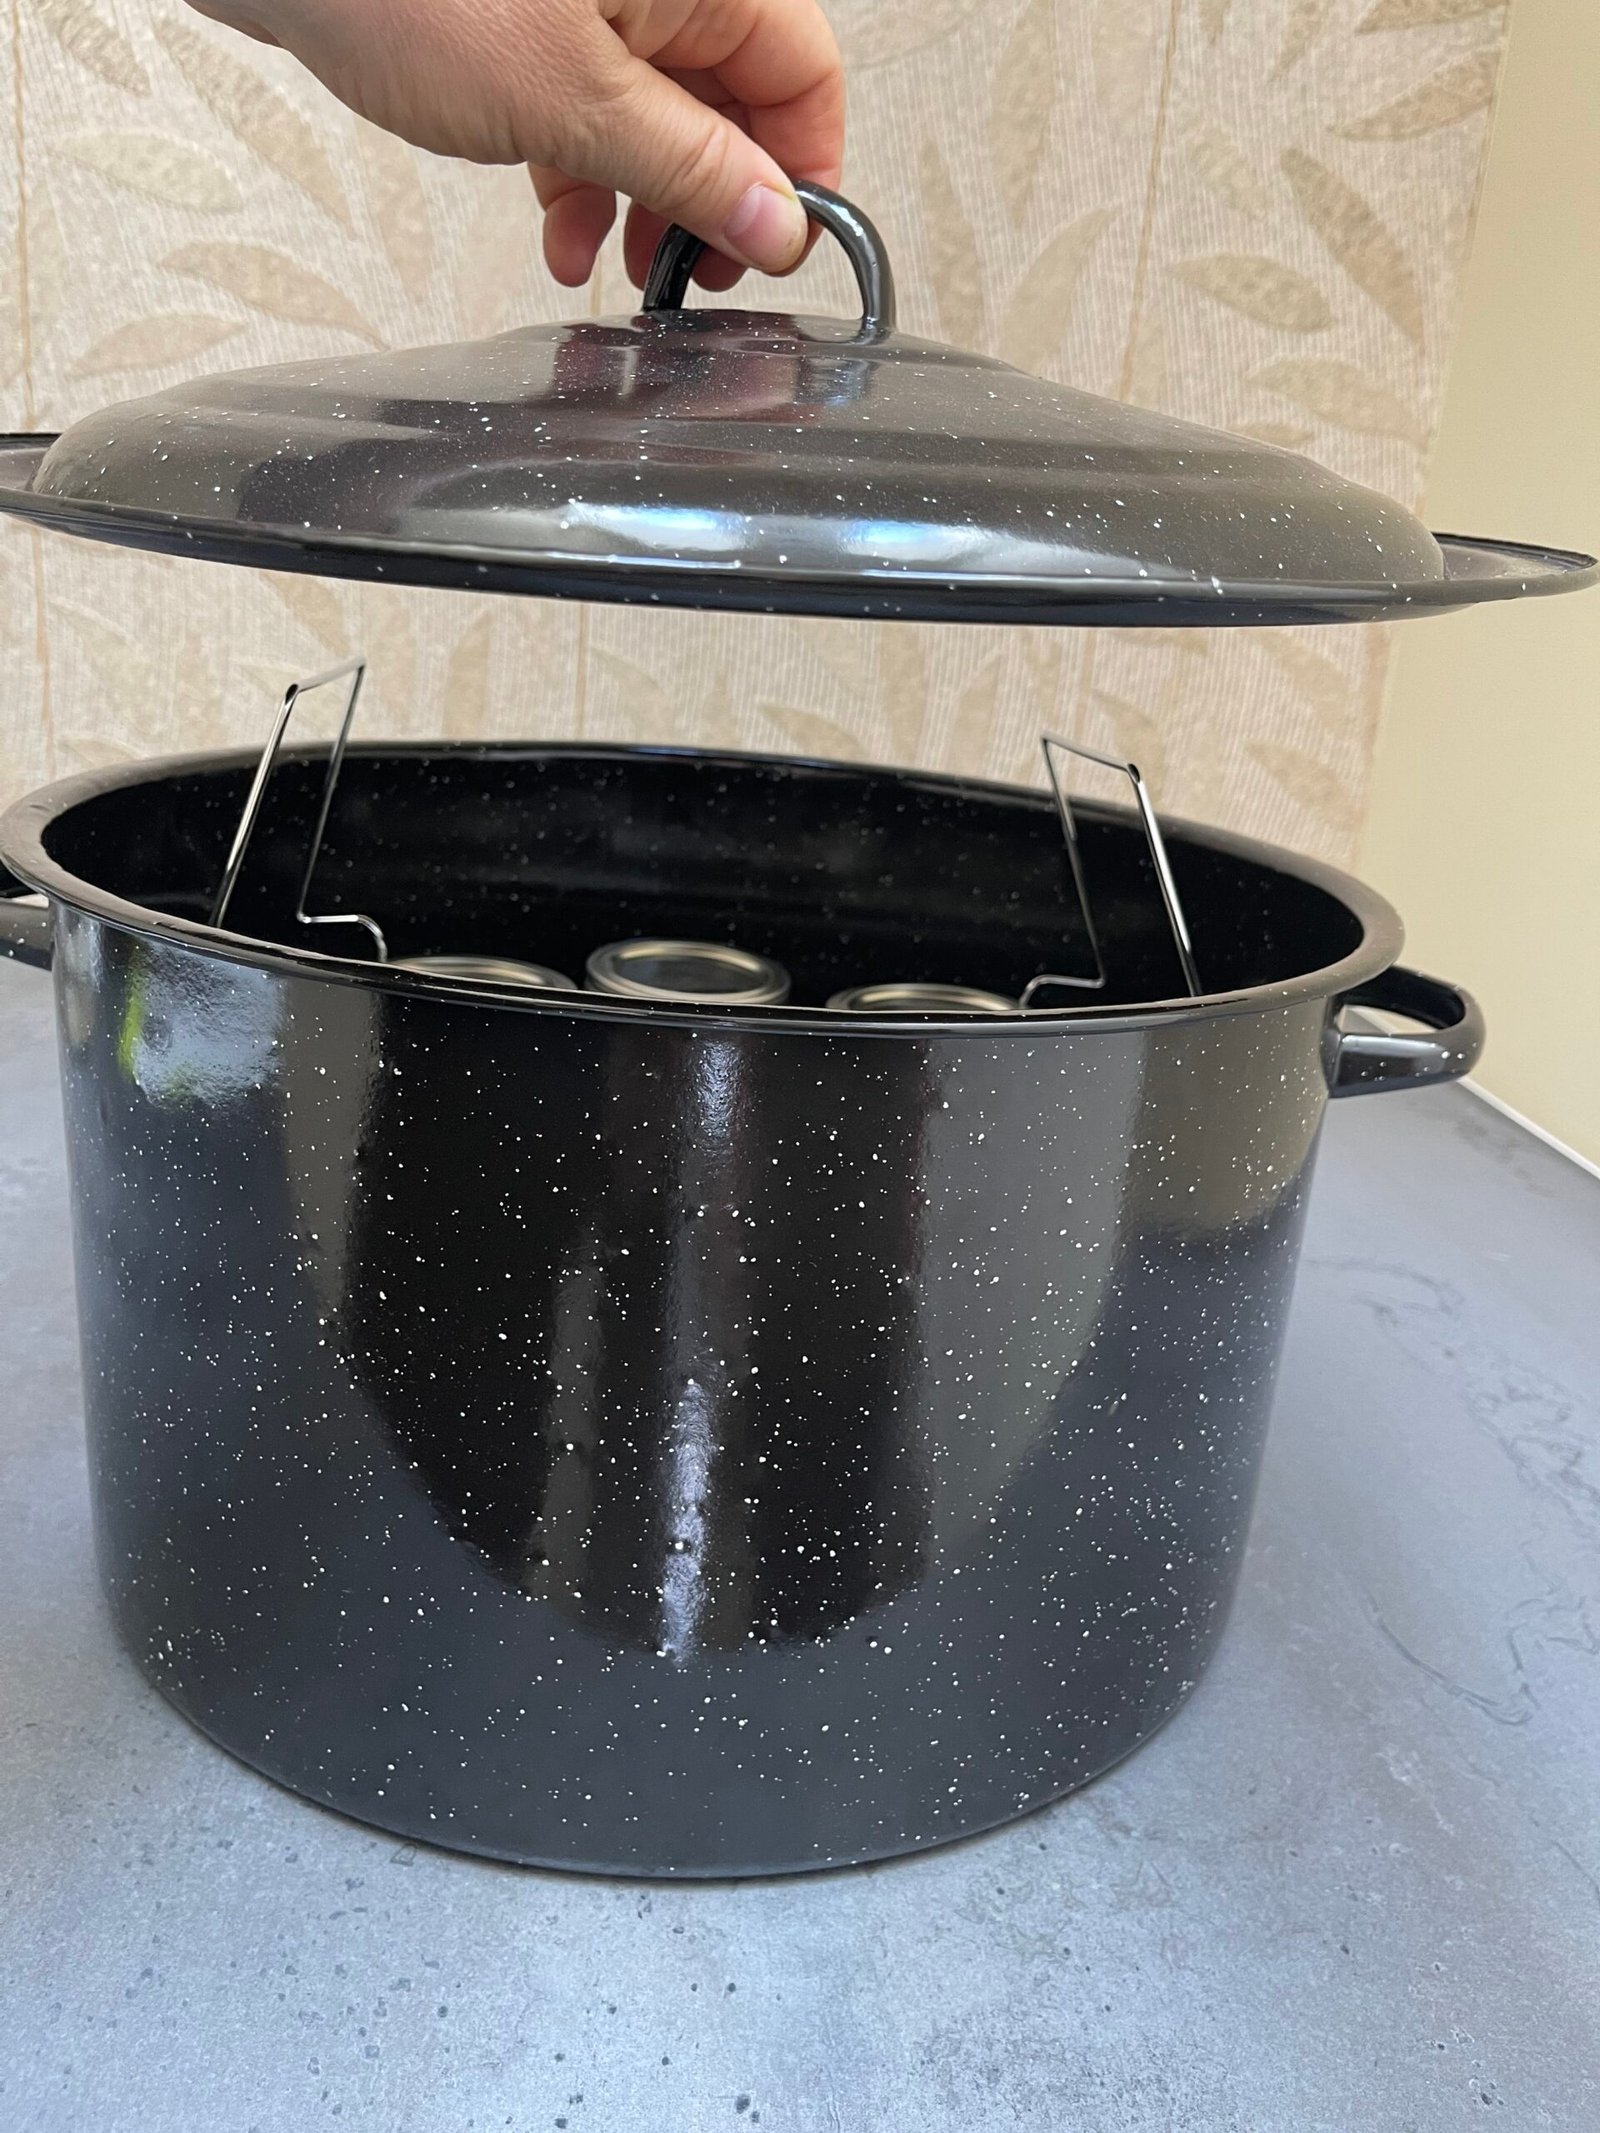
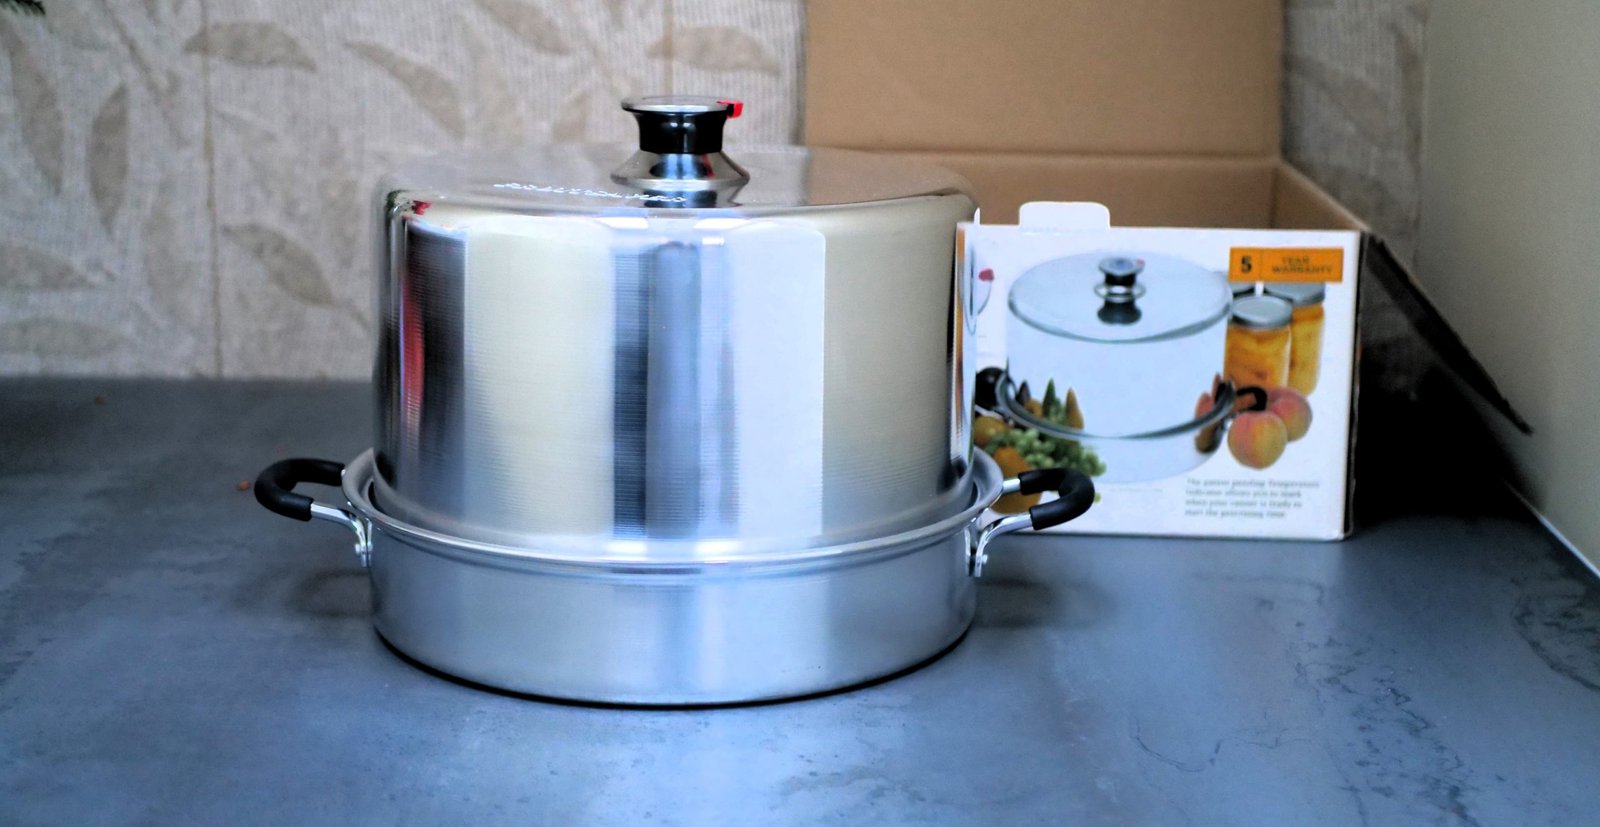
| Atmospheric Steam Canner | You’ll need to can that passata | ~3 batches | See our pick on Amazon → |
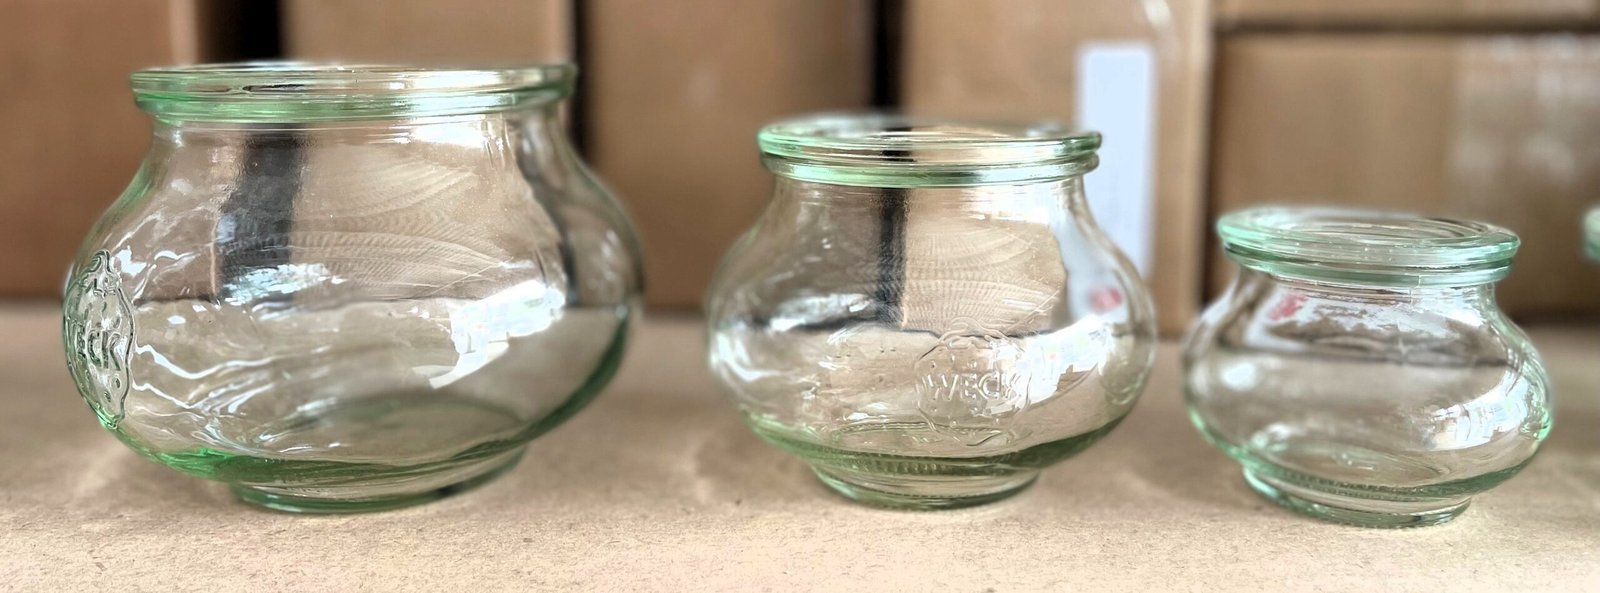
| Canning Jars | For the passata, sauces and jams | Reusable = lifetime value | Jars guide → |
| Digital pH Meter | Tomato pH varies –it’s best to test | ~5 jars | Check on Amazon → |
| Large Stainless Bowl | Catches output from the mill | Under $20 & lasts forever | Check on Amazon → |
Recipes We Tested With Food Mill
Not stock photos. Not test batches. These are real recipes we processed with this exact food mill, some of them multiple times. Every result was documented. (Even the ones that ended up in the compost.)
| Recipe | Tag | Verdict |
| Thomas Keller’s Inspired Sofrito | Tomato Sauce | ✅ Mill worked |
| Raspberry Wild Rose Petal Jam | For Cheese | Strainer better |
| Cardamom Chardonnay Apple Butter | French Style | Skip the mill |
Our Honest Recommendation
If you make tomato passata or sauce even a few times a year, a food mill is worth the $30–60. Frankly, this is that one thing that it does really well, and for that one thing, nothing else matches it.
When it comes to everything else: berries, apples, pears – save your money. In our opinion, a $10 fine mesh strainer gives you better control, cleaner results, and no crushed seeds. We use ours more than any other tool in our kitchen.


Leave a Reply